

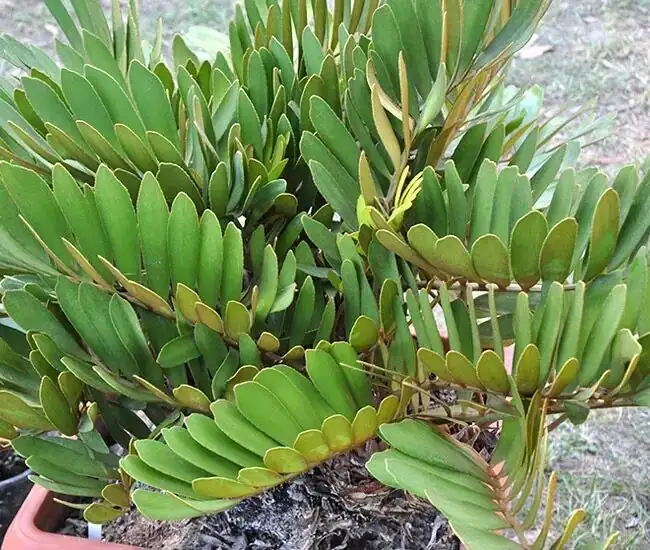
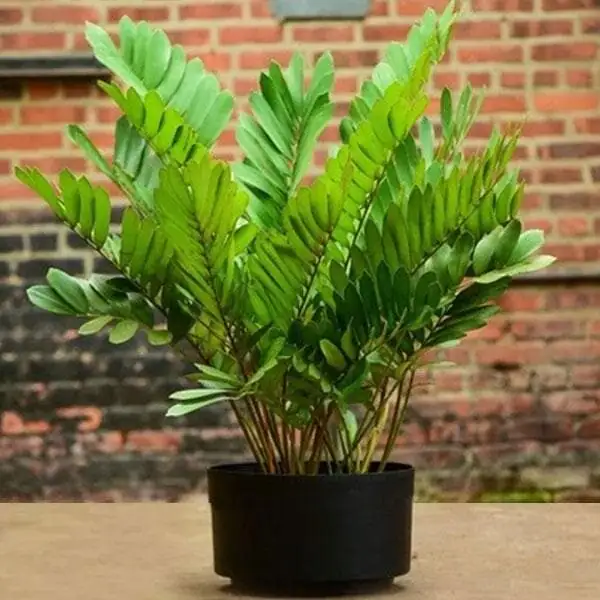
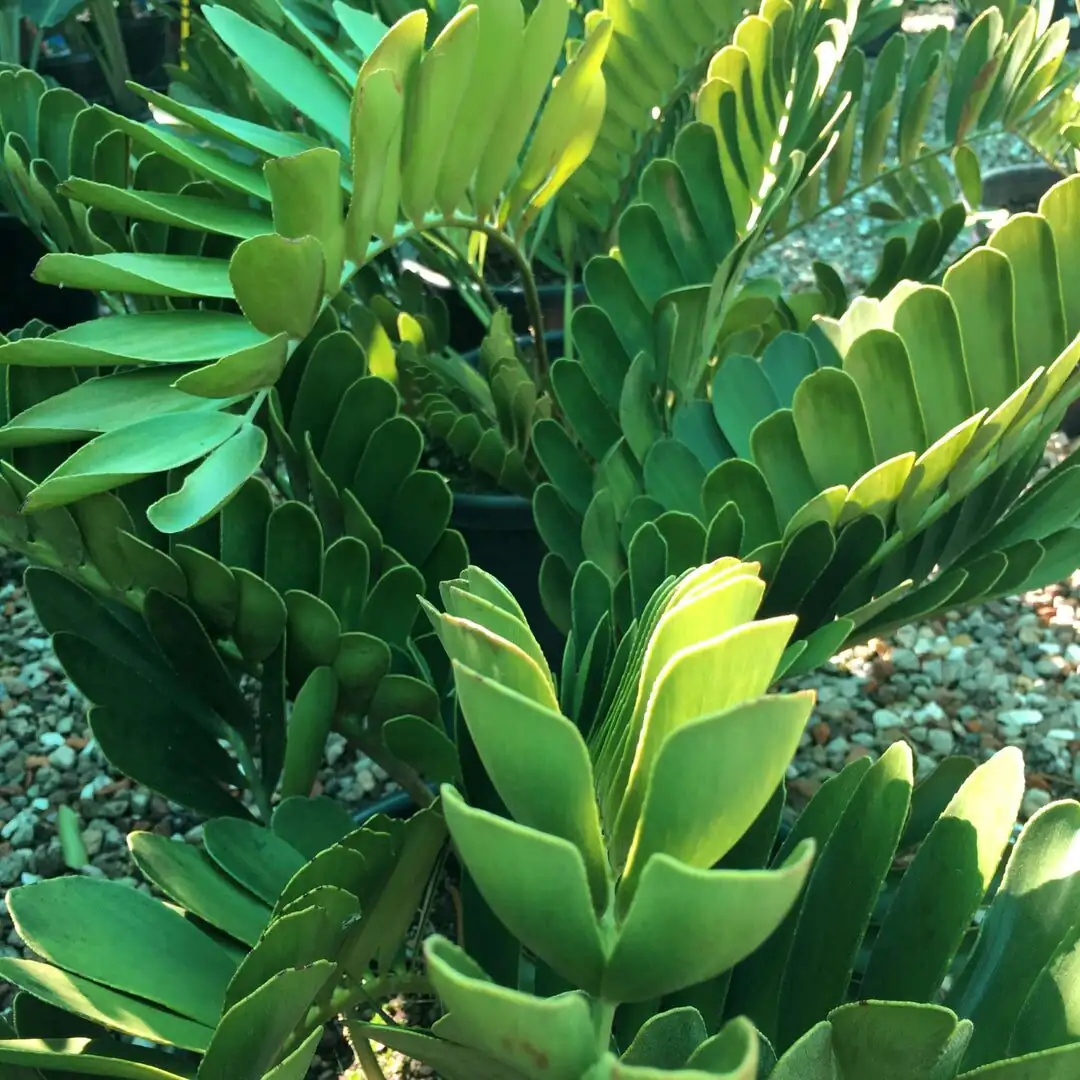
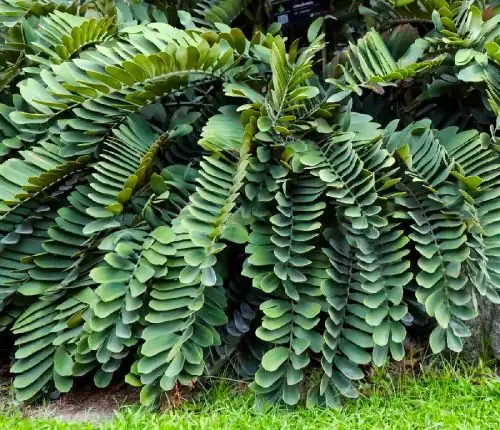
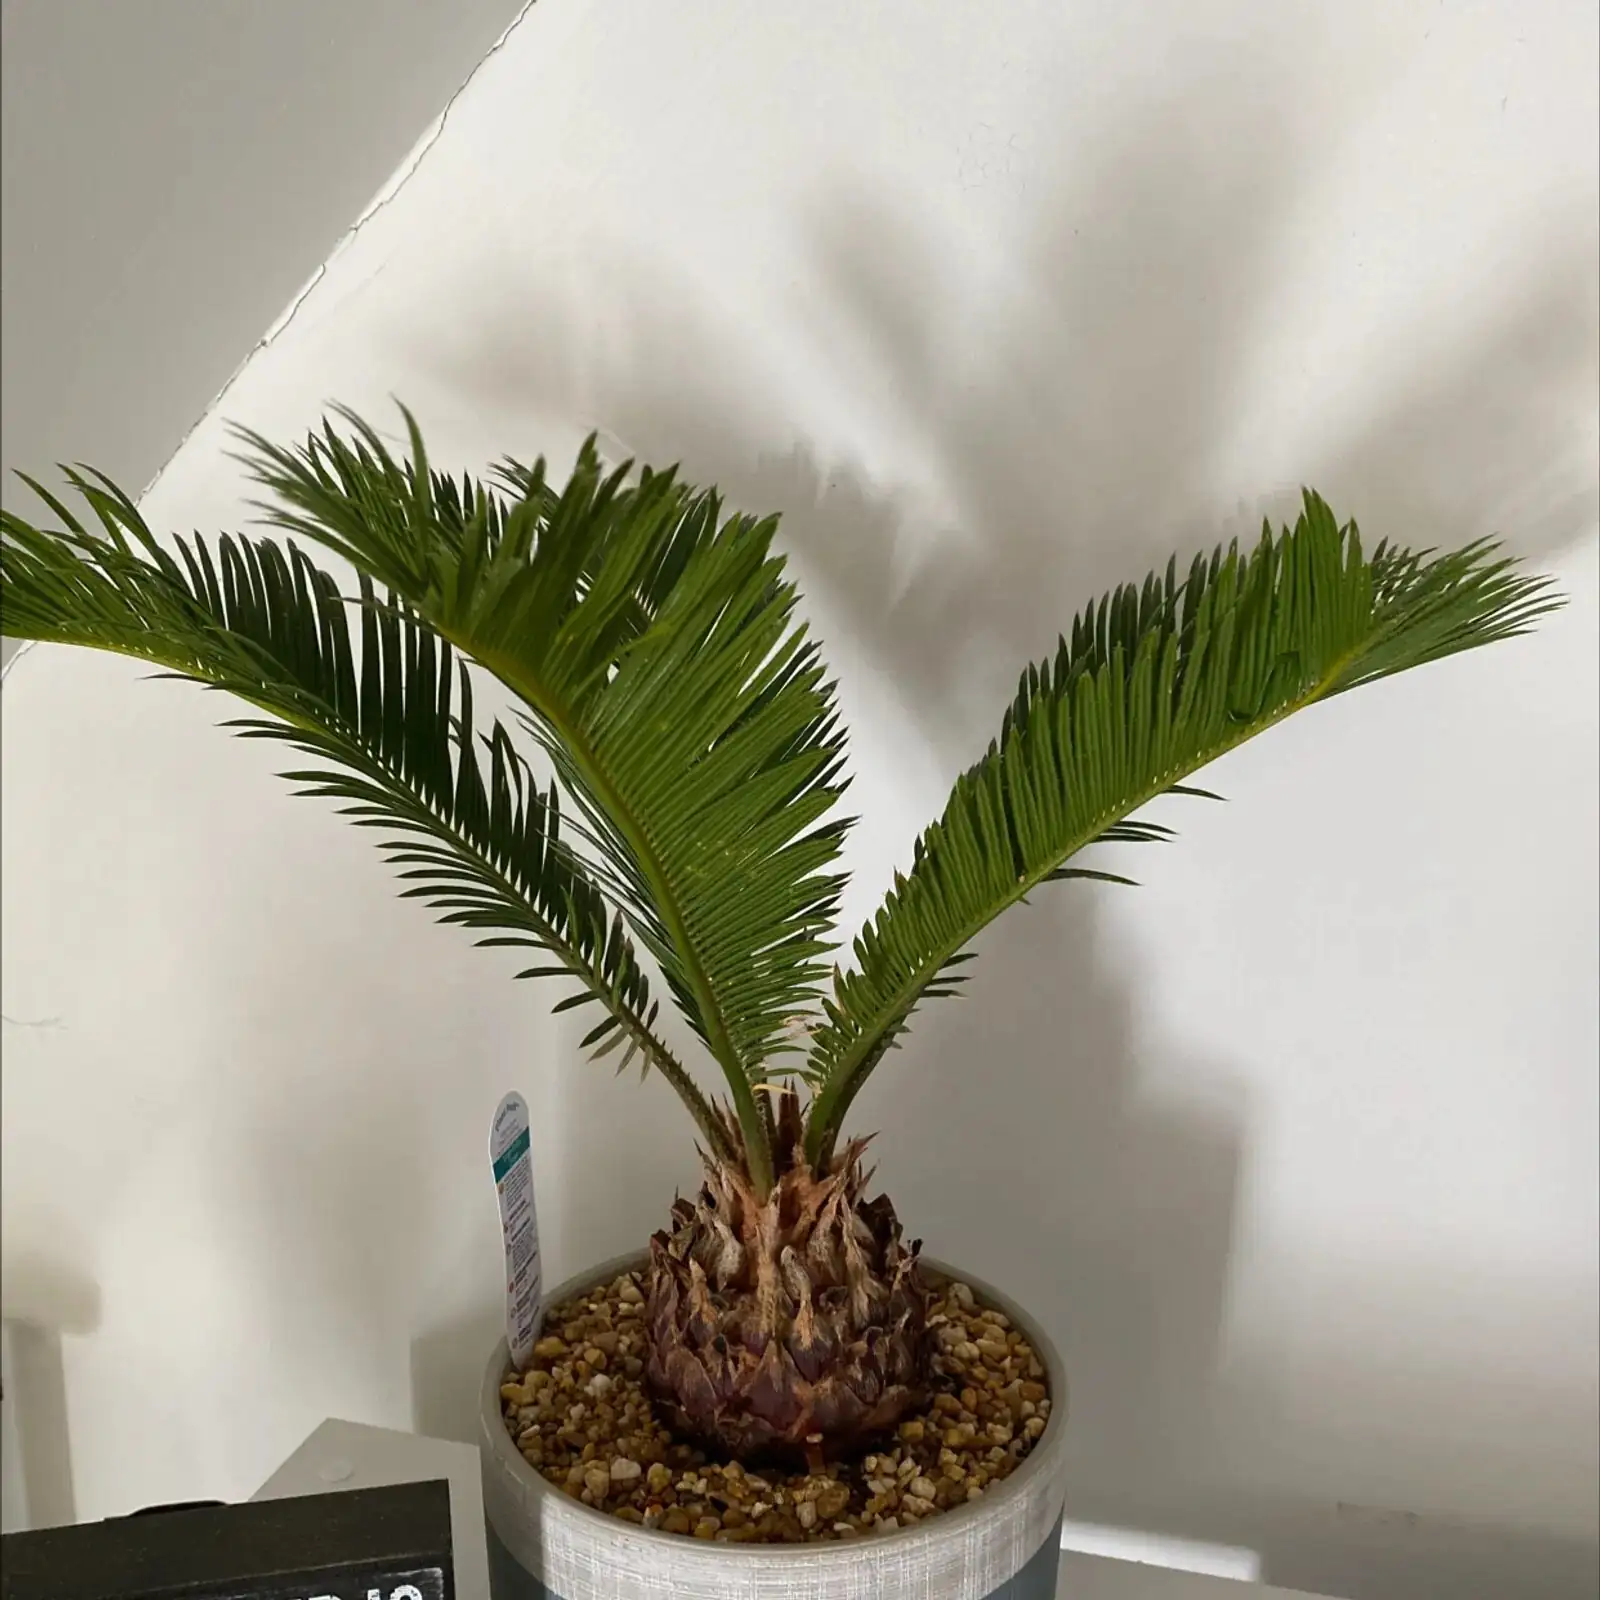
Think cardboard, but alive: Zamia furfuracea (Cardboard Palm) is a slow, steady sculptor, building a tidy rosette of stiff, feather-like fronds from a fattening base. If you’ve admired those perfectly balanced crowns and wondered how to raise your own from seed or offsets, this hands-on guide is for you—complete with timing, callusing, warm-rooting temperatures, and the potting-on steps that set young plants up for sturdy, symmetrical growth.
Before you start: a safety note. Like many cycads, all parts—especially the seeds—are toxic if ingested. Wear gloves, keep materials away from children and pets, and dispose of seed pulp responsibly.
Why timing and warmth matter for this cycad
- Season: Spring is your window. Sow seeds indoors in spring; divide offsets in April–May when warmth returns and growth stirs.
- Heat: Warm roots are everything. Aim for 24–30°C (75–86°F) for seed germination; 26–30°C (79–86°F) for offset rooting.
- Moisture: Lightly moist, never soggy. Cool + wet = rot.
- Light: Bright light to full sun indoors with airflow, shielding from harsh, scorching midday sun behind glass. Even light during a new leaf flush prevents a stretched, uneven crown.
Propagating Cardboard Palm from seed: step by step
What you’ll need
- Fresh seeds (from reputable sources)
- Gloves, paper towels, and a small brush for cleaning pulp
- Seed tray or small pots with drainage
- Free-draining medium: about 2 parts peat/leaf-mold–based mix to 1 part coarse sand/grit/perlite
- Heat mat with thermostat (target 24–30°C/75–86°F at root zone)
- Clear humidity dome or vented cover (optional), plus a gentle fan nearby for airflow
- Labels and a spray bottle
1) Prepare and pre-soak (optional, but helpful)
- Clean: Remove all flesh from seeds (it can inhibit germination). Rinse well. Wear gloves; seeds are toxic.
- Soak: 24–48 hours in room-temperature water, changing daily. Discard floaters if they consistently float after a day.
2) Fill and sow
- Fill pots/tray with the free-draining medium; pre-moisten so it’s evenly damp but airy.
- Sow each seed 2 cm (about 0.8 in) deep. Orientation is forgiving; bury on its side if unsure.
- Label with date and source.
3) Warm-root and wait
- Place on a heat mat set to 24–30°C (75–86°F).
- Cover lightly (vented) to conserve humidity, but ventilate daily to prevent fungus. A small fan providing gentle, indirect airflow helps.
- Keep the medium lightly moist. Do not saturate.
4) Germination timeline
- When kept consistently warm, germination can be quick—sometimes around 2 weeks. More commonly, expect 2–8+ weeks depending on seed freshness and temperature.
- First sign is a radicle (root) pushing down; the first “leaf” will follow later as a small spear.
5) Potting on seedlings for sturdy, centered crowns
- When roots are 3–5 cm (1–2 in) long and the first leaf emerges, transplant into individual small pots (7–9 cm/3–3.5 in) using the same fast-draining mix.
- Set the young caudex slightly proud of the soil surface to discourage rot.
- Water to settle, then allow the top layer to dry slightly before the next watering.
- Light: Move to very bright light with good airflow. Shield from harsh midday sun behind glass until the seedling hardens.
- Feed: During the active season, a balanced fertilizer (e.g., 20-20-20) at label rates monthly is plenty. Skip winter if growth slows.
- Symmetry tip: Rotate the pot a quarter turn every 1–2 weeks while a new flush is forming to keep the rosette even.
6) Sizing up
- As growth is slow, step up pot size gradually. A shallow, wide pot provides stability and suits the root system. Typical container sizes for maturing plants are 15–40 cm (6–16 in) diameter.
Propagating by offsets (pups): the clean-cut, callus, and warm-root method
What you’ll need
- Parent plant with obvious basal pups (clumps form over time)
- Clean, sharp knife or pruning saw, isopropyl alcohol
- Powdered sulfur or ground cinnamon (optional dry antifungal dust)
- Coarse rooting medium: clean sharp sand or 1:1 coarse sand/perlite
- Heat mat with thermostat (26–30°C/79–86°F)
- Shallow pots with excellent drainage, labels, gloves
1) When to divide
- Best window: April–May. Warmer days support quick healing and rooting.
- Water the parent plant lightly a few days beforehand so the mix is crumbly, not wet.
2) Lift, expose, and separate with minimal wounding
- Unpot or tip the plant to expose the base. Brush away mix to see the pup’s narrow “neck.”
- Sterilize your blade. Make a clean cut as close to the parent as you can without gouging either caudex.
- Trim ragged tissue. Keep wounds as small and smooth as possible.
3) Callusing: where most successes are won
- Dust cut surfaces lightly with sulfur or cinnamon (optional).
- Rest the pup in warm, airy shade to dry and callus fully—usually 7–14 days; large cuts can take up to 3 weeks. You’re looking for a firm, corky, dry surface with no tackiness.
- Do not bag or keep humid during this stage; you want dry air and gentle warmth.
4) Rooting warm in sand
- Pot the callused pup in a shallow container of sterile sharp sand or 1:1 sand/perlite. Bury only the cut base—keep the caudex shoulder above the medium.
- Bottom heat: maintain 26–30°C (79–86°F) at the root zone.
- Moisture: keep barely moist—think a light, even dampness, never wet. A light mist to the medium’s surface when it dries is enough.
- Light: bright, indirect light with moving air; avoid scorching sun.
- Patience: rooting can take several weeks to a few months. Use a gentle “tug test”—resistance suggests new roots. Watch for a new leaf spear as a second green light.
5) First potting-on for pups
- Once roots are a few centimeters long (2–5 cm/1–2 in), transition to a fast-draining mix (about 2 parts peat/leaf-mold–based potting mix to 1 part coarse sand/grit/perlite).
- Choose a shallow, stable pot just large enough to accommodate the new roots.
- Set the caudex slightly above the soil line; center the plant so future fronds radiate evenly.
- Top-dress with coarse grit to anchor the base and keep the crown dry.
- Water lightly to settle, then allow the top layer to dry before watering again. Keep warm and bright, avoiding harsh midday sun until growth is steady.
6) Coaching a symmetrical crown from day one
- Light positioning: Give even, all-around light. Rotate the pot every 1–2 weeks while new leaves are expanding.
- Ventilation: Good airflow keeps leaflets stout and reduces leaf spot risk. Avoid wetting the crown late in the day.
- Feeding: During active growth, fertilize monthly at label rates. More is not better—overfeeding can distort foliage.
- Restraint: Don’t overpot. A snug, shallow container encourages a compact, balanced habit.
Aftercare calendar for young plants
- Spring: Resume watering gradually; sow seeds; divide and root offsets (April–May); repot if needed.
- Summer: Brightest light with airflow; keep the mix lightly moist but never soggy; fertilize monthly. Cones may appear on mature plants in warm, bright conditions.
- Autumn: Reduce watering as temperatures cool.
- Winter: Keep bright and cooler, water sparingly, and stay above 2°C (36°F). Cold + wet roots are the number-one killer.
Troubleshooting and pro tips
- Rot or sour smell in the medium: Too wet or too cool. Unpot, trim soft tissue, dust with sulfur, and restart in clean, barely moist, fast-draining medium with warmth and airflow.
- No seed germination: Seed may be old, too cool, or too wet. Recheck temperatures (24–30°C), refresh air, and aim for lightly moist—not saturated—media.
- Wrinkling or stalled pup: Root system not established yet or medium too dry for too long. Maintain 26–30°C bottom heat and steady, slight moisture.
- Pale, stretched new leaves: Insufficient light during a flush. Move brighter (but protect from harsh midday sun behind glass) and rotate regularly.
- Scale insects: Common on Zamia. Wipe off and treat with horticultural oil or insecticidal soap; repeat as needed. Improve airflow.
- Leaf spot: Avoid soaking the crown late in the day; remove affected leaves and improve ventilation.
- Root-knot nematodes: Prevent by using clean, quality mixes and pots; discard severely affected plants.
Environment and potting mix at a glance
- Light: Bright light to full sun indoors with good airflow; protect from scorching midday sun behind glass.
- Temperature: Ideal 13–24°C (55–75°F); keep above 2°C (36°F).
- Mix: Very free-draining—about 2 parts peat/leaf-mold–based mix to 1 part coarse sand/grit/perlite.
- Water: Thorough soak, then let the top layer dry before watering again. Drier in winter.
Quick kit list for propagation success
- Heat mat with thermostat (essential for quick, reliable rooting)
- Clean, sharp tools and alcohol for sterilizing
- Coarse sand/perlite and a free-draining potting mix
- Powdered sulfur or cinnamon (optional for wounds)
- Shallow pots with generous drainage and coarse top-dressing grit
- Labels, gloves, and a small fan for airflow
Symbolism and a tiny backstory
Cardboard Palm hails from eastern Mexico (Veracruz) and belongs to the ancient cycad lineage—plants that predate flowering plants and make cones instead of blooms. That deep-time resilience is why it’s often treated as a symbol of endurance and longevity. If you ever see “flower language” ascribed to it, take it as modern poetic license rather than botanically grounded tradition—there are no flowers here, only steadfast growth and a quiet, architectural grace.
Raise the heat at the roots, keep the air moving, and be patient. With smart timing, a proper callus, and warm, lean media, your seeds and offsets will settle in—and those crisp, symmetrical crowns will build themselves, one dignified flush at a time.