

Think of English ivy as the plant world’s overachiever: it climbs, it trails, it carpets, and—lucky for us—it roots with almost mischievous enthusiasm. In this masterclass, we’ll turn that enthusiasm into near-100% propagation success. You’ll learn precisely when to take cuttings for the fastest take, how to decide between water vs. substrate rooting, simple layering techniques, how to keep variegated cultivars from slipping back to solid green, and the sterile workflow that makes failure a rarity.
The botany that boosts your odds
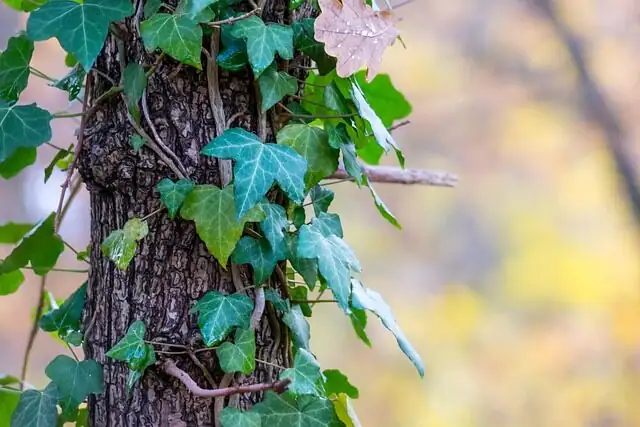
- Species: Hedera helix L. (English ivy), family Araliaceae.
- Two “looks,” two behaviors:
- Juvenile shoots: flexible, climbing/trailing, with 3–5 lobed leaves; these root readily at nodes—perfect for propagation.
- Adult (flowering) shoots: stiff, nonclimbing, unlobed leaves; pretty for structure but poor for cuttings.
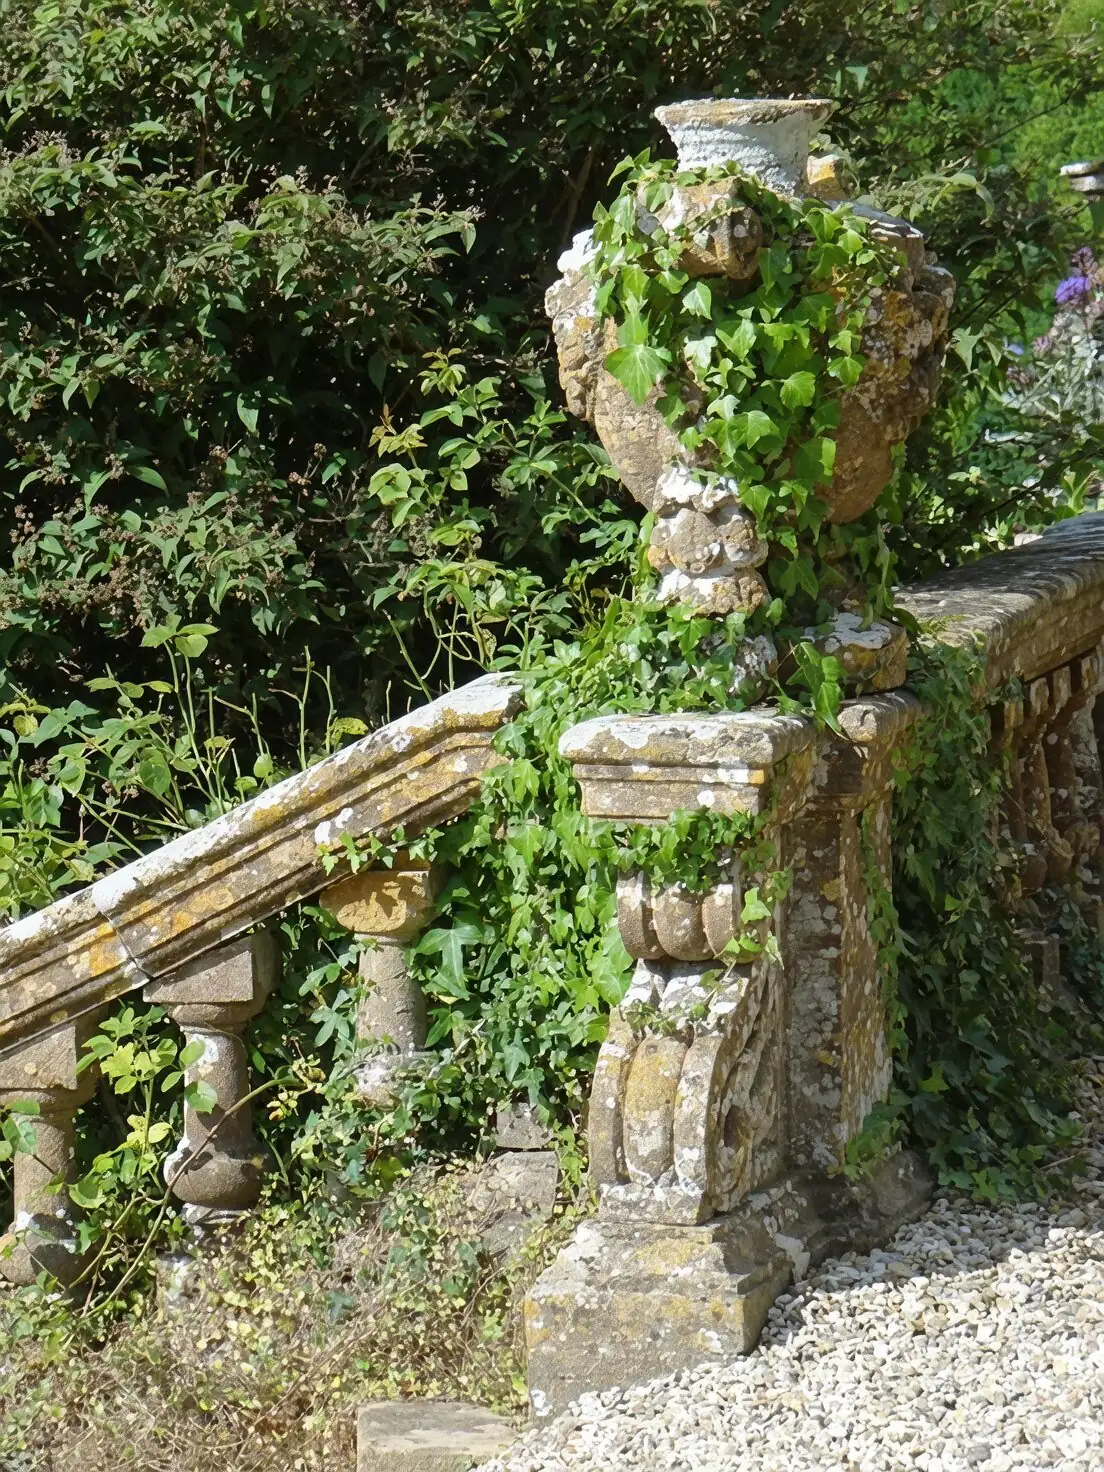
- Variegated cultivars: white, cream, or yellow markings. They need brighter light than solid green forms to keep their color.
Bottom line: take cuttings from juvenile, lobed stems. They root faster and more reliably.
Timing for the fastest take
- Best seasons: spring and fall (cooler nights, vigorous growth). Summer works too if you keep heat and sun gentle.
- Temperature sweet spot: 21–24°C (70–75°F) for rooting. Prolonged heat above 32°C (90°F) can slow or stress plants.
- Light: bright, indirect light. Gentle morning sun is fine; avoid hot afternoon rays.
- Stem stage: choose fresh, non-woody growth with plump, healthy nodes.
Expect roots in about 2–4 weeks under good conditions; occasionally a little longer in cooler rooms.
Your near-sterile, near-100% setup
- Tools and materials:
- New razor or sharp pruners
- 70% isopropyl alcohol (or dilute bleach: 1:10) for tool disinfection
- Clean glass jars (for water rooting) or a sterile, well-drained propagation mix (for substrate)
- Rooting hormone (optional but helpful): IBA 0.1% powder or a light quick-dip (500–1,000 ppm)
- Perlite or a 1:1 perlite:vermiculite or perlite:coarse sand blend; seed-starting mix also works if fluffy and free-draining
- Humidity dome or a clear plastic bag on stakes
- Labels—because identical cuttings stop looking identical once you’re juggling cultivars
- Gloves (ivy sap can irritate skin)
- Sterile rhythm:
- Clean blades before you start and between plants.
- Use fresh, unused substrate. If reusing trays, wash and disinfect.
- Use clean, room‑temperature water and rinse containers thoroughly.
Water vs. substrate rooting: which and when?
- Water rooting
- Why choose it: speed you can see; easy monitoring; great for beginners and variegated selections you’re watching closely.
- Trade-off: roots are often fine and water-adapted, so take a bit more care acclimating to soil.
- Substrate rooting
- Why choose it: higher oxygen around nodes, sturdier, more branched roots; easier transition to pots; best for bulk production.
- Trade-off: you can’t watch the action underground—patience and trust required.
Both methods work extremely well for Hedera helix; pick what suits your goal. For volume and the strongest transplant, use substrate. For quick confirmation and fun, start in water.
Protocol A: Water-rooting, step by step
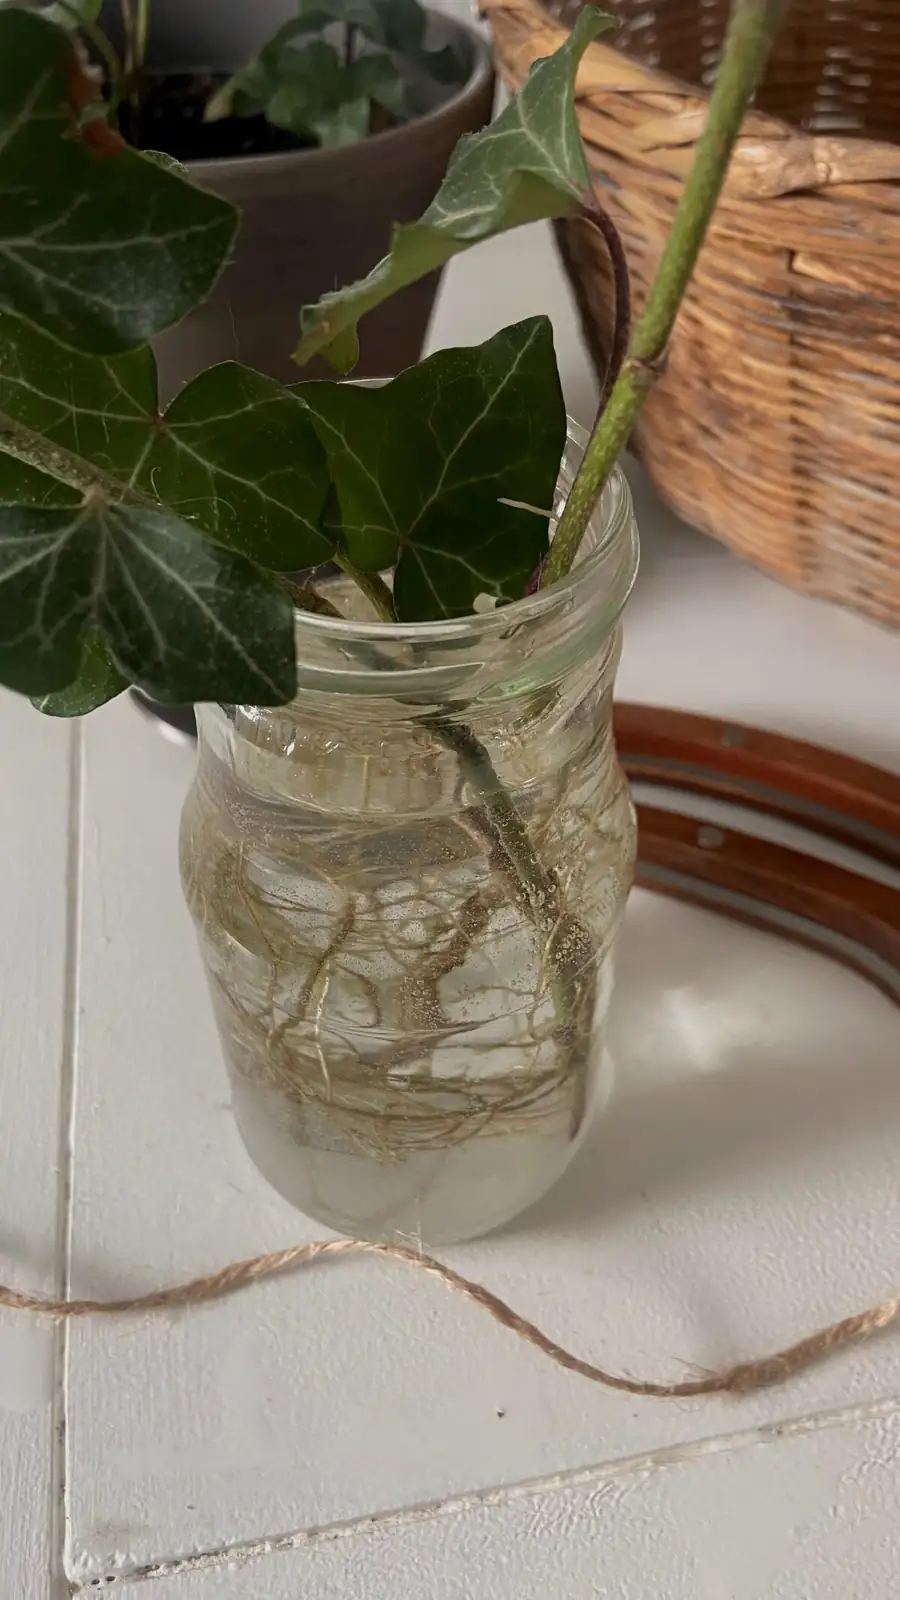
- Select and prepare cuttings
- Take 10–13 cm (4–5 in) tip or single‑node cuttings from juvenile, lobed shoots.
- Cut just below a node. Remove lower leaves so one node can sit in water without leaf tissue submerged.
- Optional: a light hormone dust on the node, then gently rinse off any excess that might cloud water.
- Set up the jar
- Use a tall, narrow glass to keep the node submerged and leaves dry.
- Fill with clean water; change every 3–7 days. Rinse the glass to prevent algae.
- Light and temperature
- Bright, indirect light; 21–24°C (70–75°F).
- Watch for roots
- Tiny root nubs often appear in 10–14 days; aim to pot up when roots reach 2.5–5 cm (1–2 in).
- Transition to soil (the critical moment)
- Use a loose potting mix in a pot with drainage. Plant deep enough to anchor the cutting.
- Water thoroughly, then provide high humidity the first week (a vented dome or bag).
- Bright, indirect light—no hot sun for 10–14 days.
Pro tip: bundle 3–5 rooted cuttings together when you pot up for a fuller, instant plant.
Protocol B: Substrate-rooting for production-perfect plants
- Mix and moisten
- Use perlite alone or a 1:1 mix of perlite:vermiculite/coarse sand. Moisten until evenly damp, not soggy.
- Prepare cuttings
- Single‑node cuttings root exceptionally well and are efficient to handle; double‑node cuttings are also fine.
- Remove leaves on the node to be buried; keep 1–2 leaves above.
- Optional hormone: dip the basal node lightly, tap off excess.
- Stick and space
- Insert the cutting so one node is just below the surface. Firm gently.
- Space so leaves don’t touch—better airflow, fewer issues.
- Humidity and warmth
- Cover with a clear dome or bag propped off leaves; vent daily to prevent stagnation.
- Keep at 21–24°C (70–75°F). Bottom heat helps in cool rooms.
- Care during rooting
- Keep the medium evenly moist. Avoid overhead misting that wets leaves constantly.
- Light: bright, indirect. Avoid blazing sun.
- Root check and potting on
- Expect rooting in ~2–4 weeks. Tug test: gentle resistance signals success.
- Pot into a well‑drained mix, keep shaded and humid for 3–7 days, then grow on in bright, filtered light.
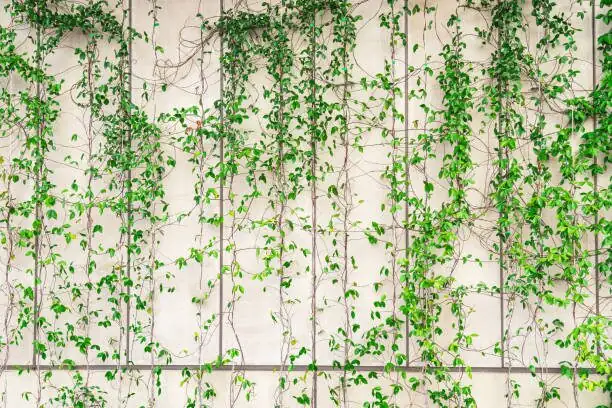
The simplest method of all: layering
Ivy is a natural at layering—stems root wherever nodes touch moist substrate.
- In a pot:
- Coil a flexible runner onto the soil surface.
- Pin 2–3 nodes down with U‑pins or paperclips; dust nodes with a pinch of hormone if you like.
- Keep the soil evenly moist and the plant in bright, indirect light.
- After 2–6 weeks, each pinned node should root. Cut between rooted nodes and pot individually.
- Outdoors (or large planters):
- Gently notch the underside of a node, pin it to the soil, and cover lightly.
- Keep moist; sever after roots form.
This is an almost foolproof way to multiply variegated cultivars while keeping growth momentum.
Keep the cream: managing variegation reversion
Variegated Hedera helix needs more light than solid green forms to keep its pattern. If it starts throwing plain green shoots, act early.
- Light is king
- Provide bright, indirect light; gentle morning sun is helpful. Avoid dim corners—low light encourages the plant to revert to green for more chlorophyll.
- Prune out reversions promptly
- Trace the solid green stem back to its origin and remove it at the base. If you let it run, the green will often outgrow the variegate.
- Propagate from variegated sections only
- Make cuttings from well‑patterned stems to reinforce the trait.
- Feed modestly
- Steady, balanced nutrition in spring–summer is fine; avoid heavy nitrogen that fuels green, fast growth at the expense of color.
Note: a fully reverted green stem won’t “re‑variegate.” Your best move is to prune it out and propagate from the prettiest variegated growth.
The near-100% success checklist
- Start with juvenile, healthy stems—avoid woody or adult flowering shoots.
- Work clean: disinfect blades; use fresh media and clean containers.
- Bury a node (not just a bare stem segment). No leaves below water/soil line.
- Bright, indirect light; stable 21–24°C (70–75°F).
- High humidity with daily ventilation; avoid soggy media and dripping leaves.
- Optional hormone for uniformity, especially with thicker or slower cuttings.
- Don’t rush potting up. Wait for roots 2.5–5 cm long (water method) or a firm tug (substrate).
- Harden off after potting for a week: high humidity, gentle light.
Troubleshooting quick hits:
- Rotting base: too wet, leaves touching water/soil, poor sanitation. Trim above rot, recut below a fresh node, restart in cleaner conditions.
- Wilting under dome: overheating or stagnant air. Vent more, move to brighter but cooler light.
- No roots after 4 weeks: temps too cool, light too low, or adult stem. Warm it up, brighten, and ensure you used juvenile growth.
- Variegation fading: increase light; prune green reversions.
Aftercare: from cutting to lush cascade
- Potting mix: a light, well‑drained indoor mix; always use a pot with drainage.
- Watering: keep evenly moist, never soggy. Let the top ~2.5 cm (1 in) dry before watering again.
- Light: bright, indirect. Variegates especially appreciate this to hold color.
- Humidity: medium to high. Dry air invites spider mites; a humidity tray or occasional misting helps.
- Feeding: in spring–summer, fertilize every ~2 weeks with a balanced formula. Pause in winter.
Safety, pests, and a quick word on placement
- Safety: Hedera helix is toxic if ingested; sap may irritate skin. Keep away from pets and children, and wear gloves if you’re sensitive.
- Pests: watch for spider mites, aphids, scale, mealybugs. First steps—rinse, raise humidity/airflow, use insecticidal soap or neem.
- Outdoors: English ivy can be invasive in many regions. Contain it and follow local guidance; never dump trimmings into natural areas.
A brief note on ivy’s symbolism (and why it suits propagation)
For centuries in Europe, English ivy symbolized fidelity, friendship, and enduring love—qualities borrowed from a plant that clings tightly and stays evergreen. In Victorian flower language, gifting ivy suggested steadfastness and devotion. That same tenacity shows up in propagation: give ivy a node and a little support, and it will commit—rooting, holding on, and growing with remarkable loyalty.
—
With the right season, clean technique, and a choice of water or substrate, Hedera helix is one of the easiest plants to multiply. Decide your method, prime your sterile setup, and let those eager nodes do what ivy does best—take hold and thrive.