

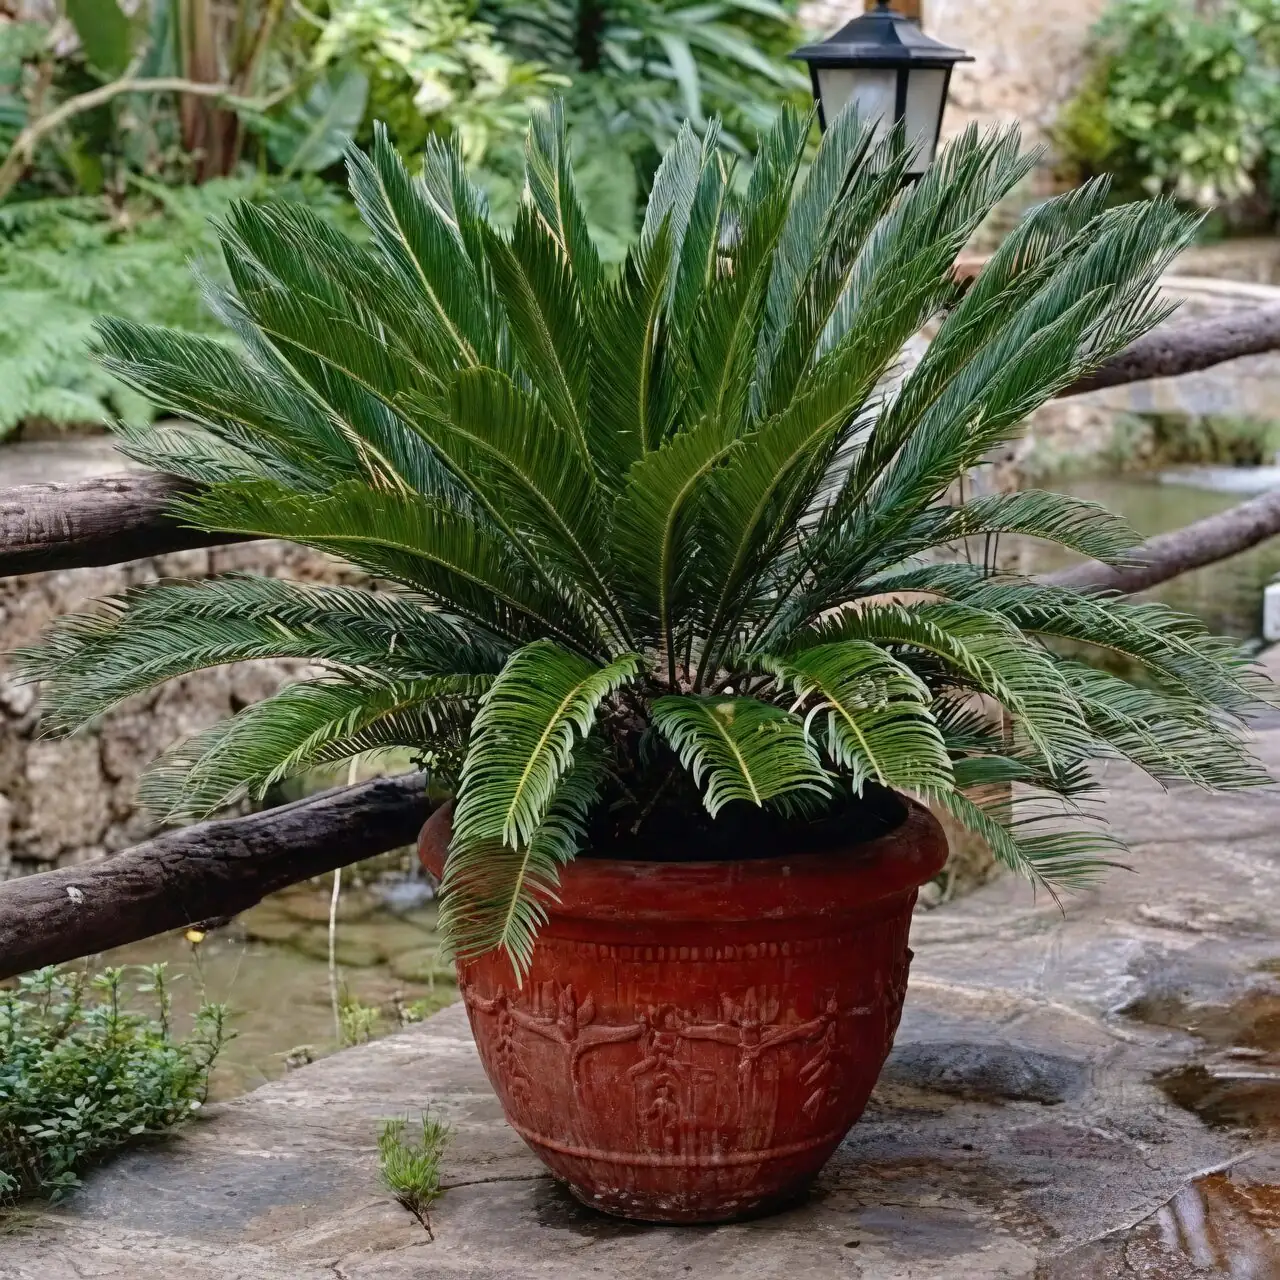
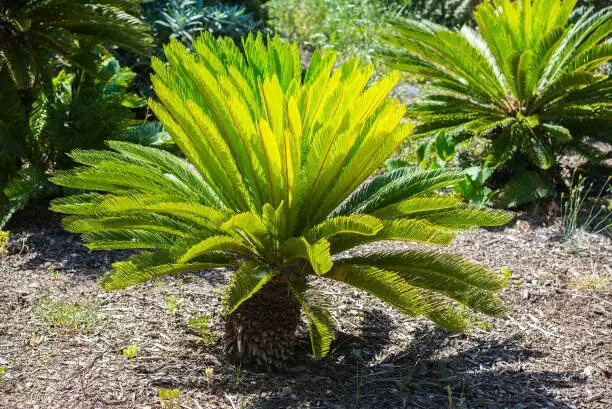
If your Sago Palm (Cycas revoluta) looks like a tiny dinosaur just parked on your patio, you’re not wrong—this living fossil rewards careful, minimal intervention. The secret is knowing what not to touch (the green fronds and the crown) and when to step in (to remove only dead fronds and refresh its fast‑draining mix). Here’s your practical, no‑nonsense guide to pruning, sanitizing, sizing up a pot, protecting the crown, and repotting with the lightest possible hand.
Before You Start: Setup, Safety, and Timing
- Gear up
- Wear thick gloves, long sleeves, and eye protection—the leaflets are rigid and needle‑tipped.
- Keep kids and pets away. All parts are highly toxic, with seeds especially dangerous. Bag and bin debris immediately.
- Best timing
- Pruning: Late winter to early spring is ideal, before a new flush of fronds emerges; alternatively, prune in summer after new fronds have fully hardened. Avoid pruning while soft new fronds are unfurling.
- Repotting: Spring is best, when the plant can re‑establish quickly. Sago Palms are slow growers—plan on repotting about every 3 years or when clearly root‑bound.
- Light, temperature, and a quick watering note
- Place in bright light with protection from harsh midday sun. Indoors, a bright window with filtered light is perfect.
- Preferred temperatures: 13–24°C (55–75°F). Protect from frost and drafts.
- Never pour water into the central crown (the heart where new fronds emerge). That’s the fast lane to crown rot.
Sanitizing Your Tools (Don’t Skip This)
Disease spreads easily via blades, especially when cutting near the crown. Sanitize before you start and between plants.
- What to use
- 70% isopropyl alcohol: Wipe blades thoroughly; allow to air‑dry (works fast).
- 10% household bleach solution: Dip blades for 5 minutes; rinse and dry to prevent corrosion.
- Tools checklist
- Bypass pruners for small fronds
- Loppers for thick petioles (stalks)
- A clean pruning saw only if you encounter very old, woody bases (rare with container plants)
What to Prune (and What to Leave)
- Remove only
- Fully brown, crisp fronds. These are truly dead and safe to remove.
- Never remove
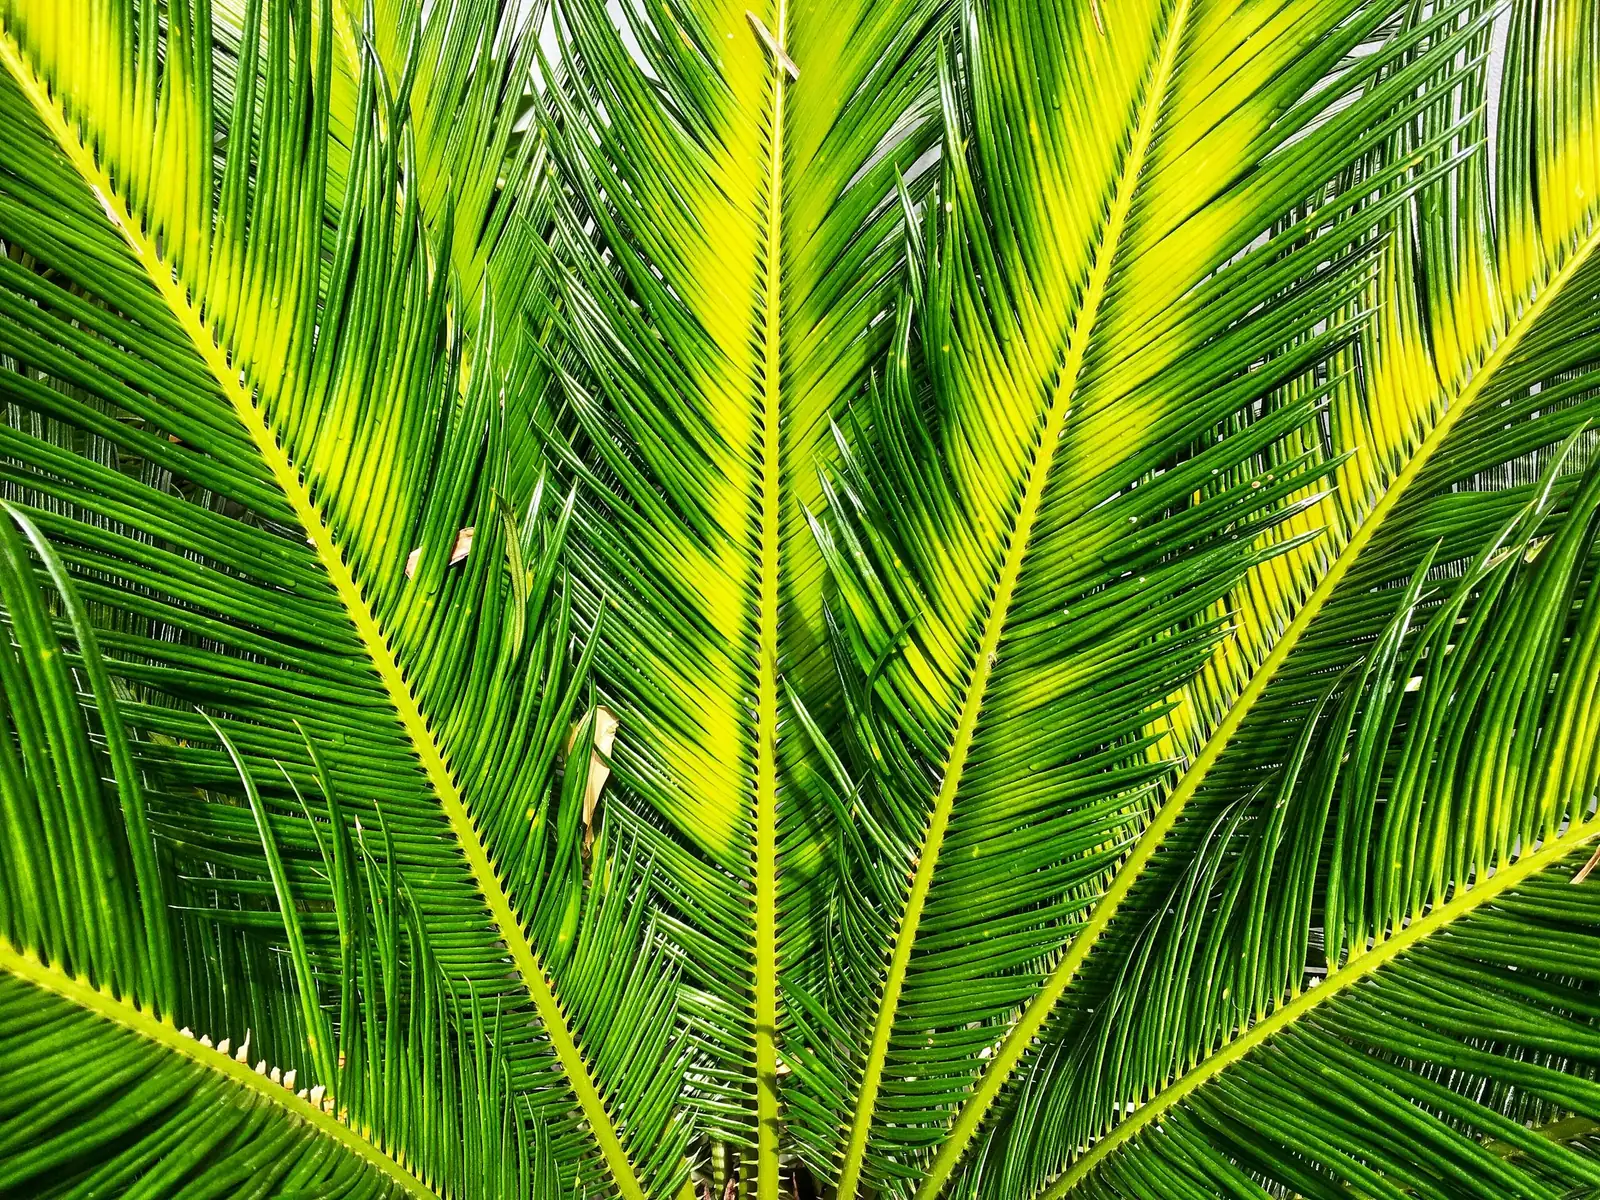
- Green fronds—they’re the plant’s energy banks.
- Yellowing fronds, unless they are fully brown; yellowing often indicates stress (watering, light, or nutrients). Fix the cause rather than cutting.
- Anything in the crown. That’s the growth point; damage here can be fatal.
How to Remove Dead Fronds Cleanly
- Identify the right targets: Fronds that are completely brown from base to tip.
- Support the frond: Grasp near the base with a gloved hand to control the cut; keep your other hand away from the blade path.
- Make the cut: Slice as close to the trunk as possible without gouging it. A slight downward‑angled cut helps shed water away from the trunk.
- Inspect and sanitize: Wipe your blades with alcohol between cuts if you notice sap, pests, or residue.
- Clean up: Double‑bag fronds and any seeds or cones you remove; keep away from pets.
Pro tip: If you see scale insects (little brown bumps along midribs), treat after pruning. Cycads are magnets for scale, mealybugs, and spider mites.
Choosing the Next Pot Size (Small Steps Win)
- How much bigger?
- Size up just 2–5 cm (about 1–2 in) wider than your current pot. For typical container specimens, a 20–30 cm (8–12 in) diameter pot is usually right.
- Pot material and features
- Terra cotta or other breathable materials help the mix dry faster.
- Ensure generous drainage holes. Add pot feet to improve airflow if the saucer traps moisture.
- Choose a stable, heavier pot—the rosette is top‑heavy.
The Ideal Fast‑Draining Mix (What Works, Exactly)
This plant needs a gritty, free‑draining substrate. A reliable, practical recipe:
- 1 part soil‑based mix
- 1 part general‑purpose potting mix
- A big handful of extra grit or perlite blended in (aim for a notably “crumbly,” airy feel)
Want to go even sharper draining? Add coarse sand, pumice, or orchid bark to create pockets of air. The goal: water should run through quickly and the top inch should dry between waterings.
Repotting with Minimal Root Disturbance
Think “slide and settle,” not “bare‑root and scrub.” You want the root ball to remain intact.
- Prep the plant
- Water lightly 24 hours ahead so the root ball holds together but isn’t soggy.
- Pre‑moisten your new mix just enough to reduce dust—avoid wet clumps.
- Protect the crown
- Wrap the crown loosely with a dry cloth or paper while working, and never let mix or water fall into it.
- Set the plant at the same depth as before. Do not bury the base/caudex.
- Unpot gently
- Lay the pot on its side and coax the plant out. Tap the rim; don’t yank the fronds.
- If root‑bound, tickle only the outermost circling roots to loosen. Do not break up the core.
- Inspect roots
- Healthy roots are firm and pale to tan. Trim any mushy, dark sections with sanitized pruners.
- If you trim, let cuts air‑dry for 10–15 minutes before potting.
- Pot up
- Add a shallow layer of mix; set the root ball in so the crown sits slightly proud of the rim.
- Backfill around the sides, gently tamping to remove large air gaps—avoid compressing the root mass itself.
- Leave a small water well at the rim so you can water the edges without splashing the crown.
- First watering
- Water slowly around the pot’s perimeter to settle the mix—stop when you see steady drainage.
- Never water directly into the crown. Empty the saucer promptly.
- Placement and pause
- Keep in bright, filtered light for 1–2 weeks after repotting.
- Hold fertilizer for 4–6 weeks while roots re‑establish.
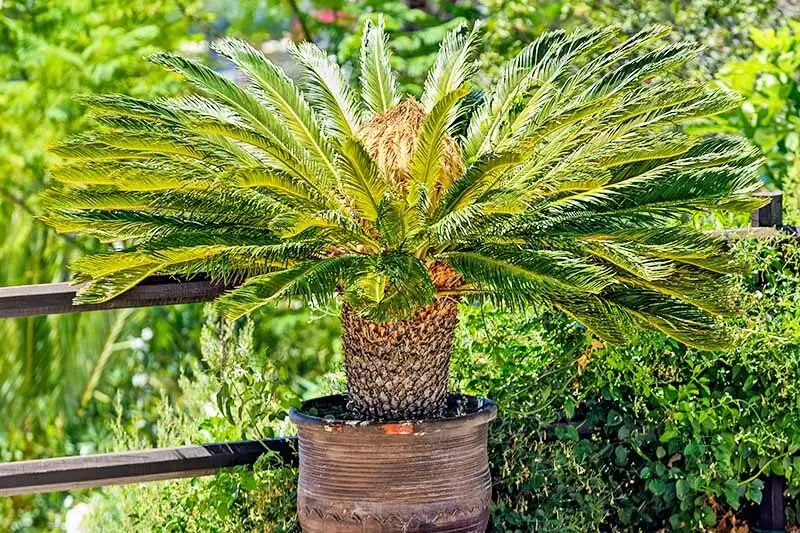
Protecting the Crown—During and After
- Keep the crown high and dry: Above the mix line, never buried.
- Water the perimeter: Aim the spout at the pot’s edge; avoid the center.
- Avoid misting into the crown: If you mist in hot, dry spells, do it lightly around the fronds—not into the plant’s center.
- Don’t repot or prune during a new flush: Soft, emerging fronds deform easily if bumped or if the plant is rotated.
Aftercare: Weeks 1–8
- Light: Bright, indirect or filtered sun; avoid harsh midday rays.
- Watering: In spring through autumn, water when the top of the mix dries slightly. In winter, keep almost dry.
- Feeding: After 4–6 weeks, resume a monthly balanced liquid fertilizer at half strength during the growing season. Go easy—this is a slow grower.
- Airflow: Good ventilation helps deter fungal issues and pests.
Troubleshooting Quick Hits
- Yellowing fronds (with wet soil): Likely overwatering—improve drainage and let the mix dry more between waterings.
- New fronds twisting or uneven: Plant was rotated while soft leaves were expanding. Keep orientation stable during a flush.
- Brown flecks or sticky leaves: Check for scale or mealybugs along the midrib; treat promptly.
- Crown rot risk signs: A sour smell, softness near the crown, or collapse. Act fast—improve airflow, keep the crown bone‑dry, and adjust watering.
A Few Fast Facts to Work With
- Living fossil: Cycas revoluta belongs to an ancient lineage. It grows slowly and stores energy in its trunk and fronds—another reason not to cut green leaves.
- Indoors and out: Best in bright light with protection from midday sun; average indoor humidity is fine.
- Hardiness: Generally suited to USDA Zones 9–11; protect from frost.
Mini FAQ
- When should I prune?
- Late winter/early spring, or midsummer after new fronds harden. Only remove fully brown fronds.
- What pot size do I need?
- Usually 20–30 cm (8–12 in) in diameter for a typical container plant; size up by just 2–5 cm (1–2 in) when repotting.
- How often do I repot?
- About every 3 years, or when root‑bound. Disturb roots as little as possible.
Handle your Sago Palm with respect, keep the crown dry, prune only what’s truly dead, and give the roots a sharply draining home. Do that, and this ancient, architectural beauty will reward you with glossy, symmetrical fronds—slowly but surely—for many years to come.