


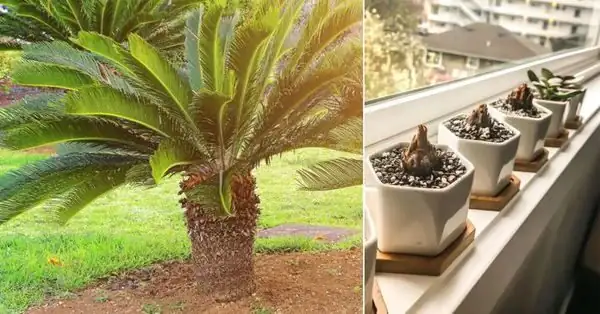
Think of Cycas revoluta (the so‑called “Sago Palm”) as the tortoise of the plant world: ancient, armored, and gloriously slow. Propagating it from pups is less like planting cuttings and more like coaching tiny time travelers into their next century. Here’s a step‑by‑step masterclass—from the right moment to harvest offsets, to callusing, gritty‑mix rooting, humidity finesse, and the aftercare cadence that rewards patience.
Note: Cycas revoluta is highly toxic to humans and pets, with seeds especially dangerous. Always handle with care and keep plants out of reach.
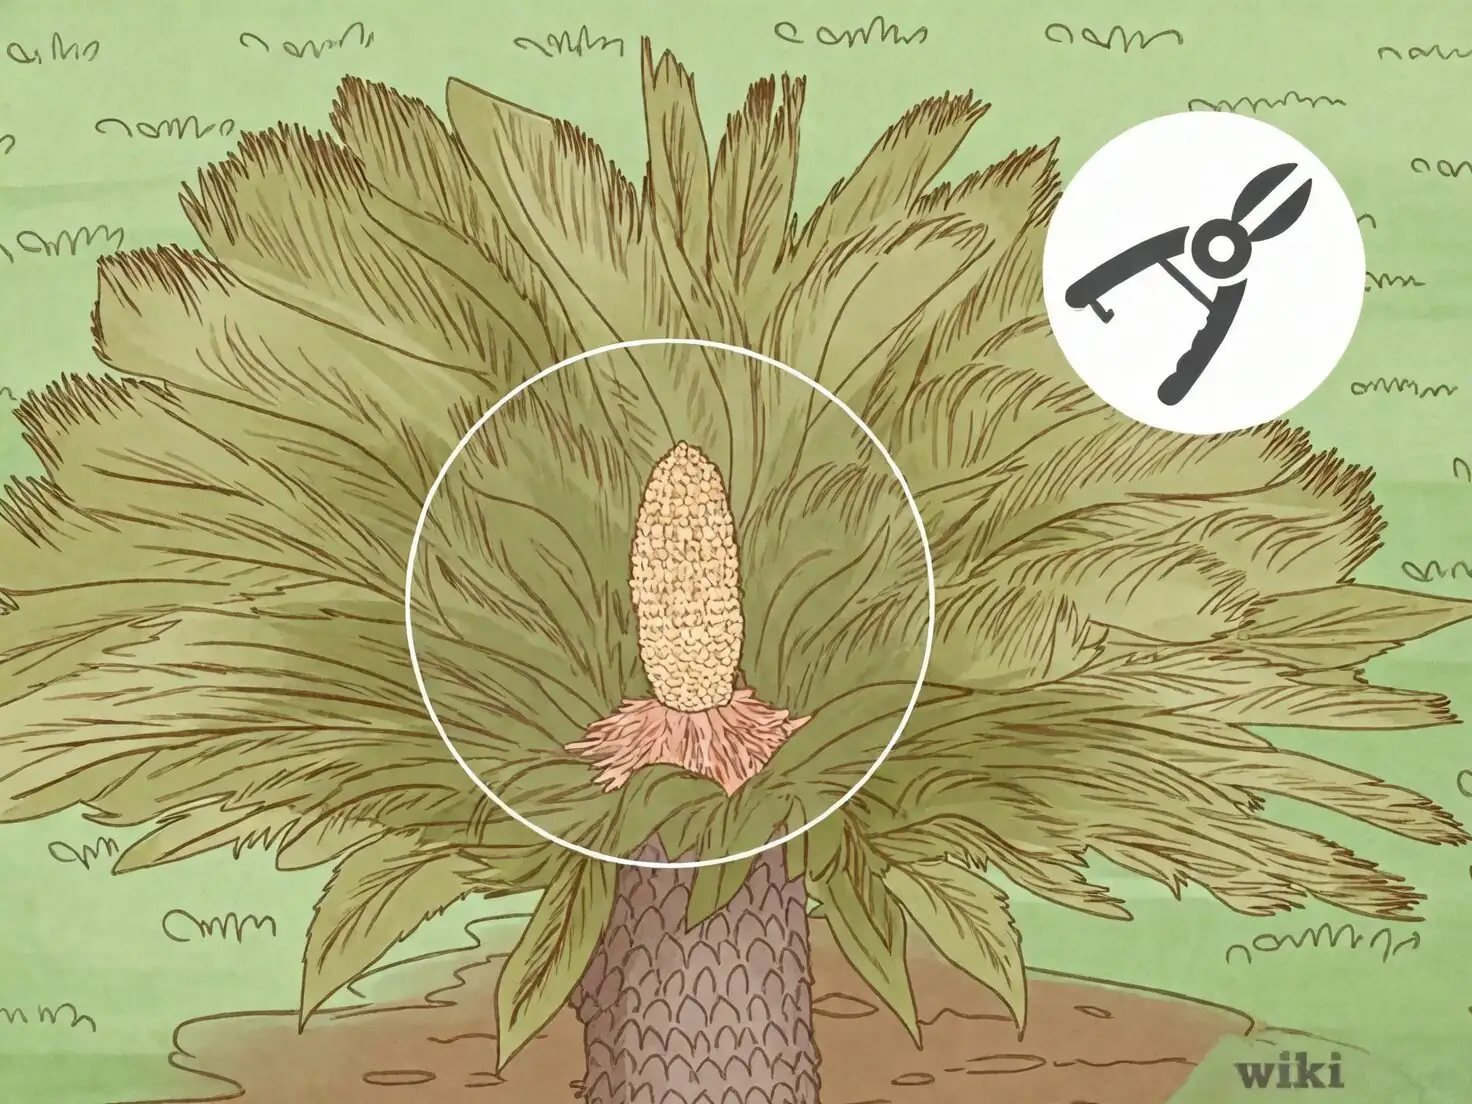
H2: When to Harvest Pups (and when to wait)
- Pup size: For best success, select offsets roughly 10–13 cm (4–5 in) in diameter. Smaller pups can root, but they’re slower and riskier.
- Season: Late spring to mid‑summer, when conditions are warm and stable. Avoid removing pups while the mother plant is in an active flush of new fronds—wait until the new leaves have hardened off.
- Pup readiness cues:
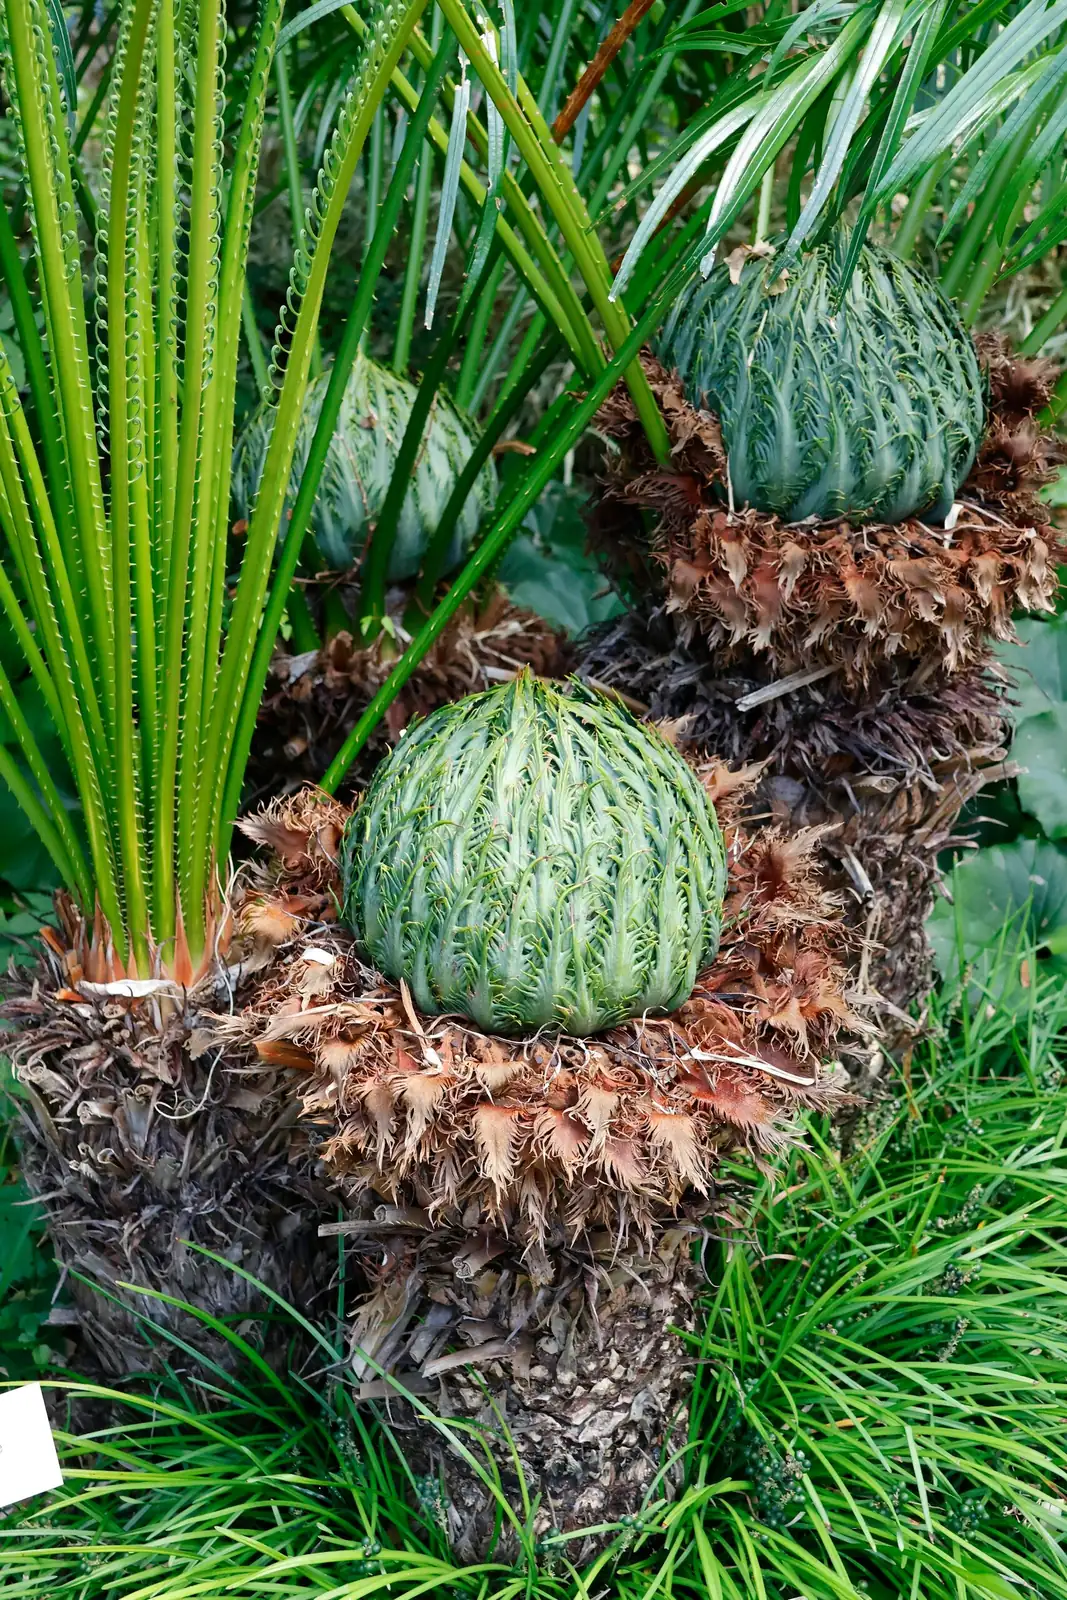
- Firm, well‑formed mini‑caudex at the base of the mother.
- Easy to expose and clearly differentiated from the trunk.
- Safety and prep:
- Wear gloves, long sleeves, and eye protection—leaflets are stiff and needle‑tipped, and all parts are toxic.
- Sterilize tools (isopropyl alcohol) and have fungicidal powder (e.g., sulfur) ready.
- Prepare small nursery pots with large drainage holes.
H2: The Clean Removal: Minimal drama, maximal survival
1) Expose the connection
- Gently scrape soil or mulch away from around the pup to see where it meets the mother caudex.
- Rinse away debris so you can see what you’re doing.
2) Make a clean cut
- Use a sharp, sterilized knife, saw, or chisel to sever the pup at its base where it joins the mother.
- Avoid ragged tears—clean cuts heal and callus far better.
3) Strip to the core
- Remove any leaves and fragile roots from the pup. This reduces transpiration and rot risk and encourages fresh root initiation from the base.
4) Dust and protect
- Dust the cut surface on the pup (and the mother’s wound) with a dry fungicide powder. Some growers also seal the pup’s cut with an appropriate wound sealant; optional, but helpful in humid climates.
H2: The Callus Cure: Where most success is won
- Goal: Dry, leathery, sealed cut surface that resists rot.
- Duration:
- Small to medium pups: 5–14 days.
- Larger pups (10–13 cm/4–5 in): up to 2–3 weeks.
- Conditions:
- Bright shade, open air, and no direct rain or overhead watering.
- Place pups on a mesh tray or dry gravel so air can circulate under the base.
- Ready to pot when:
- The cut is no longer weeping.
- The surface feels firm, dry, and slightly corky.
H2: The Gritty Mix: Think mineral, fast, and airy
Cycas revoluta insists on a very free‑draining medium. A simple, proven recipe:
- Option A (ultra‑draining): 100% pumice or a 1:1 blend of pumice and coarse perlite.
- Option B (still very fast): 70% mineral (pumice/perlite/grit) + 30% chunky, soil‑based or barky mix.
Pot choice and setup:
- Pot just 5 cm (2 in) wider than the pup’s diameter—too big invites soggy pockets and rot.
- Ensure generous drainage holes and, if possible, use a breathable pot (terracotta).
- Pre‑fill and gently settle the gritty mix; do not add water yet.
H2: Planting: Depth, direction, and the “first sip”
- Orientation: Pointed end up; flat, cut base down.
- Depth: Set the pup so the bottom half is buried and the top half sits above the mix like a little dome.
- Stabilize: Backfill and wobble‑test; add a few stones to brace if needed.
- First watering: Lightly moisten the mix to barely damp—do not drench, and never pour water into the central crown.
H2: Humidity and Airflow: The Goldilocks zone
- Humidity: Average indoor humidity is fine; 40–60% is a sweet spot. Skip domes or sealed bags—trapped moisture over a fresh callus invites rot.
- Airflow: Gentle movement is your friend. A small fan on low, not aimed directly at the crown, helps keep surfaces dry.
- Light: Bright, indirect light or dappled shade. Protect from harsh midday sun while unrooted.
H2: Watering While Rooting: Walk the tightrope
- Aim for “barely damp” in the root zone. Let the mix approach dryness between light waterings.
- Water the substrate, not the crown, and avoid splashes onto the cut base.
- Signs you’re overdoing it: sour smell, algae or fungus on the surface, or a pup that softens at the base.
- Patience rule: No schedule beats your fingers—if the top few centimeters are dry and the pot feels light, give a modest drink and let it drain completely.
H2: Warmth and Light: Set the tempo
- Temperature: 20–25°C (68–77°F) promotes rooting. Avoid cold drafts and do not expose to frost.
- Light: Keep bright but filtered. Once leaves appear and harden, you can very gradually increase brightness, avoiding harsh midday sun.
H2: The Patience Meter: How long will this take?

- Root initiation: 2–6 months is common; some pups take longer.
- First leaves: Often 6–12 months after potting. New fronds typically emerge in a flush from the crown.
- When you’ll “feel” success: A gentle tug test. Resistance indicates rooting has begun.
- Remember: Cycads are extremely slow growers. Progress is measured in seasons, not weeks.
H2: Aftercare Timeline (Month 0–18)
- Month 0–1: Callus and pot. Keep bright‑shaded, warm, and barely damp. No fertilizer.
- Months 2–6: Continue sparse watering. Once the pup resists a tug, allow slightly deeper waterings, then drain thoroughly. Still no feeding.
- Months 6–12: First leaf flush may appear. Increase light to bright filtered. Begin very light feeding in the growing season—once a month at half strength with a balanced liquid fertilizer. Keep mix free‑draining and never pour water into the central crown.
- Months 12–18: If roots circle the pot or drainage is instant, repot just one size up, disturbing roots as little as possible. Maintain a fast‑draining mix and your bright‑light routine.
H2: Troubleshooting: What the pup is telling you
- Base turning soft or foul‑smelling:
- Action: Unpot, trim to firm tissue with sterilized tools, dust with fungicide, re‑callus in airy shade, and replant in fresher, drier gritty mix.
- No roots after 9–12 months:
- Check temperature (aim for 20–25°C), improve airflow, increase brightness (still indirect), and review watering—less is often more.
- New leaves bleaching or crisping:
- Too much sun or sudden light jump. Step back to bright filtered light and harden off gradually.
- Pests:
- Inspect regularly for scale (especially along the leaf midribs), mealybugs, and spider mites. Address early with careful manual removal and appropriate treatments. Quarantine new plants.
H2: Don’t Forget the Mother Plant
- After pup removal, dust the wound on the mother with a dry fungicide.
- Keep her in bright light with protection from harsh midday sun.
- Water modestly, allowing the top of the mix to dry slightly between waterings. Never direct water into the crown.
- Hold fertilizer for a few weeks while she recovers.
H2: Safety First: Toxicity and handling
- All parts are poisonous; seeds are especially dangerous. Keep away from pets and children.
- Wear gloves and eye protection when cutting or cleaning. Dispose of debris responsibly.
H2: Quick Recipe Card
- Choose pups: Firm, 10–13 cm (4–5 in) wide; harvest late spring–summer.
- Clean cut, strip leaves/roots, dust with fungicide.
- Callus in airy shade: 1–3 weeks until leathery dry.
- Pot small, in a gritty, ultra‑draining mix; half‑bury the pup.
- Keep warm (20–25°C), bright‑shaded, airy. Barely damp substrate.
- First roots: 2–6 months. First leaves: 6–12 months.
- Begin light monthly feeding only after the first flush hardens.
- Repot minimally—slow and steady wins with cycads.
H2: A note on symbolism (and why propagation suits it)
Cycas revoluta is often associated with longevity and resilience—fitting for a lineage that predates flowering plants and for a growth habit that prizes survival over speed. It doesn’t make showy flowers, and indoor plants rarely cone, so any “flower language” here is borrowed from cultural associations rather than literal blooms. Propagating from pups is, in spirit, a handoff between generations—slow, deliberate, and built to last.
With a sharp tool, a gritty mix, and a calm watering hand, you’ll turn those armored little offsets into future centerpieces. The process is not fast—but then again, neither is anything truly timeless.