

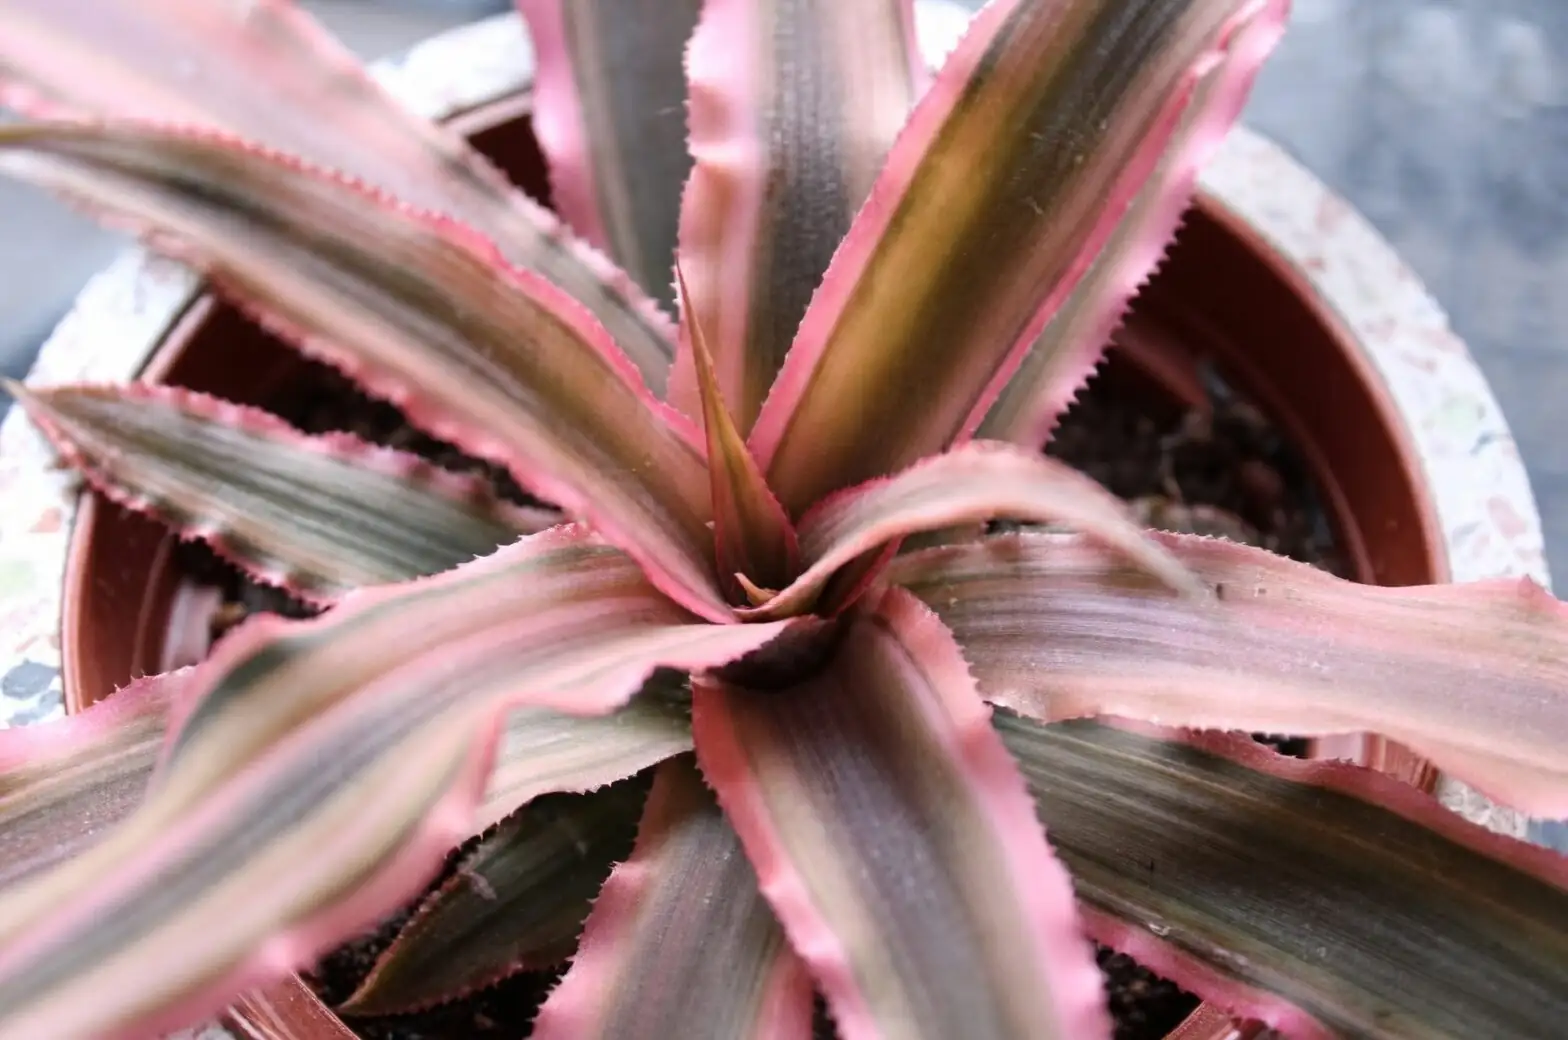
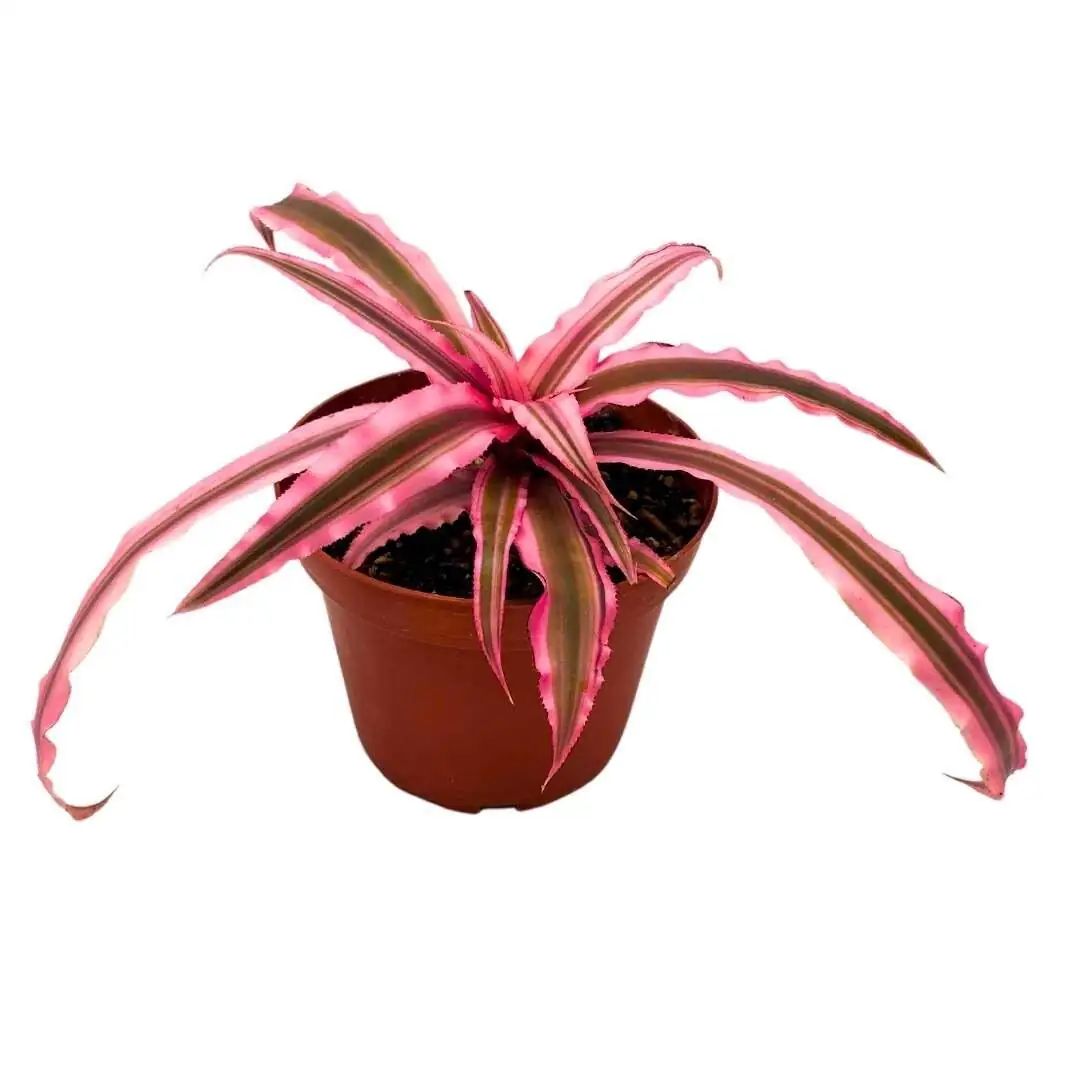
If you’ve ever wanted a plant that looks like a living starburst and teaches you soil science while it thrives, meet Cryptanthus bivittatus—the Earth Star. This petite, terrestrial bromeliad from Brazil’s Atlantic Forest sits low and luminous, showing stripes of pinks, reds, greens, and purples in a flat, rippled rosette. Its secret to long-term vigor isn’t fertilizer or fuss—it’s physics: the way particles, pores, and pot size manage air and water around its shallow roots. Here’s the friendly, practical guide that turns substrate science into simple, repeatable recipes.
Meet the Earth Star, briefly
- Botanical: Cryptanthus bivittatus (Bromeliaceae), terrestrial
- Size: about 6 × 6 in (15 × 15 cm)
- Light: bright light; some direct sun once acclimated (a sunny windowsill is ideal)
- Temperature: 61–81°F (16–27°C)
- Humidity: moderate (higher humidity improves leaf quality)
- Water quality: rainwater or distilled water keeps foliage pristine
- Core rule: keep the crown dry and the mix airy—this plant dislikes a soggy center or waterlogged roots
Substrate physics in plain English
Think of potting mix as a sponge made of chunks. The size and shape of those chunks decide two things:
- How quickly water drains (big gaps = fast drains = more oxygen)
- How much moisture lingers between particles (small gaps = more “clingy” water)
You want a mix with:
- Plenty of macropores (big gaps) for oxygen and quick drainage
- Just enough micropores (tiny gaps) to keep it evenly moist between waterings
- Minimal fines (dusty particles) that collapse pores and create soggy zones
In practice, that means chunky ingredients (bark, coarse perlite, pumice) blended with a light, fibrous moisture-holder (coco coir or peat). Dense potting soils alone are too heavy; garden soil is a rot trap.
The 4-inch pot sweet spot
Earth Stars have modest, shallow root systems. A 10 cm (4 in) pot hits the Goldilocks zone:
- Faster, safer dry-down: Less volume means less water hanging around after you irrigate.
- Better aeration: The root zone re-oxygenates quickly between waterings.
- Less rot risk: Oversized pots keep mix wet for too long.
Tip: A squat 4-inch pot with generous drainage holes mirrors the plant’s low, wide form and keeps the crown above splash zones.
Foolproof mixes you can measure by the cup
Choose one based on your home’s dryness and your watering style. All ratios are by volume.
Mix A: Airy, reliable “bromeliad baseline”
- 1 part orchid bark, 6–12 mm (¼–½ in)
- 1 part coarse perlite, 3–6 mm (#3–#4 grade)
- 1 part coco coir (fluffed fibers), 1–3 mm
Why it works: Bark and perlite create fast-draining macropores; coir holds a thin film of moisture without going boggy.
Mix B: Easy-mode shortcut
- 1 part orchid mix (prebagged; usually bark + perlite + a little charcoal)
- 1 part all-purpose potting mix
Why it works: Dilutes the density of standard potting mix with chunky orchid-grade structure. Great for beginners.
Mix C: Holds a tad more moisture (for drier homes)
- 1 part sphagnum peat moss
- 1 part fine fir bark
- 1 part coarse perlite
Why it works: Peat adds gentle acidity and fine moisture films; bark/perlite keep it airy. Avoid compressing it; fluff as you fill.
Add-ons and swaps:
- In very dry rooms: replace ¼ of the perlite with extra coir or a pinch of fine bark.
- If humidity is high: replace ¼ of the coir/peat with additional bark or pumice to open the mix further.
- Good alternatives to perlite: pumice or lava cinder (similar particle size).
Avoid:
- Topsoil, garden soil, or peat-only blends
- “Moisture control” mixes with wetting gels
- A drainage layer (rocks at the bottom). It doesn’t improve drainage; it just lifts the perched water higher into the root zone.
Pot choice and setup
- Pot size: 4 inches (10 cm) with a large drainage hole
- Material:
- Terracotta breathes and speeds dry-down (good if you water generously or live humid)
- Plastic retains moisture a bit longer (good if your air is very dry)
- Setup tips:
- Place a mesh or coffee filter over the drain hole to keep mix from trickling out without blocking flow.
- Do not bury the rosette’s base; set it so the crown sits slightly above the mix surface.
- Top-dress with a thin ring of bark to minimize splash into the crown.
Watering technique: moist roots, dry crown
Think “water the roots, not the rosette.”

- Spring–summer: keep the mix evenly moist, never soggy. Water thoroughly with rainwater or distilled water until excess flows from the bottom, then let the pot drain completely.
- Autumn–winter: water less; keep the mix just barely moist.
- Crown care: if any water pools in the center, tip the plant to pour it out or wick it away with a corner of paper towel. Aim the spout at the mix around the rosette rather than over the top.
- Misting: if your air is dry, a light morning mist with lukewarm rainwater/distilled water is fine—but avoid misting directly into the crown and ensure there’s airflow so leaves dry promptly.
Simple tests to tune your mix
- Percolation test (drainage): Water the freshly potted plant. A healthy stream should begin immediately and clear within ~10–20 seconds in a 4-inch pot. If it puddles on top, add more bark/perlite. If it vanishes instantly and the plant wilts by day’s end, add a bit more coir/peat.
- Squeeze test (moisture feel): Grab a handful of pre-wetted mix and squeeze hard:
- A few drops = just right
- A steady drip = too wet; add bark/perlite
- Bone dry rebound = too airy; add coir/peat
- 24-hour check: The surface should feel slightly damp but springy, not slick or muddy. Sour smells signal breakdown—repot.
Repotting and longevity
- Repot cadence: every 2–3 years in spring, or sooner if the mix compacts, drains slowly, or smells sour.
- How-to:
1) Gently lift the rosette; shake off spent, fine crumbs.
2) Refill with fresh, airy mix; keep the crown high and dry.
3) Water through once; drain completely.
- Pups: When offsets reach 1/3–1/2 the size of the mother and show roots, pot each into a small, airy 4-inch setup.

Light, color, and airflow
- Bright light brings out those saturated pinks, reds, and purples. Acclimate to sun slowly on a windowsill to avoid scorch.
- Good airflow is your rot insurance—especially in dish gardens and warm terrariums. If using a terrarium, ensure ventilation so moisture never stagnates.
Troubleshooting at a glance
- Mushy base or a blackened center: crown/root rot from soggy mix or standing water in the rosette. Refresh into a chunkier mix, improve airflow, and water at the substrate, not the crown.
- Faded color, stretched leaves: light is too low. Move brighter gradually.
- Crispy tips: low humidity or mineral-laden tap water. Switch to rainwater/distilled and mist lightly (avoiding the crown).
- Pests: mealybugs, scale, spider mites. Treat with insecticidal soap or horticultural oil; repeat as needed and improve airflow.
A tiny bit of poetry
Earth Stars are often associated with resilience and a punchy “starburst” energy—their compact rosette stays composed while colors intensify under bright light. They’re proof that when you get the physics right—air in the roots, water at the right place, crown kept dry—beauty follows effortlessly.
Quick-start recipe card
- Pot: 4-inch, big drain hole; terracotta if you water heavy, plastic if air is very dry
- Mix: equal parts orchid bark (6–12 mm), coarse perlite (3–6 mm), coco coir (fluffed)
- Planting height: crown slightly above the mix surface
- Water: rainwater/distilled; evenly moist spring–summer, barely moist in winter; never leave water in the crown
- Feed: half-strength balanced liquid every 2–3 months spring to late summer
- Repot: every 2–3 years or when drainage slows
Dial in those particles and that pot, and your Earth Star will live up to its name—steady, radiant, and glowing right from the forest floor to your windowsill.