

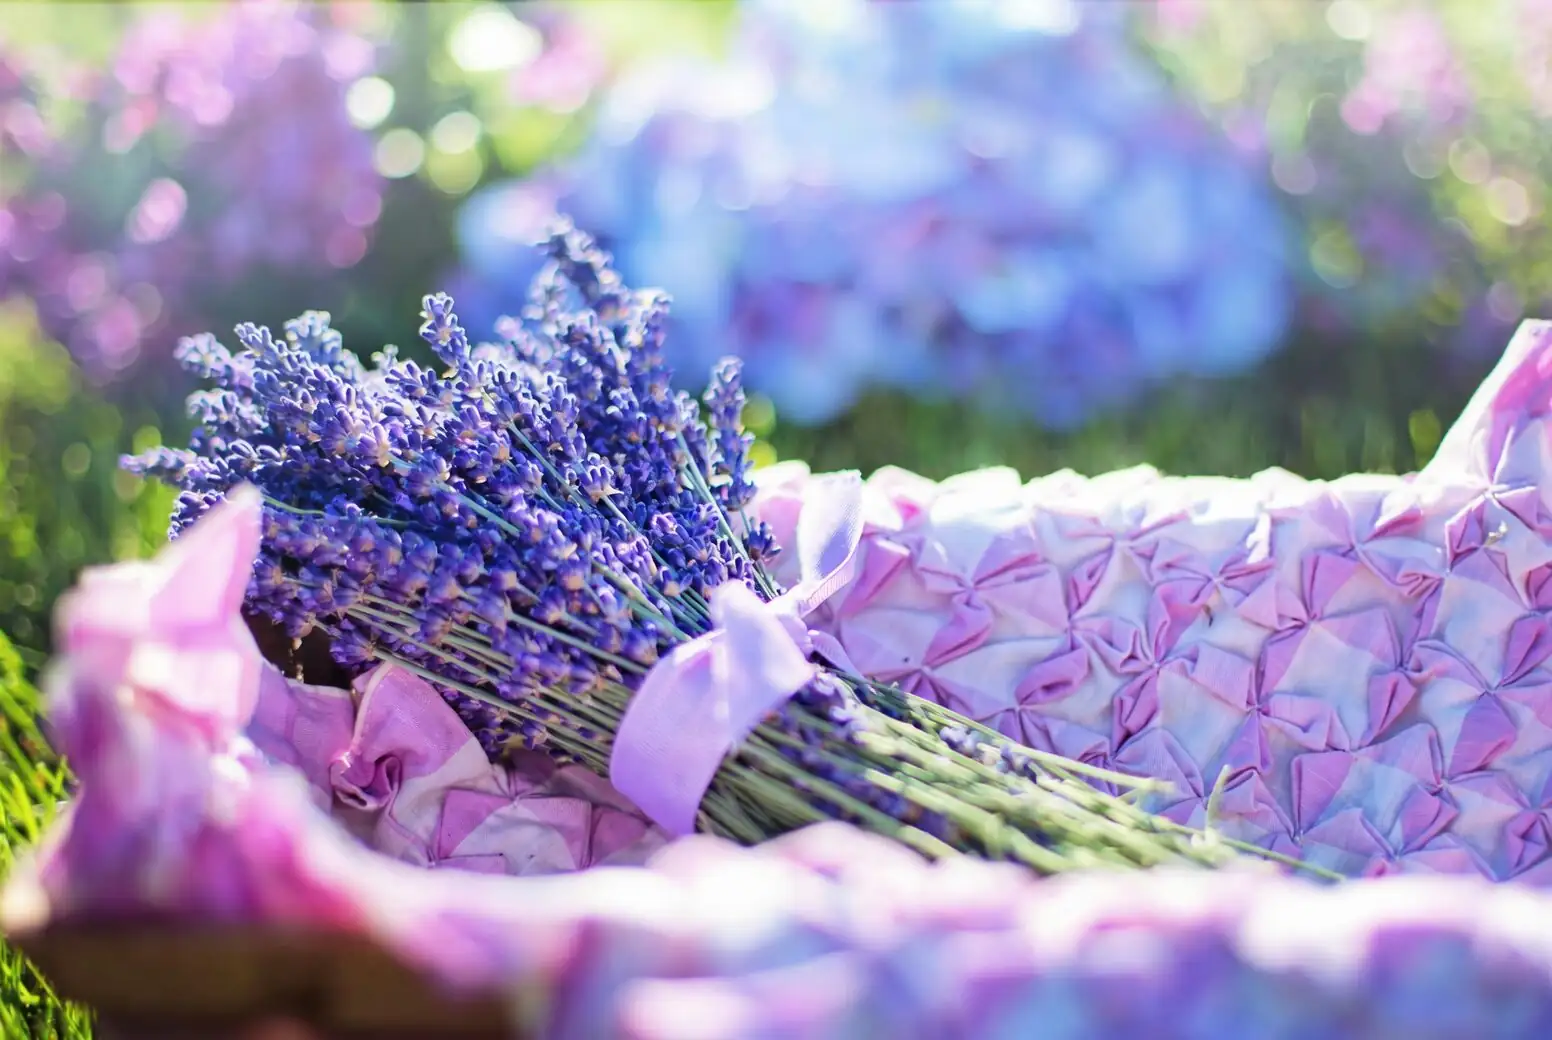
Imagine a basket of sun-warmed lavender by your door—sweet, calming, and ready to twist into wreaths, tuck into drawers, or stitch into sachets. With just a few timing tricks and simple drying methods, Lavandula angustifolia (English lavender) turns into long-lasting, beautifully scented craft material that can perfume your home for seasons to come.
Meet Lavandula angustifolia—your craft-perfect lavender
- What it is: English lavender, a compact, sun-loving woody subshrub in the mint family (Lamiaceae), native to the Mediterranean.
- Why it’s a crafter’s favorite: Summer flower spikes keep their scent and color remarkably well when dried. The fragrance is balanced and sweet—ideal for sachets, wreaths, and drawer fresheners.
- When it blooms: Typically June–August (often peaking around July), depending on climate.
Peak harvest timing: catching the fragrance “sweet spot”
Picking at the right moment is the single best way to lock in color and scent and reduce shattering (buds falling off).
- For sachets and loose buds (maximum scent, minimal shatter):
- Cut when buds are plump and mostly closed, with just a few (about 0–10%) flowers open.
- For decorative bundles and wreaths (showy color, still good hold):
- Cut when roughly 10–30% of blooms on a spike are open.
- For essential-oil–oriented harvests (if you distill or want the boldest oil profile):
- Harvest around one-third to one-half open.
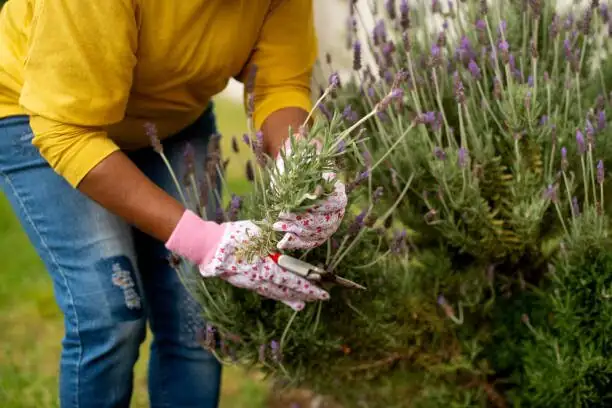
Best time of day
- Late morning after the dew has dried, before heat builds. Oils are concentrated and foliage is dry—perfect for clean drying.
Bee barometer
- Increased bee interest is a sign buds are at peak fragrance. Harvest while they’re just getting enthusiastic, not after most flowers have blown.
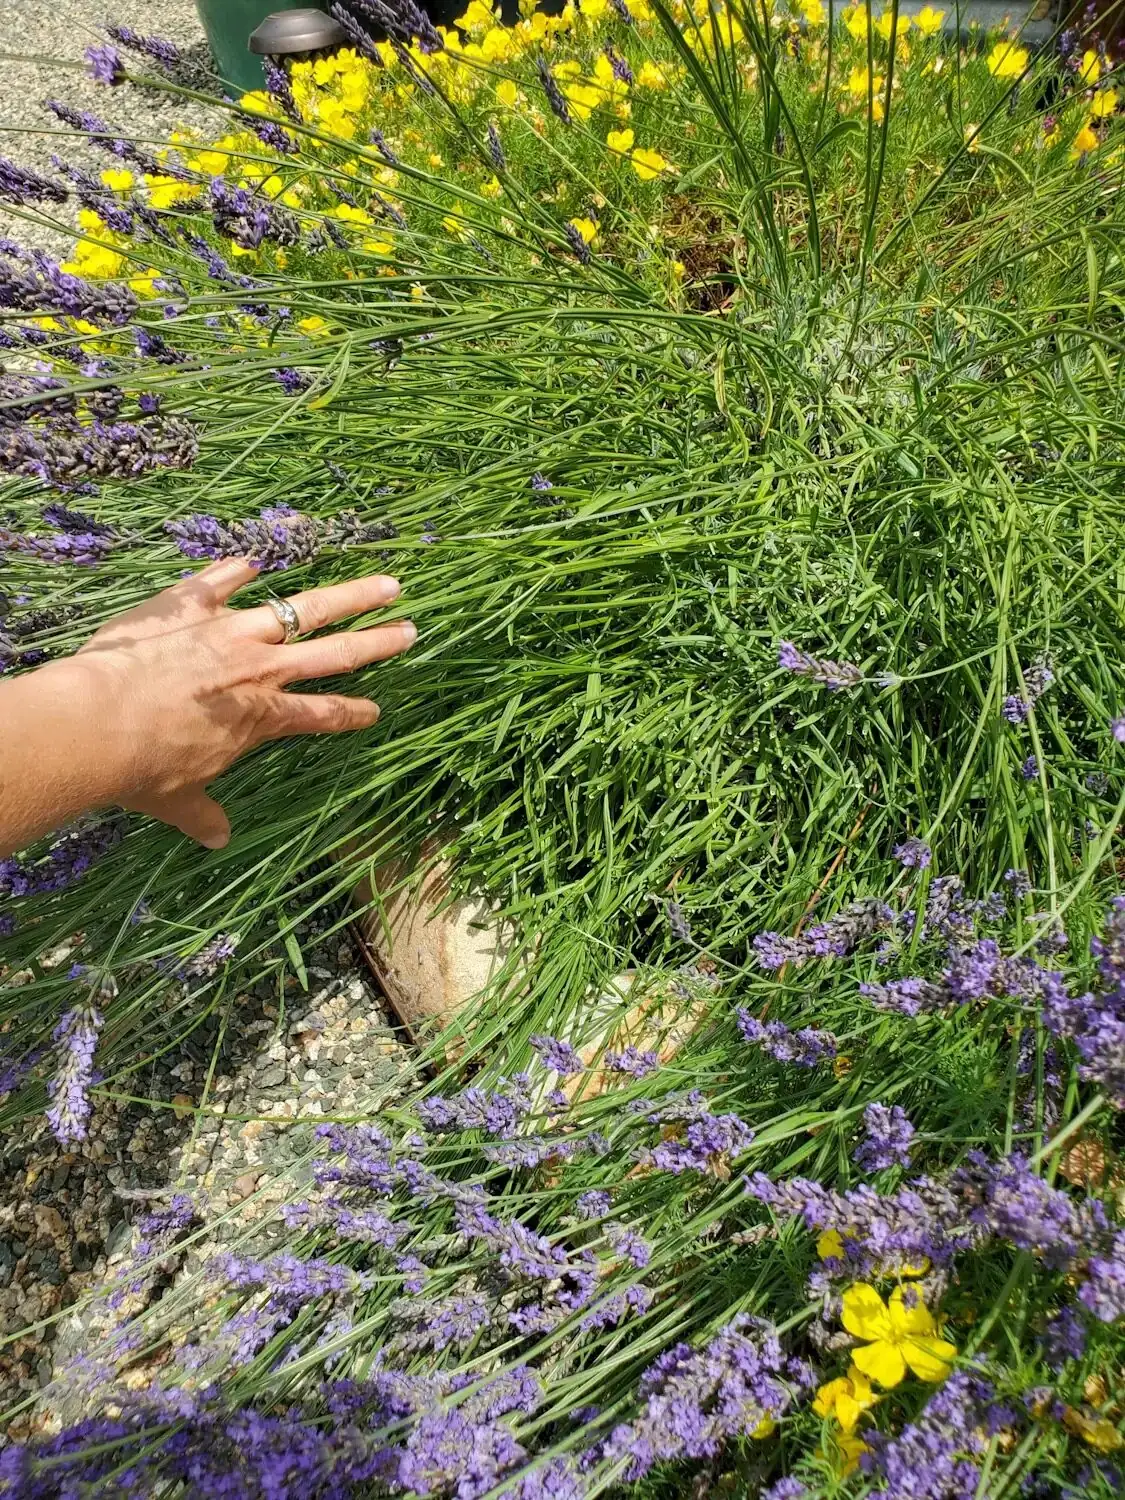
Where and how to cut
- Use clean, sharp snips.
- Cut stems just above the woody framework, leaving several centimeters (a few inches) of leafy green growth. Avoid cutting into old, leafless wood—lavender resprouts poorly from it.
How to bundle and dry lavender (step-by-step)
Dry, airy conditions and darkness preserve both perfume and purple.
1) Prep the stems
- Strip leaves from the lower 10–15 cm (4–6 in) of each stem.
- Sort by stem length for tidy bundles.
2) Form small, even bundles
- Aim for the width of your hand: about 2–3 cm (¾–1¼ in) at the tie, roughly 25–50 stems.
- Tie firmly with a rubber band (it tightens as stems shrink) or twine.
3) Hang to dry—upside down
- Location: warm, dry, dark, and well ventilated (a closet with a fan on low, an airy attic, or a shaded porch with steady airflow). Avoid direct sun; it fades color and cooks off fragrance.
- Spacing: keep bundles from touching so air can move freely.
- Time: typically 2–4 weeks. They’re ready when stems snap crisply and buds feel dry and papery.
Quick checks
- If you see any greying or fuzz (Botrytis), increase airflow, thin bundles, and remove affected stems immediately.
Alternative drying methods (for specific uses)
- Screen drying (for loose buds): Lay stems in a single layer on mesh racks in shade with a fan. Turn every day or two. Great for fast, even drying when you plan to strip buds.
- Desiccant drying (for individual florets): Bury small flower heads in silica gel for preserved shape and color accents; not necessary for typical bundles/sachets.
Common mistakes to avoid
- Bundles too thick: centers dry slowly and risk molding.
- Sunny windowsills: quick color fade and scent loss.
- Damp rooms or stagnant air: a recipe for grey mold.
Cleaning and storing dried lavender
Stripping buds
- Hold a dried stem over a clean tray and rub gently from top to base; buds will tumble off. Sift out leaf bits with a fine sieve if you want ultra-clean sachet fill.
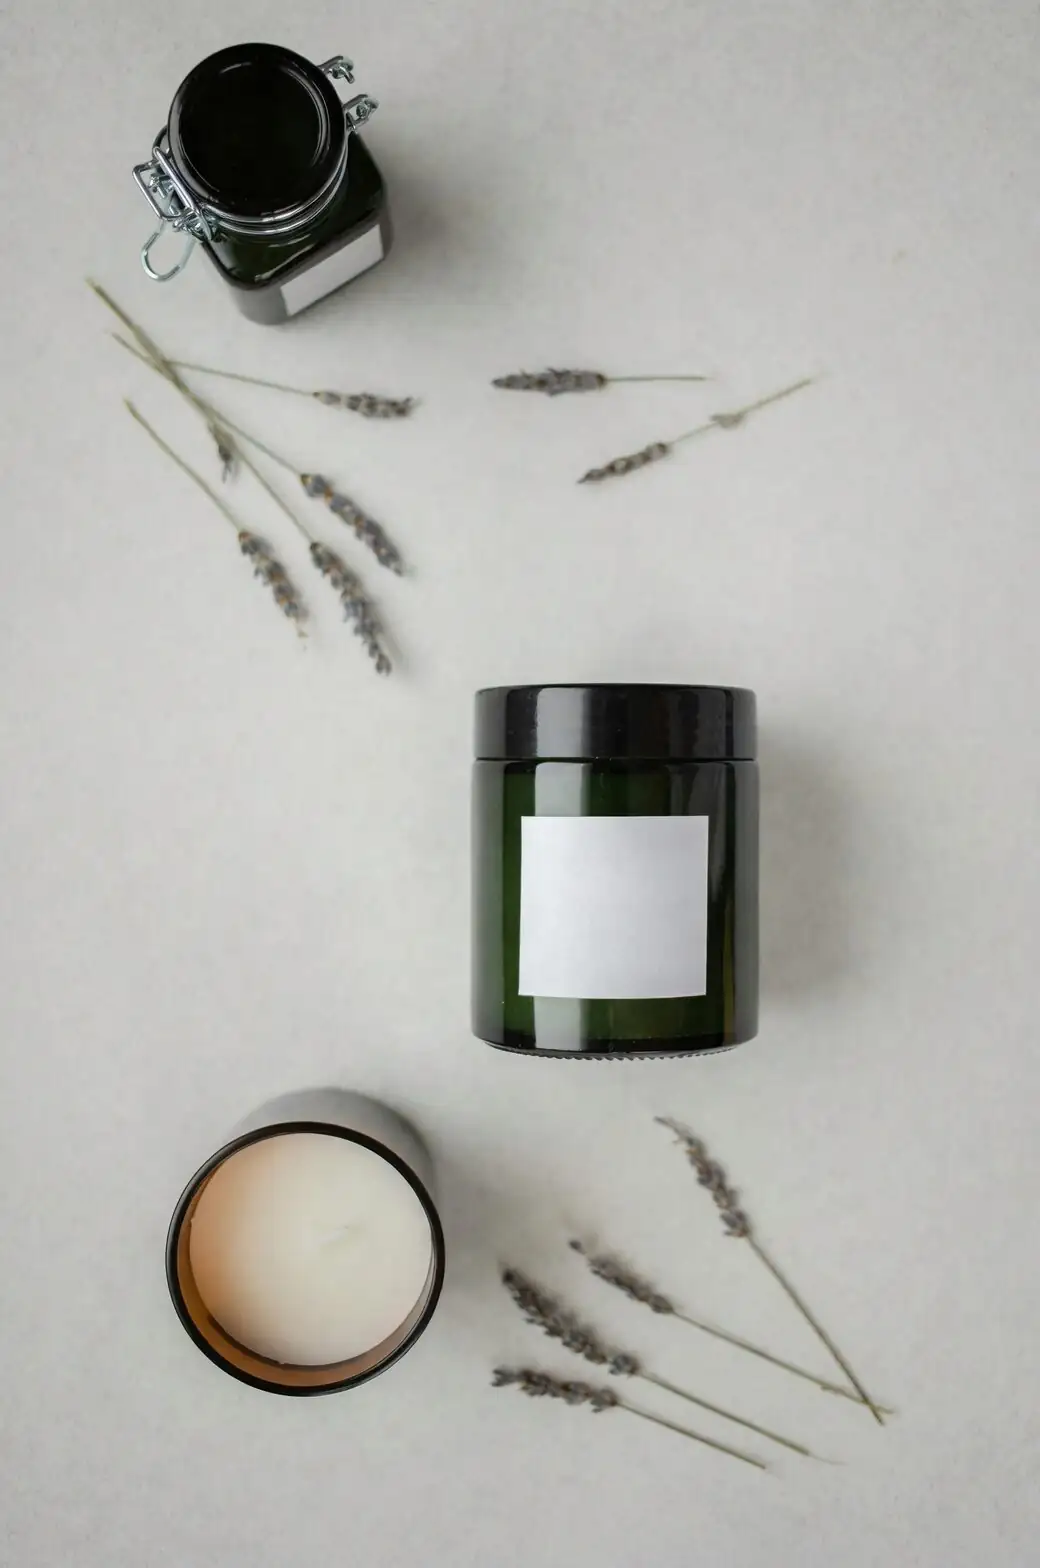
Storage (to keep fragrance for the long haul)
- Use airtight, opaque containers (tins or dark glass jars).
- Keep cool, dry, and away from light and heat.
- Add a small food-safe silica gel pack or a teaspoon of dry rice to fight humidity.
- For extra security against hitchhiking insects, you can seal dried buds in a bag and freeze for 48 hours, then return to room temp before jarring.
Shelf life
- Best aroma within 6–12 months, but well-stored buds can remain pleasantly scented for years. To “wake” a sachet, squeeze it to bruise a few buds and release oils.
Safety note
- Essential oil is potent; a single drop can refresh a sachet, but it may irritate sensitive skin. Keep concentrated oils and large quantities of plant material away from children and pets.
Hands-on projects you’ll actually use
1) Classic lavender sachets (drawers, closets, suitcases)
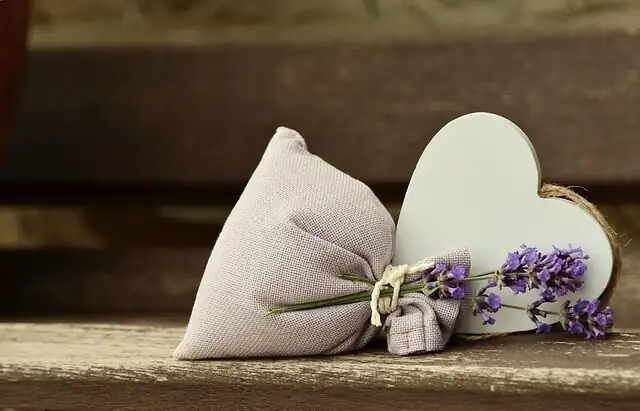
You’ll need: dried buds, 7.5 × 10 cm (3 × 4 in) cotton or linen bags, ribbon (optional).
- Fill each bag with ¼–⅓ cup (about 10–15 g) of dried buds.
- Tie securely; add a tag or ribbon if gifting.
- Tuck into drawers and garment bags. Lavender is often said to help discourage clothes moths—use it alongside good garment care (clean woolens, sealed storage) for best protection.
Variations
- “No-sew” tea-filter sachets: Fill unbleached paper tea filters, fold and staple, then slip into a pretty envelope.
- Travel cubes: Add sachets to luggage to keep clothes fresh between trips.
2) Lavender wreath (grapevine base, natural and timeless)
You’ll need: 25–40 small dried bundles, 25–30 cm (10–12 in) grapevine wreath, 22–24 ga floral wire, ribbon.
- Pre-fit: Fan out a bundle, place it along the wreath’s curve, and wire the stems snugly.
- Overlap: Add the next bundle to cover the previous stems, working in one direction around the base.
- Fill and finish: Tuck tiny sprigs where needed for fullness. Tie a ribbon and hang out of direct sun.
Tip: Use stems that are fully dry and crisp; partially green stems shrink after wiring and loosen.
3) Drawer fresheners (jar deodorizers that last)
You’ll need: 120 ml (½ cup) baking soda, 2–3 tbsp dried buds, a small jar, and a perforated lid (or fabric secured with a band).
- Mix baking soda and buds in the jar.
- Cover with a breathable lid and place in a dresser or closet. Gently shake every week to revive.
- Replace soda monthly; refresh lavender as needed.
Bonus quick wins
- Mini bouquets: Tie three or four tiny bundles and stand them in bud vases for a soft, cottage look.
- Gift toppers: Slip a sprig into a ribbon bow on wrapped packages.
Troubleshooting: crisp, fragrant success every time
- Buds are browning or smell musty: Drying space is too humid or dark and still. Reduce bundle size, add a fan, and check for mold.
- Flowers shatter when handled: Harvested too late. Next time, cut earlier (few flowers open) for tighter hold.
- Weak fragrance: Plants grown in too much shade, overfed, or overwatered produce softer-scented stems. Prioritize full sun and fast drainage; avoid heavy nitrogen.
- Wreath is shedding: Handle minimally, and hang where it won’t be brushed. Lightly misting is not recommended—moisture can invite mold.
Grower’s corner: better stems start with happier plants
- Sunlight: Full sun—aim for 6–8+ hours daily.
- Soil: Very well-drained, sandy/gritty loam; containers need a free-draining mix (loam plus coarse sand/grit/perlite).
- Watering: Deeply, then let the top layer dry before watering again. Avoid soggy roots or standing water.
- Airflow and humidity: Lavender prefers dry to moderate humidity with good ventilation; hot, humid, stagnant air plus damp soil encourages fungal issues.
- Feeding: Light and occasional during active growth; too much nitrogen = floppy, less-fragrant growth.
- Pruning: After flowering, remove spent spikes and lightly shape by reducing up to about one-third of the current green growth (up to one-half if vigorous). Do not cut into old, leafless woody stems.
- Hardiness: Generally USDA Zones 5–8 (sometimes listed to 5–9), but winter wet is the bigger killer than cold—ensure sharp drainage.
A note on symbolism and story
Lavender has long stood for calm, devotion, purity, remembrance, and—depending on the tradition—anticipation or “waiting for love.” Much of modern “flower language” comes from 18th–19th century European floriography—a charming cultural code rather than botanical science. The name itself nods to the Latin “lavare,” to wash, reflecting centuries of perfuming linens and baths in the Mediterranean. Whether or not you buy into Victorian love notes, there’s no denying the quiet, steady comfort this plant brings to homes.
Your lavender craft calendar (at a glance)
- Late spring–summer: Harvest during bloom on dry mornings.
- Immediately after cutting: Bundle, tie, and hang in a dark, breezy place.
- 2–4 weeks later: Strip buds or use bundles as-is; store in airtight containers.
- All year: Turn those jars of sunshine into sachets, wreaths, and easy drawer fresheners.
With a sharp pair of snips, a handful of rubber bands, and a breezy drying spot, you’ll have everything you need to turn Lavandula angustifolia into scented projects that last and last. Happy harvesting—and happier crafting.