

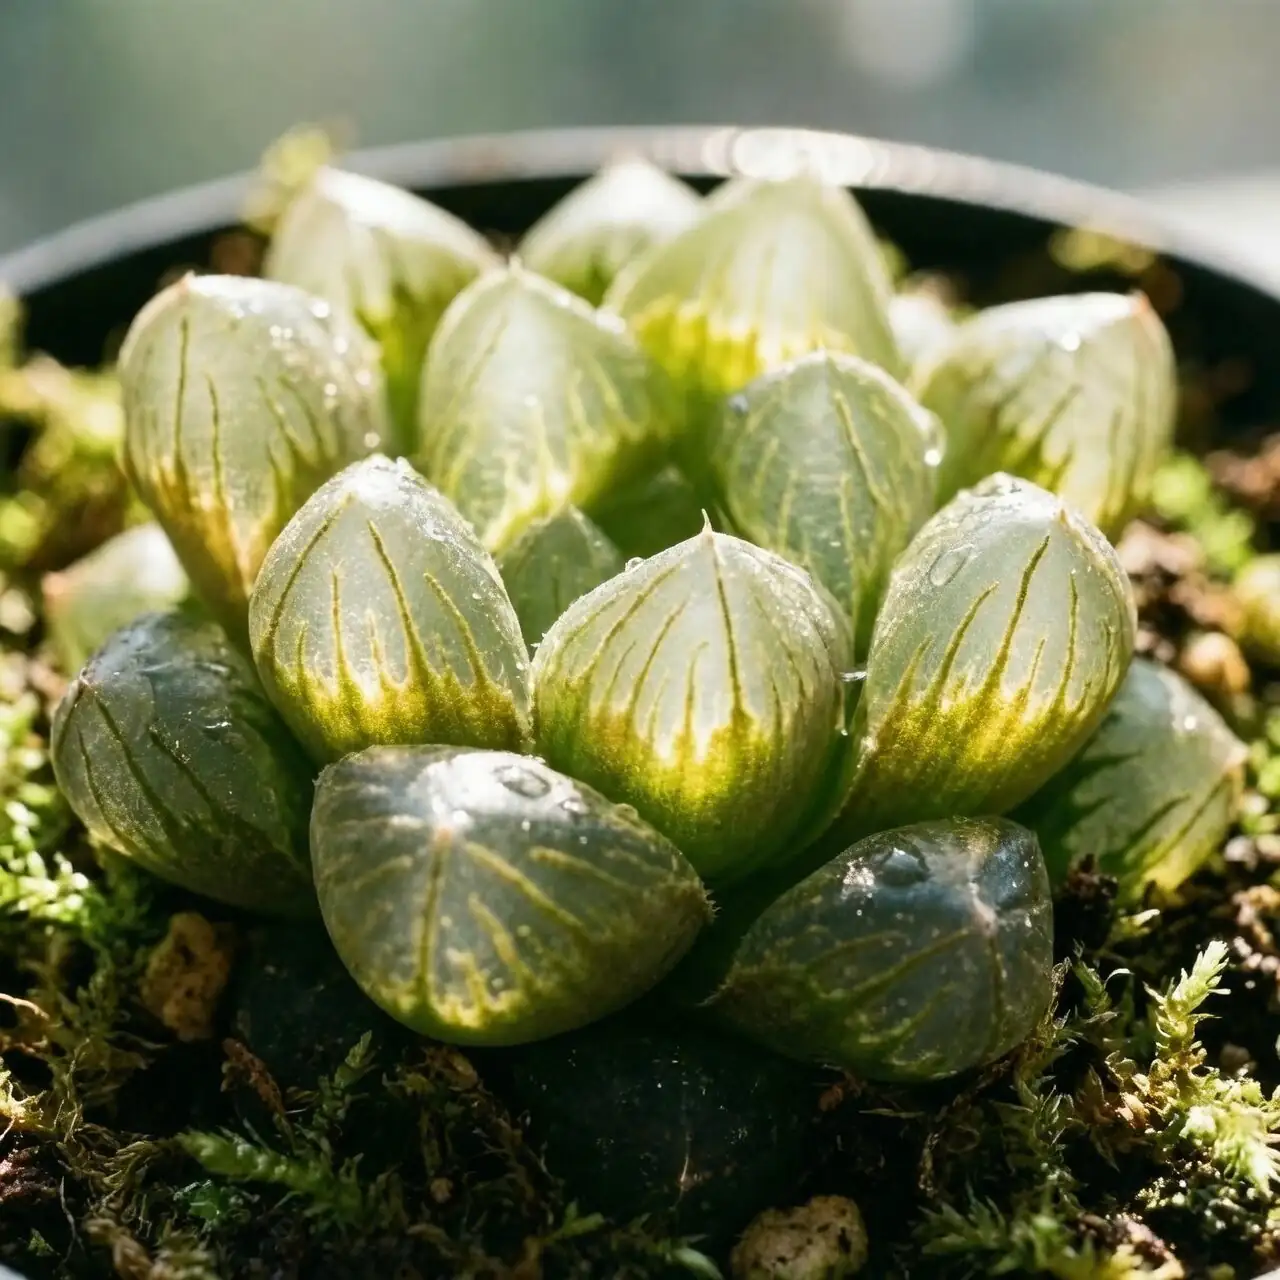
If you’ve ever watched a tiny glass sculpture catch the morning light, you know the magic we’re chasing with Haworthia cooperi. Those jelly-clear “leaf windows” can glow like backlit gemstones—if you set the scene right. Here’s a photographer’s field guide to coaxing that dramatic translucence while keeping your plant healthy, hydrated, and rot-free.
Meet the star: Haworthia cooperi in a nutshell
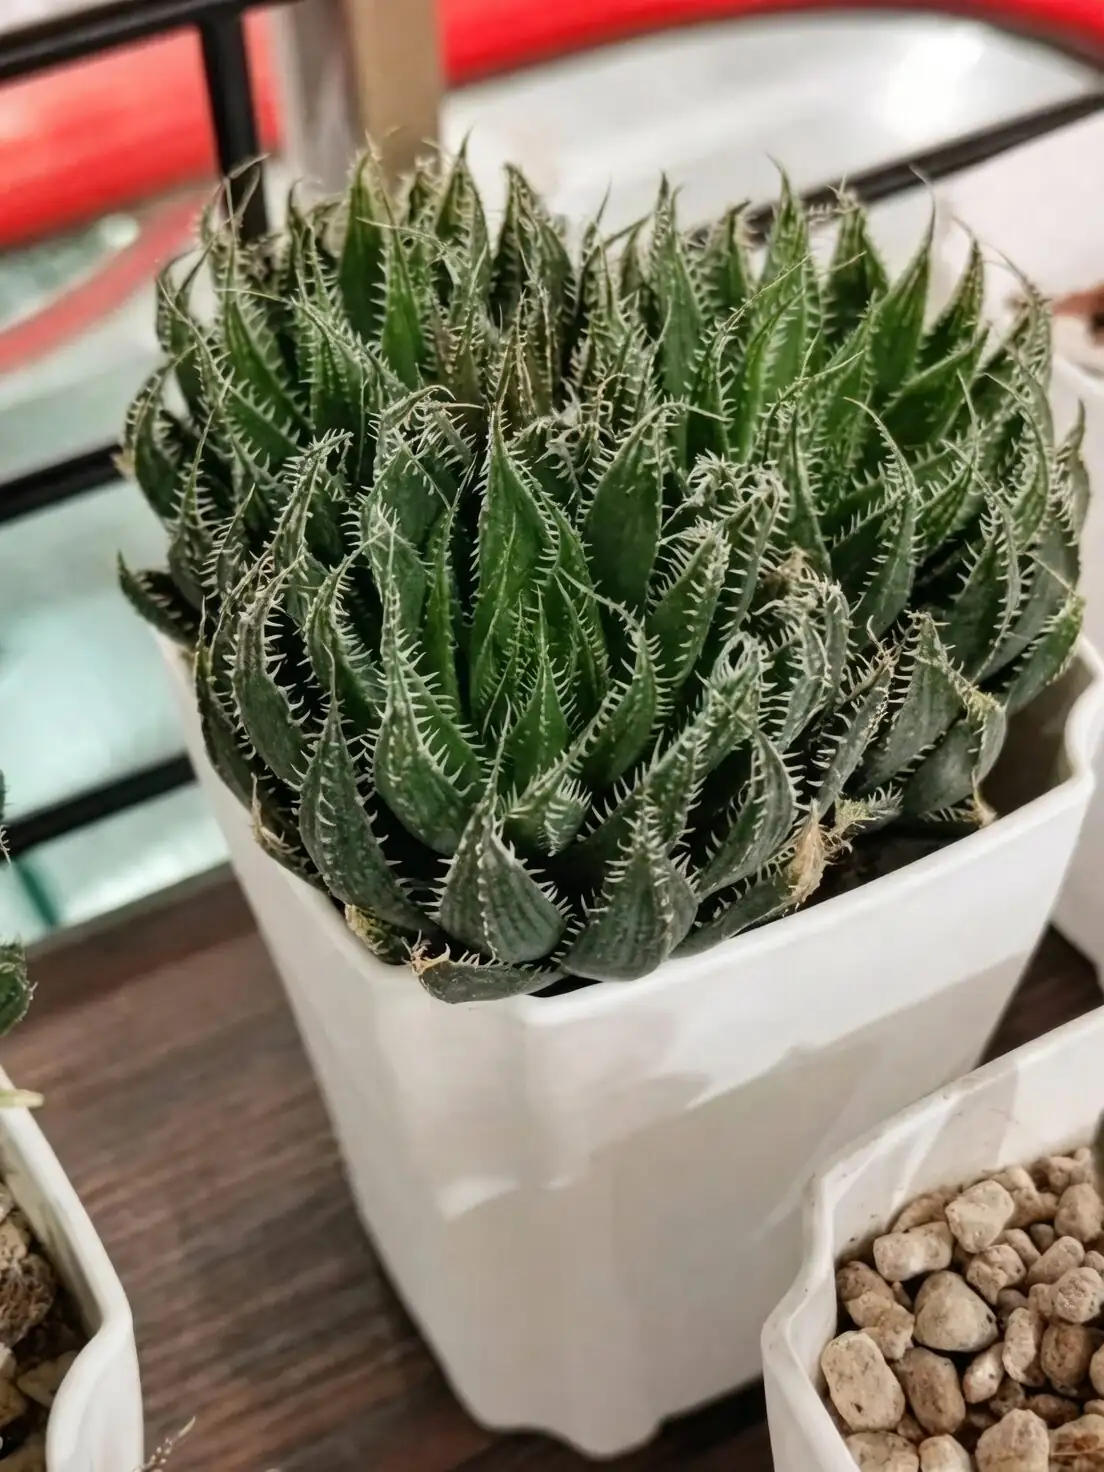
- Identity: Cooper’s Haworthia (Haworthia cooperi), a compact rosette-forming succulent in the Asphodelaceae family.
- Origin: Southern Africa (especially South Africa’s Eastern Cape).
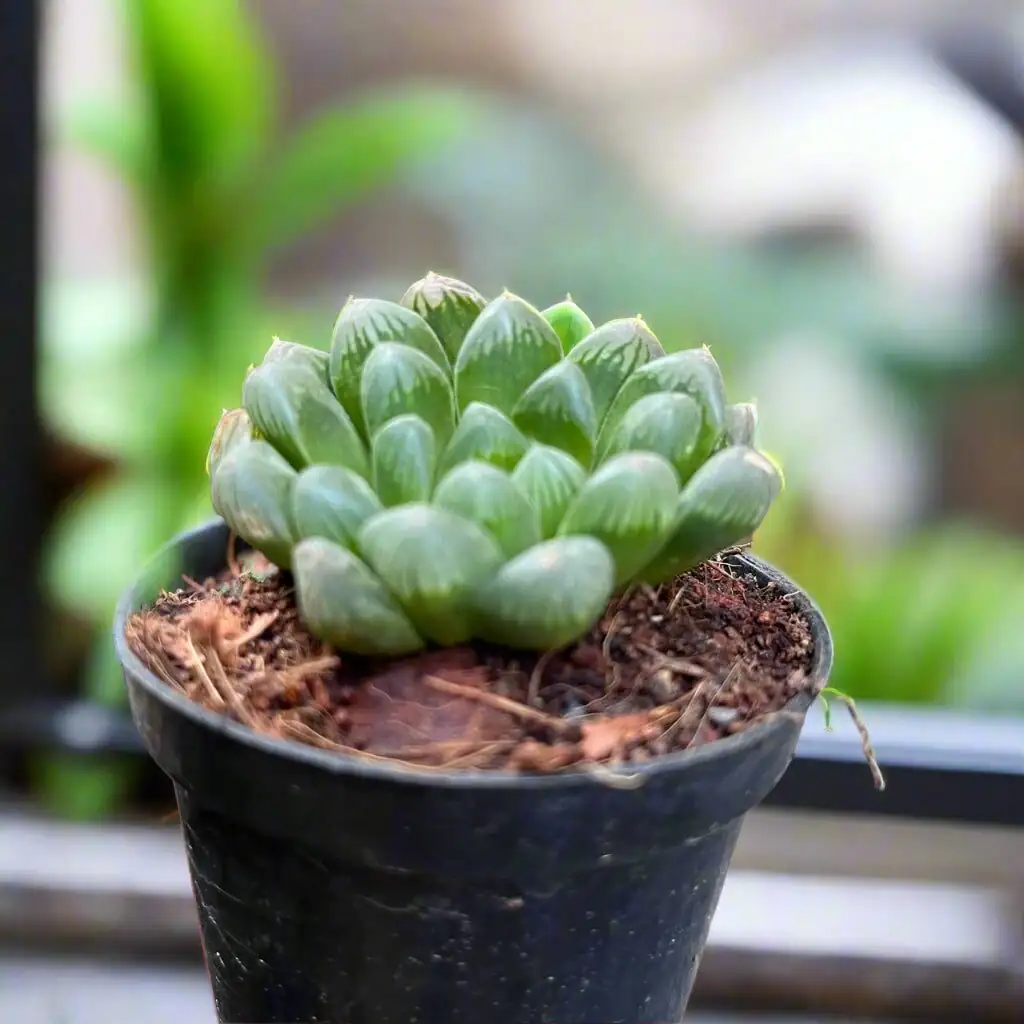
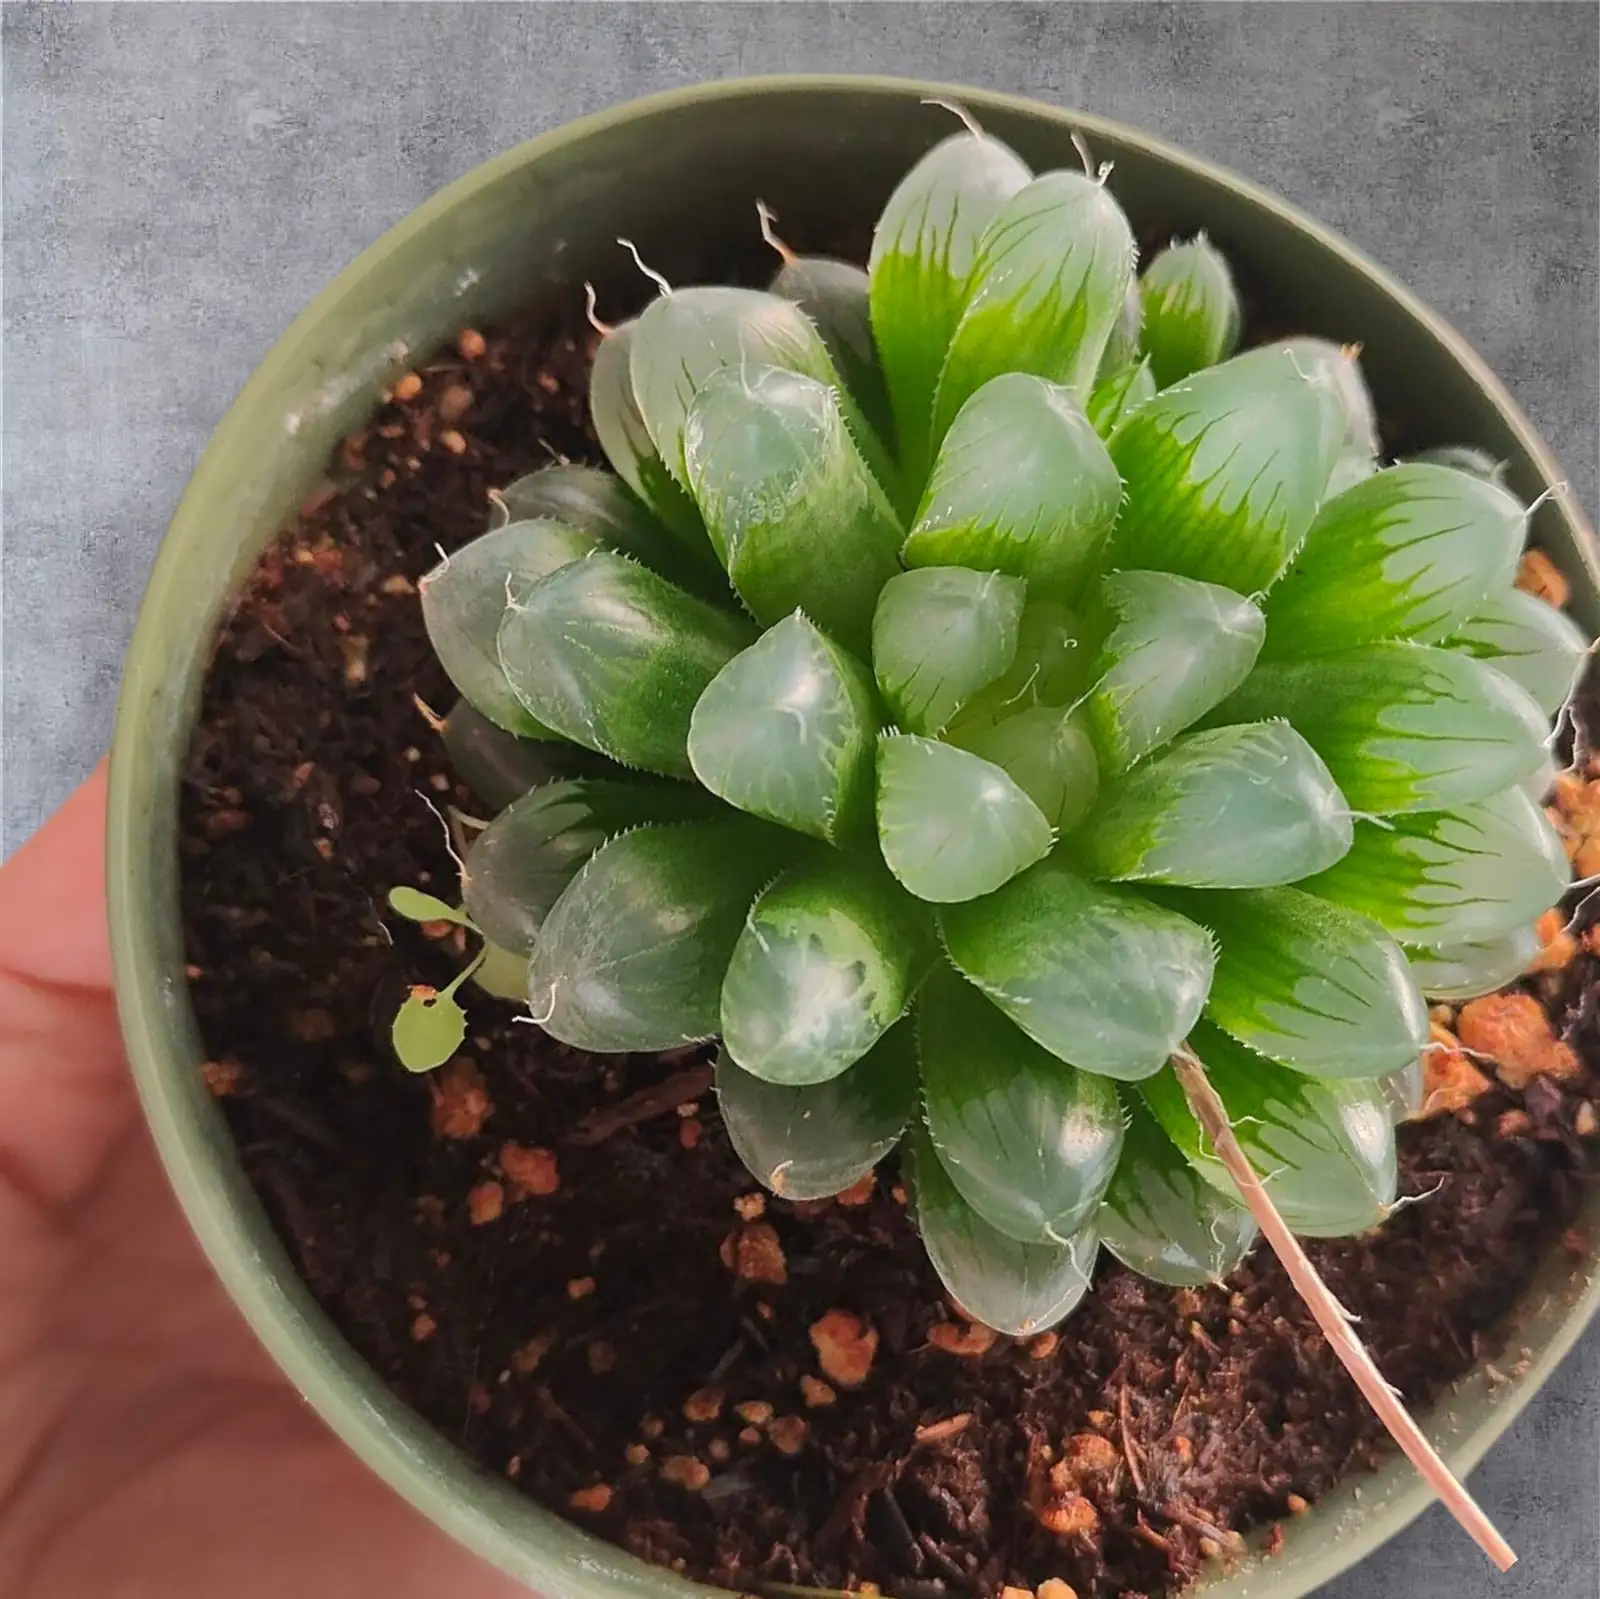
- Look: Plump, fleshy leaves pressed into a tight rosette, light to medium green with delicate vein-like markings. The translucent tips—true “windows”—channel light deeper into the plant.
- Size: About 10 cm (4 in) across as a houseplant, slowly forming offsets.
- Flowers: Slender stalk with small, pale tubular blooms in spring (charming but not the main show).
- Light and comfort: Bright, filtered light to partial shade; avoid harsh midday sun. Indoors, an east-facing window or lightly shaded south window is ideal.
- Safety: Generally non-toxic to humans and pets.
Why this matters for photos: the leaf windows look clearest under bright, indirect light with plump, hydrated (not waterlogged) tissue. You’ll capture the most “crystal” character when light grazes or passes through those tips.
Light that sculpts: Backlighting without scorch
To make the windows glow, aim light through them—not just onto them.
Three reliable backlight setups
1) Window glow (zero-gear classic)
- Place the plant 20–40 cm from a bright window with sheer curtains.
- Put a dark background (black foam board or velvet) 30–60 cm behind the plant to make the glow pop.
- Use a small white card in front to bounce gentle fill onto the rosette center.
2) Portable LED “halo”
- Set a dimmable LED panel or light wand behind and slightly above the plant.
- Add a diffuser (softbox, translucent umbrella, or even baking parchment) to soften the beam.
- Flag stray flare with a black card near the lens (a “gobo”) while a small reflector brightens the front.
3) Outdoor, but filtered
- Shoot in open shade or under shade cloth. Never put the plant in harsh midday sun for that glow.
- Let late afternoon sun backlight through a scrim (a translucent diffuser held between sun and plant).
- Keep sessions short to avoid heat stress.

Pro tip: Backlight exposes highlights fast. Spot-meter on the translucent tips or bracket exposures. Slight underexposure often preserves the luminous cell detail.
Diffusers, reflectors, and negative fill: controlling contrast
- Diffusers tame hotspots on the windows. A 1–2 stop diffuser gives even, silky light.
- Reflectors (white card or silver) return a whisper of light to the rosette’s interior so it doesn’t go murky.
- Negative fill (black card close to one side) deepens shadows and carves shape for drama.
- Backgrounds: black for gemstone glow; light gray or frosted acrylic for an ethereal, misty look.
Avoid: spraying water or “leaf shine.” Moisture trapped near leaf bases can invite rot, and shine products create fake glare and residue.
Gentle hydration timing: plump windows without risking rot
The clearest “crystal” look comes when leaves are turgid—but timing is everything.
- Water only after the mix dries. Use a very free-draining, gritty succulent medium (cactus soil with coarse sand/pumice/grit). Ensure the pot has drainage.
- For a planned shoot in spring or autumn (active growth):
- 24–48 hours before: Give one thorough soak at soil level, then drain completely. Avoid getting water into the rosette/crown.
- Ensure good airflow so moisture never lingers at leaf bases.
- Shoot after the surface is dry and leaves have plumped—usually the next day.
- In hot midsummer (often a semi-rest period):
- Reduce watering significantly. Don’t force “photo plumpness” during heat; you risk basal/crown rot.
- Opt for stronger backlighting and diffusion rather than extra water.
- In winter (cool and bright):
- Water very sparingly. Keep above 5°C (41°F). Rely on light control to emphasize translucence rather than hydration.
- Ultra-dry air? You may lightly mist the air around the plant—not into the rosette—and keep air moving. Avoid any “humidity dome” in hot weather. Brief, well-ventilated covers in cool rooms can help, but heat plus enclosure equals rot risk.
Leaf check before shooting:
- Leaves should feel firm and look glassy at the tips.
- No standing water in the crown or at the leaf bases.
- No scorch marks (a sign of too much direct sun).
Focus stacking for pin-sharp “crystal” detail
Those windowed tips curve in and out of your focal plane. Stacking restores sharpness without sacrificing that luminous, shallow-depth look.
Recommended setup
- Lens: 90–105 mm macro is the sweet spot; a 180 mm macro if you want more working distance.
- Support: Tripod plus a focusing rail (or in-lens focus shift if available). Remote release.
- Aperture: f/5.6–f/8 to balance sharpness and avoid diffraction shimmer inside the translucent tissue.
- Light: Continuous LED with diffusion for steady, flicker-free illumination. Keep it cool.
Capture steps
1) Stabilize the plant (no wobble). Place the pot on a firm surface; keep the rosette dry and upright.
2) Compose close to eye level with the leaf windows you want to feature.
3) Start focus on the nearest highlight, advance in tiny steps through the windows toward the back. Step size about 1/3 of the in-frame depth of field.
4) Watch the histograms. Protect highlight detail in the windows; bracket if needed.
5) Stack in software (Helicon Focus, Zerene Stacker, or Photoshop). Retouch halos carefully—keep the glow, not the “HDR crunch.”
Pro tip: A circular polarizer can tame harsh glare, but don’t overdo it—you want controlled shimmer, not a dull, waxy look. Dial the CPL to taste.
Quick shot recipes (lighting diagrams made simple)
1) The Crystal Halo
- Back: LED panel with softbox, 30–50 cm behind and slightly above.
- Front: Small white card below the rosette for gentle fill.
- Background: Black velvet 20–30 cm behind.
- Camera: f/7.1, low ISO, focus stack 8–20 frames.
2) Window Topography (top-down symmetry)
- Light: 60–90 cm softbox overhead, slightly back-tilted.
- Fill: White card at the front lip of the pot.
- Background: Mid-gray foam board for a studio-botanical feel.
- Camera: f/8, stack 15–30 frames from central window to leaf margins.
3) Ethereal Frosted Glow
- Place a frosted acrylic sheet behind the plant; aim an LED at the sheet (not the plant) to create even, diffuse backlight.
- Add a black card just off one side for shadow sculpture.
- Camera: Slight underexposure (-0.3 EV), stack 10–15 frames.
Keep the plant safe while you shoot
- Light and heat: LEDs over flash for temperature control. Avoid hot lamps and midday sun. Short sessions, frequent breaks.
- Airflow: Good ventilation, but protect from drafts that vibrate the rosette during stacks.
- Hygiene: Dust dulls windows. Use a soft artist’s brush or blower. Remove shriveled lower leaves during spring cleanups. Skip oily cleaners.
- Potting: Slightly pot-bound is fine (often makes it look best) as long as the mix is gritty and drains fast.
Troubleshooting translucence
- Windows look dull and opaque:
- Light too low or flat. Increase brightness with diffusion and add subtle backlight.
- Leaves under-filled. If in active growth and the mix is dry, water once, then wait 24–48 hours.
- Tips bleaching or scarring:
- Too much direct, harsh sun. Move to bright, filtered light.
- Yellowing base or mushy crown:
- Overwatering/poor drainage. Let dry thoroughly, improve the mix, increase airflow, and remove any rot back to healthy tissue before repotting into a gritty medium.
Minimal care notes (for photo-ready plants year-round)
- Light: Bright, filtered light or partial shade. East window is perfect; lightly shaded south window also works.
- Water: Thoroughly, only when the mix has dried. More in spring/autumn, much less in hot midsummer rest. Very sparingly in winter; always keep above 5°C (41°F).
- Feeding: During active growth, monthly at low strength with a balanced or low-nitrogen succulent fertilizer. Keep fertilizer out of the crown.
- Repotting: As needed, often spring. Shallow pot with drainage, gritty mix. A 12–15 cm pot suits mature clumps.
- Pests: Watch for mealybugs or whitefly. Treat promptly with insecticidal soap or labeled systemic products. Most woes trace back to excess moisture.
Symbolism and “flower language”
Haworthia cooperi is often associated with resilience and quiet determination—an apt nod to a plant that thrives on restraint and uses its translucent tips to harvest light efficiently in bright, dry habitats. While not tied to a formal “flower language” tradition, the cultural meaning that enthusiasts ascribe—strength in subtlety, beauty under gentle light—springs from its ecology: compact, modest blooms, and foliage that shines when conditions are right, not forced.
A photographer’s packing list
- Dimmable LED panel or wand + diffuser
- 5-in-1 reflector (white/silver) and a couple of black foam boards
- Tripod, focusing rail, remote release
- Macro lens (90–105 mm preferred) or a quality macro attachment for smartphones
- Soft brush/air blower
- Black velvet and mid-gray backgrounds
- Gaffer tape, clamps, and a small card “gobo”
- Gritty succulent mix and a well-draining pot (for plant health between shoots)
Treat light as your sculptor, water as your quiet collaborator, and airflow as your insurance policy. With thoughtful backlighting, deft diffusion, and a well-timed drink, Haworthia cooperi will reward you with images that look like you photographed a living crystal.