

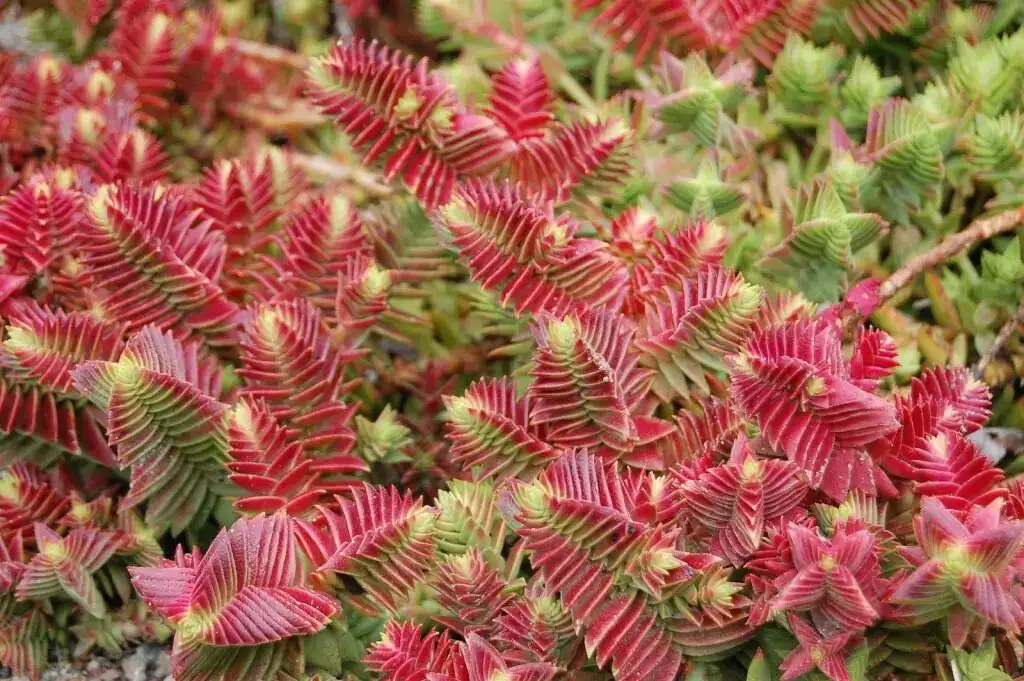
Think of Crassula capitella ‘Campfire’ as a little torch that loves bright light and crisp nights—then imagine how quickly you can clone that torch with a smart, succulent-savvy cutting routine. Below is a precise, time-stamped playbook for fast, reliable rooting, packed with pro tips on callusing, media, and temperature so your new “flames” catch on without a hitch.
Quick plant snapshot (so you cut with confidence)
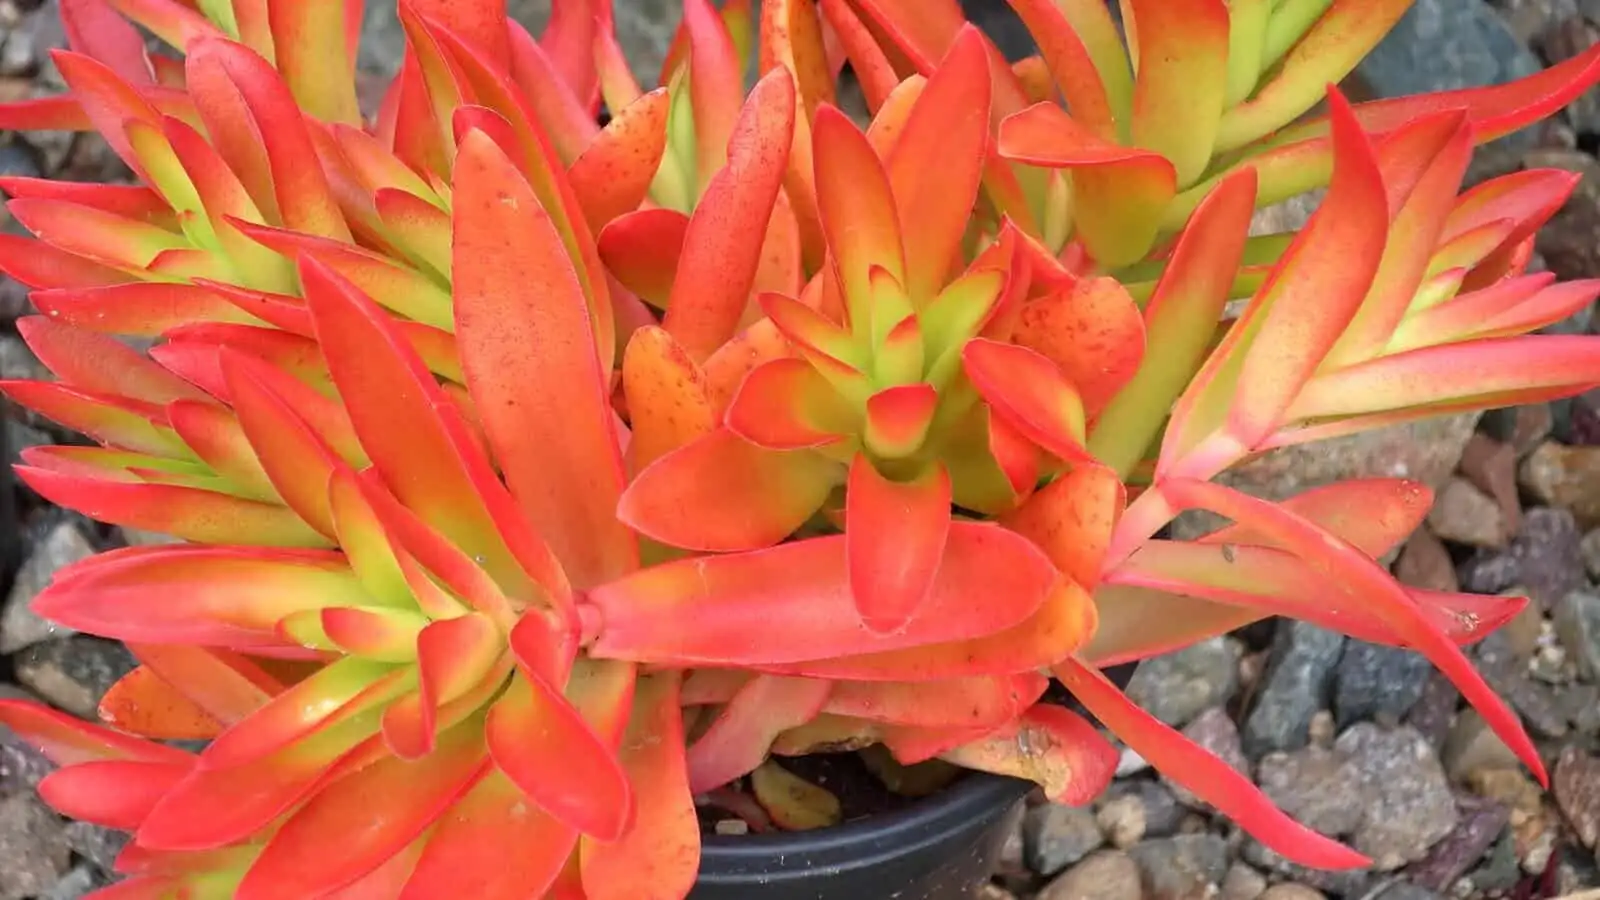
- Botanical name: Crassula capitella ‘Campfire’ (Crassulaceae)
- Habit: Low, branching succulent with tightly stacked, opposite leaves; upright-to-spreading, creeping with age
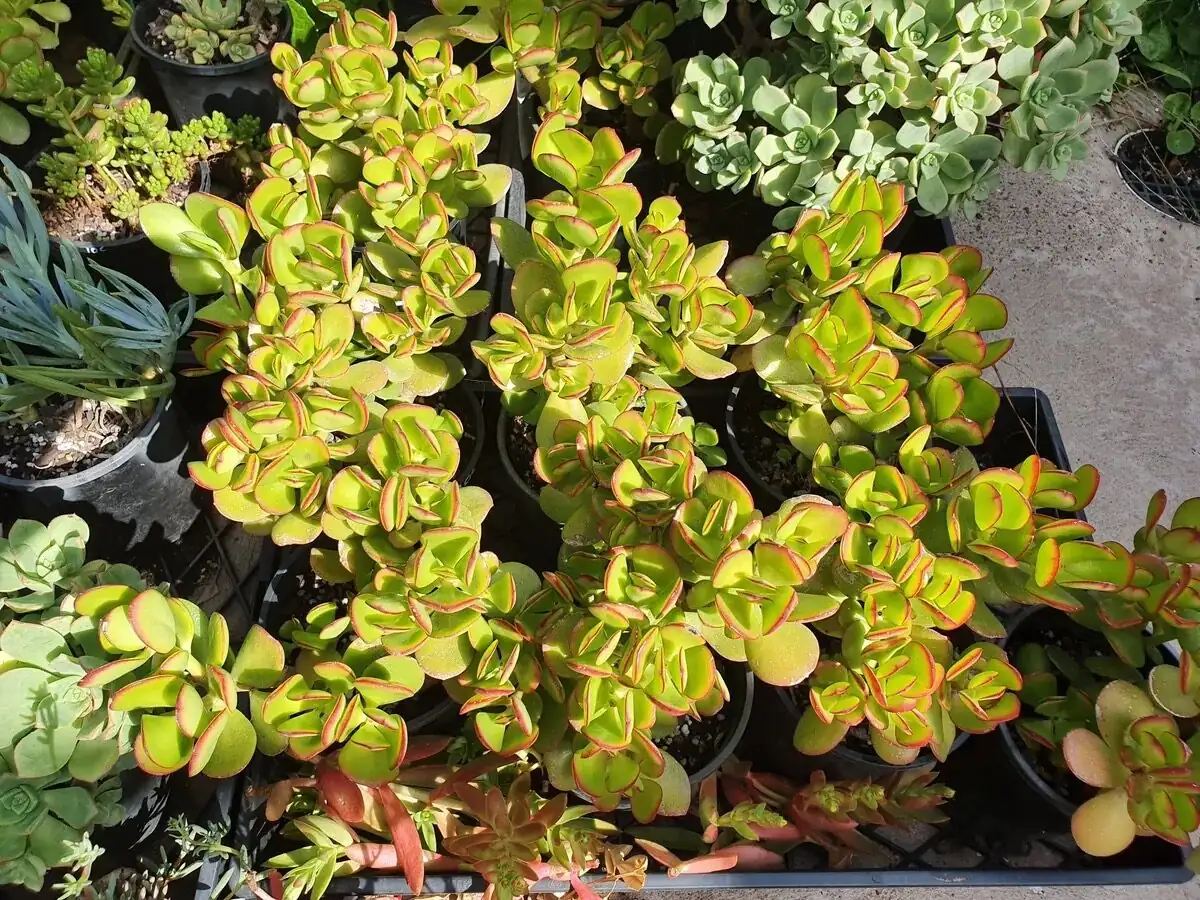
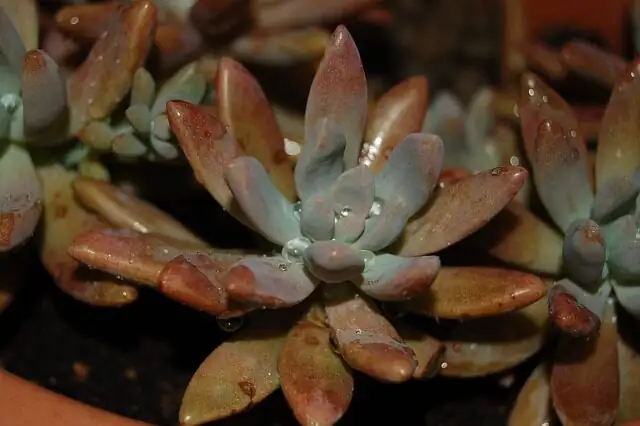
- Color: Gray-green in milder light; turns orange-red to vivid scarlet in cool, bright autumn/winter conditions
- Size in containers: About 10–30 cm tall and 20–60 cm wide over time
- Light: Bright light to full sun (acclimate carefully)
- Temperature: Best at 18–24°C (64–75°F); keep above 8°C (46°F); not frost hardy
- Soil: Very free-draining cactus/succulent mix
- Propagation sweet spot: Stem tip cuttings; roots in 14–21 days at 18–22°C (64–72°F)
Why timing matters for speed
- Best seasons: Spring and late fall. Spring brings active growth; late fall often provides bright light plus cooler nights—great for color and rooting vigor.
- Avoid: Deep winter unless you can maintain 18–22°C and bright light. In heatwaves, shade and airflow are crucial.
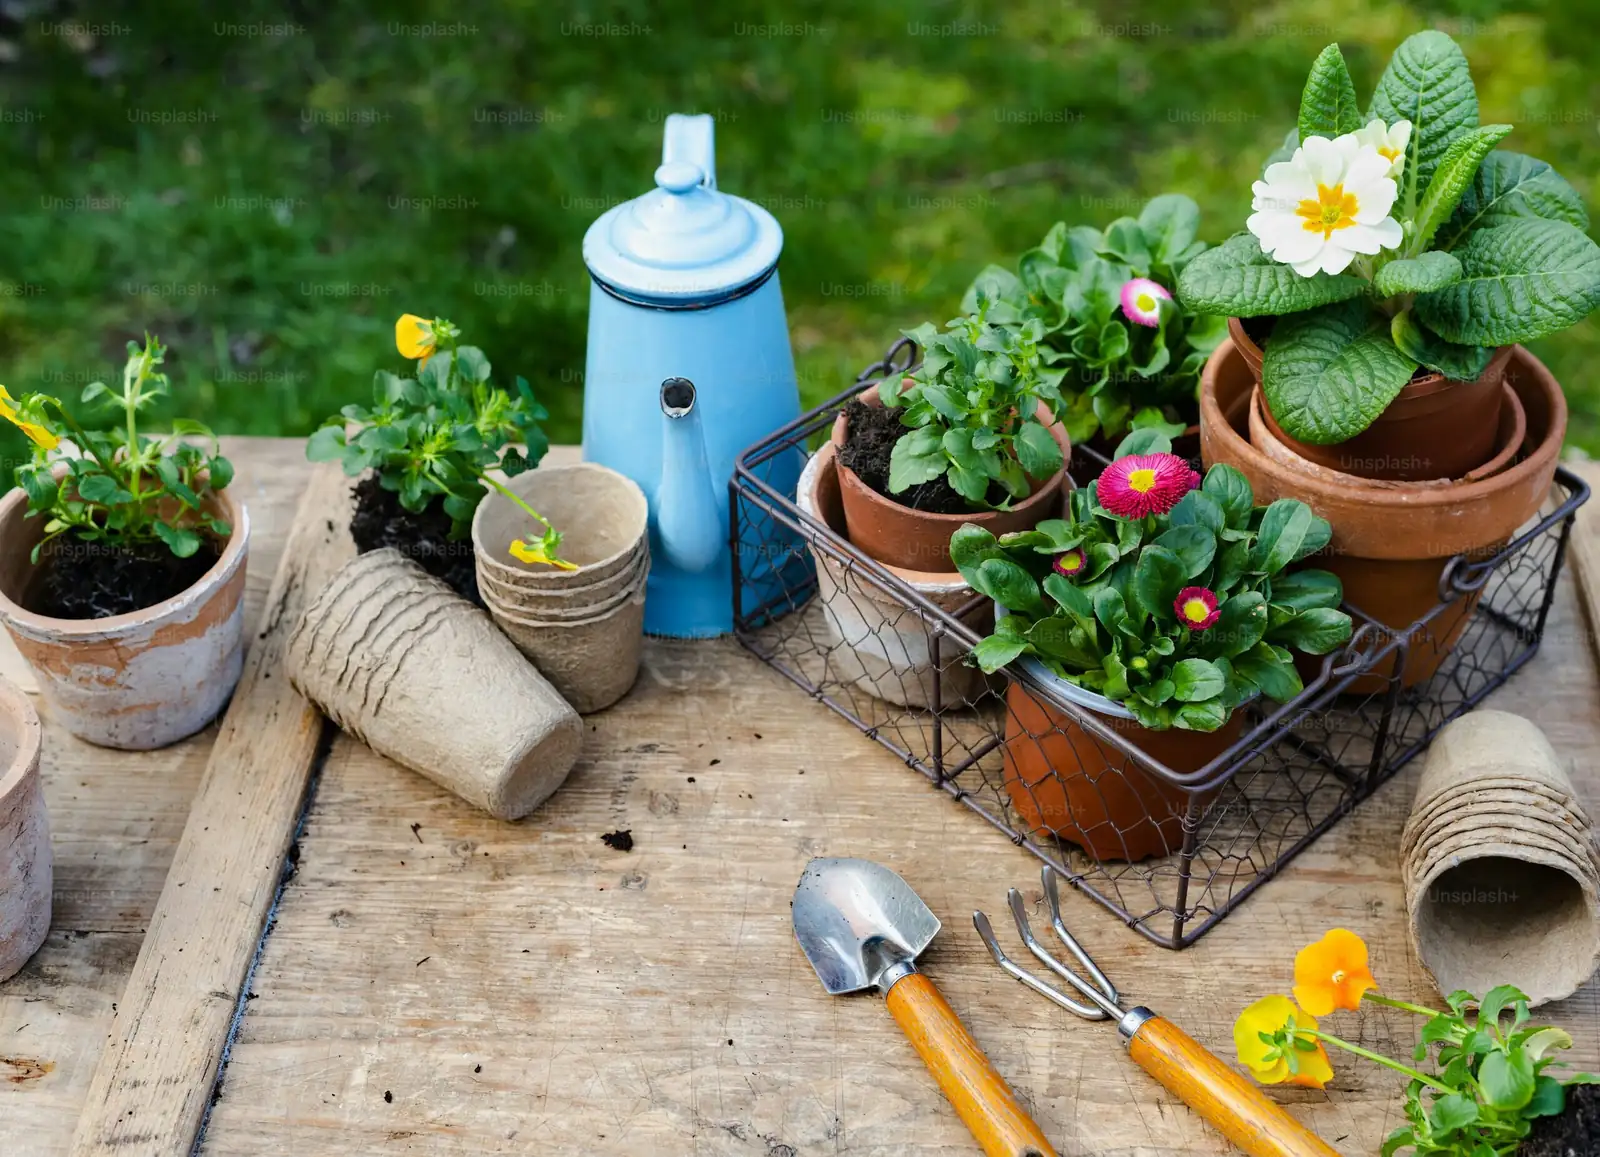
What you’ll need
- A healthy mother plant (firm stems; no rot or pests)
- Clean, sharp snips or a razor (sterilize with isopropyl alcohol)
- Rooting trays or small pots with drainage (terracotta or slotted plastic)
- Your rooting medium (see recipes below)
- Labels, a small brush or spoon for top-dressing, optional sulfur or cinnamon for callus hygiene
- Bright, airy spot; a small fan on low is ideal
Pro media recipes for fast, rot-proof rooting
- Ultra-gritty starter (great for humid homes): 50% pumice or perlite + 30% coarse sand/grit (3–5 mm) + 20% peat-free potting mix
- Classic succulent cuttings mix: 60% perlite/pumice + 40% peat-free potting mix
- Tip: Pre-moisten lightly, then let it dry out to barely-damp before inserting cuttings. You want air pockets and rapid drainage.
The 72-hour step-by-step cutting guide (with timestamps)
T–72 to –48 hours: Pre-hydrate the mother plant
- Water the mother plant thoroughly, then let excess drain.
- Why: Well-hydrated tissues root faster and suffer less stress. Do not water again on cutting day.
T–0 hours: Take perfect tip cuttings (3–6 cm; ~6–7 leaves)
- Select firm, non-floppy tips. Avoid flowered tips if present.
- Make a clean cut just below a node; aim for 3–6 cm (1.2–2.4 in) with about 6–7 leaves.
- Gently remove the lowest 1–2 pairs of leaves to expose a bare stem for insertion.
- Optional: Dust the cut end very lightly with sulfur or cinnamon for surface hygiene. Rooting hormone is optional; ‘Campfire’ roots readily without it.
Pro tips at cut time
- Cut in the cool part of the day (morning). Less stress, less wilt.
- Keep tools sterile. Re-wipe between plants to avoid spreading pathogens.
- If sap beads on the cut end, just blot once with a paper towel—don’t wash it.
T+0 to +24 hours: Callus initiation
- Lay cuttings on a dry, shaded tray in bright, indirect light with airflow.
- Target conditions: 18–24°C (64–75°F), low humidity, moving air.
- Do not cover with a humidity dome—dry air speeds a clean callus and reduces rot risk.
Pro callusing cues
- Look for edges to lose gloss and feel papery-leathery, not wet.
- In very dry, warm rooms, small tips may be ready in 12–18 hours; thicker tips often need 24–48 hours.
T+24 to +48 hours: Pot up into barely-damp medium
- Insert cuttings just deep enough to stand (about 1–1.5 cm), keeping leaves above the surface.
- Firm gently so the stem contacts the medium—no wobble.
- Place in bright, indirect light (no harsh midday sun yet) with good airflow.
T+4 to +7 days: Keep it dry and bright
- Do not water yet. Let the stem signal the roots to form.
- Maintain 18–22°C (64–72°F). Avoid steamy kitchens/bathrooms; ‘Campfire’ prefers drier air.
- If room is very arid, you can lightly mist the pot’s rim—not the cutting—every few days to settle dust only.
T+7 to +10 days: First sip
- If the callus feels firm and no blackening is present, trickle a small amount of water around the pot edges.
- Let excess drain completely. Return to bright, indirect light.
T+10 to +14 days: Tug test
- Gently nudge the cutting. Resistance = new roots.
- If anchored, give a light, even watering and let the mix dry thoroughly before the next drink.
T+14 to +21 days: Rooting completes
- Most cuttings are now rooted under ideal conditions. Begin gradual light acclimation:
- Days 14–17: Morning sun only or filtered sun.
- Days 18–21: Extend to 3–4 hours of direct sun, then build toward your final placement.
- Transition to the drench-and-dry rhythm: Soak thoroughly, then wait until the mix dries well before watering again.
Aftercare for compact flames and vivid red
- Light: Bright light to full sun gives the best red. If moving outdoors or to stronger sun, acclimate gradually to prevent scorch.
- Temperature: Best at 18–24°C. Cooler, bright autumn/winter days with chilly nights bring the fiery color shift. Keep above 8°C; protect from frost.
- Water: Drench and dry. Reduce frequency in peak summer heat if growth pauses; water sparingly in winter. If temps approach 5°C (41°F), keep the mix dry and pause watering to avoid rot.
- Feeding: During active growth, feed monthly at low strength with a balanced-to-bloom-leaning, lower-nitrogen fertilizer. Skip during cold, low-light winter periods.
- Potting: Always choose a pot with drainage. A 10–12 cm pot suits small plants. Repot in early spring; tidy dead basal leaves and trim long roots.
Advanced pro tips for speed and reliability
- Airflow is your ally: A small fan on low keeps leaves dry and discourages rot and leaf spot.
- Media maturity: Pre-fill pots and settle the mix by tapping the sides—don’t compress heavily. Roots want air.
- Bottom warmth, not top heat: If your room is cool, a 20–22°C heat mat under the tray speeds rooting. Avoid hot, wet media above 24–25°C.
- Crowd control: Space cuttings so leaves don’t touch. Contact points can wick moisture and invite fungi.
- Light-right callus: Callus in bright shade, root in bright indirect light, then graduate to sun. Jumping straight to harsh sun slows rooting and risks scorch.
Troubleshooting at a glance
- Black, soft leaves or a mushy base: Classic rot from excess moisture or poor drainage. Unpot, remove any rot, re-cut above healthy tissue, re-callus, and reset in drier, grittier medium with more airflow.
- Pale, stretchy growth: Not enough light. Move closer to a bright window; add supplemental light if indoors.
- Leaf spot/rust: Improve ventilation, keep foliage dry, and remove affected leaves. Use ornamental-labeled fungicides if needed.
- Pests (scale/whitefly): Wipe off early; follow with insecticidal soap or horticultural oil as directed.
Can you root leaf cuttings?
- Possible but slower and less reliable than stem tips with ‘Campfire’. For speed and uniformity, stick with short tip cuttings (3–6 cm) and you’ll have sturdy starts in 2–3 weeks.
Safety note
- Not consistently documented as toxic for this cultivar, but treat it as “do not eat.” Ingestion may cause mild stomach upset in pets or people. Keep out of reach of children and animals.
A word on symbolism
- Often associated with a “prosperous home” and the boldness of passion—apt for a plant that turns flame-red in cool, bright seasons. While not tied to ancient lore, the modern appeal is clear: resilience, brightness in the darker months, and a spark of optimism on the sill.
Your fast-rooting checklist (printable mini version)
- Cut size: 3–6 cm tips, ~6–7 leaves
- Callus: 24–48 hours, dry air, 18–24°C, airflow
- Medium: Very free-draining, gritty, barely damp
- Rooting temp: 18–22°C; bright, indirect light
- First water: Day 7–10, sparing; drench-and-dry after anchoring
- Rooting window: About 14–21 days
- Sun: Gradual acclimation to reach those campfire reds
Follow this timeline once, and you’ll have a rhythm that turns a single trim into a tray of future “flames”—ready to light up windowsills, balcony boxes, and festive winter arrangements with reliable, glowing color.