


Think of your Rattlesnake Plant (Goeppertia insignis) as a patterned woodland orchestra: upright-to-arching leaves rise from a shared rhizome, then “pray” upward at night. When the clump gets crowded, the music gets muffled—division opens space, refreshes roots, and keeps the show lush. Here’s your no-stress, step-by-step division playbook, with timing, tools, aftercare, and pro tips for vigorous clumps and happy roots.
Meet the plant you’re dividing
- Scientific name: Goeppertia insignis (formerly sold as “Calathea insignis/lancifolia”)
- Common name: Rattlesnake Plant
- Origin: Brazil (warm, humid rainforest understory)
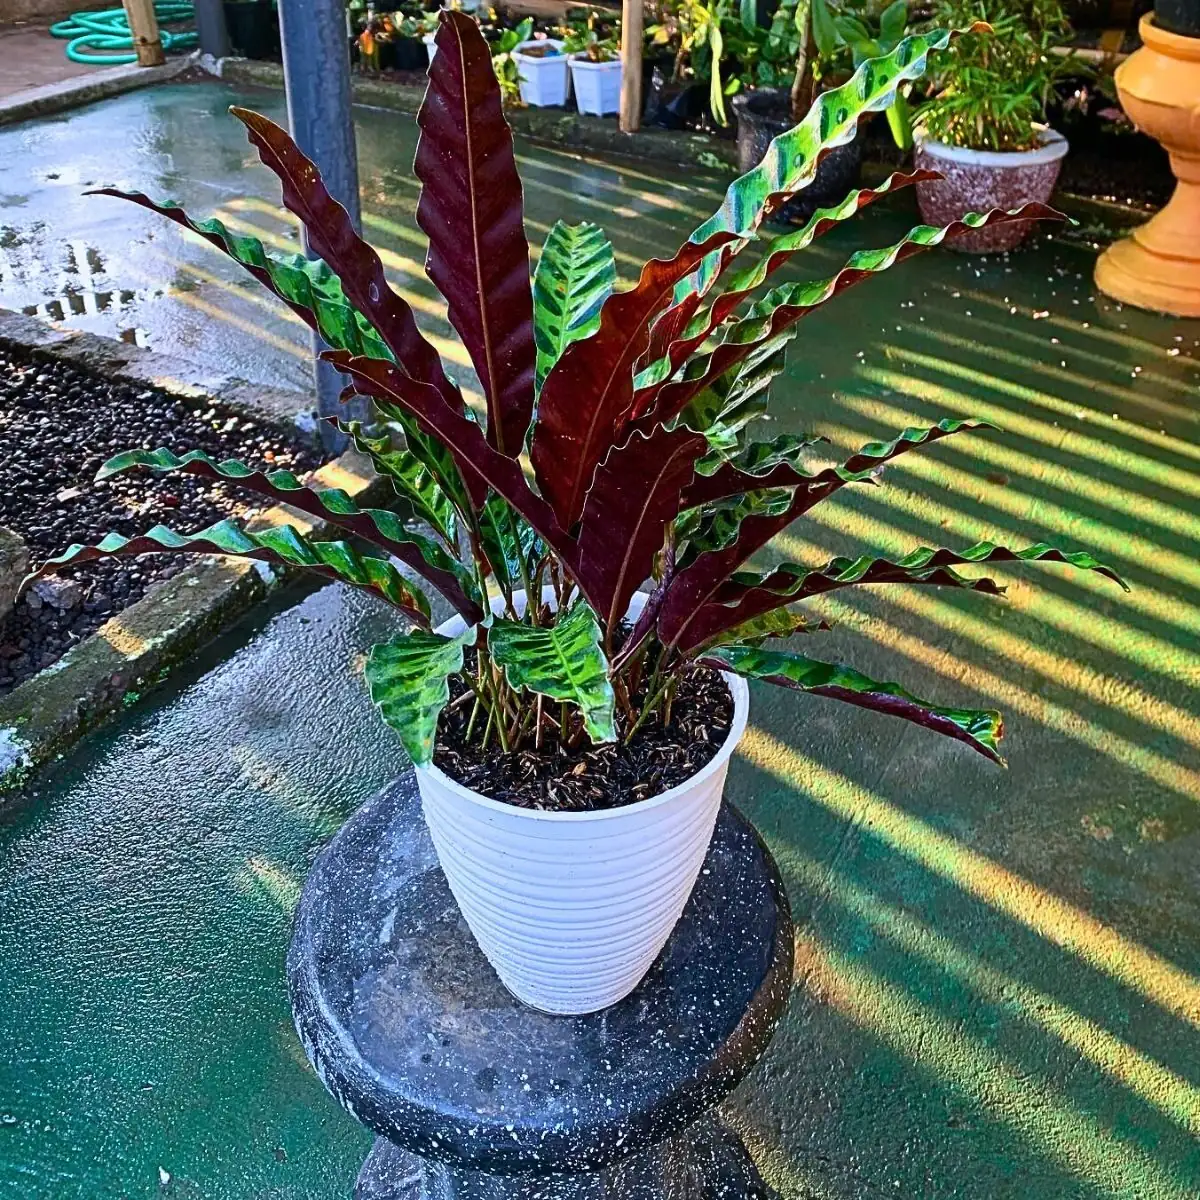
- Habit: Clump-forming; leaves emerge from the base and arch slightly
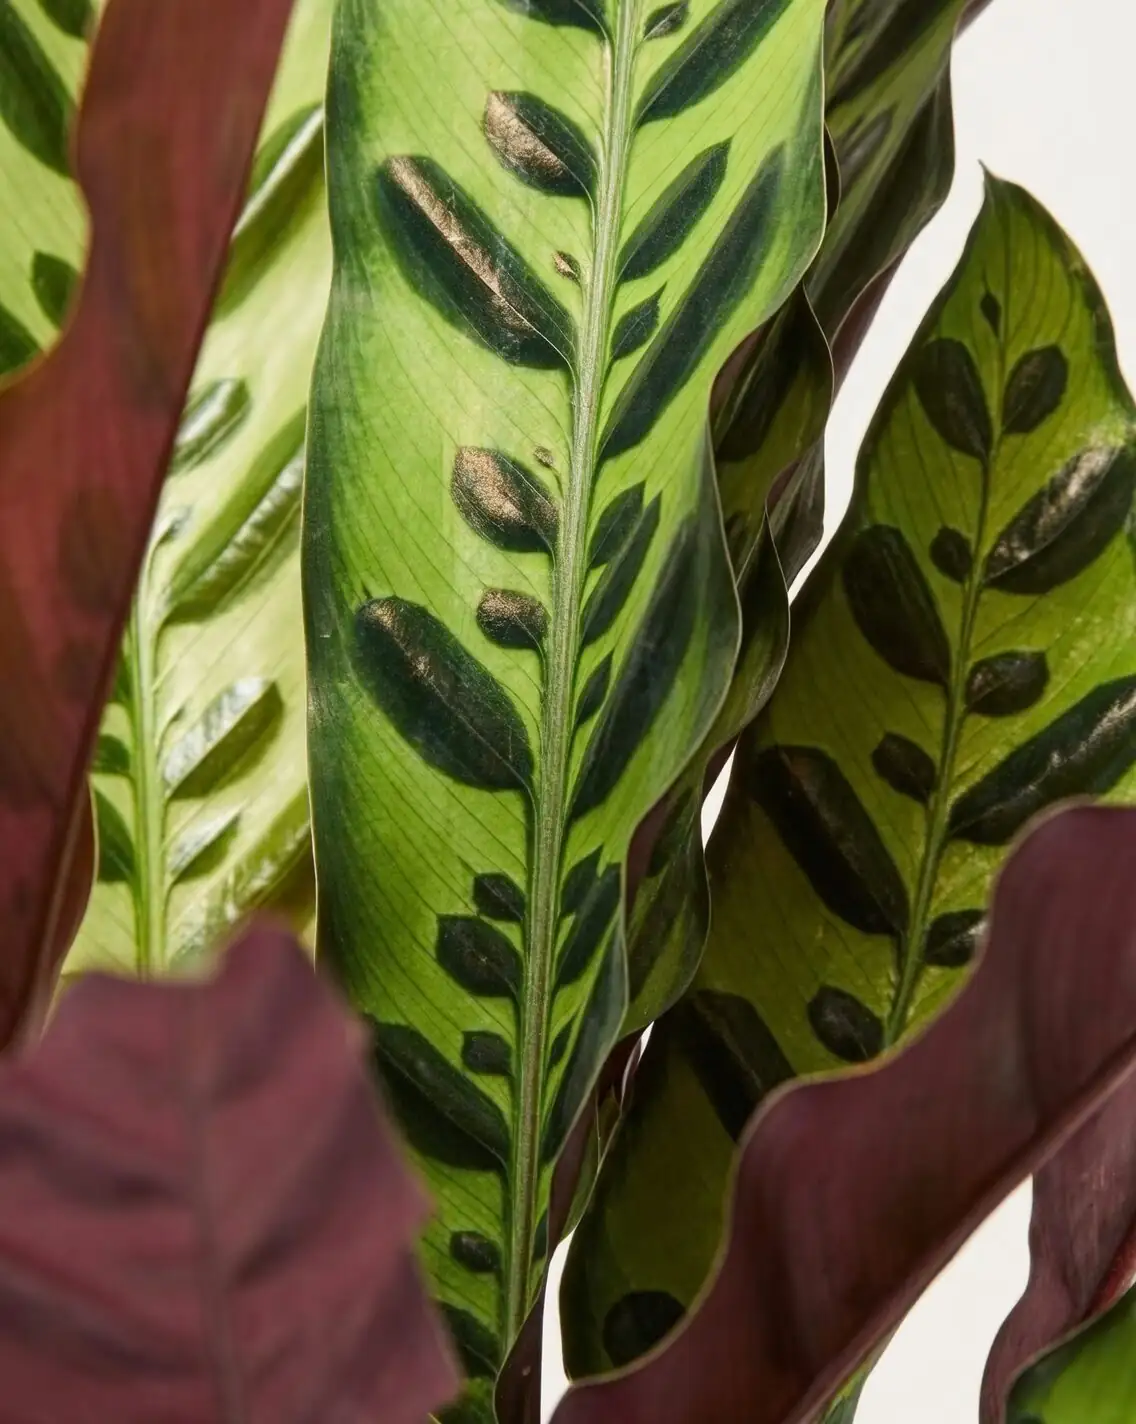
- Foliage: Long, lance-shaped, wavy margins; snakeskin-like yellow-green and deep green tops; burgundy undersides
- Size indoors: About 75 × 45 cm (30 × 18 in)
- Flowers: Rare inside; small and unshowy—foliage is the star
Why divide? The benefits for vigor and roots
- Restores breathing room: Crowded clumps trap stale, moist media around roots.
- Resets the soil biology: Fresh airy mix lowers rot risk and salt buildup.
- Encourages new growth: Smaller, refreshed units push clean, upright leaves.
- Prevents overpotting: Instead of jumping to an oversized pot, you right-size the root zone.
Best timing: when to divide (and when not to)
- Prime season: Spring, as days lengthen and growth accelerates. This is also the ideal time for repotting.
- Good cues your plant is ready:
- The crown has multiple distinct rosettes/shoots.
- Roots circle the pot or poke from drainage holes.
- Water runs around the root ball rather than soaking in.
- Avoid:
- Winter dormancy or slow growth periods.
- Heat waves or cold snaps.
- Immediately after major stress (pest outbreak, drought, travel shock).
Tools and prep
- Clean, sharp pruners or a thin knife (sterilize with isopropyl alcohol or a 10% bleach rinse; dry).
- New nursery pots with drainage (choose snug sizes; see “Pot choice” below).
- Fresh mix: 2 parts high-quality houseplant potting mix to 1 part perlite (2:1). Optional: a small handful of fine orchid bark for extra airiness.
- Rainwater or distilled water for pre- and post-division watering.
- Root rake or chopstick to tease roots gently.
- Paper towels, a tray or tarp, plant labels.
- Optional: Cinnamon powder for minor cut surfaces; not essential but can help keep cuts dry.
Pot and substrate strategy
- Mix: Moisture-retentive yet free-draining is non-negotiable. Use the 2:1 potting mix:perlite base.
- Pot size: Choose a pot just 2–4 cm (about 1–1.5 in) wider than the division’s root spread. Go snug; overpotting slows recovery and risks rot.
- Material: Plastic helps maintain moisture; terracotta breathes more—choose based on your watering style and home humidity.
Step-by-step division
- Hydrate the day before
- Water the mother plant thoroughly with rain or distilled water. Hydrated roots are more elastic and resilient.
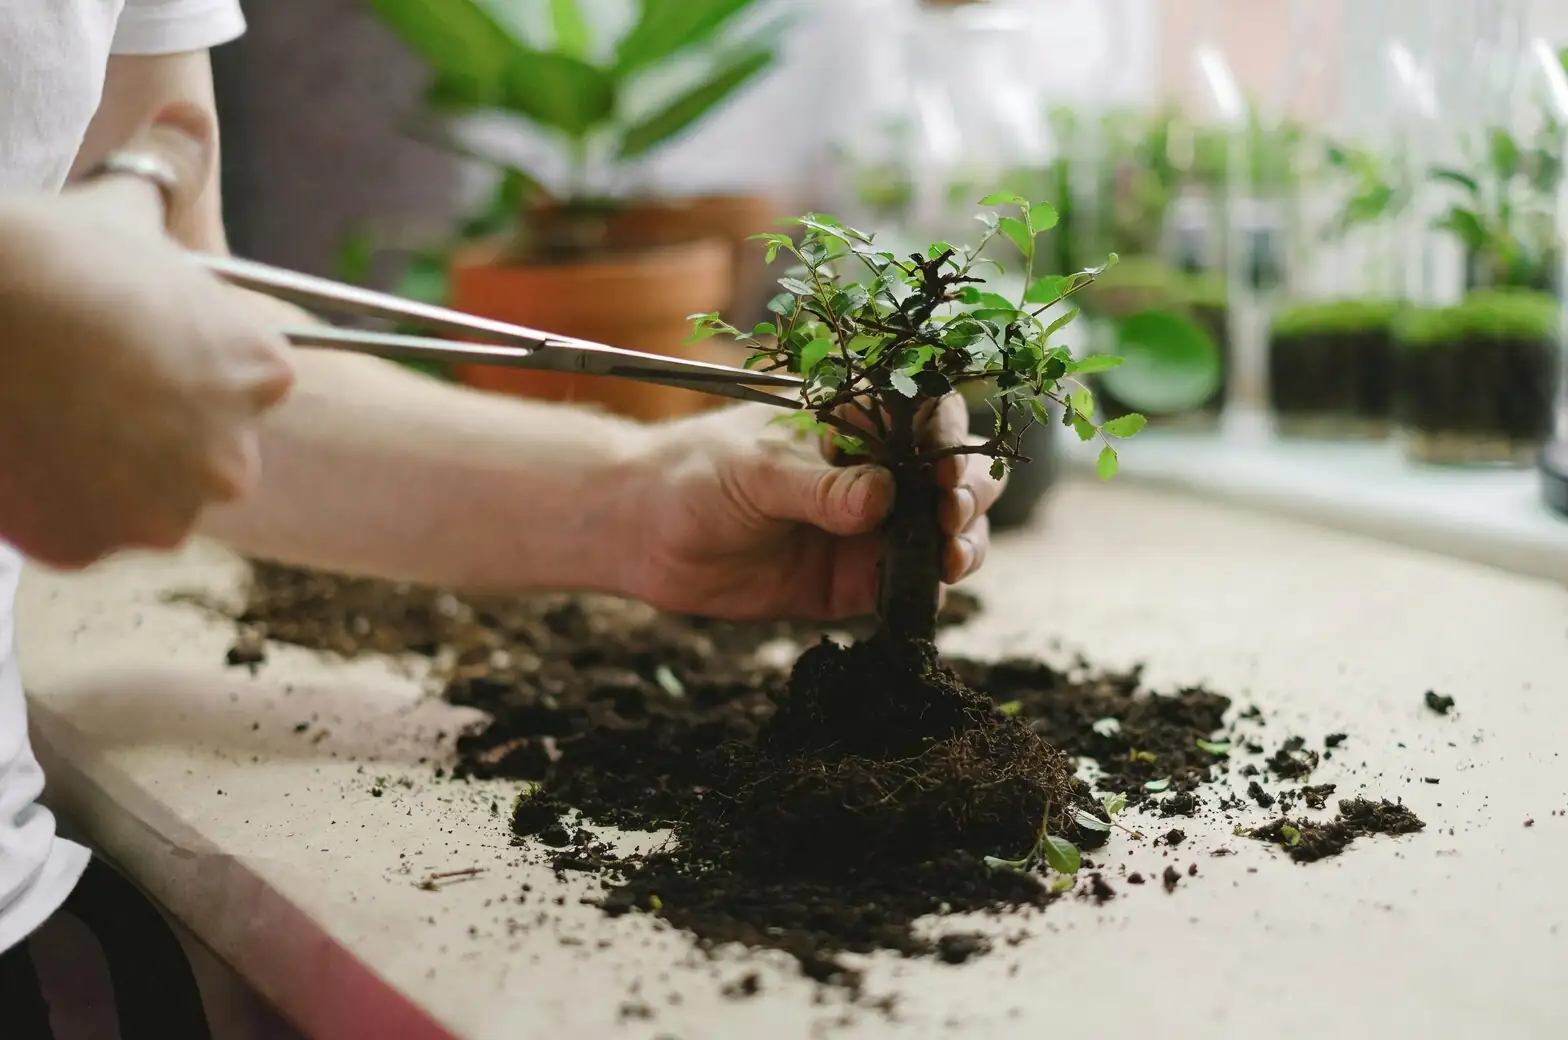
- Loosen and lift
- Slide the plant out by squeezing the pot sides. If roots cling, tap the pot rim or run a butter knife around the inner edge.
- Tease to reveal natural seams
- Cradle the root ball and gently tease away loose mix. Look for “fans” or rosettes—the plant often presents its own division lines.
- Make clean, minimal cuts
- Pull divisions apart along natural seams. If a cut is needed, slice cleanly through connecting rhizome.
- Aim for each division to include:
- At least 2–3 healthy leaves or emerging shoots
- A solid chunk of roots
- Trim only what’s necessary
- Remove mushy or blackened roots. Healthy roots are firm and pale to tan.
- Dust any larger rhizome cuts lightly with cinnamon (optional).
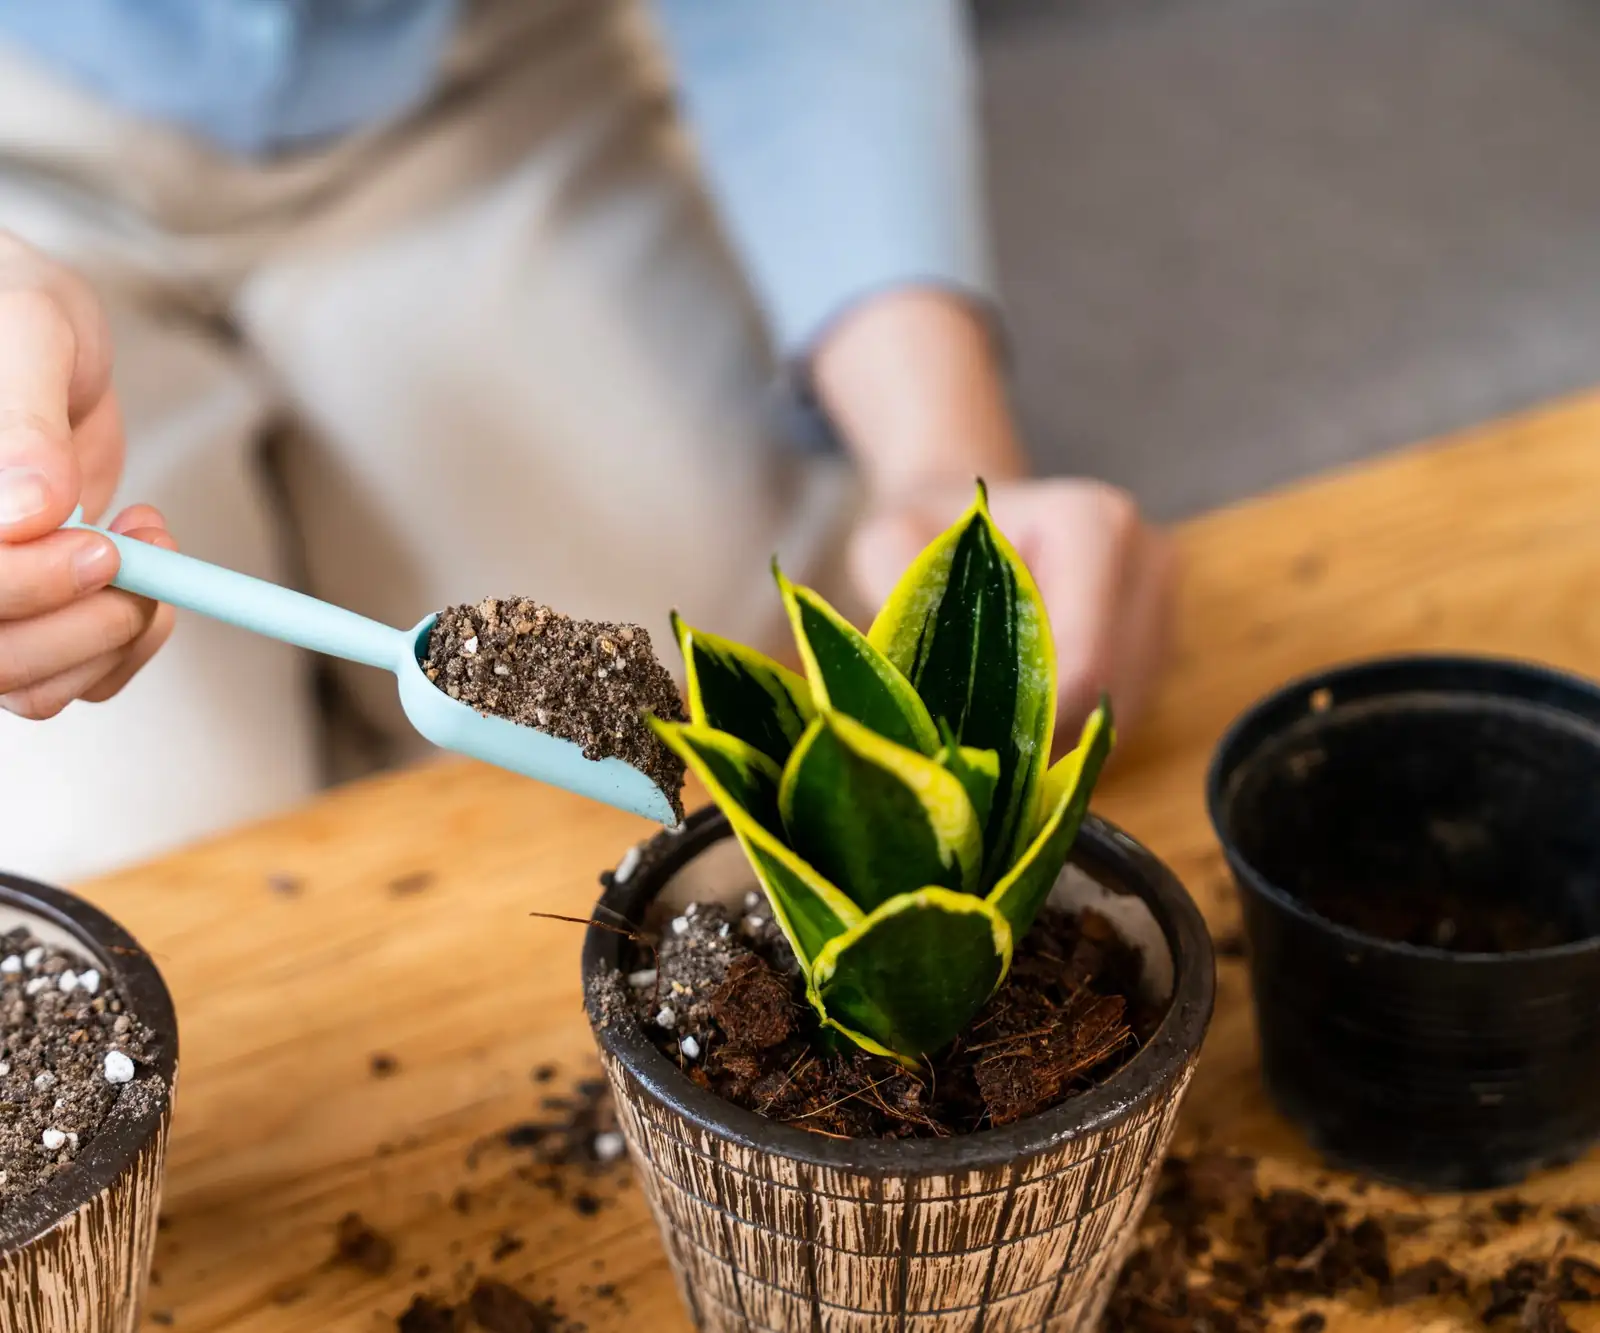
- Pot with precision
- Add a base layer of mix, set the division so the crown sits level with the final soil surface.
- Backfill and tap the pot to settle media. Do not pack tightly—roots need air.
- First watering
- Water slowly with rain/distilled water until it drains. Top up any sinkholes with fresh mix.
- Label and stage
- Mark the date. Place divisions in bright, indirect light—no direct sun, no drafts, and steady warmth.
Aftercare: the first month that makes or breaks it
- Light: Bright, indirect to light shade; avoid harsh direct sun that can scorch or fade leaves.
- Temperature: 15–24°C (59–75°F); avoid dips below 13°C (55°F).
- Humidity: 50%+ is the baseline; 60–70% is a sweet spot. Use a pebble tray or humidifier; bright bathrooms or kitchens are perfect.
- Watering rhythm:
- Keep evenly moist, never soggy. Water when the top 1–2 cm (0.4–0.8 in) just begins to dry.
- Use rain or distilled water to prevent mineral tip-burn on new leaves.
- Feeding: Hold fertilizer for 3–4 weeks post-division, then resume a half-strength, balanced liquid feed every 2 weeks in spring–autumn.
- Airflow: Gentle, draft-free air helps dry leaf surfaces after watering without chilling the plant.
- TLC tip: A loose, ventilated humidity dome (like a clear bag with holes, not sealed) for 7–10 days can reduce wilt. Remove daily for fresh air and discontinue as soon as leaves look perky.
Pro tips to keep clumps vigorous and roots happy
- Don’t overpot: A slightly snug pot promotes steadier moisture and better oxygenation.
- Flush salts quarterly: Slowly run rain/distilled water through the pot for a minute to leach built-up minerals that cause brown tips.
- Rotate the pot: Quarter-turn every couple of weeks for even, upright growth.
- Prune smart: Remove yellow or damaged leaves at the base with clean scissors; trim brown tips for looks, but fix the cause (humidity, mineral-heavy water, or drafts).
- Mix matters: Stick to that airy 2:1 potting mix:perlite formula; add a pinch of fine bark only if you tend to overwater.
- Maintain routine: In winter, let the surface dry a bit more between waterings and reduce or pause feeding as growth slows.
- Protect from blasts: Keep away from heating/cooling vents and cold drafts; stable conditions prevent tip-burn and leaf curl.
Routine care refresher (year-round essentials)
- Light: Bright, indirect to light shade; shield from harsh direct rays.
- Water: Spring–autumn, evenly moist (not soggy). Winter, let the surface dry slightly more. Prefer rain/distilled water to avoid brown tips.
- Humidity: Aim for 50%+, higher is even better.
- Feeding: Half-strength balanced liquid fertilizer every 2 weeks in the growing season; scale back in winter.
- Repot/Divide: Every 2–3 years or when root-bound, ideally in spring.
Troubleshooting after division
- Leaves droop or curl inward:
- Likely low humidity, under-watering, or a sudden temperature shift. Increase humidity, check moisture, and stabilize temps.
- Yellowing lower leaves:
- Normal shedding after stress, but watch for soggy mix. Ensure pot drains freely and you’re not watering too often.
- Brown tips/edges:
- Usually dry air or mineral-heavy water. Boost humidity and switch to rain/distilled water.
- Slow rebound:
- Keep patience and consistency. Avoid repotting again; roots need time to regrow.
Pests and health
- Watch for spider mites, mealybugs, and scale—especially in dry air.
- Rinse foliage, raise humidity, and treat with insecticidal soap or horticultural oil if needed.
- Root rot happens in waterlogged mix or oversized pots—correct quickly by trimming rot and repotting into fresh, airy media.
Safety and placement
- Non-toxic to cats and dogs, though chewing any plant may cause mild stomach upset.
- Placement sweet spots: Bright bathrooms and kitchens; or near an east- or north-facing window with filtered light—away from drafts and vents.
A note on names and meaning
- Botanical update: Many plants once sold as “Calathea” now sit in Goeppertia—including this one.
- Symbolism: Often linked with calm, renewal, and spa-like serenity—likely because it thrives where we steam and unwind. Its nightly leaf “prayer” posture adds to the sense of ritual and rest.
Quick recap: your division checklist
- Do it in spring, when growth is ready to power recovery.
- Use a 2:1 potting mix:perlite blend; choose snug, draining pots.
- Keep each division with multiple leaves and a solid root chunk.
- Water with rain/distilled; keep warm, bright (indirect), and humid.
- Resume gentle feeding after 3–4 weeks; avoid drafts and overpotting.
Handled with this rhythm, your Goeppertia insignis will repay you with dense, upright-to-arching clumps of snakeskin leaves and burgundy flashes—vibrant, vigorous, and ready for an encore.