

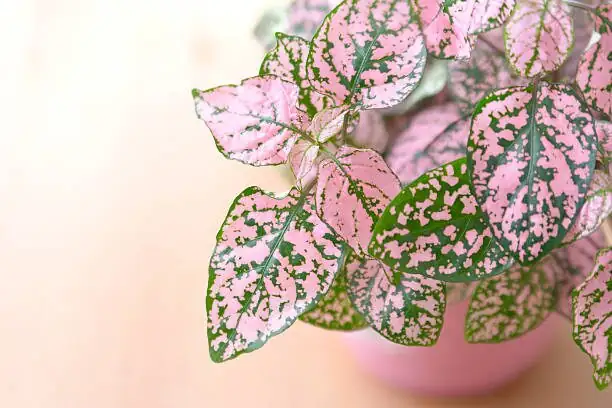
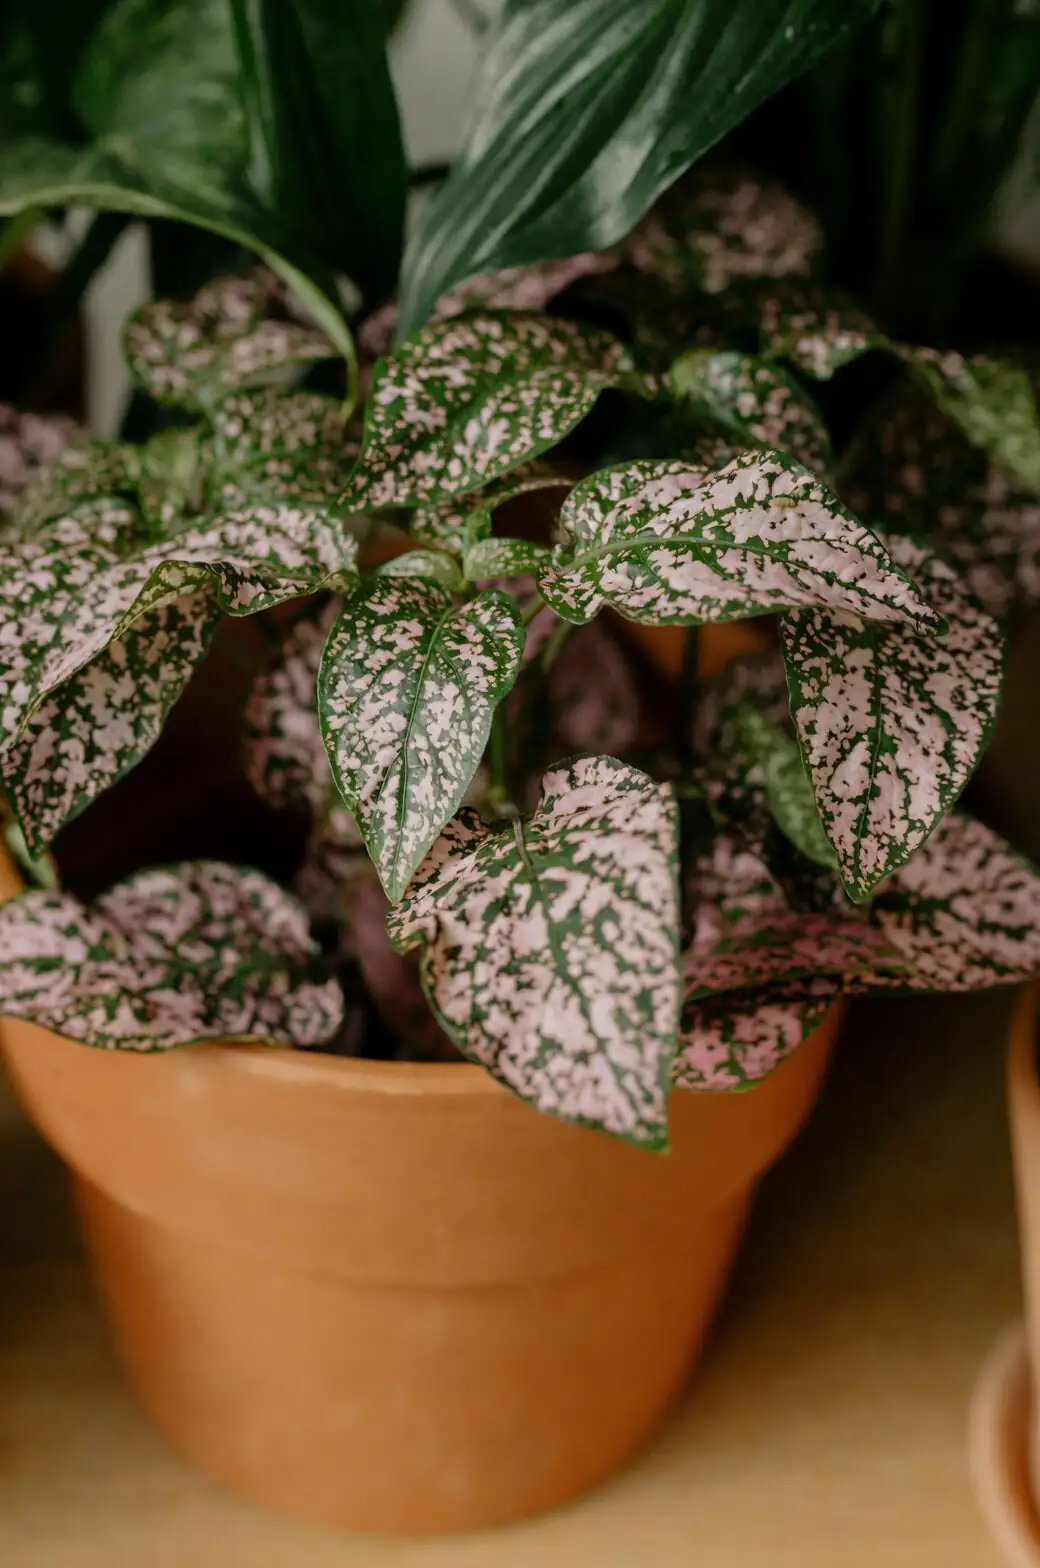
Think of Hypoestes phyllostachya—your polka dot plant—as confetti in leaf form. Those pink, red, or creamy-white splashes over green make even a small pot feel festive, especially when the plant grows into a neat little mound. The fastest way to get that full, tufted look? Propagate, then plant in clusters. Below is a step-by-step plan that compares water vs soil rooting, shows you the ideal cutting size and timelines, and ends with a replanting strategy for a fuller, mounded display.
When to Propagate and What You’ll Need
- Best season: Spring through early autumn, when warmth and light are on your side.
- Temperature: 18–27°C (64–81°F); protect from chills below 13°C (55°F).
- Light: Bright, filtered light or gentle partial sun—an east window or a few feet back from a sunny window works well.
- Humidity: Moderate to high (aim 50%+). Great in kitchens or bathrooms; a pebble tray helps.
Tools and supplies:
- Clean, sharp snips or scissors
- Small pots or a propagation tray
- Clear glass or jar (for water rooting)
- Loose, well-draining potting mix (standard houseplant mix + perlite)
- Optional: rooting hormone, clear humidity dome or loose plastic bag, plant labels
The Ideal Cutting: Size, Prep, and Setup
- Cutting size: 5–10 cm (2–4 in) tip cuttings are the sweet spot.
- Where to cut: Snip just below a node (the tiny bump or leaf joint—roots form here).
- Prep the stem: Remove the lower leaves so no foliage sits in water or buried in soil.
- Keep the top: Leave 2–3 small leaves to photosynthesize; overly large leaves can be halved to reduce wilting.
- Optional: Dip the cut end in rooting hormone for a small speed boost.
Water vs. Soil Rooting: Which Should You Choose?
Both methods work beautifully for polka dot plants. Pick by your style and timeline.
- Water rooting
- Pros: See roots forming; easy to monitor progress; fun and beginner-friendly.
- Cons: Water roots are tender; there can be a small adjustment period when moving to soil.
- Typical timeline: Root nubs in 7–14 days; pot up when roots are 2–5 cm (about 1–2 in), often around weeks 3–4.
- Soil rooting (direct-stick)
- Pros: Roots adapt to soil from day one; often less transplant shock; you can root several cuttings together to make an instant mound.
- Cons: Progress is hidden; you’ll rely on a “tug test.”
- Typical timeline: Resistance to a gentle tug in 10–21 days; vigorous new growth soon after.
Step-by-Step: Rooting in Water

- Fill a clean glass with room-temperature water and submerge only the nodes—no leaves underwater.
- Place in bright, indirect light. Warmth and humidity speed things along.
- Change the water every 3–5 days. Rinse off any slimy film on the stem.
- Watch for white root nubs at the nodes. Stay patient—some cuttings pop quickly, others take a couple weeks.
- Pot up when roots reach 2–5 cm (about 1–2 in). Very long water roots can tangle and are more fragile in the move to soil.
Potting water-rooted cuttings:
- Use a 12.5–15 cm (5–6 in) pot for a small mound; group 5–7 cuttings.
- Plant at the same depth the stem sat in water, firming mix gently around roots.
- Water thoroughly to settle the soil; keep evenly moist, never soggy.
Step-by-Step: Rooting in Soil (Direct-Stick)

- Mix a loose, well-draining potting soil with extra perlite. Pre-moisten until evenly damp, not wet.
- Stick cuttings so at least one node is buried. Space several cuttings in the same pot for instant fullness.
- Create a humid microclimate with a loose plastic bag or a dome (keep it vented so leaves don’t stay wet).
- Light and warmth: Bright, filtered light and 18–27°C (64–81°F).
- Watering: Keep the mix lightly and evenly moist—never waterlogged.
- Tug test after 10–14 days: gentle resistance = new roots. Remove the cover once growth is steady.
Tip: If any cutting wilts badly, trim its leaves smaller to reduce stress, or re-cut just below a fresh node and try again.
The Cluster Plan: How to Replant for a Fuller, Mounded Look
You have two great routes to that plush cushion of color:
A) Root-and-Combine (water first, then cluster)
- After water roots are 2–5 cm long, pot 5–7 cuttings into a 12.5–15 cm (5–6 in) pot.
- Arrange in a loose ring near the rim with one or two in the center for a domed shape.
- Firm the mix around each root system and water thoroughly.
B) Root-in-Place (soil direct-stick for an instant mound)
- Stick 6–10 cuttings straight into the final pot, burying one node on each.
- Use a humidity cover for the first 1–2 weeks; vent daily.
- This method gives you soil-strong roots from day one and avoids transplant shock.
Finishing touches for that perfect mound:
- Pinch tips: Once each cutting pushes new growth, pinch out the top pair of leaves. This encourages branching and a compact, bushy dome.
- Rotate the pot weekly so all sides get even light and color.
- Groom: If small purple-magenta flowers appear in summer, snip them off to keep energy in the foliage and maintain shape.
- Re-do the pinch every couple of weeks during active growth to prevent legginess.
Watering, Feeding, and Light After Planting
- Watering: Keep the top 1–2 cm (0.4–0.8 in) of soil just drying between waterings in spring–autumn, then water thoroughly and let excess drain. In winter, keep only lightly moist.
- Feeding: Every 2 weeks in spring–autumn with a balanced liquid fertilizer at 1/2 strength. Pause or reduce in winter.
- Light: Bright, filtered light keeps the speckles vivid and the plants compact. In low light, leaves turn greener and the stems stretch.
Quick Timeline Cheat Sheet
- Day 0: Take 5–10 cm (2–4 in) tip cuttings; prep and place in water or moist mix.
- Days 7–14: Water method shows root nubs; soil method shows perkier leaves and passes a light tug test.
- Weeks 3–4: Pot up water-rooted cuttings when roots are 2–5 cm; soil-rooted clusters are filling in. Start regular pinching.
- Weeks 4–8: Expect a tidy, mounded look with continued pinching, even moisture, and bright, gentle light.
Troubleshooting and Pro Tips
- Wilting cuttings: Trim large leaves in half to reduce transpiration, increase humidity, and ensure warm, bright but indirect light.
- Rotting bases: Usually a sign of soggy soil. Use a well-draining mix and never let pots sit in water.
- Faded color or legginess: Increase light (avoid harsh midday sun); keep up with tip-pinching.
- Pests: Spider mites, aphids, mealybugs, and whiteflies sometimes show in dry indoor air. Treat early with insecticidal soap or horticultural oil and boost humidity/airflow.
Safety Note
Polka dot plant is generally considered non-toxic to cats and dogs. Nibbling may still cause a mild tummy upset, so it’s best to keep it just out of reach of curious pets.
—
With a handful of 5–10 cm tips, bright filtered light, and a dash of patience, Hypoestes will reward you with a cheerful, compact cushion of color. Root in water if you love watching the magic happen; direct-stick in soil if you want an instant, transplant-free mound. Either way, pinch often, keep the mix evenly moist (not soggy), and enjoy that lively speckled confetti show.