


Think small, think mighty: miniature Cymbidium hybrids pack grand, cymbidium-style spikes into a plant that’s compact enough for a windowsill. When you learn to divide them well, you don’t just make more plants—you reset vigor, steer better blooming, and keep prized cultivars going for years. This is your propagation masterclass: perfect timing, smart division size, clean tools, calm aftercare, and zero shock.
Meet the plant you’re dividing
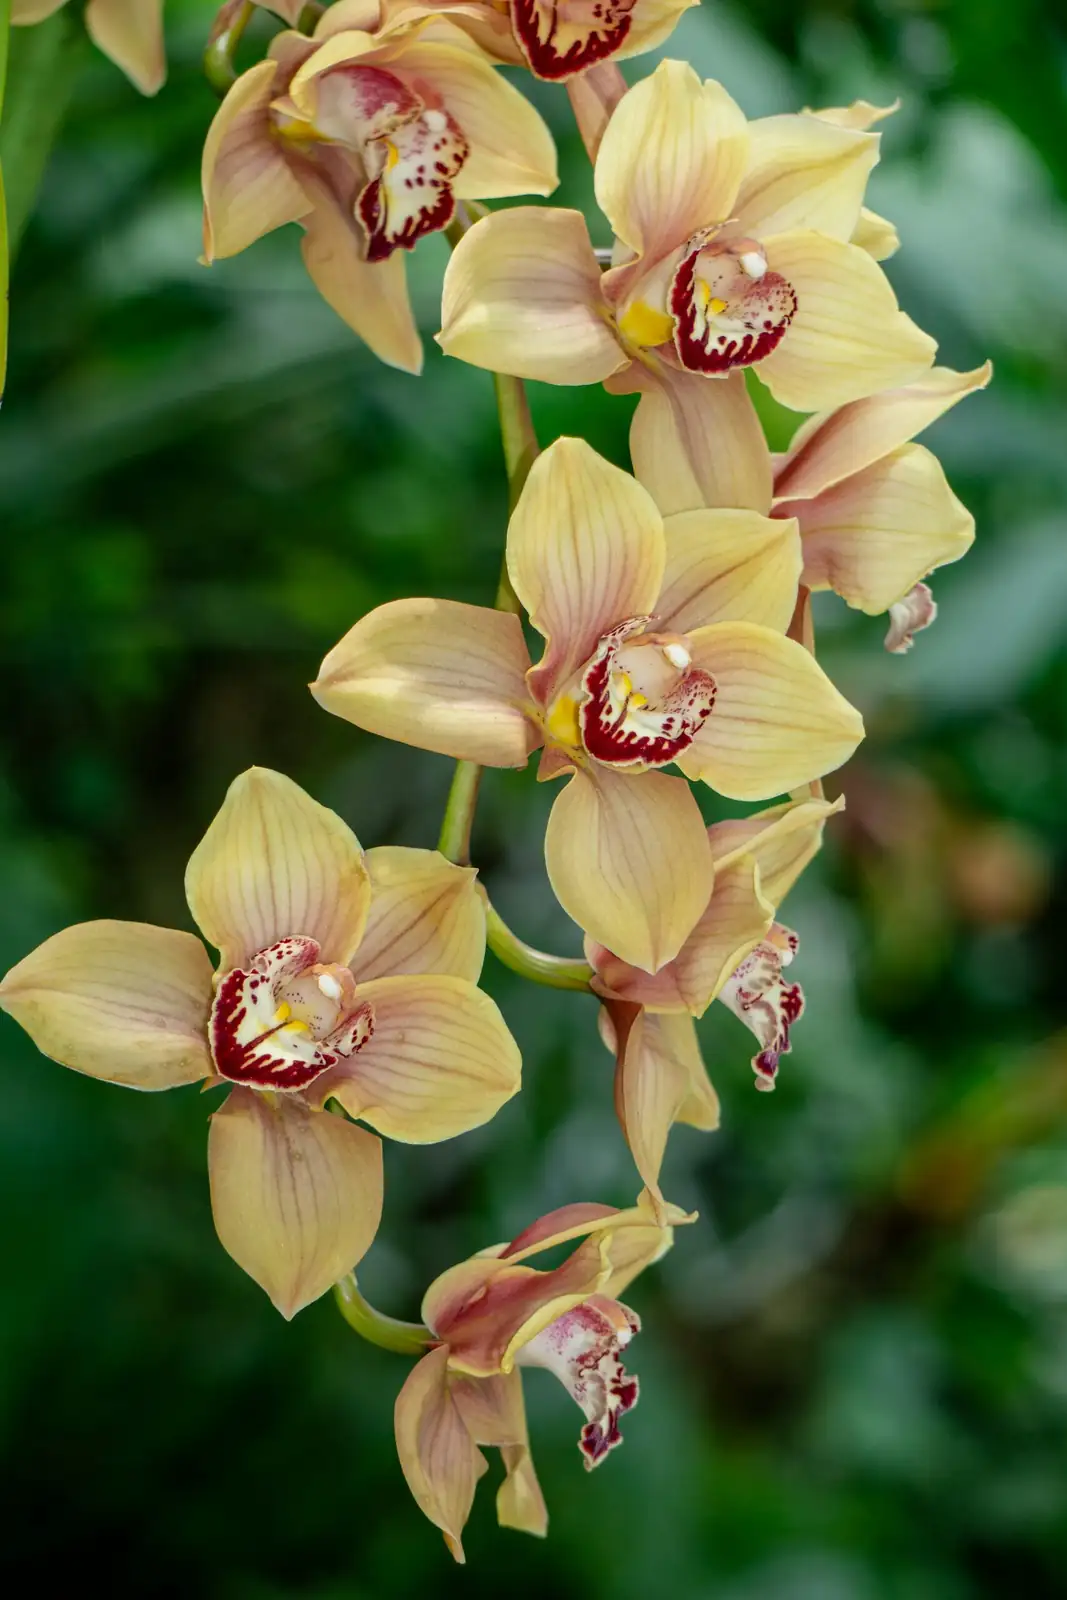
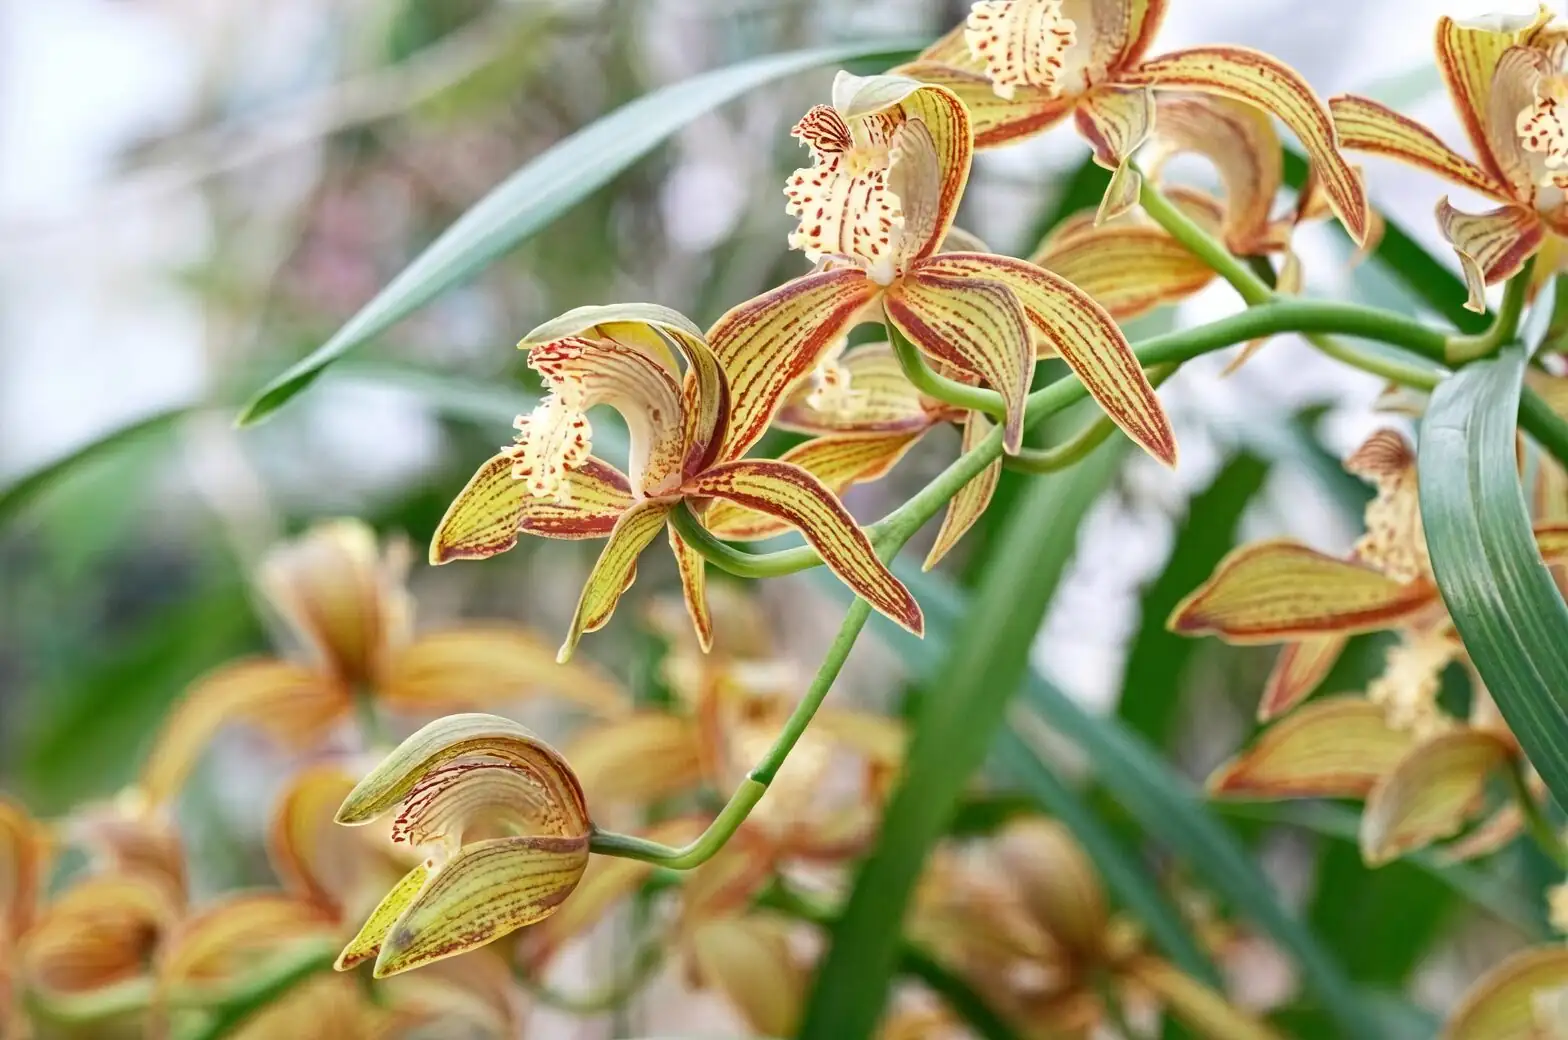
- Name: Miniature Cymbidium Orchid (Cymbidium hybrids, miniature cultivars), family Orchidaceae
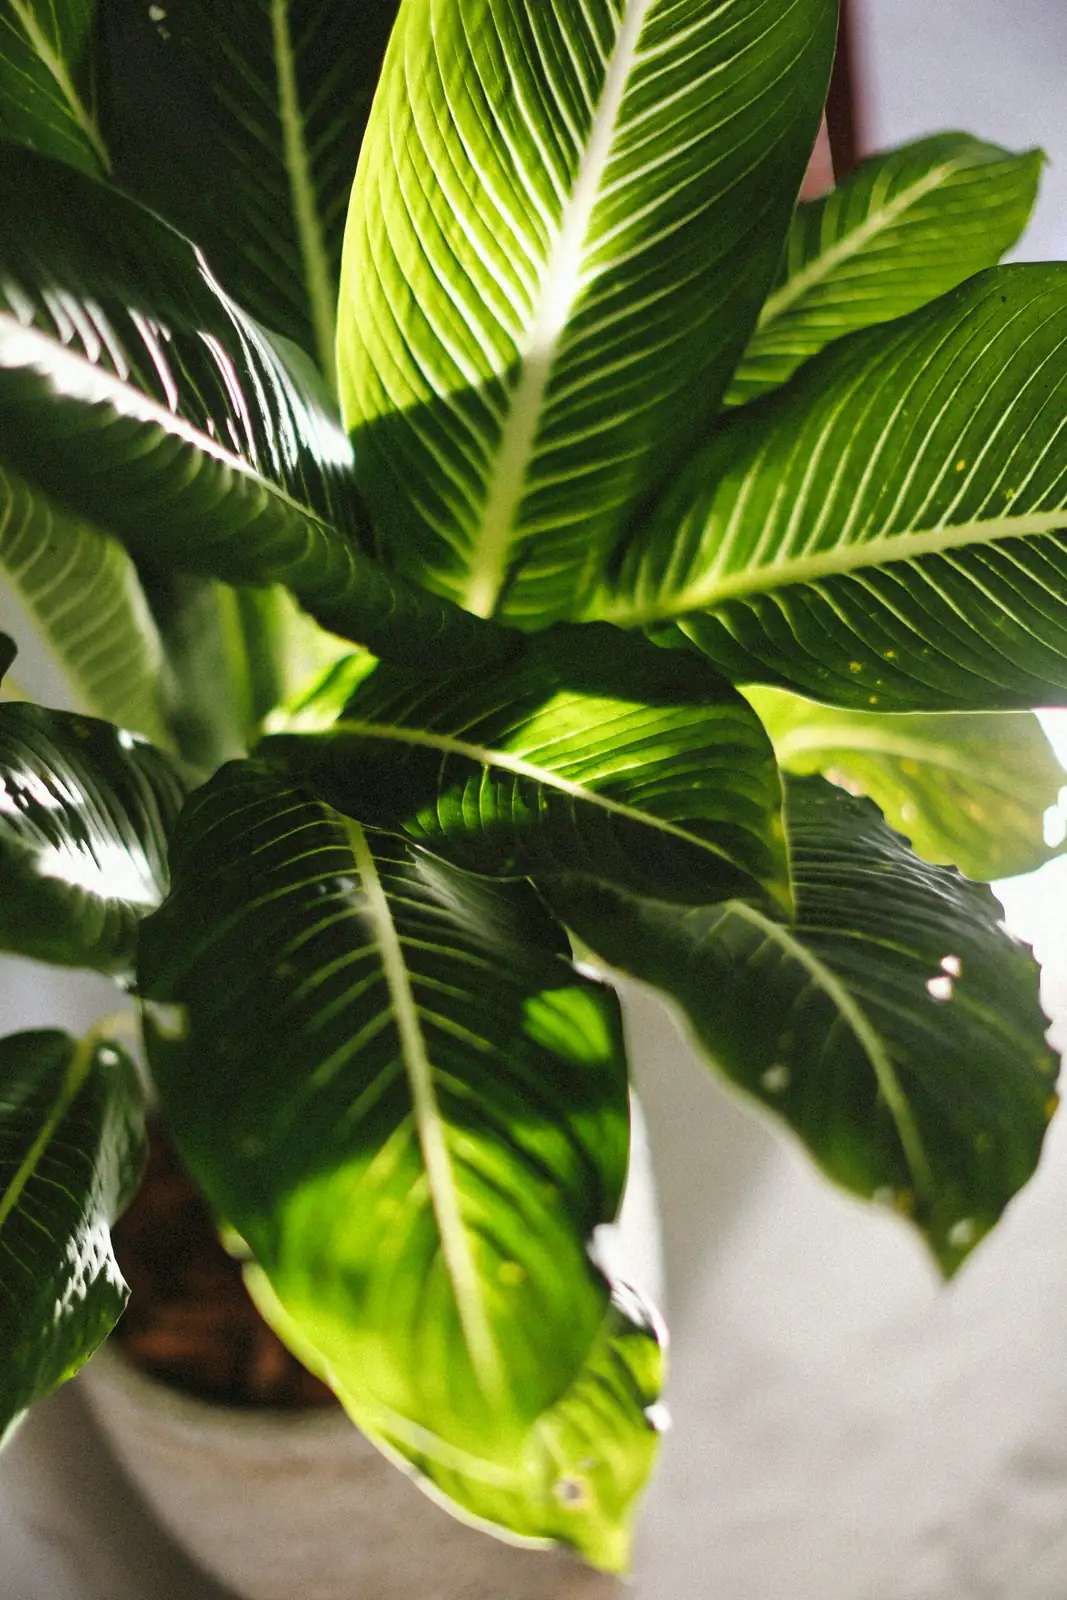
- Habit: Compact, clumping, sympodial orchid with pseudobulbs and evergreen, arching leaves
- Size: About 30–60 cm tall
- Flowering: Long-lasting, waxy blooms, typically winter to spring
- Bloom trigger: Bright light plus noticeably cooler nights in late summer to autumn
Understanding the sympodial habit is key. Each new growth emerges from a rhizome at the base of a pseudobulb, then matures into its own bulb, storing water and energy. Dividing is essentially redistributing these storage units into strong, self-sufficient colonies.
Timing: divide when the plant says “go”
For miniature cymbidiums, the right moment does most of the work for you.
- Best window: After flowering, as new growth begins. This aligns with their natural growth surge and root initiation, helping divisions rebound quickly.
- Signs you’re ready:
- Spent flower spikes are cut and the plant has “caught its breath”
- Eyes at the base are swelling into new shoots
- Bright green root tips are just starting to appear
- Avoid:
- Deep winter dormancy or the hottest spells
- Mid-spike or peak bloom—the plant’s resources are tied up
How big should a division be?
Think in pseudobulbs, not inches.
- Gold standard: 3–5 pseudobulbs with fresh, healthy roots and at least one active lead (new growth). This gives each division reserves to fuel new shoots and roots.
- Back-bulb add-ons: Leaving 1–2 older “back bulbs” with each division helps it draw on extra stored energy.
- Can you root single back bulbs? Advanced growers sometimes do this, but expect a long runway (often a couple of years) before flowering and a higher failure rate. For reliable, fast rebounds, stick to multi-bulb divisions.
Prep like a pro: cleanliness and setup
Set the stage before you cut—your future plants will thank you.
- Sterile, sharp tools: Use a new razor, sterilized knife, or shears.
- Between plants (and between cuts if you’re cautious): flame-sterilize the blade or wipe with 70% isopropyl alcohol; you can also dip in a 10% bleach solution and rinse/dry.
- Fresh, airy mix: Bark-based orchid mix with perlite and/or charcoal. Avoid heavy or decomposed media.
- Pots: Snug, just big enough for 1–2 years of growth. Overly large pots stay wet too long.
- Optional extras: Powdered cinnamon for cuts (lightly on the rhizome surface), plant labels, new stakes/ties, and a clean work surface.
- Hydrate the day before: Water the mother plant thoroughly so roots are flexible and less prone to damage.
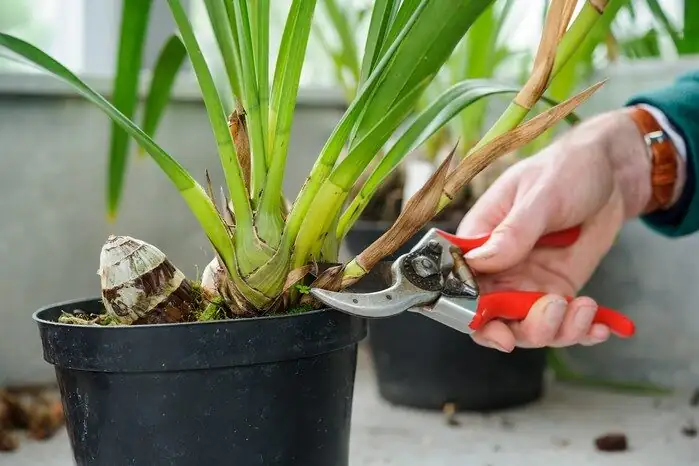
Step-by-step: division with confidence
- Unpot gently
- Squeeze the pot and slide the plant out. Tease away old mix. Don’t yank.
- Map the plant
- Find the newest growths (leads) and the oldest back bulbs. Plan divisions around strong leads, ensuring each piece has multiple pseudobulbs.
- Make clean cuts
- Sever the rhizome between bulbs with your sterilized blade. Avoid crushing.
- Groom the roots
- Trim dead, stringy, or blackened roots. Keep firm, white to cream roots.
- Optionally dust cuts
- A light touch of cinnamon on rhizome cuts is fine. Avoid coating live roots.
- Position in the pot
- Place older bulbs toward the pot’s edge, with the lead aimed into open mix to grow forward. This maximizes space for new growth.
- Backfill and firm
- Work bark mix around roots, tapping the pot to settle. Firm just enough so the plant doesn’t wobble; don’t suffocate roots.
- Secure and set
- Stake and tie if needed so the division stays still—movement breaks new root tips.
- First watering
- Moisten the mix enough to settle it, then drain thoroughly. In the first 7–10 days, be conservative—slightly drier than normal helps fresh cuts callus.
Aftercare: zero-shock recovery plan
- Light: Bright, indirect light. Gentle morning sun is fine; avoid harsh midday sun through glass while divisions establish.
- Temperature: 10–24°C (50–75°F). Keep them away from radiators or hot, dry drafts.
- Humidity and air: 40–60% with gentle airflow. A small fan across the room helps prevent stale, wet air.
- Watering rhythm:
- Weeks 1–2: Keep evenly barely-moist—allow the top to dry slightly before watering again. Never leave the pot standing in water.
- Thereafter: Water thoroughly, let drain completely, and avoid constantly soggy media.
- Feeding:
- Pause fertilizer for 3–4 weeks.
- Then resume a balanced orchid fertilizer at half strength every 2–4 weeks during active growth.
- Don’t rush the sun or the spikes:
- Once re-established and when the season turns to late summer–autumn, keep light bright and introduce cooler nights (about 10–13°C / 50–55°F for several weeks) to nudge flower spikes.
Avoiding shock: the big mistakes (and easy fixes)
- Too few pseudobulbs per division
- Fix: Use 3–5 pseudobulbs plus healthy roots per piece.
- Dirty blades
- Fix: Sterilize between plants. Wipe benches. Never reuse old, broken-down mix.
- Overpotting
- Fix: Choose a snug pot. Air over excess wetness, every time.
- Rough handling
- Fix: Hydrate before dividing; keep roots shaded and moist during the process; stake to prevent wobble.
- Hot, bright windows immediately after division
- Fix: Bright but indirect light while wounds heal.
- Overwatering “to help it recover”
- Fix: Let the top of the mix dry slightly between waterings, especially early on.
Pests, diseases, and hygiene that actually works
- Usual suspects: Scale, mealybugs, spider mites, aphids. Inspect crevices and leaf sheaths while the plant is in your hands.
- Action plan: Treat early with horticultural soap or horticultural oil, improve airflow, and keep mix fresh and free-draining to deter rot.
- Virus-awareness: Meticulous tool sterilization and not sharing water trays between plants reduce cross-contamination risks.
Miniature vs. standard cymbidiums: what’s different?
- The method is the same; minis are simply more compact.
- Division size still matters: even small-statured miniatures do best if each division carries multiple pseudobulbs and living roots.
- Light and temperature needs are very similar; minis are especially suitable for bright, cool indoor spots like a windowsill or frost-free sunroom.
What to expect: a realistic timeline
- Weeks 1–4: New roots explore the fresh mix; leaves remain steady if humidity and watering are right.
- Months 2–4: New growths thicken; watering and light return to normal patterns.
- Next bloom: A robust, multi-bulb division may bloom the following winter–spring if given bright light and autumn cool nights. Smaller or stressed divisions might take an extra season.
Quick checklist: division day gear
- Sterile cutting tool (razor/knife/shears)
- Fresh bark-based orchid mix with perlite/charcoal
- Snug pots with drainage
- Gloves, labels, stakes/ties
- Alcohol or bleach for sterilizing, paper towels
- Optional cinnamon for rhizome cuts
A note on symbolism (flower “language”)
Orchids have long signified elegance and refined beauty—cymbidiums in particular are popular celebratory gifts. Western floriography in the 19th century cast orchids as rare and luxurious; East Asian traditions associate them with integrity, nobility, and scholarly virtue. While “flower language” isn’t a science, it reflects centuries of cultural admiration—fitting for a plant that rewards patience, skill, and a gentle hand.
Mini care refresher between divisions
- Bright, indirect light; gentle morning sun is fine
- Temperatures 10–24°C (50–75°F), with cooler autumn nights to encourage spikes
- Moderate humidity (40–60%) and gentle airflow
- Water thoroughly, drain completely; avoid soggy media
- Half-strength balanced orchid fertilizer every 2–4 weeks in active growth
- Repot every 2–3 years, ideally after flowering or as new growth begins
With the right moment, a clean cut, and calm aftercare, miniature cymbidiums divide beautifully. Give each new clump the stored energy of multiple pseudobulbs, keep your tools immaculate, and let bright light plus cool nights do the rest. Soon enough, you’ll have a bench (or windowsill) of petite plants sending up those wonderfully durable, cymbidium-style spikes.