

You’re here because your miniature Cymbidium looks… off. Maybe there’s sticky leaf shine, a dusting of webbing, little oyster-shell bumps, or limp roots. Good news: with a sharp eye and a quick, calm response, you can turn this around. Think of this as your photo-led, symptom-to-solution field guide—fast isolation, clear IDs, and treatments that actually work.
Miniature Cymbidium snapshot
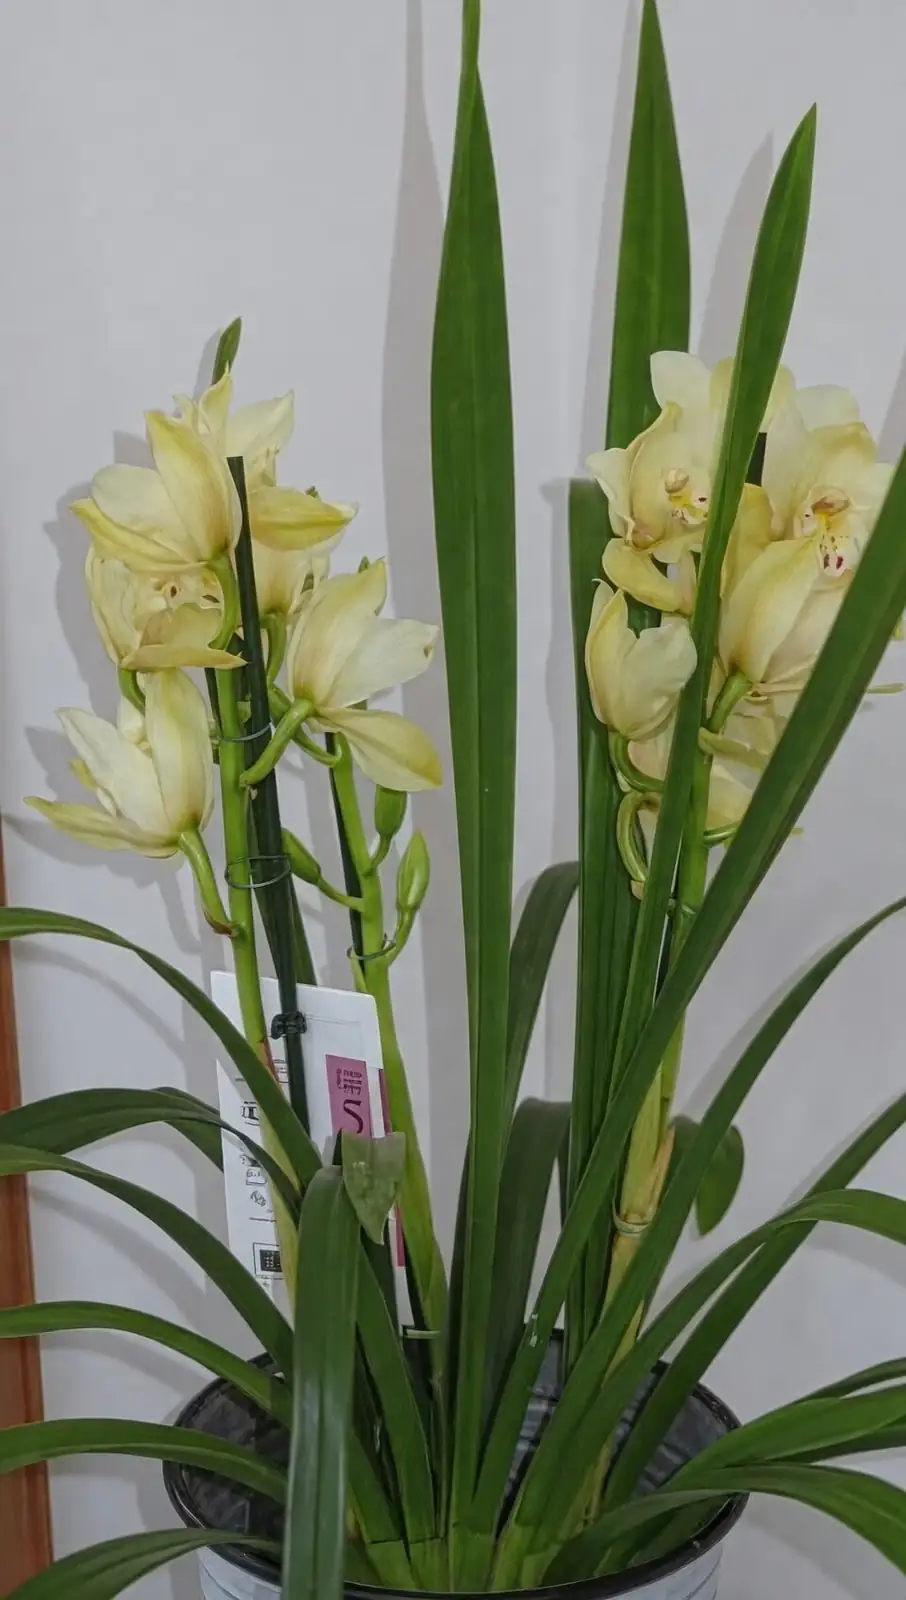
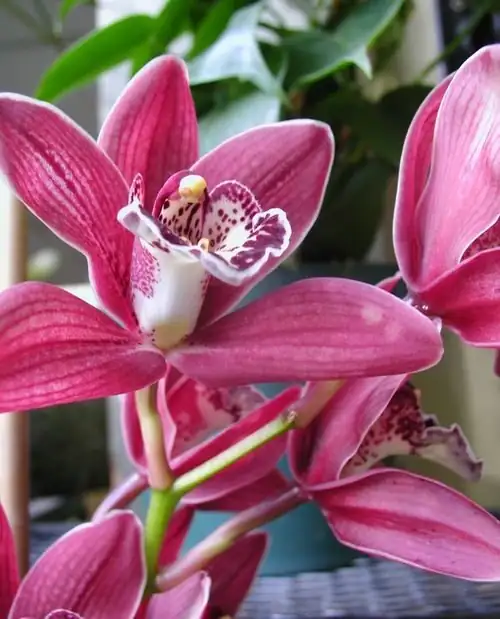
- What it is: Cymbidium hybrids (miniature cultivars), compact orchids bred for windowsills with classic cymbidium-style flower spikes.
- Size and look: 30–60 cm tall, evergreen, strap-like arching leaves from plump pseudobulbs; upright to arching spikes with waxy, long-lasting blooms.
- Light and temps: Bright, indirect light; gentle morning sun is fine. Best growth 10–24°C (50–75°F). Cool nights (about 10–13°C / 50–55°F) in late summer–autumn are the secret to flower spikes.
- Humidity and air: 40–60% humidity with gentle airflow.
- Potting: Free-draining, bark-based orchid mix in a snug pot; never heavy garden soil.
First things first: the 10-minute triage
1) Isolate now
- Move the plant to a bright, separate area away from your collection. Keep it off heated sills or radiators.
- Bag and bin any fallen leaves, sheaths, or old flower parts.
2) Tools and hygiene
- Mix up a mild spray: ready-to-use horticultural soap or oil (per label).
- Have 70% isopropyl alcohol and cotton swabs on hand.
- Sterilize tools between cuts using flame, alcohol, or a 10% bleach dip.
3) Inspect with intent
- Shoot macro photos (or use a phone loupe) of leaf undersides, leaf axils, pseudobulb sheaths, the base of spikes, and surface roots.
- Note sticky residue, webbing, bumps, or off-color patches.
4) Decide: bugs, rot, or environment
- Bugs often leave sticky honeydew, cottony tufts, webbing, or clusters of tiny insects.
- Root rot smells sour; roots turn brown/mushy; the mix is compacted or stays soggy.
- Bloom refusal? Usually light and temperature-related.
5) Start treatment today, then plan follow-ups
- Most sap-suckers require repeated treatments 7–10 days apart to catch hatchlings.
- For rot, repot promptly into fresh, airy bark and moderate watering.
Photo-led symptom-to-solution: pests
Where pests hide on cymbidiums: under leaves, in leaf axils, beneath old pseudobulb sheaths, on spikes and buds, and quietly in the creases between leaves and bulbs.
Scale insects (the armored bumps)
- What you’d photograph: Flat, round to oval “shields” (brown, tan, or whitish) stuck to leaves or pseudobulbs; sometimes clusters in the leaf axils. Leaves may show pale chlorotic patches.
- Damage tells: Yellowing patches that later brown, weakening leaves; premature leaf drop in severe cases.
- Quick fix today
- Dab individual scales with a cotton swab dipped in isopropyl alcohol to dissolve the waxy cover and dislodge them.
- Spray all plant surfaces (especially undersides and axils) with horticultural soap or horticultural oil, per label.
- Deep clean and follow-up
- Repeat spray in 7–10 days, and again if needed—this times with the crawler stage.
- For heavy infestations, a systemic insecticide labeled for scale can help; apply strictly per label instructions. Ensure excellent coverage of hidden spots.
- Prevention
- Peel away loose, old sheaths to remove hiding places.
- Quarantine new plants for 2–4 weeks and inspect weekly.
Mealybugs (the white cotton)
- What you’d photograph: Tufts of white fluff tucked at leaf bases, along leaf midribs, behind sheaths, or on roots near the crown.
- Damage tells: Sticky honeydew, soot-like mold on leaves, warped new growth, slow decline.
- Quick fix today
- Swab visible mealybugs with isopropyl alcohol.
- Follow with a thorough spray of horticultural soap or oil, lifting leaves to reach every tucked-away area.
- Deep clean and follow-up
- Repeat in 7–10 days until no new mealybugs appear.
- Consider a systemic insecticide labeled for mealybugs in stubborn cases; always follow label directions.
- Prevention
- Keep plant debris cleared and avoid overcrowding—mealybugs love sheltered, stagnant nooks.
Spider mites (the almost-invisible stipplers)
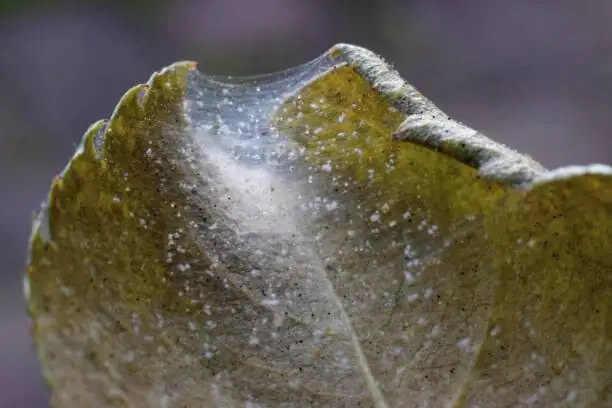
- What you’d photograph: Fine stippling on upper leaf surfaces, bronzing on older leaves, and very fine webbing in tight leaf overlaps. Seen best with backlighting or a macro lens.
- Damage tells: Silvery speckling that progresses to dull, bronzed leaves; dry indoor air accelerates outbreaks.
- Quick fix today
- Rinse the plant thoroughly with room-temperature water, focusing on leaf undersides.
- Spray with horticultural oil or soap labeled for mites. Ensure full coverage, including axils.
- Deep clean and follow-up
- Repeat in 7 days; maintain gentle airflow and 40–60% humidity to make conditions less mite-friendly.
- For severe cases, use a miticide labeled for spider mites and orchids; rotate products per label to avoid resistance.
- Prevention
- Avoid chronically dry, hot rooms and harsh midday sun through glass that stresses foliage.
Aphids (the soft-bodied sprinters)
- What you’d photograph: Clusters of small green, black, or brown insects on tender spikes, buds, or new leaves; shiny honeydew; sometimes ants farming them.
- Damage tells: Distorted buds, deformed new leaves, sticky residue. They can also vector viruses between plants.
- Quick fix today
- Rinse off with water, then spray with horticultural soap or oil. Avoid spraying open blossoms with oil.
- Deep clean and follow-up
- Repeat in 7–10 days if needed.
- Use yellow sticky cards near spikes to monitor activity and catch winged aphids.
- Prevention
- Strengthen airflow and keep windows screened. Control ants that protect aphid colonies.
Important spraying notes for orchids
- Always treat out of direct sun and heat to prevent leaf burn.
- Test any product on a small area first, especially on tender spikes or buds.
- Do not mix products; follow each label carefully and allow leaves to dry before returning to bright light.
Root rot rescue: how to tell, how to save
When to suspect rot
- The potting mix smells sour or stays wet for days.
- Roots look brown and mushy when pinched; pseudobulbs shrivel despite frequent watering.
- Leaves lose luster or tip-yellow for no clear reason.
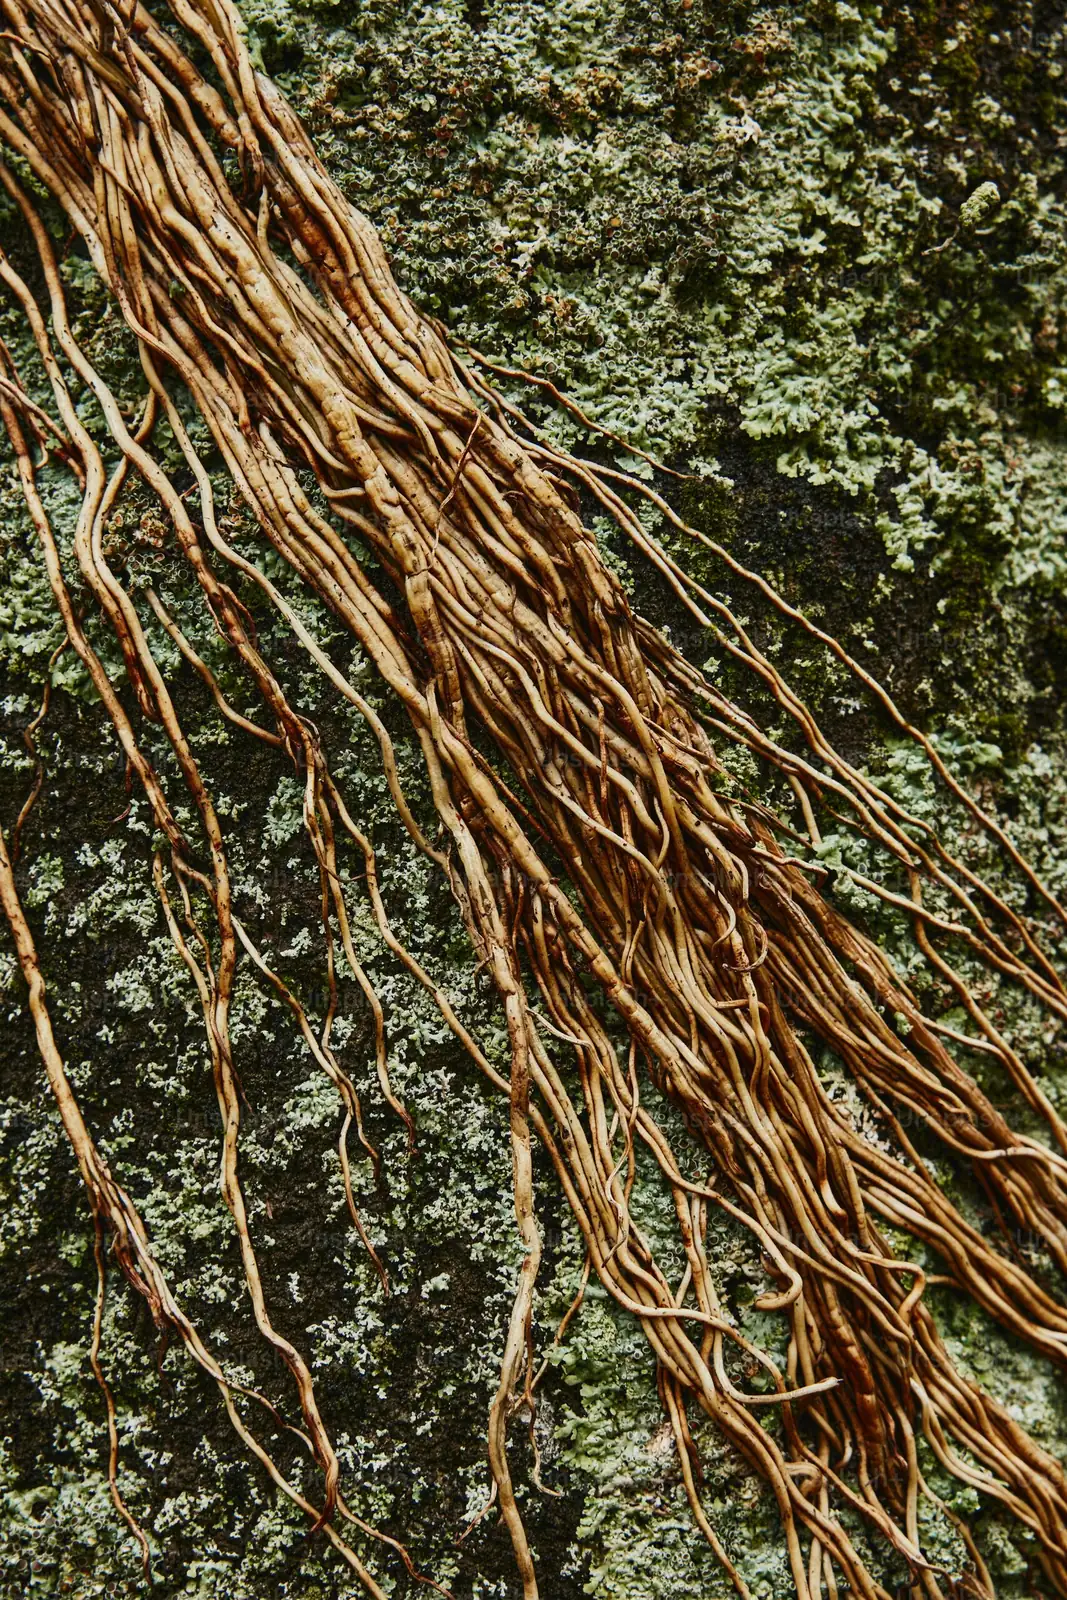
Photo cues
- Healthy roots: firm, pale to silvery-green when dry, green when just watered.
- Rotted roots: brown/black, mushy, sloughing velamen, foul smell. Pseudobulb bases may darken.
Immediate fix (same day)
1) Unpot and rinse
- Gently remove all old mix. Rinse roots under lukewarm water to see what’s alive.
2) Sanitize and trim
- Sterilize pruners. Cut away all soft, dark, mushy roots back to firm tissue.
- Wipe the crown and leaf bases clean of debris.
3) Optional disease control
- If black, rapidly advancing rot was present in bulbs or crown, consider an oomycete-specific fungicide drench labeled for orchids (water-mold/root-rot control). Use strictly per label.
4) Repot right
- Choose a snug pot with drainage holes. Fill with fresh, free-draining bark-based orchid mix, with some perlite/charcoal for extra air.
- Center the plant so new growths have room. Stake gently if top-heavy.
5) Reset watering
- Water thoroughly once to settle the mix, then let excess drain completely. Thereafter, keep evenly moist during active growth but allow the top to dry slightly between waterings. Never leave the pot standing in water.
6) Air and light
- Bright, indirect light and gentle airflow help roots rebound. Avoid heat vents and stagnant, wet air.
Why it happened (and how to avoid a repeat)
- Old, broken-down mix holds water and starves roots of air—repot every 2–3 years or when mix compacts.
- Oversized pots stay wet too long; smaller, snug pots are safer.
- Watering rhythm matters: soak, drain fully, and reduce frequency in cooler, darker periods.
When your mini Cymbidium won’t bloom
Think of cymbidiums as light lovers that need a seasonal “cool-night nudge.”
- Brightness check
- Leaves should be a healthy medium green. Very dark green = too little light; yellowed/scorched patches = too much direct midday sun through glass.
- Cool-night program (the bloom trigger)
- For several weeks in late summer to autumn, aim for nights around 10–13°C (50–55°F) while keeping days bright. An unheated but frost-free sunroom or cool windowsill works well. Keep away from indoor heat sources.
- Feeding and timing
- During active growth, fertilize with a balanced orchid fertilizer at half strength every 2–4 weeks. Ease off in winter unless you see new growth.
- Space and potting
- Use a snug pot. Overpotting reduces bloom and invites rot. Repot after flowering or as new growth begins.
- Seasonal rhythm
- Spring–summer: bright light, regular watering, light feeding.
- Late summer–autumn: maintain bright light and introduce cool nights to initiate spikes.
- Winter: keep cool and bright; water a bit less; support developing spikes.
- Other culprits
- Chronic low light, warm nights, or frequent heat drafts can stall spikes.
- Keep humidity moderate (40–60%) with gentle airflow to support bud development.
Care quick hits that prevent most problems
- Watering: Soak thoroughly; drain completely. Let the top of the mix dry slightly between waterings. Reduce in cool, dark periods.
- Light: Bright, indirect; morning sun is fine. Avoid harsh midday sun through glass to prevent scorch.
- Air: 40–60% humidity plus gentle airflow; avoid stale, wet air.
- Grooming: Remove spent flower spikes near the base after blooming. Trim only dead or yellowing leaves.
- Repot and divide: Every 2–3 years into fresh, airy mix. Divide only mature clumps with several pseudobulbs and healthy roots.
- Placement: Cool, bright windowsill or frost-free sunroom. Not frost-hardy; protect from 0°C/32°F and below.
- Buying tip: Choose plants with firm pseudobulbs, clean green leaves, and developing spikes/buds for the longest display. Avoid sour-smelling media or black, mushy bulbs.
Safety and health
- Pests you’ll most often see: scale, mealybugs, spider mites, aphids. Treat with horticultural soap or oil as first-line options; repeat applications are key.
- Root disease: Root rot is the main issue, usually from stale, waterlogged media. Improve drainage, repot, and adjust watering. Avoid overwatering.
- Pet safety: Generally considered non-toxic to cats and dogs. Chewing any plant may cause mild stomach upset.
Troubleshooting snapshots (what to photograph)
- Leaf undersides and axils: for scale, mites, mealybugs.
- Buds and spikes: for aphids and mealybugs.
- Pseudobulb sheaths: gently peel loose, papery layers to expose hiding pests.
- Roots (out of pot): color, firmness, smell.
- Whole plant in its setting: light exposure and proximity to heat vents.
Isolation and follow-up protocol (pests or rot)
- Keep isolated for at least 2 weeks after the last visible sign of trouble.
- Reinspect every 3–4 days with a hand lens.
- Repeat pest treatments at 7–10 day intervals 2–3 times.
- Sterilize tools after each session; dispose of infected debris in sealed trash.
A note on “flower language” and symbolism
Orchids have long signified elegance, admiration, and refined beauty in both Eastern and Western traditions. Cymbidiums, cultivated for centuries in Asia and now beloved worldwide, often mark celebrations—think new beginnings, respect, and high regard. While modern “flower language” charts simplify meanings, cymbidiums’ cultural weight comes from their history in gardens, art, and gift-giving: long-lasting blooms that stand for enduring esteem rather than fleeting romance.
Fun to know
- Miniature cymbidiums were bred to fit windowsills but keep that classic cymbidium spike—and those blooms can hold for weeks.
- Cool nights aren’t just folklore—they’re your reliable, built-in bloom switch.
Keep this guide handy, snap clear photos as you inspect, and act fast but methodically. Mini Cymbidiums are tougher than they look: with bright light, airy roots, and that autumn cool-night cue, they’ll reward you with elegant, long-lasting spikes year after year.