

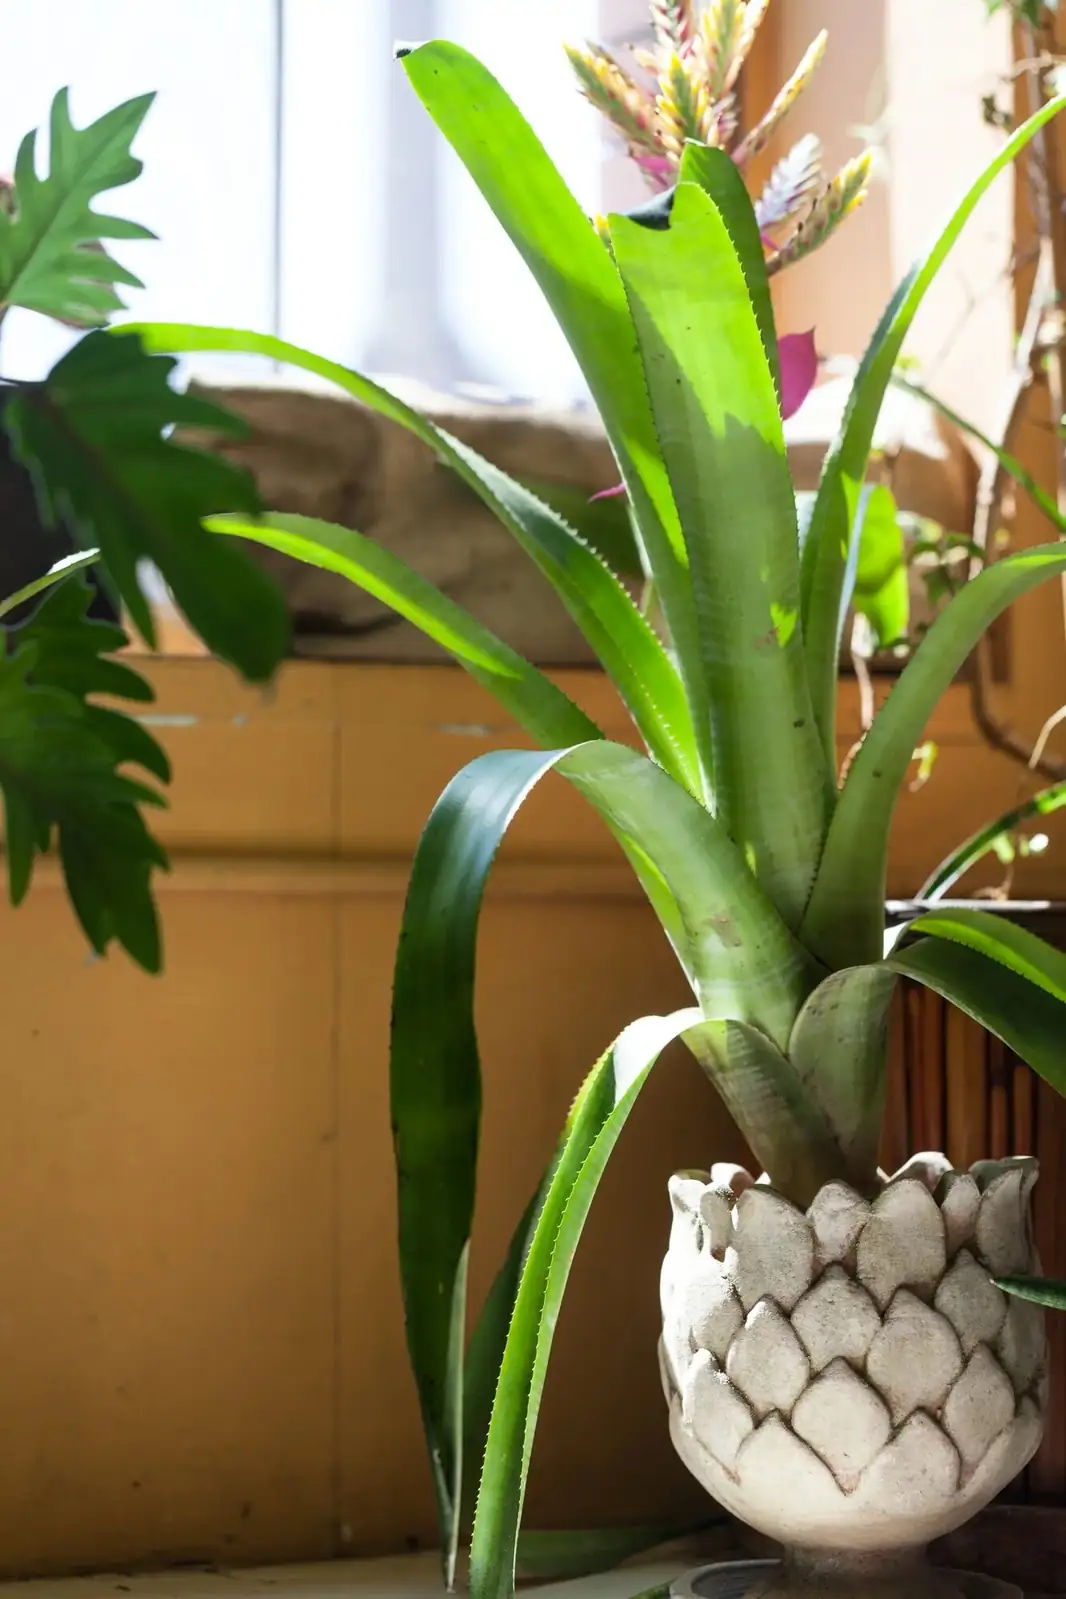
Bromeliads don’t just bloom—they hand you the next generation. As the mother rosette’s colorful bracts slowly fade, pups (offsets) gather their strength at the base, ready to take over. This is your moment to multiply your Guzmania, Vriesea, Aechmea and allies with speed and confidence. Below is a propagation masterclass focused on perfect timing, clean technique, airy media, humidity know‑how, and razor‑sharp aftercare so pups root fast and hit the ground running.
Meet the plant you’re multiplying
- Origin: Tropical and subtropical Americas; many favorites hail from Central and South America.
- Habit: Rosette-forming, often epiphytic, naturally growing on trees without stealing from them.
- Indoors sweet spot: Bright, indirect light; warm temps; and a free-draining, airy mix.
- Life cycle note: Many popular types are monocarpic—the mother rosette declines after flowering—but she produces pups to carry on.
The golden window: when to detach pups
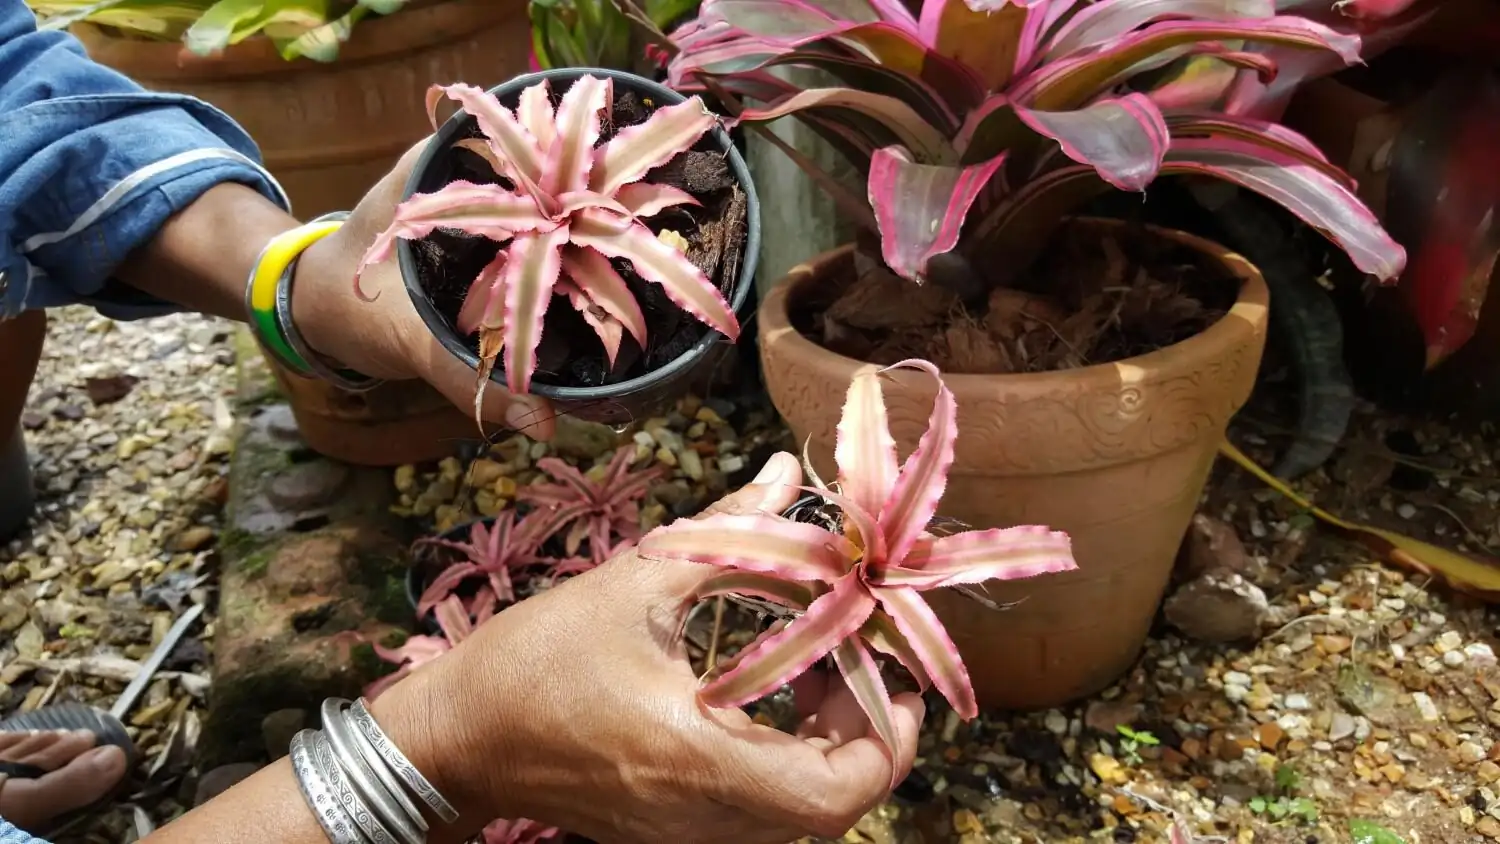
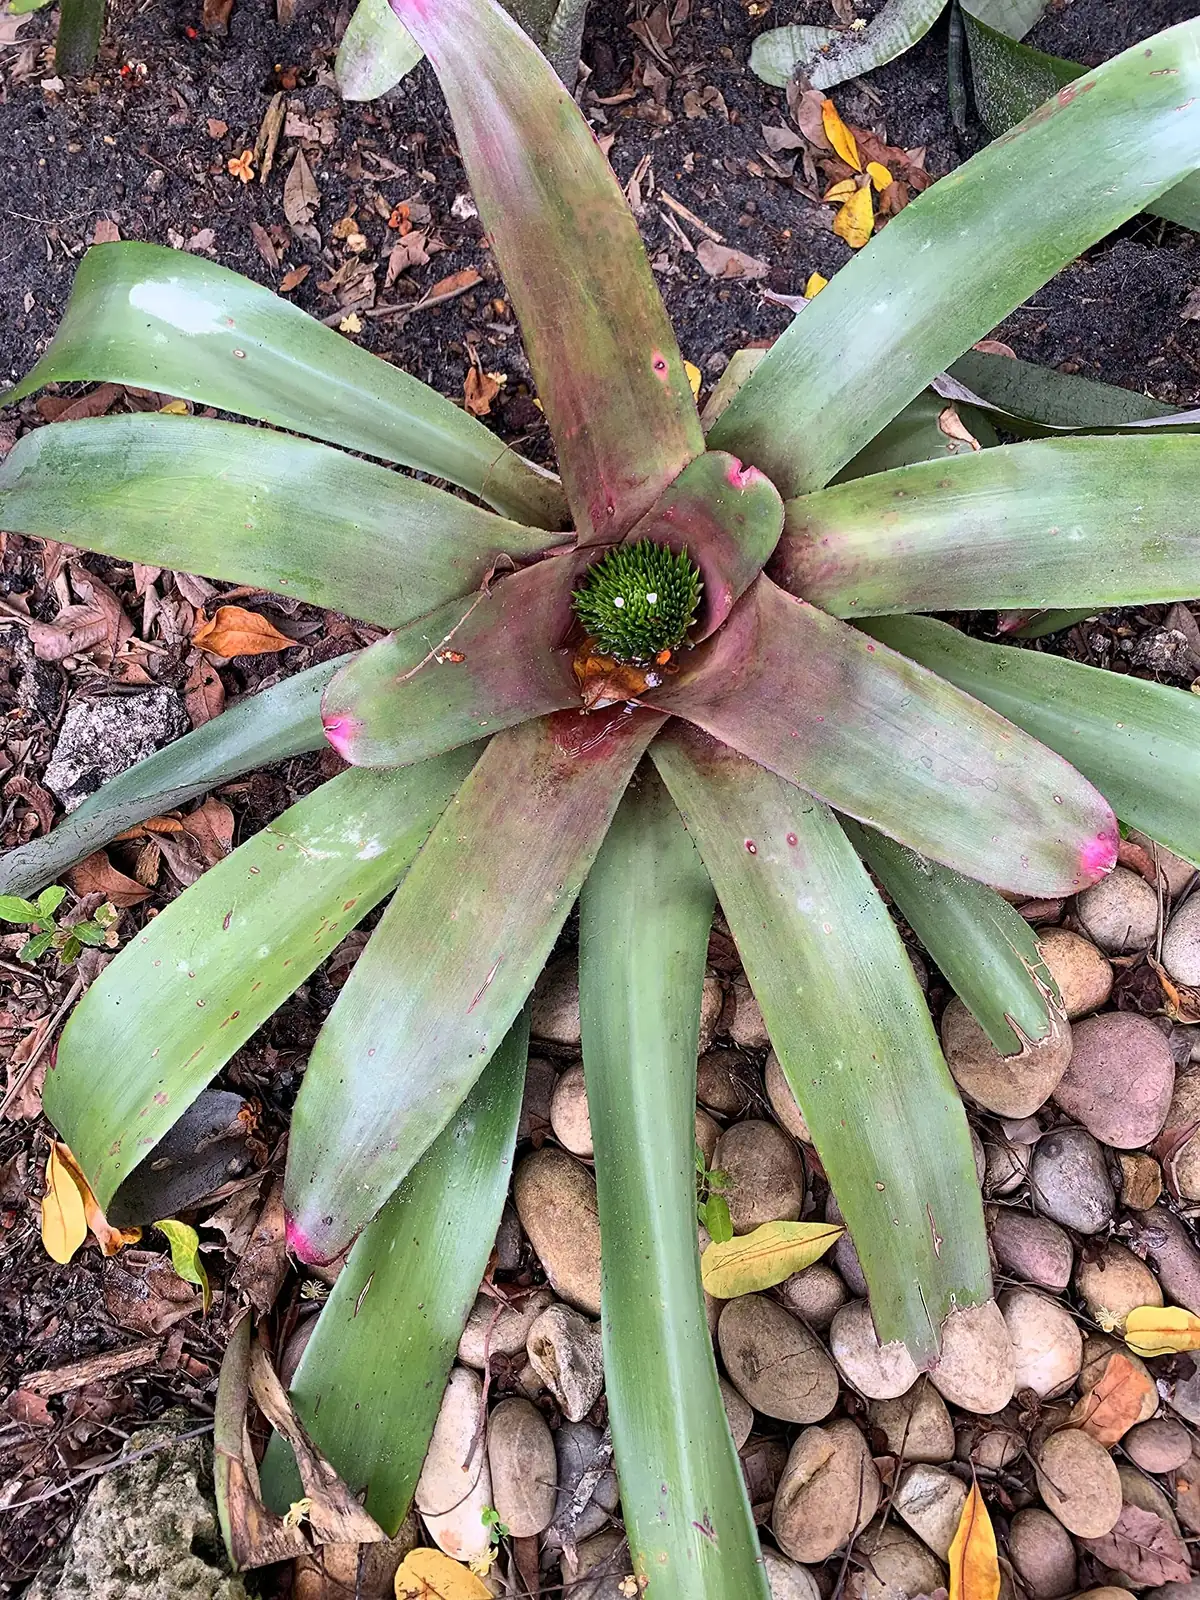
Detach pups when they’re about 1/3 to 1/2 the size of the mother rosette. That size reliably balances two goals: fast establishment after separation and minimal risk of rot or stall.
Additional readiness cues:
- The pup forms its own mini “vase” of leaves (a distinct rosette).
- It feels firm at the base, often with small roots or nubs beginning.
- The mother’s bloom is past prime and the rosette is no longer pushing new leaves.
Pro tip: Leaving pups attached longer can speed their path to maturity while the mother still “nurses” them. If you’re propagating for numbers and speed of establishment, 1/3–1/2 size is the sweet spot.
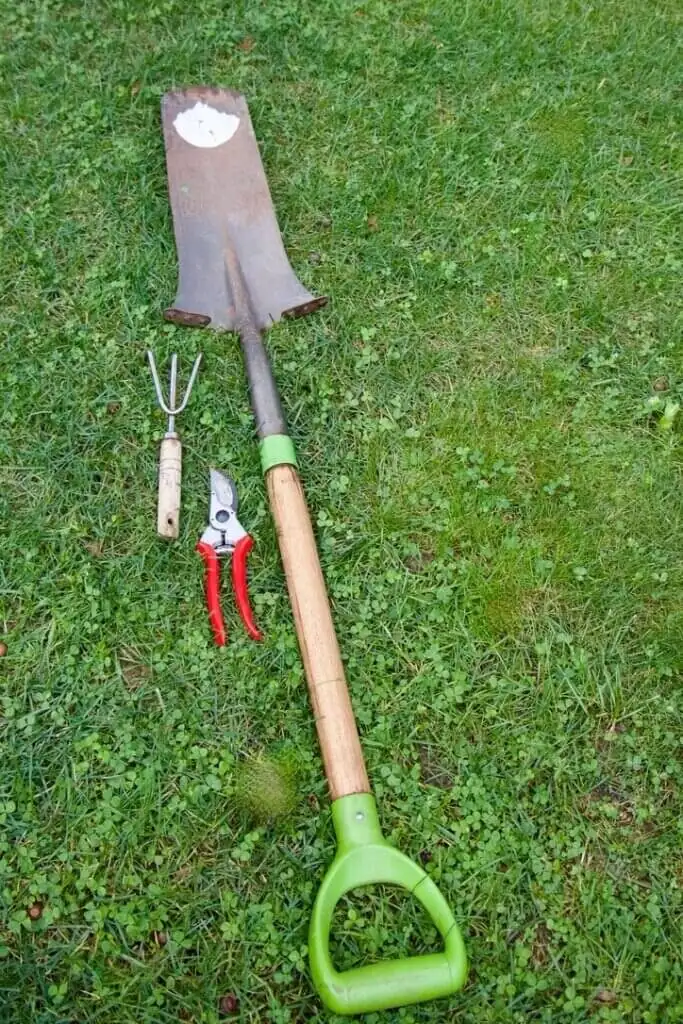
Tools, setup, and sterile discipline
- Cutting tools: A sharp knife or pruners. Sterilize before every cut and between plants (wipe with 70% isopropyl alcohol or a 10% bleach rinse; let dry).
- Gloves: Recommended—many Aechmea and relatives have toothed or mildly spiny margins.
- Pots: Use relatively small containers; bromeliads prefer to be snug.
- Airy medium ready to go (see below), pre-moistened and draining freely.
- Optional: A little powdered cinnamon or sulfur to dust fresh cuts; bamboo skewers or soft ties to steady wobbly pups.
Airy media that drive rapid rooting
Bromeliads hate soggy feet. Think orchid-like, not houseplant-heavy.
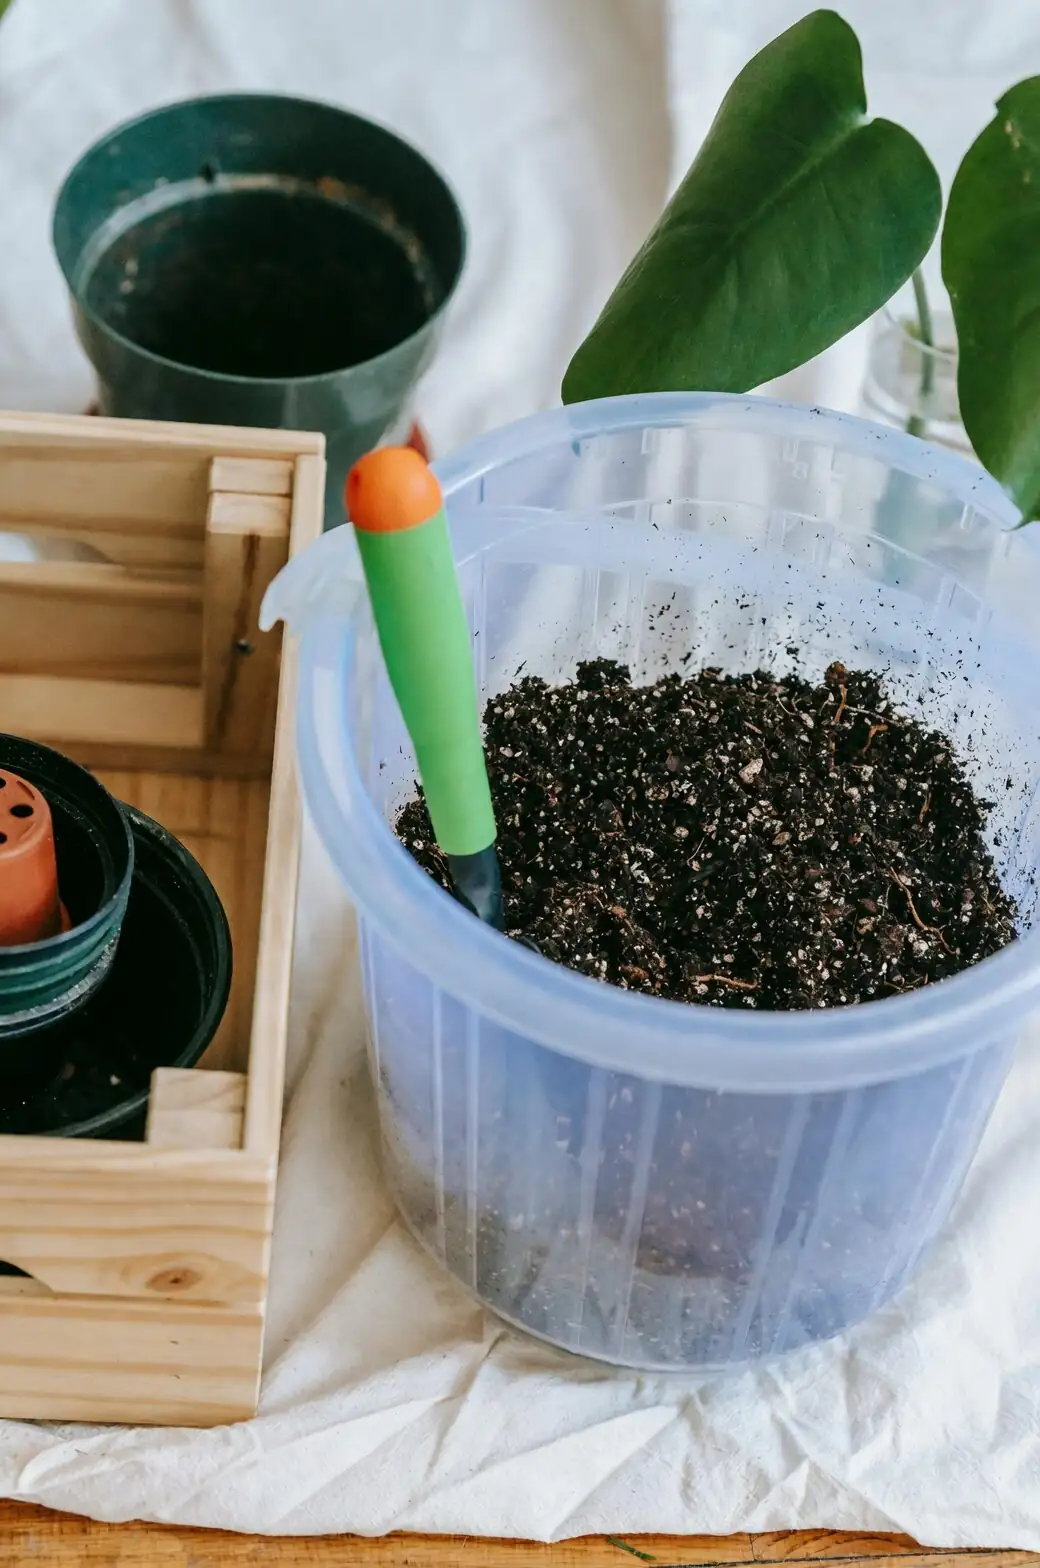
Easy, fast-draining recipes:
- 50% fine-to-medium orchid bark, 30% perlite, 20% coco chips or chunky coco coir
- OR 40% orchid bark, 30% perlite, 20% coarse horticultural charcoal, 10% long-fiber sphagnum teased in for light moisture buffering
Avoid dense peat-heavy potting soils. Aim for a mix you can drench and see water sheet right through.
Advanced option for epiphytic types (Guzmania, Vriesea, many Aechmea): Mount on cork or driftwood with a small pad of sphagnum under the base; keep humidity moderate–high while it anchors.
Step-by-step: clean separation and potting
- Inspect and choose: Pick pups 1/3–1/2 mother’s size with a defined rosette. Remove any loose, browned mother leaves to expose the junction.
- Sterilize: Clean your blade. Wipe again between each pup to avoid transferring pathogens.
- Make the cut: Insert the blade close to the pup and slice down through the narrow “neck,” taking a small sliver of the mother’s basal tissue if needed to keep the pup intact. Work slowly and avoid crushing.
- Optionally dust: Lightly dust the pup’s cut base with cinnamon or sulfur.
- Brief air-dry: Let the cut surface dry for 1–3 hours (just until tacky). This reduces rot risk.
- Pot high and firm: Set the pup slightly high in the pot so the leaf bases aren’t buried. Backfill the airy mix around the base and gently tamp. Use a stake or soft tie if the pup wobbles—movement delays rooting.
- First drink: Moisten the medium thoroughly, then let all excess drain. For tank-forming types, keep the central cup only barely moistened (a few drops) during the first couple of weeks.
Aftercare that accelerates establishment
Light
- Bright, indirect light is your accelerator. Gentle morning sun is fine; avoid harsh midday rays that scorch and fade bracts.
Temperature and humidity
- Warmth: 18–28°C (64–82°F) is ideal.
- Humidity: 50–70% supports quick root initiation. Use a nearby humidifier, pebble tray with airflow, or a loose humidity tent (clear bag with side vents). Vent daily for fresh air.
Watering rhythm
- Medium: Keep lightly moist but never soggy. Let the top layer dry a bit before rewatering.
- Central cup: For tank bromeliads, refresh a small amount of clean water weekly once the pup stabilizes. In cool/dim conditions or during early establishment, keep the cup nearly empty to lower rot risk.
Feeding
- Light feeders only. During active growth, use a balanced fertilizer at 1/4 strength every 4–6 weeks. Overfeeding can dull color and stress roots.
Airflow
- Gentle airflow discourages rot and speeds callusing. Avoid cold drafts.
Reading the plant: humidity and hydration cues
- Brown, crispy tips: Often dry air or salts. Raise humidity and flush the medium with clean water occasionally.
- Leaves curling inward or rosette “thirsty” look: Increase humidity and slightly increase watering frequency.
- Mushy base or center collapse: Too wet or stagnant water—improve drainage, empty the cup, increase airflow, and back off watering.
- Pale, washed-out color: Too little light; move to brighter, filtered light.
Timelines and milestones
- 2–8 weeks: Pup anchors and begins modest new root growth; central leaves hold firm.
- 2–3 months: Noticeable leaf expansion; resume normal cup water for tank types.
- 1–3 years: Expect flowering once the pup reaches maturity and conditions are bright and warm.
Troubleshooting the usual suspects
- Overpotting: A pot that’s too big holds moisture and slows rooting. Size up only when the plant is crowded or unstable.
- Heavy soil: Dense mixes suffocate bases—switch to a bark/perlite-forward blend.
- Stagnant cup water: Refresh weekly; reduce or empty in cool/low-light periods or during early establishment.
- Pests: Mealybugs, scale, and spider mites prefer dry, still air. Inspect rosettes routinely. Treat early with swabs of alcohol on mealy/scale and increase humidity/airflow to deter mites.
Safety and pet notes
- Generally non-toxic to people and pets. Take care: some species have sharp or spiny leaf margins—gloves save knuckles.
A quick pro playbook for rapid establishment
- Detach at 1/3–1/2 mother size.
- Sterile, decisive cuts; allow a short dry-down.
- Plant in a small pot with an orchid-bark/perlite mix; set the rosette high.
- Keep warm (around 24°C/75°F), bright-indirect light, and 50–70% humidity.
- Keep the medium just moist; keep the cup nearly empty at first.
- Stake for stability; light feeding only.
Where to keep them indoors
- Near an east- or bright north-facing window, or set back from a bright south/west window behind a sheer curtain. Bright kitchens or bathrooms can be ideal if light is strong and air is fresh.
Symbolism and “flower language”
Bromeliads are often linked with vibrant energy, hospitality, and tropical cheer—associations strengthened by their bold rosettes and long-lasting bracts (and by their famous cousin, the pineapple, a historic symbol of welcome). Unlike traditional Victorian “flower language,” bromeliads weren’t central to that canon; their modern symbolism is more cultural and design-driven than codified lore. In other words, they bring the vacation vibe—and an open-door spirit—to any room.
With the right timing, a clean cut, and airy footing, bromeliad pups establish at speed and carry the torch from a fading bloom to the next spectacular display. Multiply once, and you may never buy another bromeliad again—your collection will make its own.