


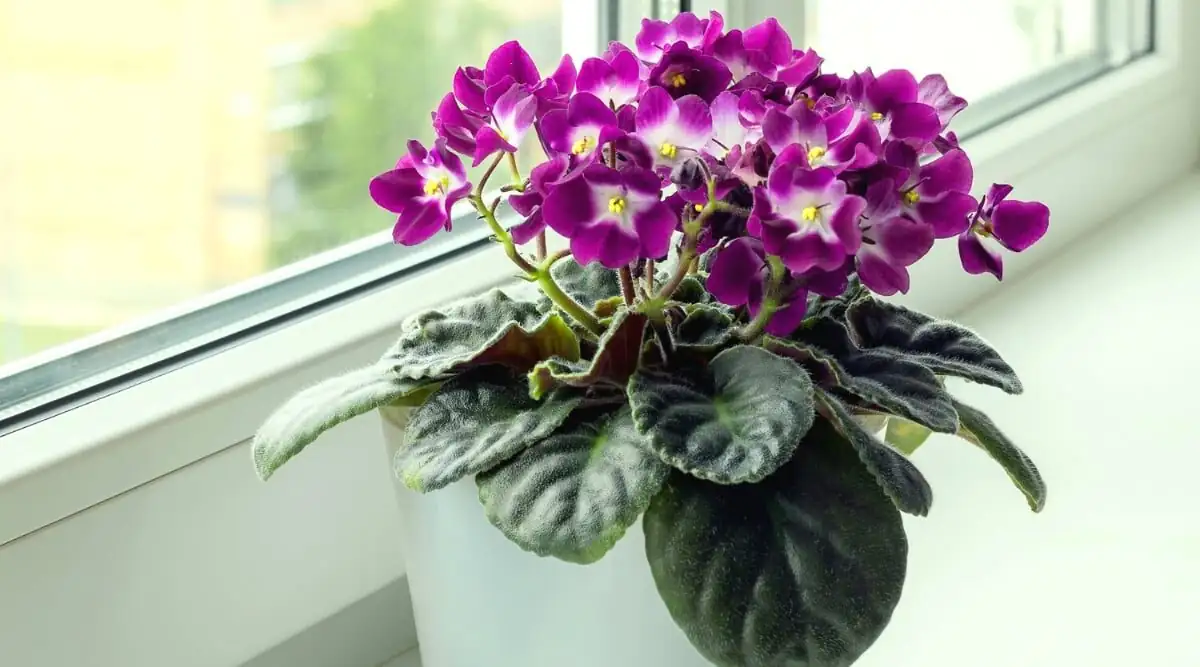
Imagine a compact, perfectly rounded cushion of green froth suddenly bursting into a dome of jewel-bright daisies—clear blues, regal purples, candy pinks. That’s Pericallis × hybrida (florist’s cineraria) at its best. The secret to that tight, gift-shop-perfect display? Start right from seed, then steer the plants through warm germination, careful bottom watering, timely pricking out, and a cool, bright finish with light feeding. Here’s your month-by-month playbook to get there—clean, compact, and dazzling.
Note: Timings below are for a temperate Northern Hemisphere schedule. Shift by roughly six months in the Southern Hemisphere. The most reliable sowing window for a winter–spring show is late summer to autumn.
Highlights at a glance
- What: Pericallis × hybrida (florist’s cineraria), a cool-season, compact, mounded pot plant in Asteraceae
- Habit and size: 20–45 cm tall and wide, typically finished in 12–15 cm pots
- Flowering window: Winter to spring (can stretch into early summer with cool, bright conditions)
- Essential levers: Bright light + cool temperatures (ideally 10–15°C) + even moisture + light, regular feeding
- From seed to bloom: About 3–5 months under good culture
- Key risks to avoid: Heat (causes stretching), soggy compost (root rot), damp flowers and stagnant air (gray mold)
Month-by-month sowing and finishing plan
Aiming for peak color in late winter through spring? Start in late summer to early autumn.
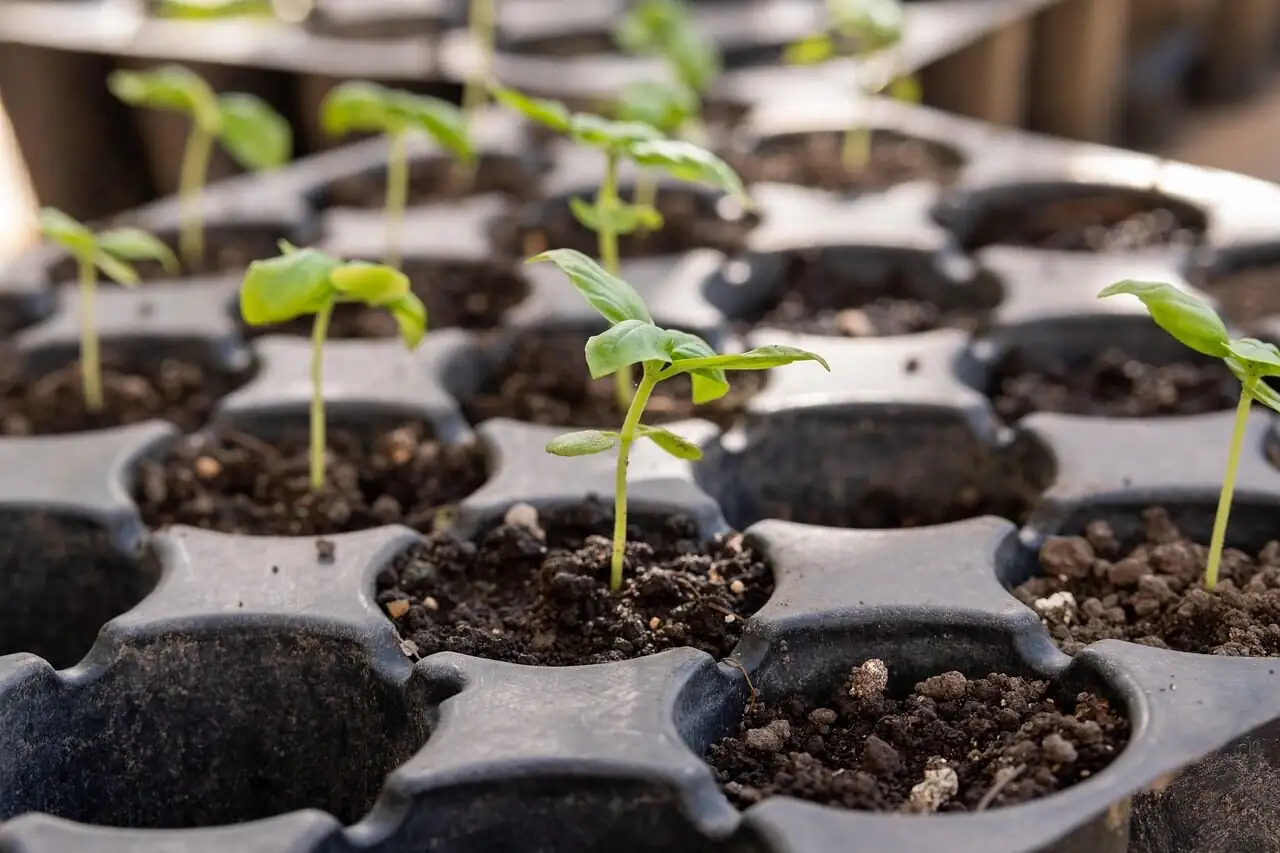
August: Set the stage and sow (surface-sow, bottom-water, 21–24°C)
- Choose seed: Strains and mixes vary; blue forms are especially prized. Note that named hybrids may not come true from seed.
- Prepare a fine, free-draining seed mix: A quality, all-purpose potting mix blended with leaf mold/compost for fertility and perlite/sand for air space.
- Hygiene is non-negotiable: Clean trays/pots and use fresh mix to prevent damping-off.
- Surface-sow: Press seed onto the surface—do not cover. Pericallis needs light to germinate.
- Bottom-water immediately: Stand the tray in a shallow pan so water wicks up from below. Drain thoroughly; the surface should be moist but not swampy.
- Create a humid “tent”: Cover with clear plastic or glass to hold humidity.
- Warm germination: Maintain 21–24°C in bright, indirect light. Avoid hot midday sun baking the tray.
September: Sprouts, air, and steadier moisture
- Germination timing: 1–2 weeks is typical at 21–24°C.
- As seedlings pop: Vent the cover daily, then remove it entirely once most have germinated to reduce mold risk.
- Light: Give the brightest light you have (east or south window, or high-quality grow lights). Keep the surface just slightly drying between bottom-waterings to discourage damping-off.
- Airflow: A gentle fan or open window (no cold drafts) makes sturdier seedlings and less mildew.
Late September to October: Prick out at 3–4 true leaves
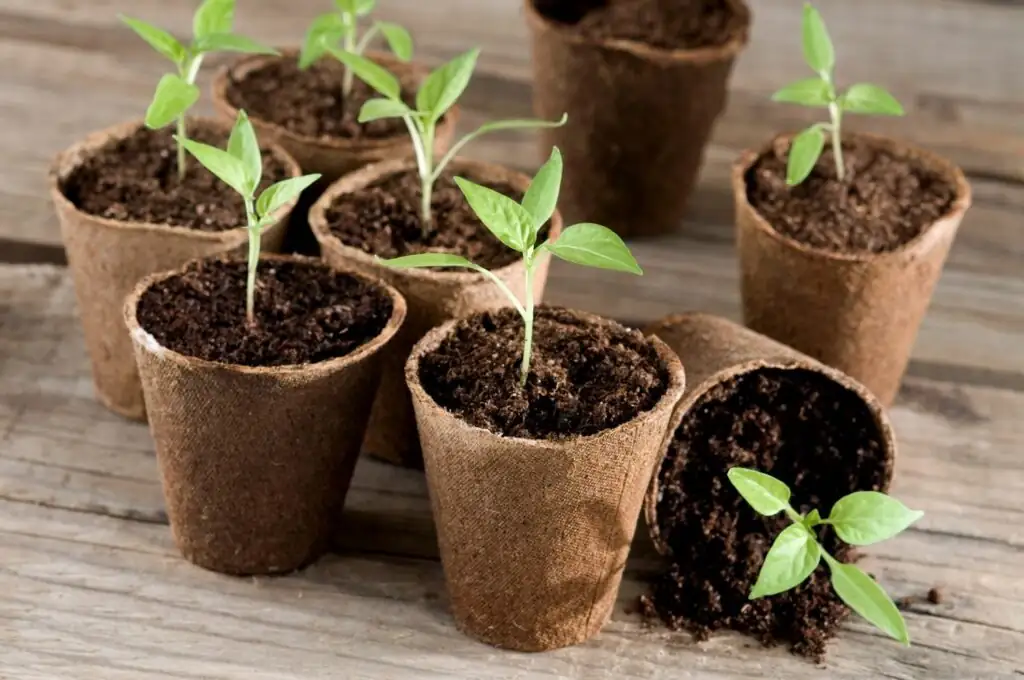
- Timing: When seedlings have 3–4 true leaves, prick them out into individual 6 cm pots.
- Handle carefully: Hold by cotyledons, not stems. Plant into a loose, fertile mix with excellent drainage.
- Light and temperature: Very bright light, but avoid heat. Days below 20°C and nights around 10–15°C help keep growth dense and compact.
- Watering: Continue bottom-watering; let the topmost millimeter of mix dry lightly before the next watering. Always drain trays/saucers.
October: Build the base mound
- Spacing: Give young plants elbow room so leaves don’t stay wet; crowding encourages gray mold.
- Feeding (light and regular): Every 2 weeks, apply a diluted, balanced liquid fertilizer. Avoid heavy nitrogen which causes soft, leggy growth.
- Sun strategy: Indoors, aim for a bright east or south window; outdoors (in cool spells), morning sun with afternoon shade is ideal. Avoid harsh midday scorch.
November: Pot on as roots fill—and keep it cool
- Step up sizing: Once roots knit the 6 cm pot, move to ~9–10 cm. Pot up only when needed; oversizing keeps the mix wet too long.
- Temperature discipline: Keep plants cool and bright—ideally 10–15°C. Sustained warmth above 20°C leads to stretch and a looser flower canopy.
- Hygiene: Remove any yellowing leaves, provide fresh air, and avoid splashing foliage late in the day.
December: Final pot and “cool finish” for a tight dome
- Final container: Shift to a 12–15 cm pot as roots fill, using a fertile, free-draining mix.
- Cool finishing: Maintain 10–15°C with maximum light. This is the “secret sauce” for tight internodes and a perfectly domed canopy.
- Watering: Keep evenly moist, never sodden. Bottom-water and empty saucers promptly.
- Feeding: Continue light, regular feeds; hold back if growth looks too lush or soft.
January: Buds form—nudge bloom with a gentle P/K bump
- Bright and cool: Keep that 10–15°C rhythm, away from radiators and heater vents.
- Feeding tweak: 1–2 feeds slightly higher in phosphorus and potassium (a bloom formula, e.g., 15-15-30) can support flowering. Still avoid excess nitrogen.
- Pest patrol: Aphids often discover the buds—act early with gentle, targeted controls.
February to March: Peak flower, pristine show
- Display standard: The most elegant pot has a dense dome of leaves with 1/4–1/3 of flowers open and many buds queued behind.
- Watering rhythm: Even moisture is key; underwatering wilts fast, overwatering softens growth and invites disease. Avoid wetting flowers to reduce gray mold.
- Grooming: Deadhead promptly, rotate the pot for even light, and keep air moving.
April: Second act—or a graceful exit
- After the flush: Deadhead and, if you like, cut the plant back to 10–15 cm. In a cool, bright spot, it may reward you with a smaller second bloom.
- Or refresh: Many growers simply replace plants for the next cool season and start fresh seed in late summer.
If you sow in September or October
- Expect bloom to slide a little later—think early to mid-spring. The same sequence applies: warm germination, careful pricking out, and a cool, bright finish.
The five levers of a tight, domed display

- Light intensity: Very bright light from sowing to show. Indoors, an east or south window is your friend; rotate plants weekly.
- Cool finishing: Aim for 10–15°C during the bulk of bud formation and bloom. Heat loosens the dome and shortens the show.
- Even moisture via bottom-watering: Keep the mix evenly moist, never waterlogged. Bottom-watering keeps flowers dry and roots happier.
- Lean but regular feeding: Light, consistent feeding grows sturdy plants. Avoid high-N surges; switch to a slightly higher P/K feed for bud support.
- Potting on, not potting up big: Step up as roots fill. Oversized pots = cold, wet compost = root rot.
Sowing and seedling finesse
- Surface-sow only—no covering with compost. Light aids germination.
- Cover with clear plastic or glass to hold humidity for the first week, then vent and remove as soon as you can.
- Use a heat mat or consistently warm room (21–24°C) only for germination. Transition to cool, bright conditions as soon as seedlings are growing.
- Prick out promptly at 3–4 true leaves to avoid crowding and stretch.
- Expect 3–5 months from sowing to a polished, sale-quality display.
Care during the display
- Placement: A bright, cool window, away from radiators and hot drafts. Outdoors in cool weather, give morning sun and afternoon shade; protect from frost.
- Humidity and airflow: Moderate humidity with good air movement. Avoid stagnant, damp conditions and avoid wetting the flowers.
- Repotting: Typically finished in 12–15 cm pots with drainage holes. Don’t over-pot; replace after flowering if needed.
Troubleshooting
- Leggy, loose growth with thin leaves: Almost always heat (often combined with low light). Move to brighter light and cool the room to ~10–15°C.
- Gray mold (Botrytis) on petals/leaves: Remove affected parts, improve airflow, avoid splashing flowers, water from below, and keep temperatures cool.
- Powdery mildew: Increase light and airflow; avoid temperature swings and overcrowding.
- Root rot: Caused by soggy compost. Use a free-draining mix, water only when the surface just begins to dry, and empty saucers.
- Pests: Aphids are common in spring; whitefly and spider mites can appear in warm, dry rooms. Act early with targeted controls and improve conditions.
A note on origins, names, and that irresistible blue
- Heritage: Pericallis × hybrida is a garden hybrid derived mainly from Canary Islands species. You’ll still see it traded as “cineraria,” a name with historic ties, but modern classification places florist’s cineraria in Pericallis.
- Why the blues feel rare: True, clear blues are uncommon among indoor flowering pots—hence the cult following for blue Pericallis strains.
- Flower language (symbolism): Often read as lasting joy and enduring cheer, likely born from its talent for lighting up the coldest, grayest stretch of the year. In other words, it’s a living promise that brighter days are already budding.
Safety and practical notes
- Toxicity caution: Guidance varies across references. Best practice—keep out of reach of pets and children, avoid ingestion, and wash hands after handling.
- From seed or from shop: Seed-raised plants are rewarding but variable; named hybrids may not come true. Many gardeners enjoy them as seasonal pot color and refresh the display each cool season.
Quick checklist for success
- Sow late summer–autumn; surface-sow and do not cover.
- Germinate warm (21–24°C) with a humidity cover; bottom-water.
- Prick out at 3–4 true leaves into 6 cm pots; keep bright and cool.
- Step up pots as roots fill; finish in 12–15 cm.
- Maintain 10–15°C and very bright light for bud set and bloom.
- Water evenly from below; feed lightly, avoid high nitrogen.
- Keep petals dry, air moving, and pests at bay.
Follow this rhythm and your Pericallis won’t just bloom—it will stage a tight, perfectly domed performance that turns late winter into a festival of color.