

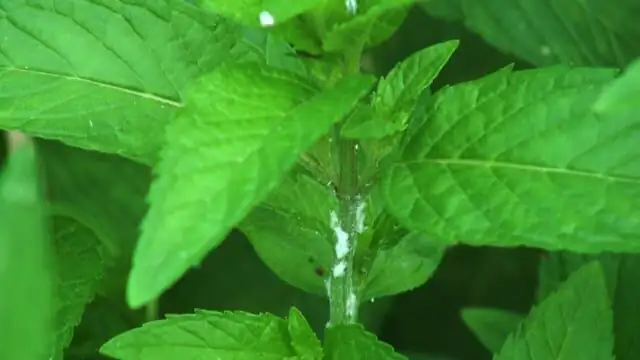
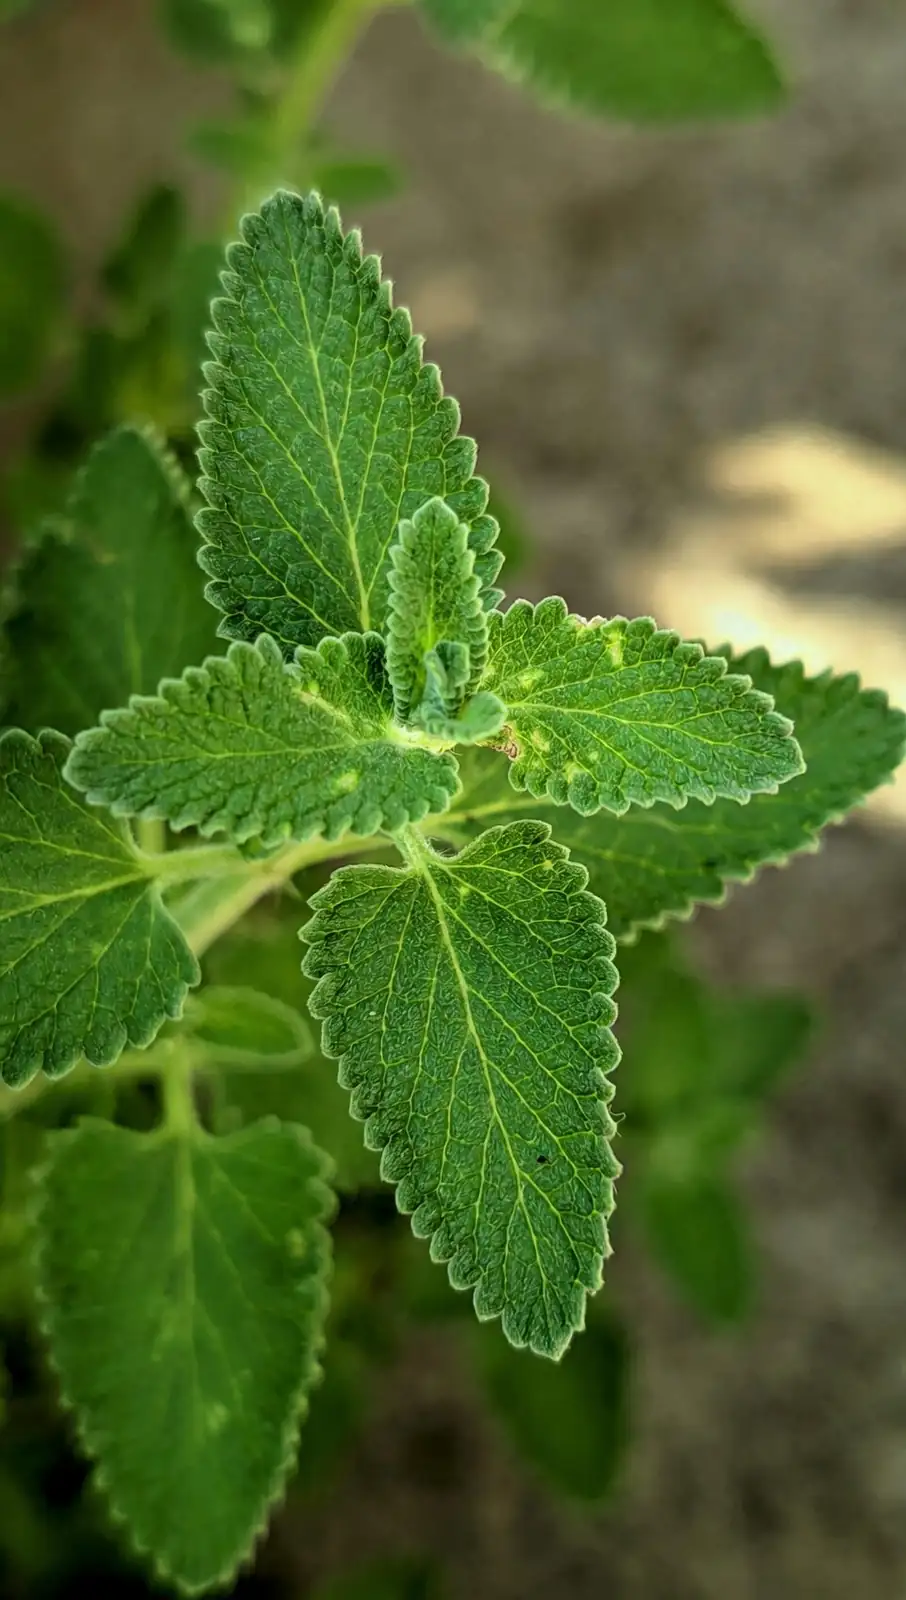
Open a window, set down a beautiful pot, and let peppermint turn sunlight into scent. Mentha × piperita is the chic, useful herb that makes a windowsill feel like a miniature garden, a home fragrance diffuser, and a snack bar all at once. The trick is pairing good horticulture with smart design: right-size pots, tidy drip-trays, sun-savvy placement, and harvests that shape the plant as they season your food.
Meet Peppermint (Mentha × piperita): the chic windowsill MVP
- Fast, forgiving, and fragrant: a culinary workhorse that responds to frequent snipping with even bushier growth.
- Container-friendly by nature: it spreads by underground rhizomes outdoors, but stays beautifully behaved in pots.
- Multi-sensory: bright green leaves on square stems release a clean, cooling aroma you’ll actually design a corner around.
- Pollinator magnet outdoors in summer; indoors, it’s a leafy showpiece and kitchen companion.
Light like a stylist: placing your mint for looks and flavor
Peppermint loves bright light—more brightness, better flavor.

- Windowsill placement:
- Spring–summer: bright east-facing light or filtered south-facing light behind glass looks lush and prevents leaf scorch on very hot afternoons.
- Fall–winter: go as sunny as you can; south-facing is prime.
- Rotate the pot a quarter-turn weekly for an even, dome-shaped silhouette.
- Keep away from heat blasts and chills: avoid radiators, heating ducts, and A/C streams. Ideal growth is 20–30°C (68–86°F); for winter rest, a cool 10–12°C (50–54°F) keeps it compact and healthy.
Pots, trays, and small-space magic
Think of your container as both sculpture and ecosystem.
Right-size containers
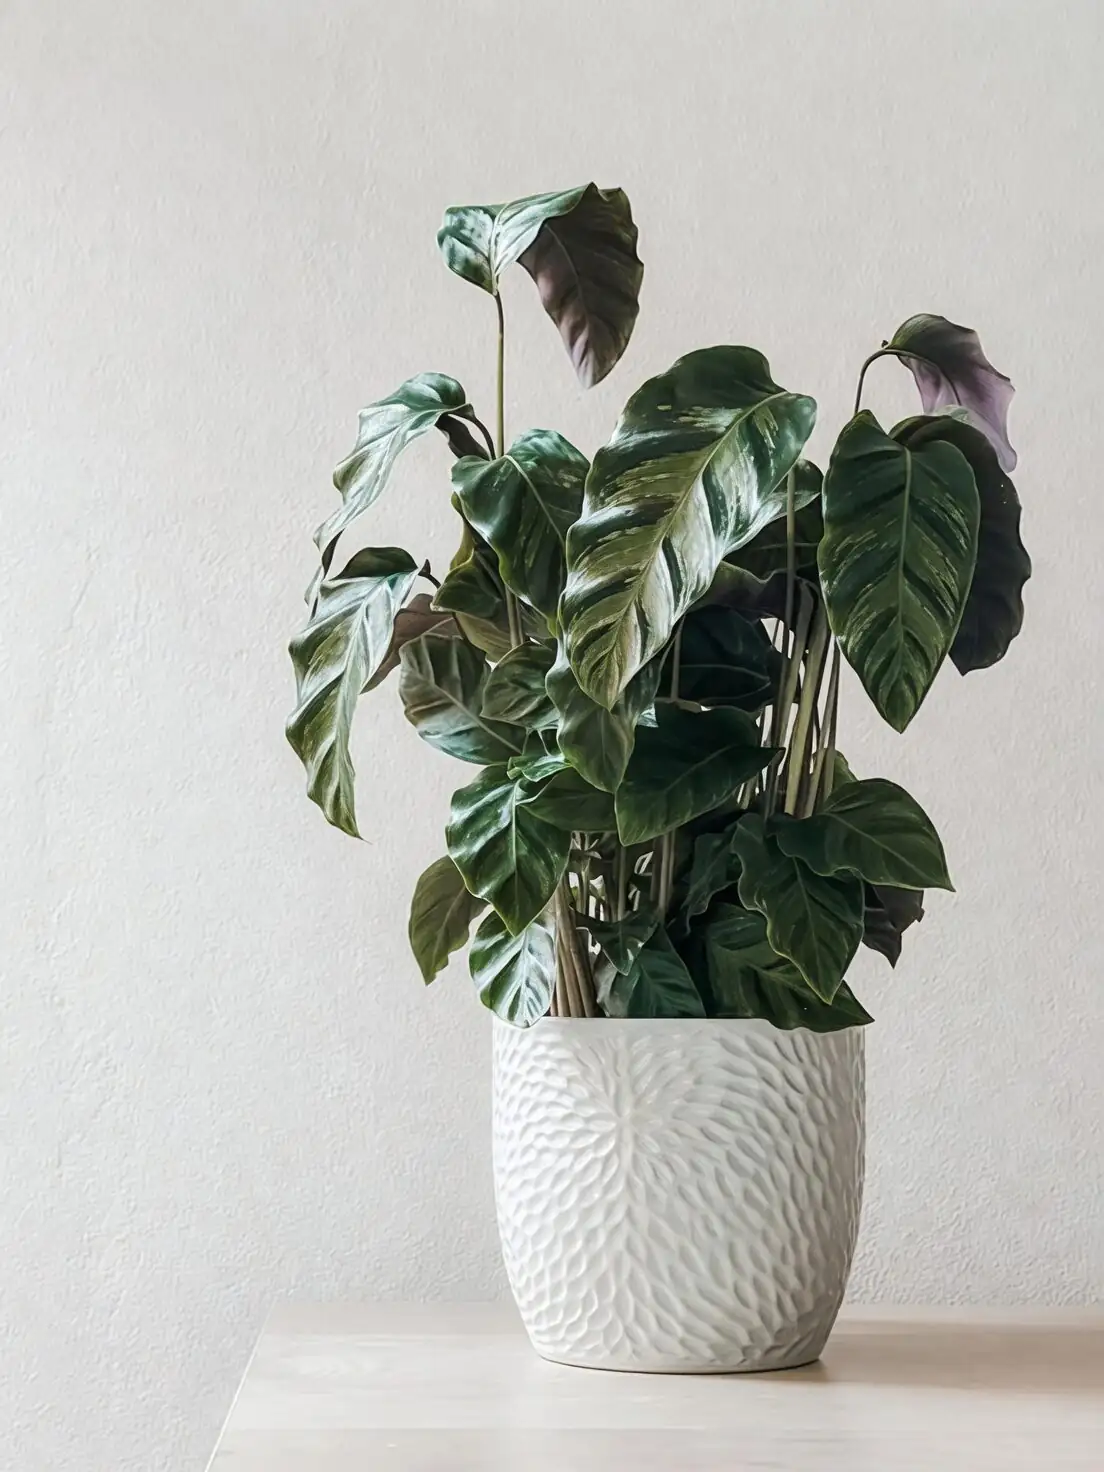
- For compact windowsill culture, a 12–15 cm (4.7–5.9 in) pot is the sweet spot.
- Design option: plant 3 young peppermint starts in one 12–15 cm pot for instant fullness, or keep a single plant for a minimalist, architectural look.
- Depth matters less than breadth; peppermint appreciates surface space for a dense, green mat of stems.
Materials and finishes
- Matte ceramic or glazed stoneware feels modern and hides water marks.
- Terracotta breathes—great for moisture control—but add a sleek saucer to catch drips and elevate the look.
Drip-tray hacks you’ll actually love
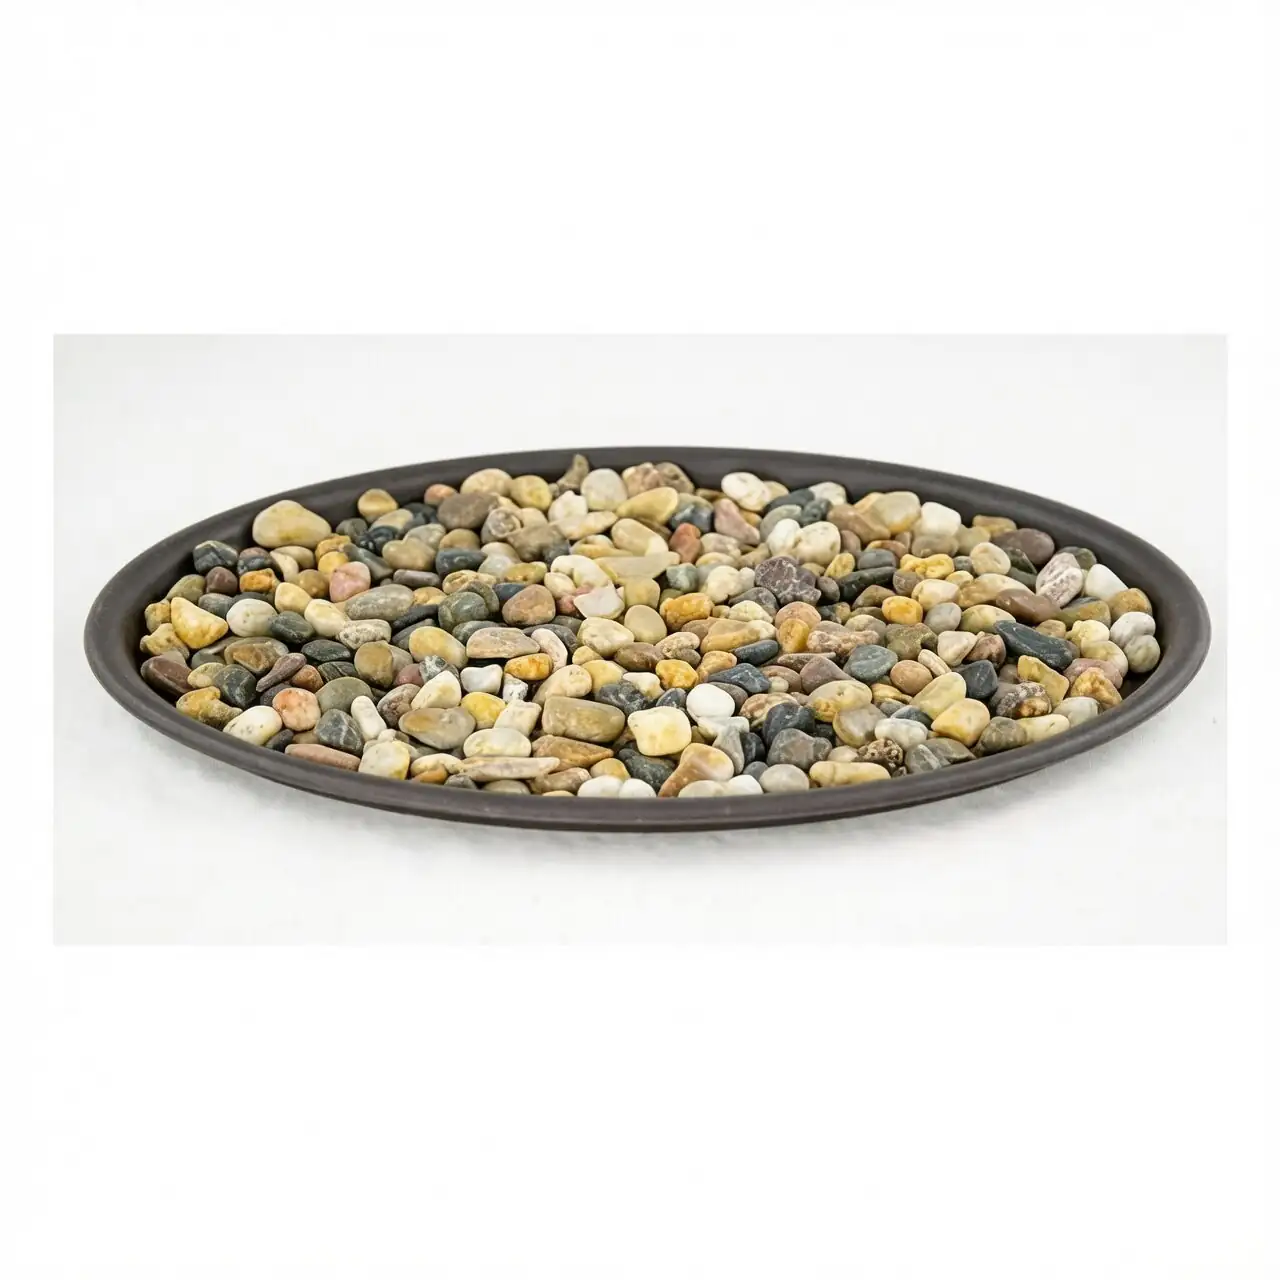
- Pebble saucer: a layer of pebbles in the saucer lifts the pot above any pooled water and adds a whisper of humidity—useful in dry, heated rooms.
- Nested cachepot: keep the plant in a plain plastic grower pot with drainage and drop it into a decorative cover pot. Lift to water, then return when the excess drains.
- Slimline cork or felt feet under the saucer protect wood sills and add a tailored finish.
- Turkey-baster trick: after watering, suction off any lingering saucer water so roots never sit soggy.
Soil, watering, and feeding—keep it plush, never soggy
- Potting mix: rich yet well-drained. Blend a loam-based mix with compost or leaf mold plus sand or perlite. Incorporate a little compost or base fertilizer at planting.
- Watering rhythm:
- Keep consistently moist during active growth; water when the surface just begins to dry.
- In hot, dry air, a light morning mist can reduce leaf stress.
- Winter: water sparingly; keep only slightly moist if the plant is still growing—sodden soil risks rhizome rot.
- Feeding schedule:
- Growing season: feed every 2 weeks; in high summer, weekly with a well-diluted, well-rotted liquid feed is fine.
- Stop feeding as growth naturally slows and stems begin to wither.
Aesthetic pinching: sculpt it—and eat your trimmings
Peppermint looks its best when you harvest with intent.
- When to start: begin pinching at 15–20 cm (6–8 in) tall.
- How to shape:
- Pinch soft tips to encourage branching and a rounded, cushiony form.
- For harvests, cut stems back, leaving about 10 cm (4 in) above the soil; it resprouts quickly.
- Designer silhouettes you can “clip-and-eat”:
- Cloud dome: even pinches around the top for a tidy, bushy mound.
- Soft cascade: let a few outer stems drape while keeping the center clipped to a low crown.
- Expect multiple flushes: once established, you can usually cut 3–4 times in a season.
Refresh and multiply: the March makeover
- Repot around March: lift the plant, shake off old soil, compost tired/weak rhizomes, and keep only vigorous, pale, thick rhizomes. Replant into fresh fertile mix.
- Crowded? Divide into 2–3 pots for instant gifts or a windowsill row.
- Recovery: give partial shade for a few days post-repot, then resume bright light; offer one light feeding about a week later.
- Propagation side note:
- Tip cuttings (about 10 cm / 4 in) root reliably—often in ~2 weeks in a sand/vermiculite mix after a brief water soak.
- Rhizome division is fastest in April–May or early November.
Aroma etiquette and safety
Peppermint’s essential oils are delightful—but potent.
- Ventilation: after a big harvest, crack the window for a few minutes; the room will smell lovely without overwhelming sensitive noses.
- Gentle handling: bruise leaves lightly when garnishing; avoid over-macerating if aroma intensity bothers anyone.
- Hands and eyes: wash hands after heavy harvesting; avoid touching eyes and mucous membranes.
- Children and pets: normal culinary use is fine, but keep concentrated peppermint essential oil out of reach—it can irritate skin and mucous membranes if misused.
Seasonal moves and cold-savvy care
- Spring–autumn: a sunny balcony or bright patio spot will supercharge growth; bring it back to the sill for easy picking.
- Frost notes: top growth may be damaged below 0°C (32°F), but underground rhizomes are cold-tolerant to about −15°C (5°F).
- Hardiness: often happy in USDA Zones 5–9 (varies by cultivar and local conditions). Pot culture makes overwintering and spread control easier.
Troubleshooting in style
- Leggy stems, sparse leaves: increase light, rotate weekly, and pinch to re-densify.
- Powdery mildew or gray mold (cool, damp conditions): improve airflow, avoid wetting foliage late in the day, and remove affected leaves promptly.
- Rust or leaf spots: prune out damaged parts; keep foliage dry and the canopy open.
- Chewers outdoors (spring–summer): caterpillars like cutworms may visit—handpick and use only locally approved controls as needed, following label directions.
Use what you grow: the tastiest “styling” touch
- Everyday sips: muddle into lemonade, cool down spicy dishes, or steep for tea.
- Fresh-garnish habit: snip a couple of stems, rinse, pat dry, and keep in a small glass by the sink for the day’s cooking.
- Comfort infusion: simmer fresh leaves, strain, and stir the minty liquid into rice porridge for a cooling, throat-soothing treat.
A note on symbolism
Across cultures, mint is linked with freshness, clarity, and hospitality—its clean scent feels like opening a door to a breeze. While “flower language” traditions vary, peppermint’s reputation for a clear head and a warm welcome makes it a natural near entryways or on the kitchen sill where guests gather.
Quick design recipes for a beautiful, edible sill
- Minimalist mint moment
- One 12–15 cm matte-white cylinder, pebble-filled saucer, and tidy dome-pruned plant. Rotate weekly.
- Café trio
- Three identical 12–15 cm pots in a row: peppermint in the center, empty flanking pots reserved for seasonal swaps or spare peppermint divisions. Matching saucers unify the look.
- The “Sun-Sip” station
- A single lush pot on a cork mat, a small glass carafe for fresh-cut stems, and slender scissors on a ceramic tray—your tea ritual, ready on display.
With a well-chosen pot, a thoughtful saucer, bright light, and a pinch-happy habit, peppermint turns any window into a living design piece that smells as good as it looks—and tastes even better.