

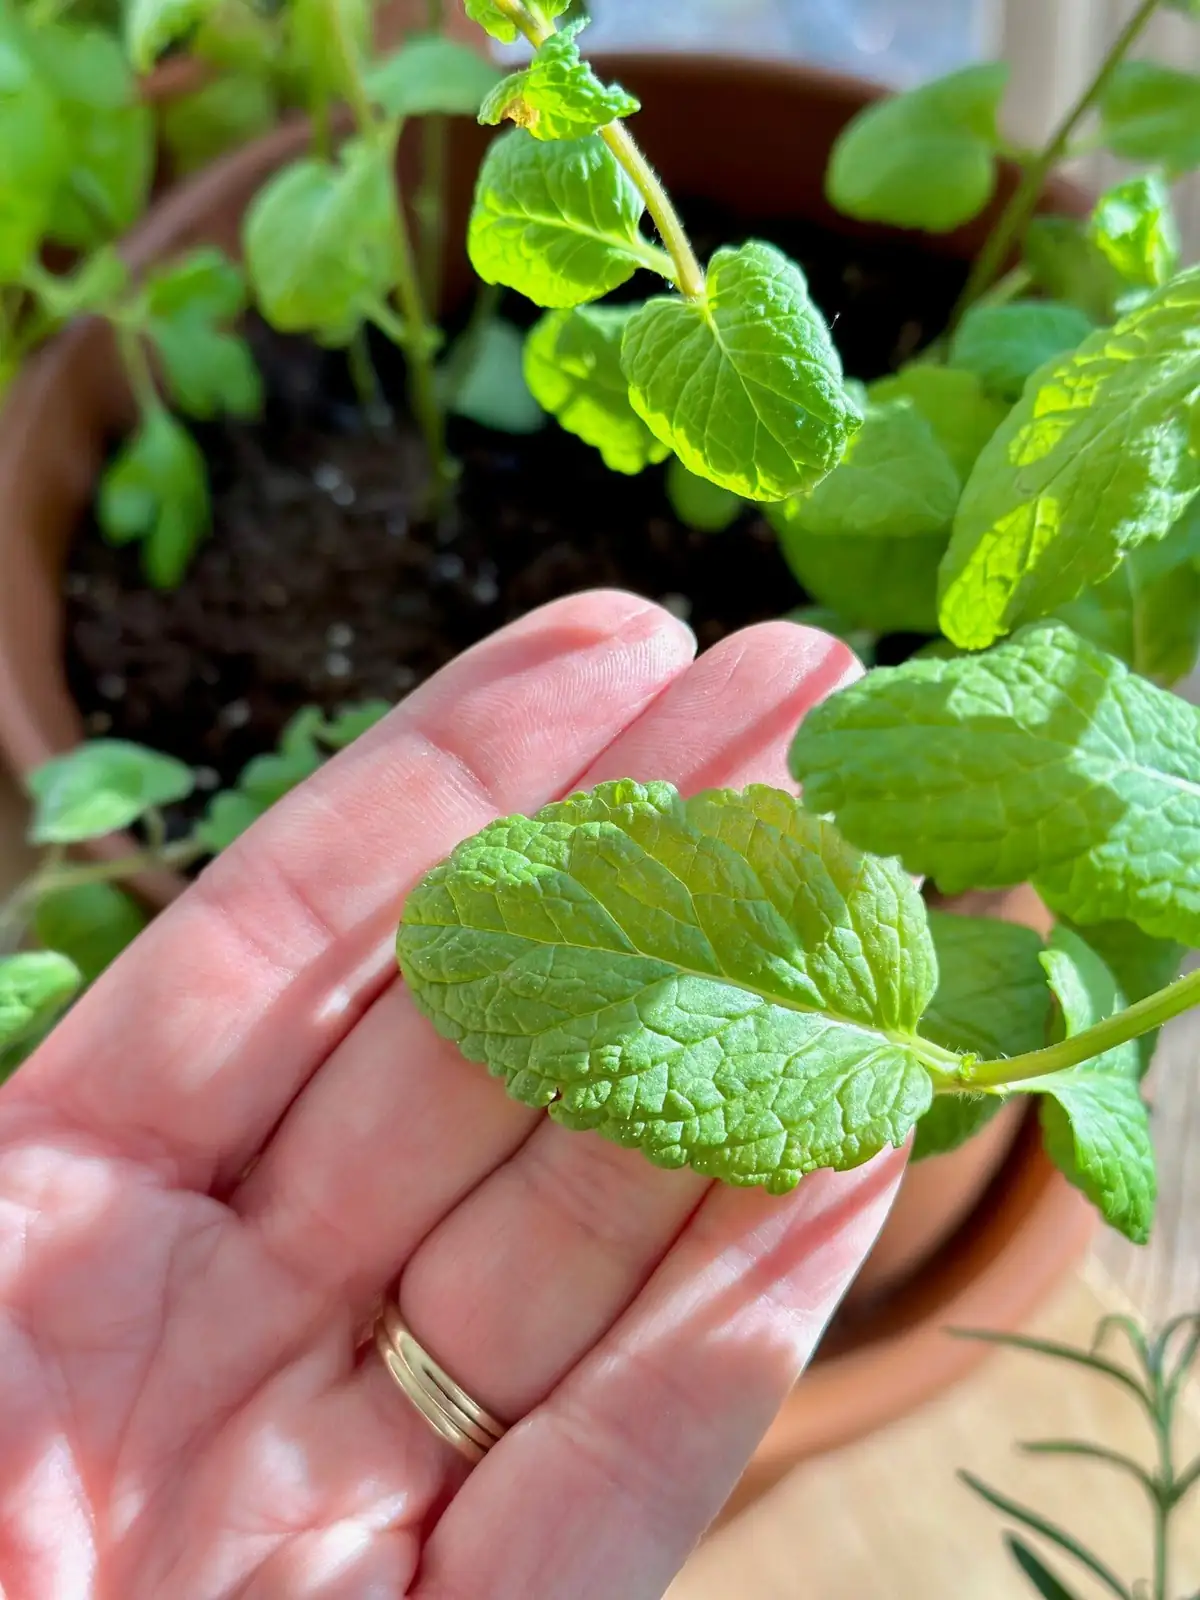
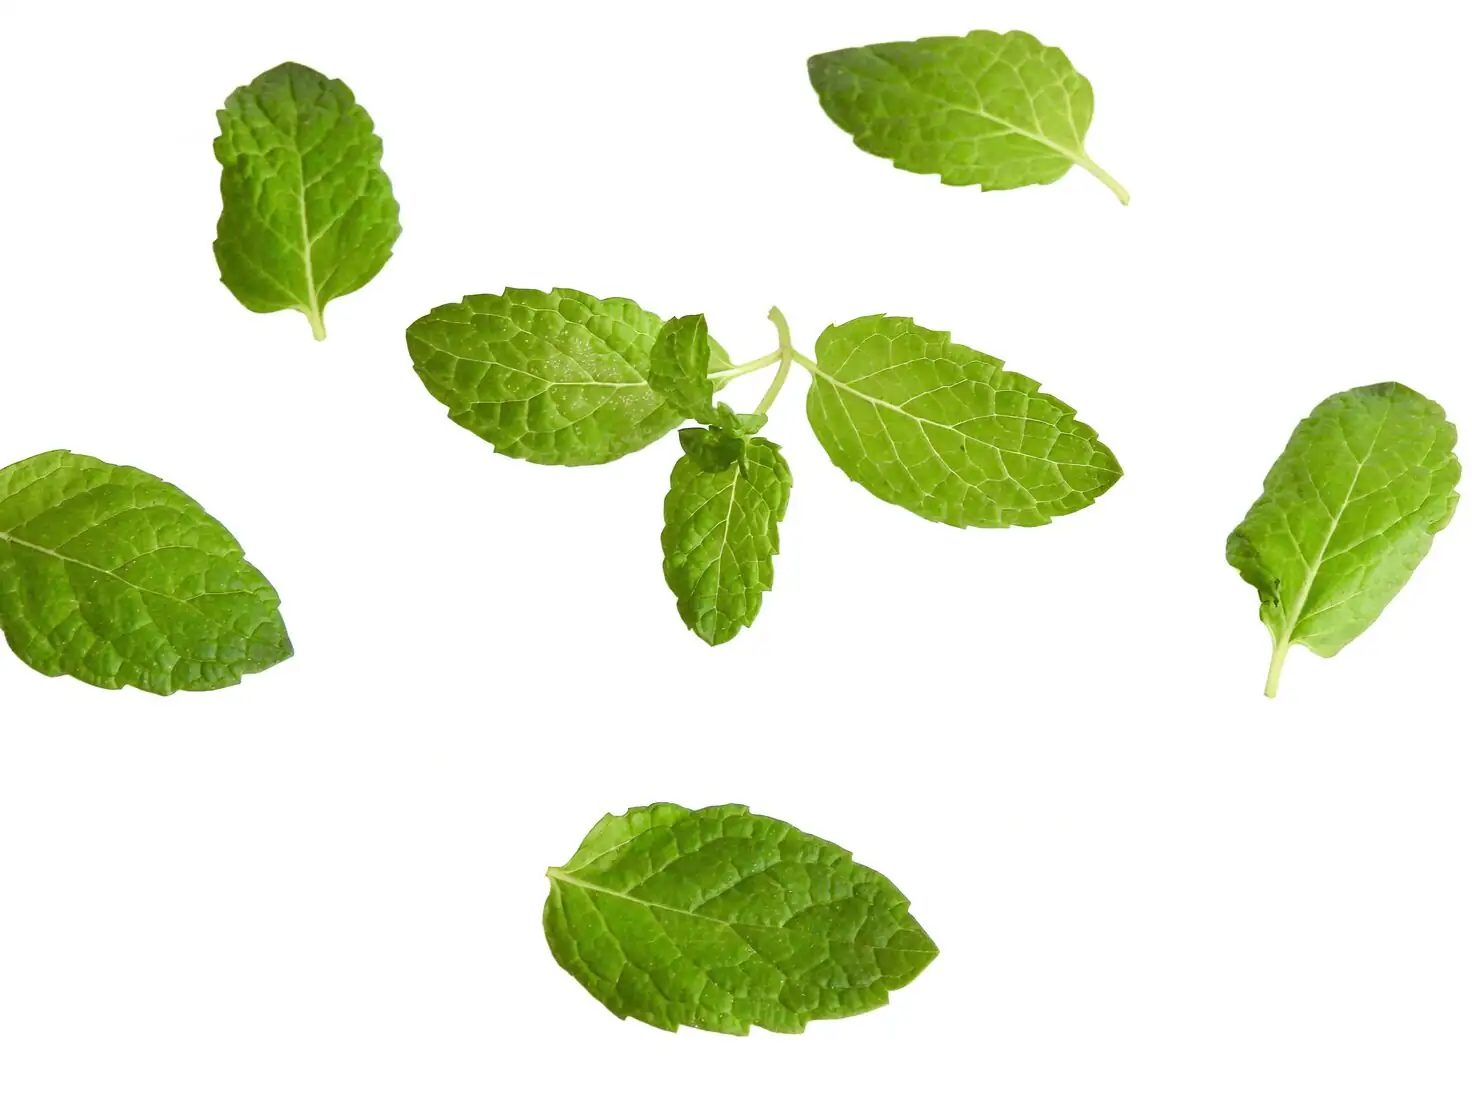
Picture a pot of peppermint that never quits: crisp leaves for tea, a cooling scent when you brush past, and flowers that pull in bees like a magnet. Now picture the flip side—powdery mildew dusting the leaves, gray fuzz after a cool rain, rust pustules, freckled leaf spots, and sneaky caterpillars munching overnight. The good news? Most peppermint problems melt away once you nail airflow, water at the right time, and act fast with safe, labeled controls only when they’re really needed. Here’s your spot-it-fix-it playbook.
First: Set your peppermint up for success
Airflow hacks that actually work
- Give it light: Full sun to partial shade, with bright light for best flavor. Morning sun helps dry leaves quickly.
- Space the stems: In containers, start pinching when plants hit 15–20 cm (6–8 in) to keep them bushy, not crowded.
- Lift and thin the mat: Divide or repot around March—keep the thick, pale, vigorous rhizomes and discard the tired ones. Crowded rhizomes trap humidity.
- Raise the pot: Put containers on feet or a trivet so air moves under and around them.
- Keep mint out of corners: Tuck pots where breezes reach. Indoors, use a small fan on low, oscillating, not blasting.
- Harvest often: Cut stems back, leaving about 10 cm (4 in). Peppermint rebounds fast, and regular “haircuts” open the canopy.
Watering timing and technique

- Water in the morning, at the base. Keep soil evenly moist during active growth; let the surface just begin to dry before rewatering.
- Bottom-water containers or use a narrow-spout can to avoid soaking foliage. Avoid wet leaves late in the day—nighttime leaf wetness fuels disease.
- Hot, dry spell? A light, early-morning mist can ease stress—but keep it brief so leaves dry fast.
- Winter mode: If your plant keeps some growth, keep it only slightly moist. Soggy soil in cool weather = root/rhizome rot.
Soil and nutrition basics that prevent problems
- Use a rich, moisture-retentive, well-drained mix (loam + compost/leaf mold with sand or perlite).
- Feed lightly and regularly in the growing season: every 2 weeks (up to weekly in summer with a diluted liquid feed). Stop when top growth naturally slows.
- Mulch in-ground plants with clean, fine compost to cushion soil splash (a vector for leaf spots). Keep mulch a finger-width off stems.
Spot it, fix it: The top peppermint problems
Powdery mildew
What you’ll see
- A talc-like white film on upper leaf surfaces; leaves may yellow and drop in bad cases. Often favored by cool, still, humid conditions.
Why it happens
- Crowding + shade + leaf wetness overnight = prime conditions. It’s often cosmetic on peppermint but can reduce usable leaves when heavy.
Fix-it fast
- Strip and bin (don’t compost) the worst leaves.
- Open the canopy: harvest hard (leave 10 cm/4 in), then keep pinching new tips.
- Sun + breeze: move pots into brighter air circulation.
If you need a product
- Use only locally approved, food-crop–labeled options. Potassium bicarbonate, horticultural oils, and some biofungicides are commonly labeled for powdery mildew on edibles in many regions.
- Test a small patch first; spray in the evening or early morning on a dry day; cover leaf undersides.
- Mind the label’s preharvest interval (PHI) and reentry interval (REI).
Pro tip: Sulfur products can be effective but may alter mint oil aroma—if you grow for fresh flavor, reserve sulfur as a last resort where permitted and test a small section.
Gray mold (Botrytis)
What you’ll see
- Soft, water-soaked patches that turn tan, then sprout a fuzzy gray mold, especially after cool, damp weather or on bruised tissue.
Why it happens
- Prolonged leaf wetness, overcrowding, overfertilized, sappy growth, or harvested stems left wet in cool air.
Fix-it fast
- Cut below the damage into healthy tissue; bag and discard. Clean up fallen leaves promptly.
- Thin, lift pots, and switch to strict morning, base-only watering.
- Harvest on dry mornings; avoid misting during cool spells.
If you need a product
- Many gardeners rely on prevention here. Where labeled for herbs, certain biofungicides (e.g., Bacillus-based) can help when used preventively. Always follow your local label.
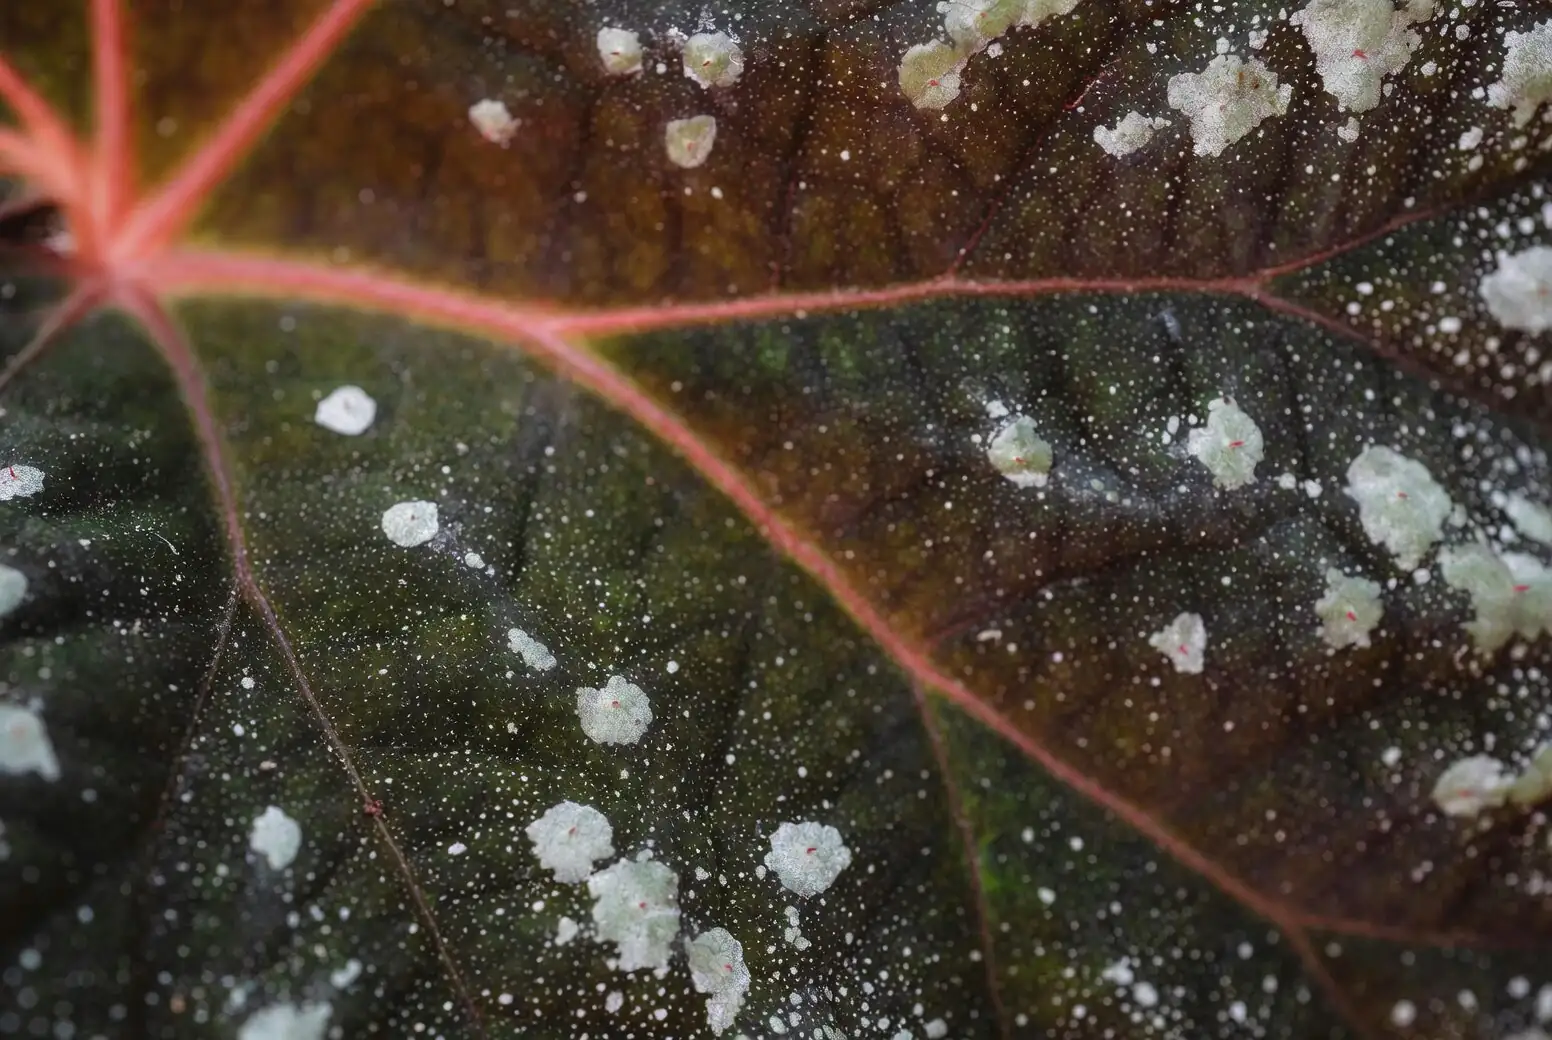
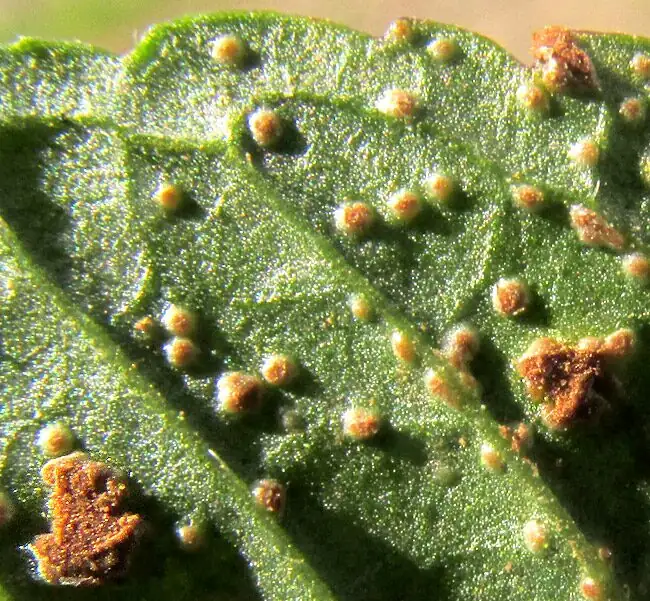
Rust (Puccinia menthae)
What you’ll see
- Early: tiny pale or white bumps; then orange-rust pustules on undersides of leaves, especially low leaves in spring. Leaves may brown and drop; later-season spots can darken.
Why it happens
- Overhead watering, thick stands, and high humidity keep spores happy.
Fix-it fast
- Remove and bag infected leaves immediately; clear all debris under plants.
- Water at the base only, in the morning. Thin aggressively.
- For severe, recurring rust, lift and divide; replant only clean, vigorous rhizomes in fresh potting mix or a rotated garden spot.
If you need a product
- Copper or sulfur fungicides are sometimes labeled for rust on edibles in certain regions. Check that your product is specifically labeled for mint or culinary herbs; observe PHI/REI. Again, note potential aroma impacts with sulfur.
Leaf spots and blights (fungal or bacterial)
What you’ll see
- Small tan, brown, or black speckles that may coalesce; sometimes with yellow halos. Spots often start on lower leaves after rain or splash.
Why it happens
- Water splash from soil to leaves, tight spacing, and lingering moisture.
Fix-it fast
- Remove spotted leaves; boost airflow and sun.
- Base-water only; add a thin compost mulch to reduce splash.
- Sanitize tools between plants.
If you need a product
- For many fungal spots, labeled biofungicides can be helpful preventively. For bacterial leaf spot, copper-based products may be labeled in your area. Always verify mint/edible labeling and PHI.
Caterpillars (cutworms, armyworms)
What you’ll see
- Ragged holes in leaves or stems suspiciously clipped at soil level (classic cutworm sign). Night feeding is common.
Why it happens
- Adult moths lay eggs; larvae chew mostly at dusk and night.
Fix-it fast
- Night patrol: hand-pick with a flashlight and drop into soapy water.
- Cutworm collars: slip a ring of stiff paper, cardboard, or a section of drinking straw around young stems, pressed slightly into soil.
- Keep the area tidy—no dense weeds or plant debris near pots where larvae hide.
If you need a product
- Bacillus thuringiensis var. kurstaki (Btk) products are widely labeled for caterpillars on edibles and are gentle on most beneficials. Apply at dusk and reapply per label.
- If considering spinosad, ensure it’s labeled for your use and avoid spraying open blooms; apply at dusk to protect pollinators.
Pollinator note: Peppermint flowers are bee-and-butterfly magnets. If you must spray, do it at dusk, target foliage (not blooms), and strictly follow your label.
When to escalate: A simple decision guide
- Light issue (you can count the spots): Prune/harvest to open airflow, switch to morning base-watering, and remove affected leaves. Recheck in 3–5 days.
- Moderate (10–20% of foliage affected, disease spreading): Add preventive measures—thin hard, improve sun/breeze, sanitize debris. Consider a labeled biofungicide or soft option if the forecast favors disease (cool, damp).
- Severe (spreading fast despite cultural fixes, or repeated outbreaks): Use a locally approved, mint/edible-labeled product with a different mode of action as needed. Observe PHI/REI. For rust or persistent leaf spots, consider lifting, dividing, and replanting clean rhizomes in fresh media or a new spot.
Always read and follow your local label. Herb crops have specific PHIs, and “edible/culinary” labeling matters.
Seasonal rhythm that prevents problems
- Early spring: As growth resumes, thin and repot/divide around March. Keep bright light and good airflow to head off powdery mildew and Botrytis.
- Spring to summer: Keep soil evenly moist; feed every 2 weeks (up to weekly in summer with a dilute liquid feed). Scout for caterpillars at dusk. Harvest often—leave 10 cm (4 in) to resprout.
- Summer: Full sun to partial shade; in hot, dry air, brief early-morning misting can reduce leaf stress. Avoid wetting leaves late.
- Late season: When stems start to wither, stop feeding. Clean up fallen leaves. If winters are cold, know that top growth may die back below 0°C (32°F), but rhizomes usually survive to about −15°C (5°F).
- Winter: Water sparingly if any top growth remains—keep slightly moist, never soggy.
Extra wins: Containment, flavor, and meaning
- Control the roam: Peppermint spreads by vigorous rhizomes. Containers or root barriers keep it useful, not unruly.
- Flavor matters: Bright light boosts essential oils. Heavy sulfur use or persistent diseases can dull flavor—another reason to prioritize airflow and timing over frequent sprays.
- A note on symbolism: Mint’s “language” has long nodded to freshness, clarity, and hospitality. Historically strewn on floors and used in food and drink to freshen spaces and welcome guests, peppermint carries that open-doors, clean-breeze feeling into the modern kitchen garden.
Bottom line: Keep air moving, water early and at the base, harvest often, and act quickly at the first spots or fuzz. With those simple habits—and only resorting to safe, mint-labeled controls when truly needed—peppermint stays lush, fragrant, and ready for your next cup of tea.