


If you’ve ever brushed an Opuntia and spent the evening speckled with invisible itch, you’ve met glochids—the sand‑fine, barbed hairs that turn simple chores into prickly epics. The good news: with smart tools and a practiced flow, you can move, prune, and repot Opuntia dillenii (Ker Gawl.) Haw. without wearing a thousand tiny souvenirs.
Here’s your step‑by‑step field guide—foam blocks, tongs, newspaper wraps, and mesh screens included.
Meet the plant (and its personality)
- Scientific name: Opuntia dillenii (Ker Gawl.) Haw.
- Family/Genus: Cactaceae/Opuntia
- Aliases: Nopal, Opuntia, Paddle Cactus, Prickly Pear
- Origin: Native to the Americas, especially Mexico and Central America as distribution centers
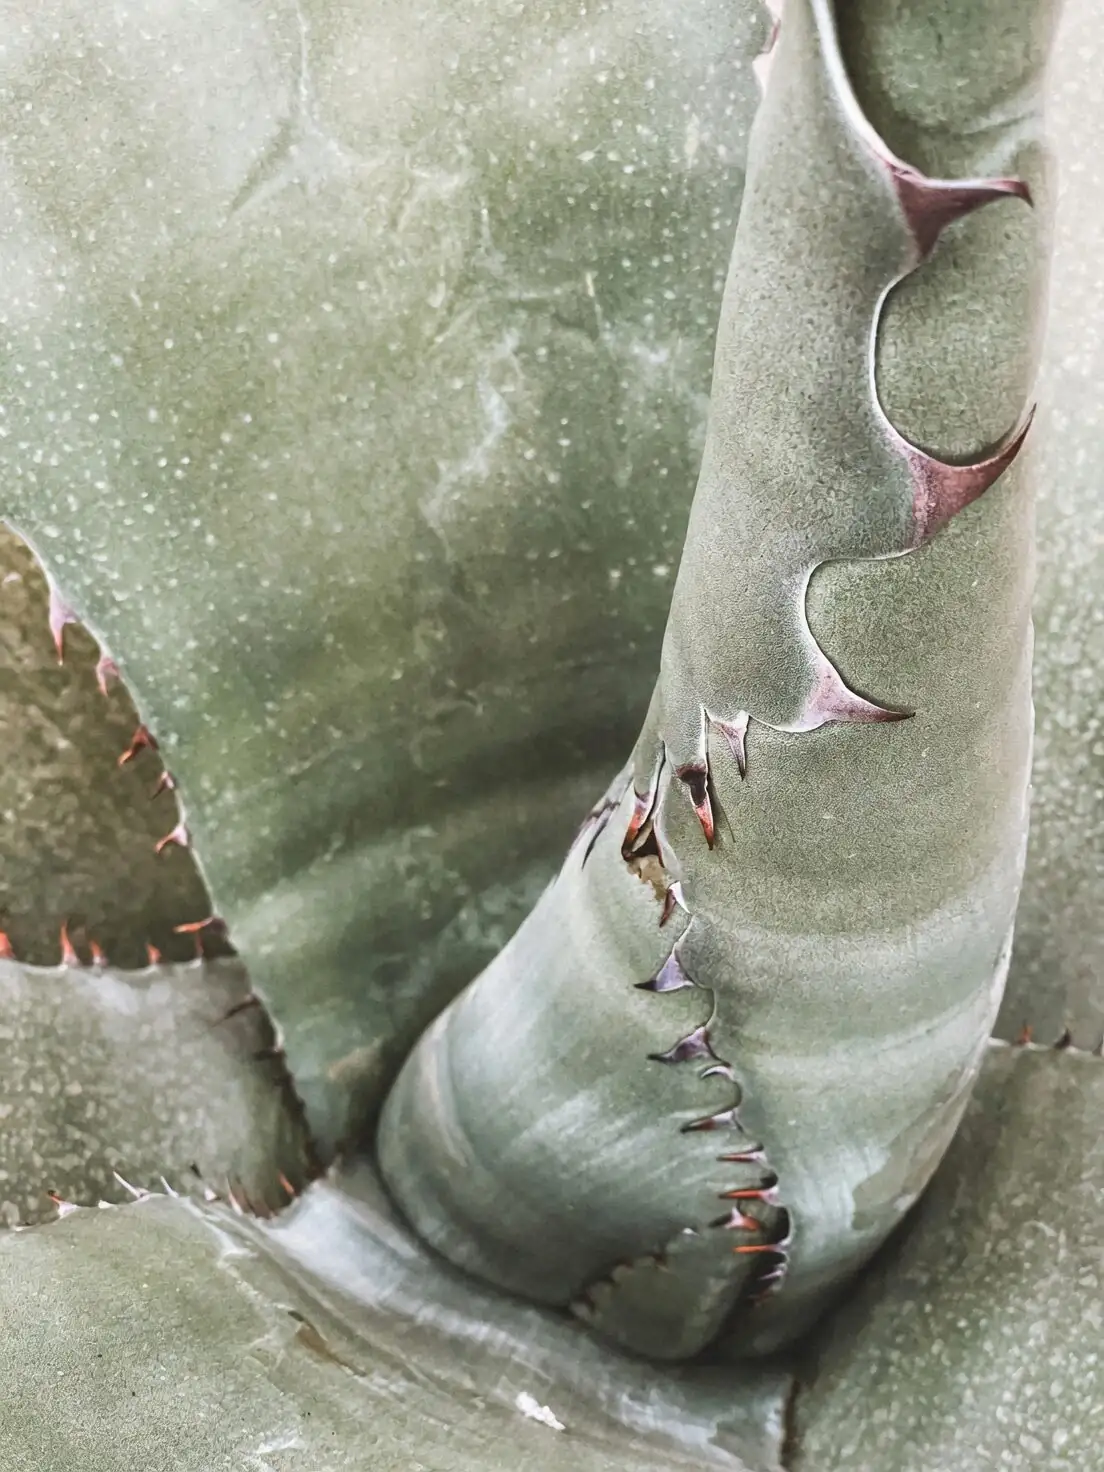
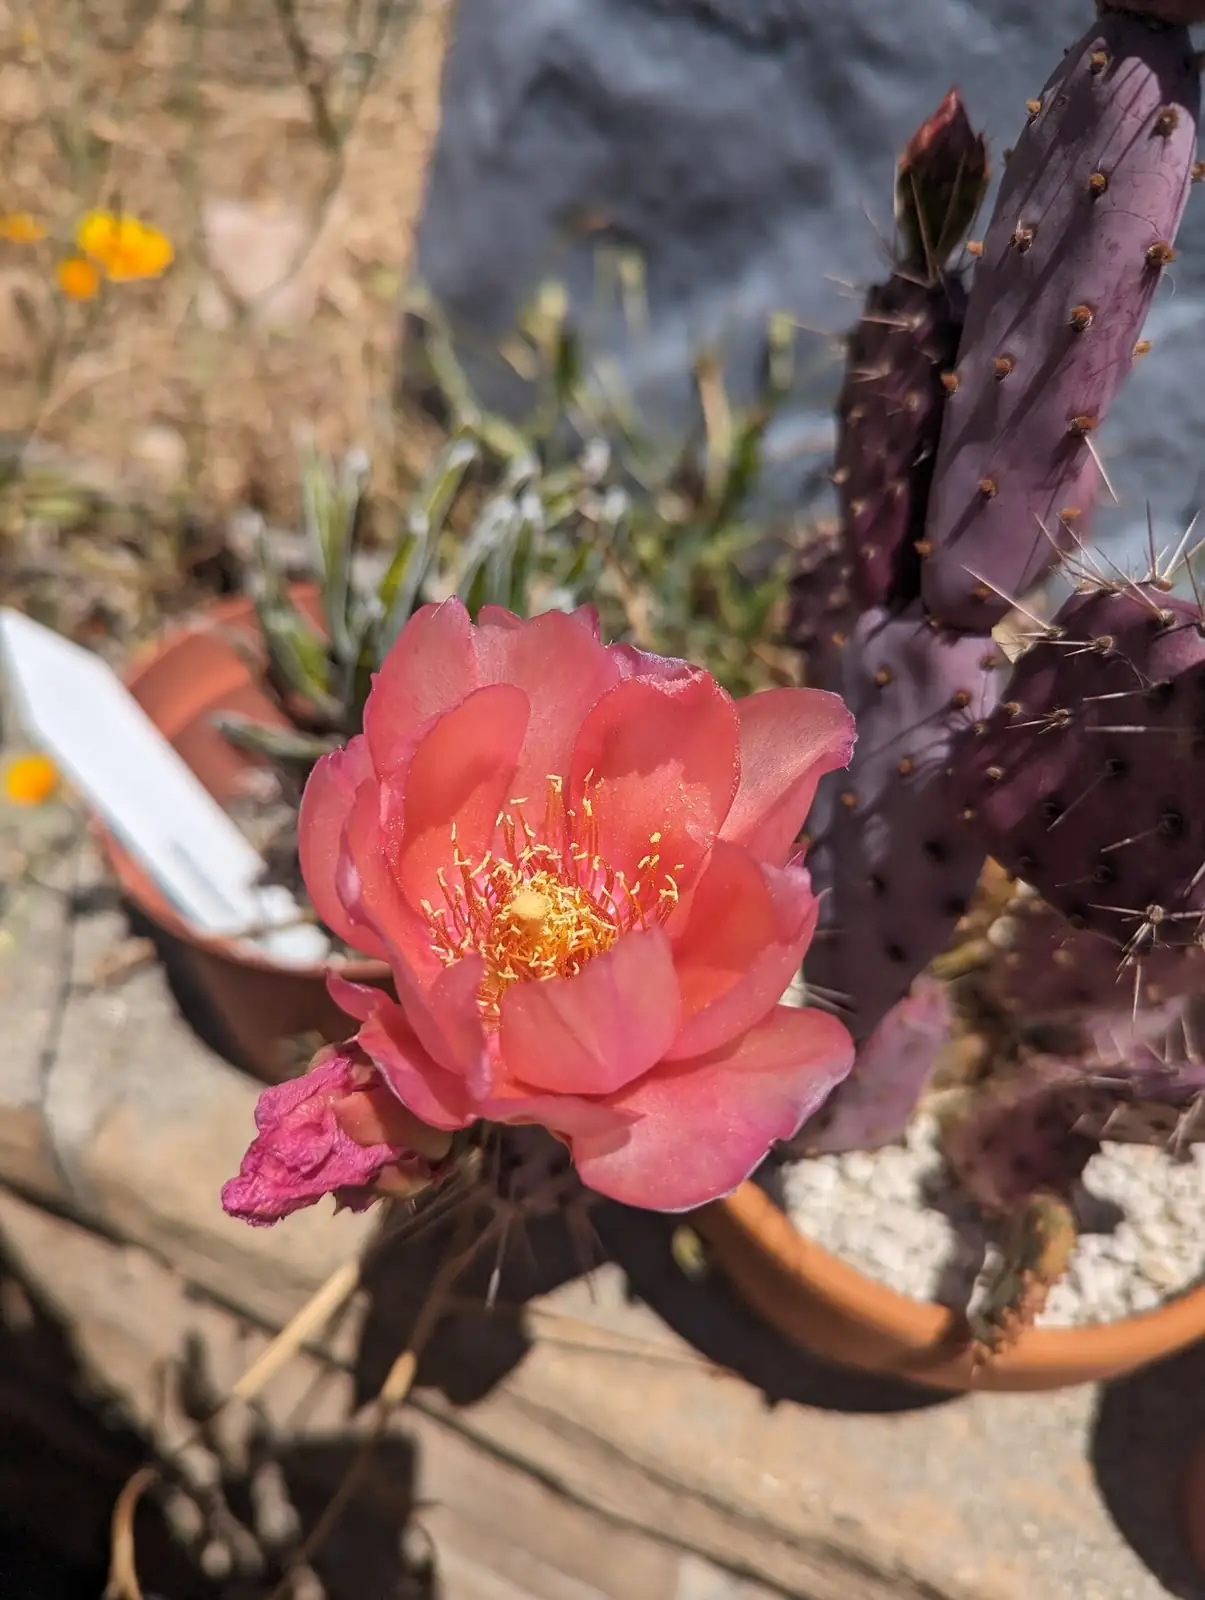
- Look and habit: Flat, paddle‑like pads (stems) with areoles that bear spines and glochids; slow-growing but tough; produces showy spring–summer flowers
- Care vibe: Loves bright, direct sun (4–6+ hours), fast‑draining cactus mix, soak‑and‑dry watering, and warmer temps; generally repotted every 3–5 years
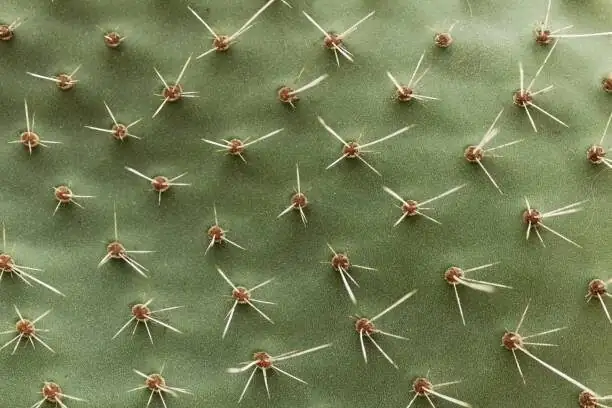
Glochids 101: Know your invisible adversary
Opuntias carry two defenses:
- The obvious: long spines—painful, but visible and usually stay put.
- The sneaky: glochids—tufts of hair‑fine, barbed spines that detach with a whisper and can drift on air currents. They’re the reason long sleeves, goggles, and “no wind, please” are part of your setup.
If one rule governs all Opuntia handling, it’s this: never rely on bare hands, and never rush.
Your anti‑glochid toolkit
Mix and match these to suit the task and plant size.
- Grip and lift
- Long silicone‑tipped grill tongs (non‑serrated)
- Two dense foam blocks (or pool-noodle slices, yoga‑mat offcuts) to “pinch” pads like soft chopsticks
- Thick, folded newspaper wraps (8–12 sheets) as a temporary “belt” around a pad
- Hardware cloth/window mesh folded into a U‑shaped cradle; or plastic produce mesh bags as “sleeves” over pads
- Protection
- Layered gloves: nitrile or latex under thick leather gauntlets
- Long sleeves, eye protection, closed shoes
- Painter’s tape/lint roller for quick cleanup from clothing
- Cutting and potting
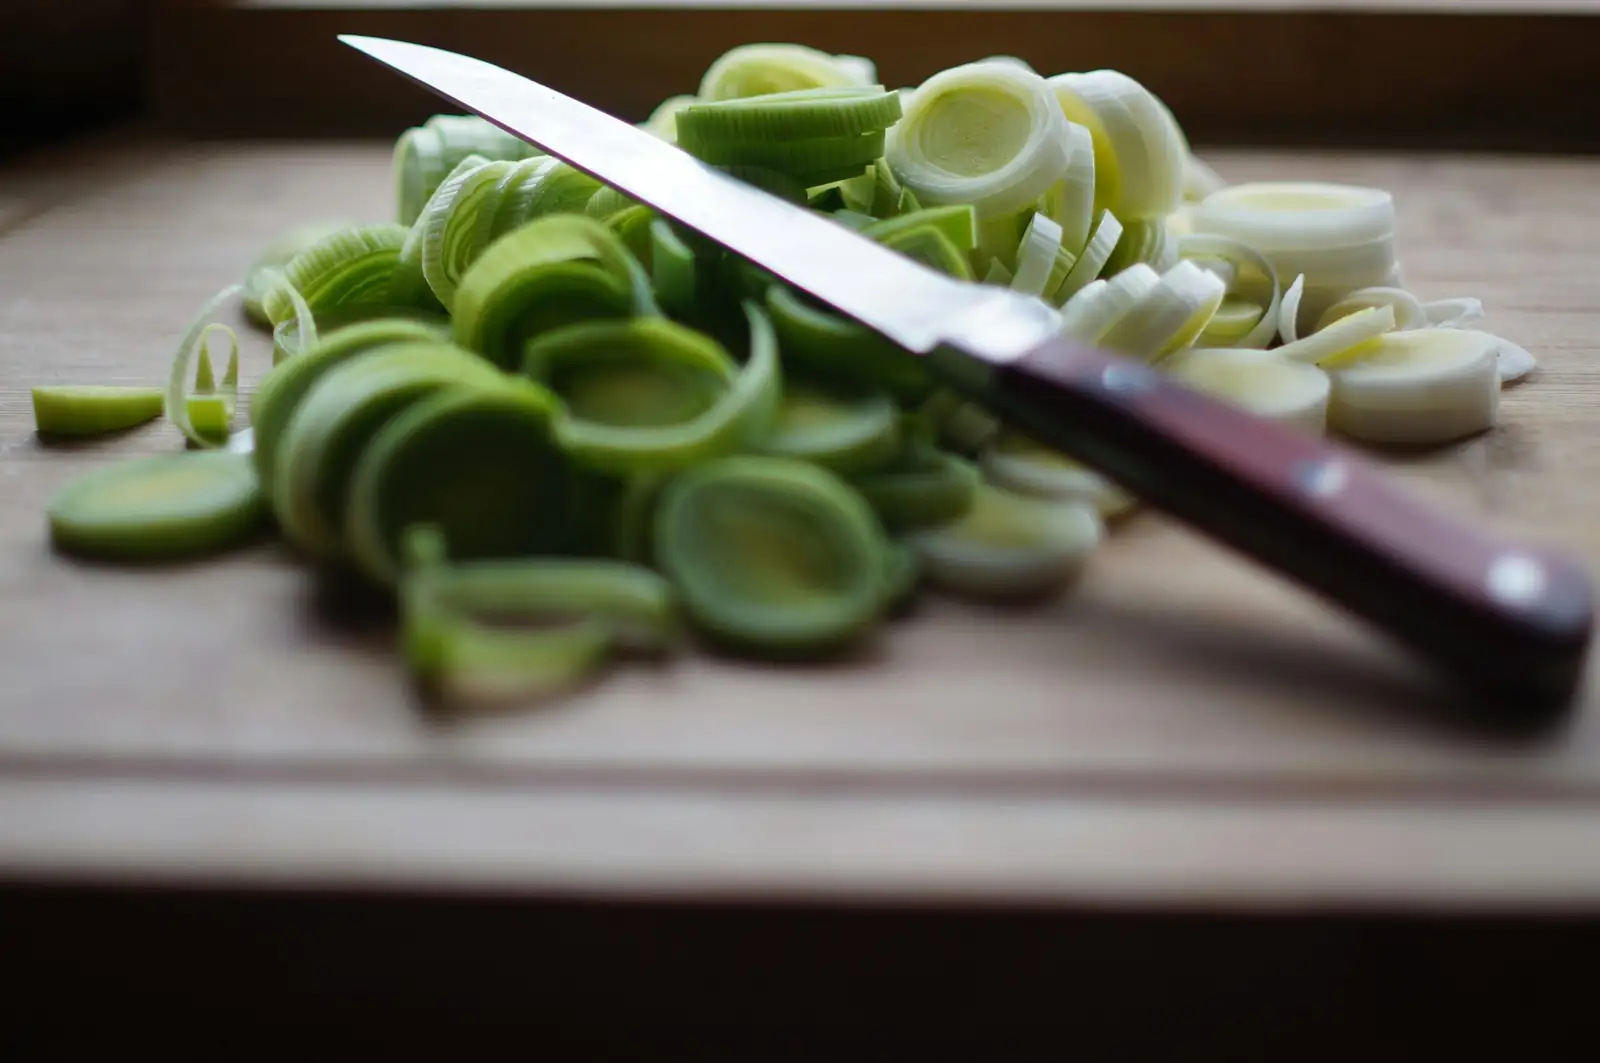
- Sterilized pruning saw or sharp knife; rubbing alcohol (70%) for between-cuts sterilizing
- Fast‑draining cactus mix or sandy, gritty blend (add coarse sand/perlite/pumice)
- Pot with drainage; size only slightly larger than the old one
- Top‑dress grit to keep pads clean and deter fungus gnats
- Cleanup
- Tweezers, white school glue, and gauze for skin (more on that later)
- Tarp or cardboard to catch shed glochids and spines
- Vacuum with HEPA or shop‑vac (discard bag/contents after)
Pro tip: A very light mist on pads just before handling helps settle airborne glochids. Avoid soaking the soil.
Stage the scene: Set up before you touch the plant
- Choose a calm, windless moment—no fans or drafts.
- Spread a tarp and set out a stable work table or low stool.
- Mix and stage your dry potting media and pot. Dry is key—wet mix + fresh wounds = rot risk.
- Pre‑sterilize tools. Keep alcohol handy and re‑wipe between cuts.
- Plan your moves. Visualize where each pad, tool, and pot will go.
How to move an Opuntia dillenii without taking a thousand stowaways
Use one of these handling “holds” and work at pad level, not joints.
1) Foam‑block pinch
- Press one foam block on each face of a pad (not over the joint). The spines/glochids bury in the foam, not you.
- Use the blocks to steady and steer the plant while you move the pot itself with your other hand.
2) Newspaper belt
- Fold a thick strap of newspaper (8–12 layers), loop it around a pad midsection, and twist the ends into “ears” you can hold.
- Lift/steady the pad gently; avoid bending the pad’s base.
3) Mesh cradle
- Fold a section of hardware cloth or stiff window screen into a U‑shaped sling.
- Slide it under the pads to create a carry cradle; move the pot with the other hand.
4) Silicone‑tipped tongs
- Use long, soft‑grip tongs only as light stabilizers.
- Grip the pad’s broad middle or outer margin—not the joint—to avoid tearing.
General motion tips
- Move the pot, not the plant, whenever possible.
- Stabilize tall or branched plants by banding multiple pads together with a wide newspaper wrap or mesh sleeve before lifting.
Pruning pads cleanly (and making new plants)
Timing: Best in spring to early summer (active growth). Avoid winter and peak heat spells.
Steps
1) Identify what to remove
- Take only damaged, diseased, severely stretched, or crowding pads. This plant rarely needs cosmetic pruning.
2) Sterilize tools
- Wipe blades with 70% isopropyl alcohol before you begin and between cuts.
3) Support the pad
- Use a foam block pinch, mesh cradle, or thick newspaper belt to support the pad you’re removing. This prevents tearing at the joint.
4) Make a single, clean cut
- Cut at the narrow joint where pads meet. One decisive slice is better than sawing.
- Don’t crush the tissue—avoid serrated tongs near the joint.
5) Let wounds callus
- Place removed pads horizontally on a dry mesh or paper in bright, indirect light for about 2–3 days to callus.
- Keep the mother plant dry for several days, too.
6) Rooting your cuttings (optional)
- Once the pad’s cut edge is callused, stand it slightly inserted into dry cactus mix.
- Wait 10–14 days, then begin very light watering once you feel resistance (early roots).
- Bright light, good airflow, and patience are your allies.
Repotting without regrets
When: Every 3–5 years, or when the rootball clearly outgrows its pot. Aim for spring or early summer.
Prep
- Stop watering 5–7 days before repotting so the rootball is firm and less messy.
- Choose a pot with drainage, only a size up—not oversized.
- Use fresh, fast‑draining cactus mix (loose, sandy, airy).
Steps
1) Secure the plant
- Band pads with a newspaper wrap or mesh sleeve so segments don’t fan out.
- Lightly mist pads to tame glochids.
2) Unpot safely
- Lay the pot on its side atop the tarp.
- Hold the plant by its foam‑block pinch or newspaper belt; tap the pot rim to loosen and slide the rootball out.
3) Inspect and refresh roots
- Trim dead or black roots with sterilized shears.
- If you had to cut any rotten tissue, set the plant aside for a few hours to let wounds dry.
4) Rehome and backfill
- Position the plant at the same depth in the new pot.
- Backfill with dry mix, using a chopstick to tease mix around roots. Don’t bury pads.
5) Top‑dress and settle
- Add a gritty top‑dress for cleanliness.
- Do not water immediately. Wait 7–14 days before the first light watering, then return to a soak‑and‑dry rhythm.
6) Reacclimate to sun
- Give bright light right away, but ramp back to intense, all‑day sun over a week to prevent sunburn on freshly disturbed roots.
Field‑tested handling tricks (pick your favorites)
- Pool‑noodle collars: Slit a short segment and clip it around a pad as a cushioned “handle.”
- Yoga‑mat straps: Cut strips from an old mat to use as soft slings.
- Cardboard L‑brackets: Wedge around the plant in its box or pot for transport to prevent wobble.
- Produce‑mesh “socks”: Slide over individual pads to catch glochids while you maneuver.
- Rim shield: Tape a cardboard strip around the pot rim so pads don’t snag the edge during repotting.
Cleanup and self‑care: If glochids still get you
They’re sneaky; it happens. The most effective removal combo:
- Step 1: Use tweezers to pluck visible clumps.
- Step 2: Spread a thin layer of white school glue over the area, press gauze into it, let dry ~30 minutes, then peel off.
- Tape and peel‑off masks help, but usually leave more behind than the glue‑and‑gauze method.
- Clothing and workspace: Use a lint roller; vacuum slowly (discard the bag/contents), and avoid rubbing the area with your hands.
Seek medical attention if you have a severe reaction, embedded spines near eyes, or signs of infection.
Aftercare: Keep it happy post‑op
- Light: At least 4–6 hours of direct sun; increase gradually after repotting or heavy pruning.
- Water: Soak and dry. In growing season, water thoroughly, then wait until the mix is completely dry. Far less in winter.
- Feeding: Light feeds in spring–summer (1/4–1/2 strength cactus fertilizer 1–2× monthly). None in fall/winter.
- Temperature: Thrives around 20–30°C (68–86°F); generally keep above 5°C (41°F).
- Air: Dry air and good airflow are best. Avoid high humidity plus wet soil.
- Pests: Watch for mealybugs, scale, spider mites; dab with alcohol or use insecticidal soap. Biggest risk is rot from excess moisture—when in doubt, water less.
Best seasons for the big jobs
- Spring (Mar–May): Prime time to repot, prune, and propagate; brighten light, resume feeding.
- Summer (Jun–Aug): Maintain strong light and airflow; give brief afternoon shade in extreme heat; water to the dry‑down pace.
- Fall (Sep–Nov): Taper watering; stop feeding; no major surgery unless necessary.
- Winter (Dec–Feb): Rest mode; keep bright and coolish, with minimal water.
Quick troubleshooting
- Pads yellowing/mushy at base: Likely overwatering/rot. Unpot, remove rot, sterilize cuts, dry, repot into fresh, dry mix, and reset watering.
- Skinny, stretched pads: Not enough sun. Increase direct light to prevent etiolation.
- Scorched patches: Sudden jump to intense sun or reflected heat. Introduce full sun gradually.
- Wobbly plant after repot: Roots re‑anchoring. Stake gently with a bamboo skewer and a foam block for 2–3 weeks.
A final word of confidence
Opuntia dillenii is all character with minimal fuss—provided you respect the glochids and move deliberately. With foam blocks that bite the spines instead of you, tongs that stabilize instead of crush, newspaper that becomes a safe harness, and mesh that cradles like a stretcher, you’ll prune, repot, and reposition like a pro—no itchy aftermath required.