

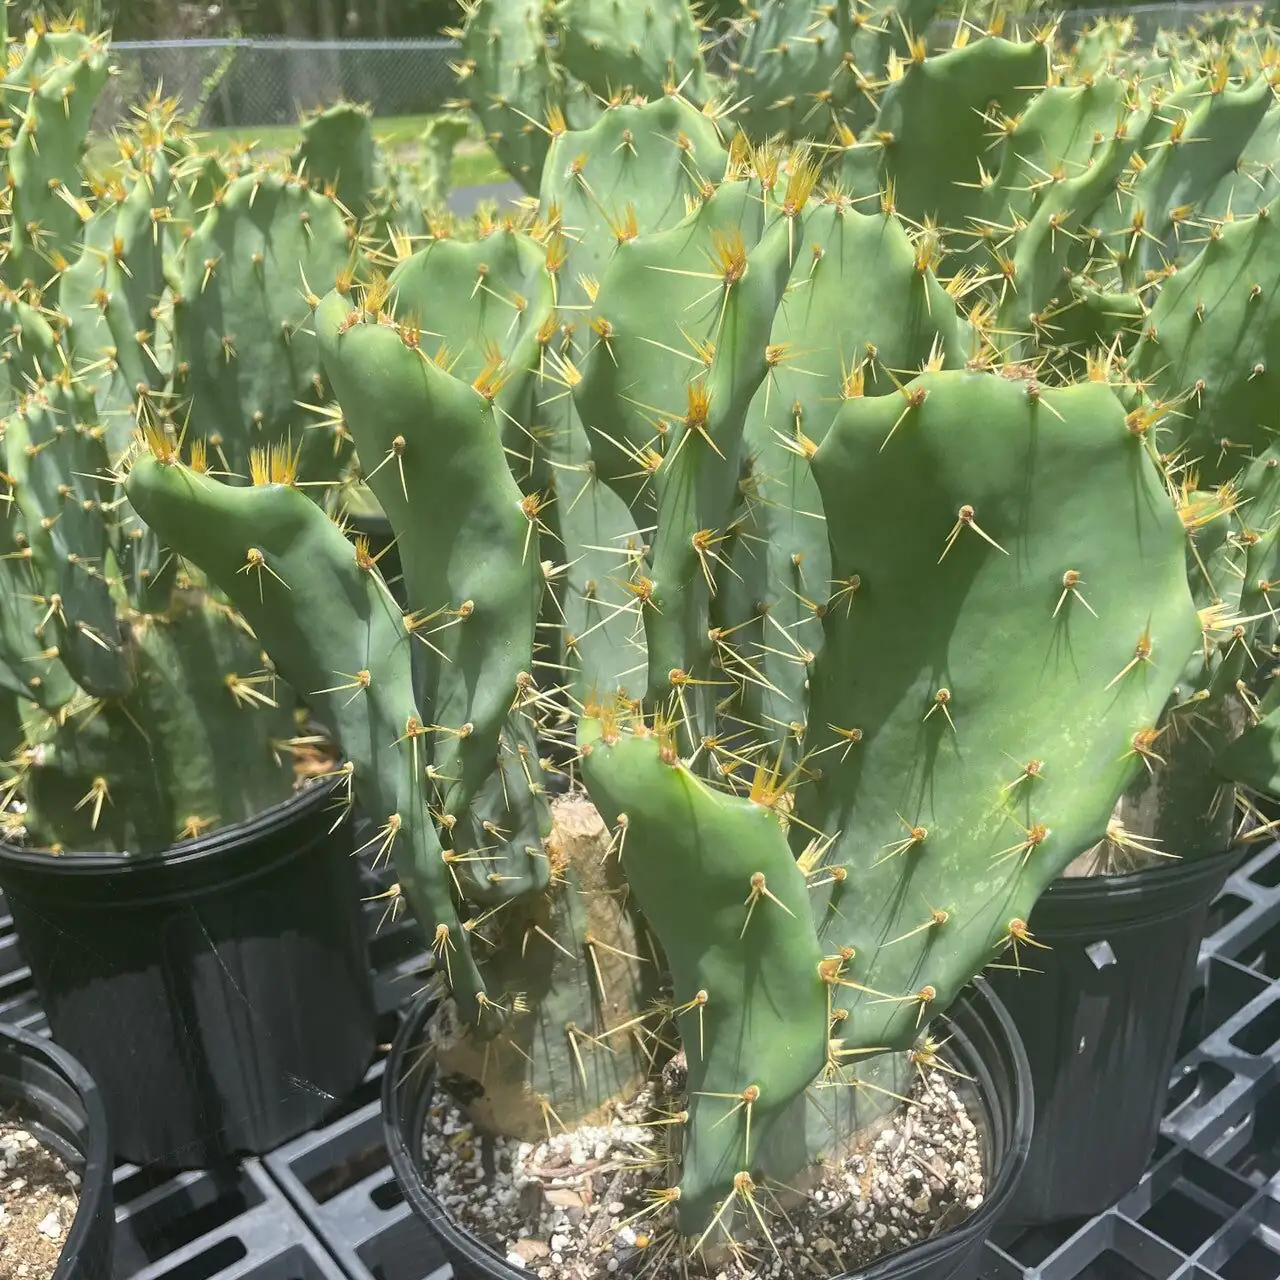
If you love a plant that rewards a few smart moves with explosive growth and sculptural charm, Opuntia dillenii (Ker Gawl.) Haw.—a classic prickly pear—belongs on your bench. Those flat, fleshy pads aren’t leaves at all; they’re water-storing stems that photosynthesize, shrug off drought, and root from cuttings with almost cheeky ease. Below, you’ll find pro-level tips for pad cuttings, callusing, rooting timelines, soil recipes, and the subtle light and moisture cues that separate “alive” from “thriving.” We’ll also cover ramping up production from offsets and what patience looks like when you start from seed.
Before you start: timing, light, and tools
- Best season to propagate: Late spring to early summer, when growth is active (May–June is prime). Warmth and longer days speed callusing and root initiation.
- Light: Give bright, direct sun—at least 4–6 hours daily. In very hot summers, brief afternoon shade prevents sunburn while roots are young.
- Temperature: Targets around 20–30°C (68–86°F) are ideal for rooting. It tolerates hotter days in summer, but keep nights moderate and air moving.
- Air and humidity: Dry air is your friend. High humidity plus wet media is the fastest route to rot.
- Tools: Thick gloves, long tongs, a clean, sharp knife or pruning saw, and a tray or bench where pads can dry without disturbance.
Pad cuttings, perfected
The short course (step-by-step)
1) Select a pad
- Choose a firm, blemish-free, fully mature pad. Avoid soft, wrinkled, or damaged segments.
2) Take the cutting
- Hold the mother pad steady with tongs and gently twist the target pad at the joint, or use a sterilized blade for a clean cut at the areole line.
3) Callus the wound
- Set the pad upright in a bright, airy spot out of direct midday sun. Let the cut end dry and harden for about 2–3 days, until it’s leathery.
4) Prepare the mix
- Use a fast-draining cactus blend (see recipes below). The goal is a loose, gritty substrate that never stays wet for long.
5) Plant shallow and upright
- Sink the callused end just 1–2 cm (½–¾ in) into dry mix. Use a small rock or bamboo skewer as a brace if needed. Keep it bright, with good airflow.
6) Hold the water at first
- Keep the mix dry initially. In warm conditions, roots typically begin forming in 10–14 days. Once you suspect root activity, give a light, targeted watering and then let the mix dry fully again.
7) Confirm rooting
- Perform a gentle “tug test” after 2–3 weeks. Resistance means new roots have grabbed hold. You may see a nub of new pad growth shortly afterward.
8) Transition to normal care
- After establishment, adopt a soak-and-dry rhythm—thorough waterings followed by full dry-down. Feed lightly during spring–summer only.
Rooting timeline at a glance
- Day 0: Detach pad.
- Days 2–3: Callus forms; plant into dry gritty mix.
- Days 10–14: First roots initiate; begin light watering only after roots start.
- Weeks 3–4: Roots anchor; tug test shows resistance; first new growth may appear.
- Weeks 6–8: Pot fills gradually with roots; you can up-pot or space out in production beds.
Pro tips and common pitfalls
- Don’t bury it deep: Shallow set is safer; deep planting traps moisture against soft tissue.
- Avoid “helpful” misting: Pads root from calm dryness, not humidity.
- Gentle light first: Strong morning sun is perfect. Harden into more intense afternoon sun gradually to avoid scorch.
- Overwatering shows fast: Soft, translucent tissue at the base is early rot—unpot, trim back to healthy tissue, let it re-callus, and reset in fresh dry mix.
Soil recipes that actually dry out
Aim for a loose, airy blend that drains rapidly and re-aerates between waterings.
- Cutting/propagation tray mix (very fast-drying)
- 50% pumice or perlite
- 30% coarse sand or 3–5 mm grit
- 20% lean cactus potting mix
- Optional: a pinch of powdered sulfur or cinnamon on cut ends before planting
- Long-term container mix (still quick, but with a touch more hold)
- 40% pumice or perlite
- 30% coarse sand or grit
- 30% cactus potting mix
Tip: Whatever you use, the pot must have a drainage hole. If in doubt, add more mineral aggregate and reduce fines.
Reading the plant: light and moisture cues
- Needs more light:
- Pads elongate or lean, areoles seem more widely spaced, new pads emerge small and weak. Move to stronger sun promptly.
- Getting too much direct, intense sun too soon:
- Bronze patches or pale scald on young, unacclimated pads. Back off to morning sun, then reintroduce afternoon sun gradually.
- Ready to water:
- Mix is bone-dry top to bottom. The pad may look slightly less plump, but still firm. Water thoroughly, then let it dry completely again.
- In trouble from excess moisture:
- Base softens or darkens; a sour smell may appear. Unpot, remove any rot, dry the plant, and reset in a fresh, drier mix with better airflow.
Scaling up: offsets and clump division
When to separate
- Late spring through early summer is ideal. Select offsets/pads that are at least the size of your palm and firmly attached.
How to divide and stage many at once

- Prep: With gloves and tongs, detach offsets or twist pads at the joint. Clean cuts if needed.
- Callus: Stand pads upright on a rack for about 2–3 days in bright, indirect light and dry air.
- Batch-plant:
- Use community flats filled with the cutting mix above.
- Set pads 8–12 cm (3–5 in) apart so air can move freely and each pad can lean on a small stone or stake.
- Environment:
- Bright light; morning sun is perfect for the first week or two.
- Warmth around 20–30°C (68–86°F).
- No watering until you expect initial roots (often 10–14 days), then small, infrequent sips.
- Grading out:
- After 4–6 weeks, move the best-rooted pads into individual pots. Keep the late-rooters in flats a bit longer.
Production pointers
- Label everything: date, mother plant, location. You’ll thank yourself later.
- Airflow over humidity: A small fan or open-air bench is more valuable than a humidity dome.
- Minimal fertilizer until roots are established; then feed lightly during the growing season.
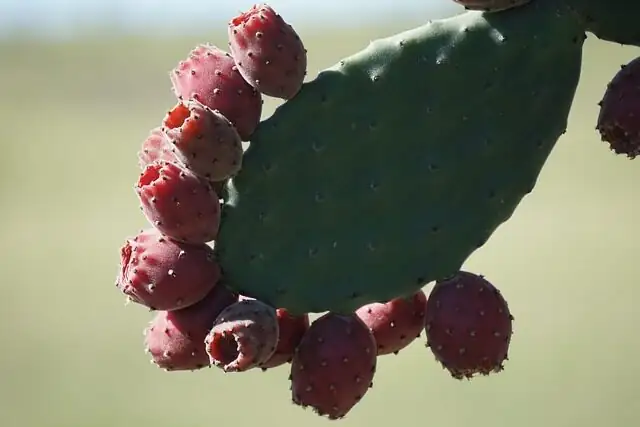
From seed: what to expect (and why it’s worth it)
Starting Opuntia dillenii from seed is slower than pads, but it’s rewarding and can yield interesting variation.
- Seed prep:
- Harvest from fully ripe fruit and clean thoroughly to remove pulp. Allow seeds to dry for a day or two.
- Sowing:
- Use a shallow tray with a gritty, sterile surface (e.g., 50% fine pumice/perlite + 50% sifted cactus mix).
- Scatter seeds on the surface and barely cover with a thin layer of coarse sand.
- Conditions:
- Warmth in the 20–30°C (68–86°F) range with bright light (not scorching midday sun).
- Keep the top just slightly moist—not wet—until germination. Good airflow reduces damping-off risk.
- Timeline:
- Germination is variable; plan for a few weeks to several weeks.
- Once cotyledons and the first tiny pad appear, gradually reduce watering toward a lighter soak-and-dry.
- Patience:
- Seedlings are slow. Expect many months before they look like “mini-prickly pears,” and longer before they’re landscaping-strong. The payoff is a well-adapted, tough plant.
Year-round care once established
- Watering:
- Use a soak-and-dry cadence: water thoroughly, then wait for the mix to dry completely. Typical rhythm:
- Spring/fall: every 2–4 weeks
- Summer: weekly in intense heat if the mix dries fast
- Winter: every 4–6 weeks or even less (cool, bright, and much drier)
- Feeding:
- Light feed in spring–summer only, about 1–2 times per month at 1/4–1/2 strength. Stop in fall/winter.
- Repotting:
- Infrequent—every 3–5 years or when roots clearly outgrow the pot. Spring/early summer is best.
- Temperature:
- Thrives at 20–30°C (68–86°F). Protect from frost; aim to keep winter temps above about 5°C (41°F).
- Sunlight:
- Keep strong light year-round. Indoors, a sunny window is essential; outdoors, full sun with a touch of afternoon relief in extreme heat.
Pests, rot, and safety
- Pests:
- Mealybugs, scale, and spider mites can appear. Dab with isopropyl alcohol, or use insecticidal soap, repeating as needed.
- Rot:
- The main enemy is excess moisture. If stems soften or blacken, unpot, remove affected tissue, let healthy parts dry, and reset in a dry, fresh mix.
- Safety:
- Spines and glochids are the real hazard. Wear gloves and keep the plant away from high-traffic areas, kids, and pets. The plant itself is generally considered non-toxic, but skin contact may irritate sensitive individuals.
Symbolism and “flower language”
Prickly pears embody resilience and endurance—living sculptures that store their own water and bloom when conditions are right. In modern “flower language,” they’re often linked to steadfast protection and quiet strength. This symbolism grew from how cacti survive in harsh landscapes and how their spines guard precious resources—practical traits that people across the Americas have respected for centuries.
Quick troubleshooting
- Cutting shrivels before rooting:
- Check heat and light: warm it up, brighten mornings, and ensure airflow. Confirm you didn’t water too soon.
- Cutting rots at base:
- You watered early or the mix holds too much moisture. Trim to healthy tissue, re-callus for about 2–3 days, and reset in a grittier medium.
- Pads stretch and flop:
- Not enough direct sun. Move to a brighter spot and rotate the pot periodically.
- No flowers after a year or two:
- Increase sun exposure, avoid overfeeding, and provide a cooler, drier winter rest.
With sharp tools, a gritty mix, and an even sharper eye for light and dryness, Opuntia dillenii turns propagation into a near-sure thing. Start with a pad or an offset to build numbers fast, and tuck a seed tray in the corner if you like surprises. Either way, this prickly powerhouse will repay your care with character, resilience, and—when spring and summer roll around—those brief, luminous blooms.