

Ready to turn one Easter Cactus into a small, starry forest? Hatiora gaertneri (syn. Rhipsalidopsis gaertneri, Schlumbergera gaertneri) is one of the easiest rainforest cacti to multiply—if you catch the timing and technique. This propagation masterclass walks you through when to snip, how to prep 2–3 segment cuttings, the ideal rooting media, and the aftercare that takes you from callus to bloom.
Overview: meet your plant like a pro
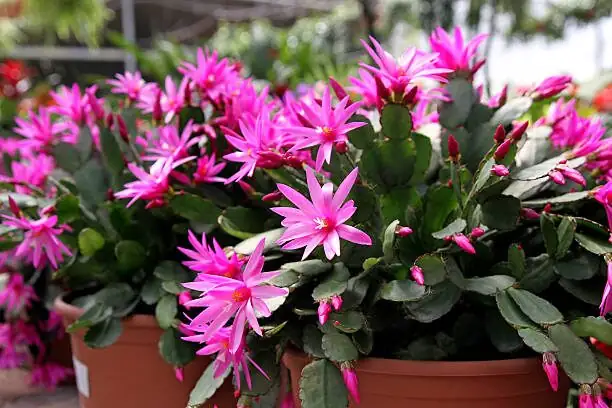
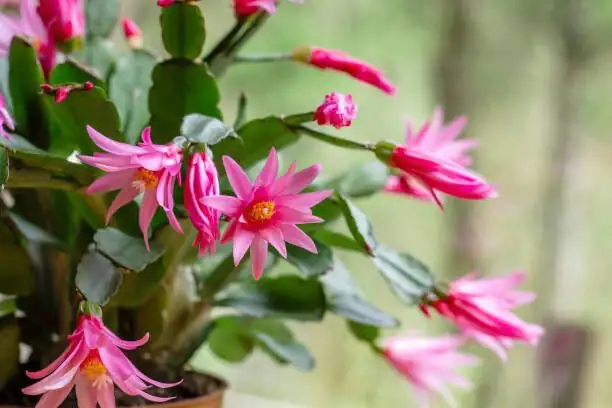
- Identity: Easter Cactus, a tropical, epiphytic cactus from the coastal mountains of southeastern Brazil. It naturally grows on trees or rocks—think airy, fast-draining, humus-rich nooks rather than desert sand.
- Habit and look: neat, flat, fleshy stem segments with gently scalloped edges, forming a bushy, slightly trailing mound. Flowers are star-shaped and showy in spring.
- Light and climate sweet spot: bright filtered light; 15–24°C (60–75°F); enjoys higher humidity (aim for ~50%+).
The golden window: when to take cuttings
- Best time: post-bloom, after the plant has had a brief rest. The sweet spot is about 2–3 months after flowering finishes.
- Why this timing works:
- The plant has replenished energy reserves after its spring show.
- New growth is gearing up, so cuttings root and establish more readily.
- You avoid interrupting bud set or bloom (moving or pruning in bud can cause drop).
Pre-game prep: tools, mother plant, and segment choices
- Choose a vigorous mother plant with firm, plump, unblemished segments.
- Tools: clean, sharp scissors/pruners (or simply your fingers to twist at the joints), alcohol for sterilizing, small nursery pots, and plant labels.
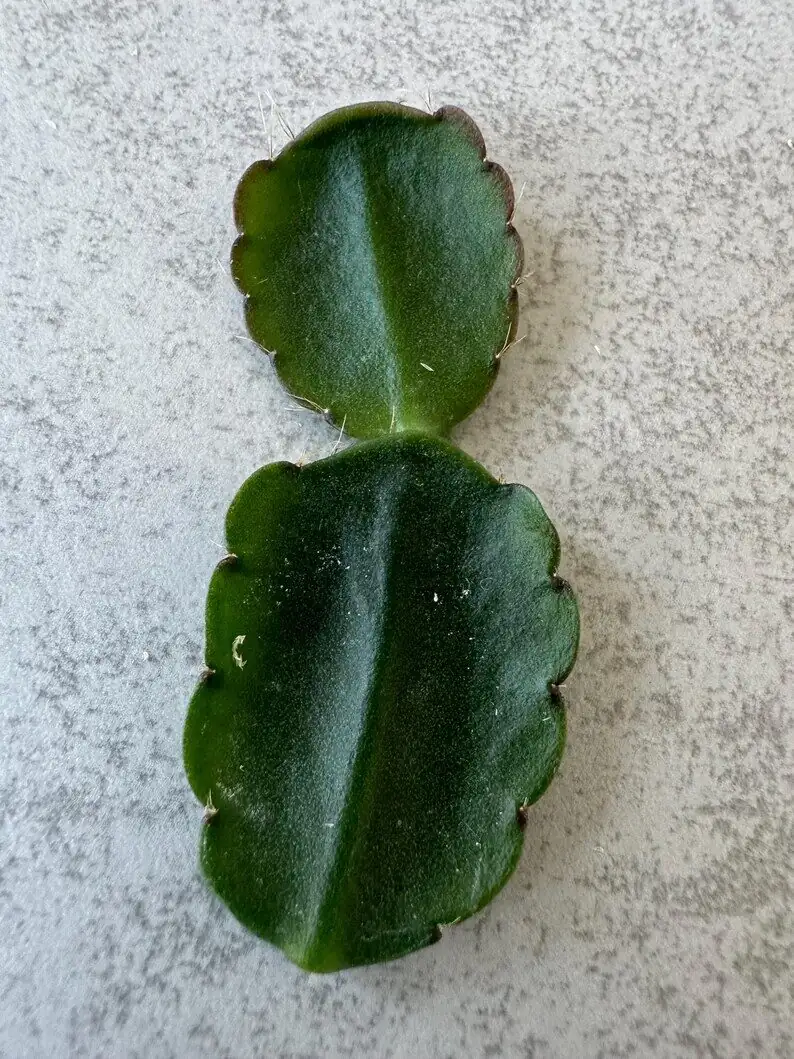
- Segment length: take tips that are 2–3 segments long. More than 3 can flop and dehydrate before rooting; fewer than 2 provide too little stored moisture and energy.
- Hydrate the day before taking cuttings so segments are turgid.
Step-by-step propagation: from snap to roots
1) Take the cuttings
- Grasp the segment and gently twist at the joint to separate, or cut cleanly right at the joint with sterilized shears.
- Aim for 2–3 segment tips per cutting. Keep track of orientation—the end that was closer to the base is the end that will go into the mix.
2) Callus correctly
- Lay cuttings in a bright, airy spot out of direct sun for 1–2 days to let the cut end dry and callus.
- Why it matters: a thin, dry callus is your shield against rot once the cutting touches moist media.
3) Mix the perfect rooting medium
Think airy epiphyte, not soggy peat. A reliable blend:
- 50% quality cactus/succulent mix
- 25% fine orchid bark
- 25% perlite
Targets: fast drainage, abundant air at the base of the cutting, and slightly acidic pH around 6.0–6.5.
Potting setup:
- Use small, well-drained pots (terracotta works beautifully).
- Moisten the mix lightly—damp, never wet. If you squeeze it, it should barely hold together.
4) Plant the cuttings
- Insert the basal end so that about half of the bottom segment is buried. This anchors well and keeps the rooting zone humid without suffocating it.
- Firm the mix gently so the cutting stands upright.
5) Create a gentle, humid microclimate
- Light: bright, indirect light; no harsh sun.
- Humidity: aim for ~50%+. You can set the pots on a pebble tray with water below the pot base, or loosely tent with a clear cover that allows airflow (vent daily).
- Temperature: steady 18–24°C (65–75°F) fits nicely within this plant’s comfort range.
6) Watering during rooting
- After potting, mist the mix lightly around the cutting if needed. Do not drench.
- Thereafter, keep the mix lightly moist—let the top layer dry slightly, then water thoroughly and let excess drain. Never leave pots standing in water.
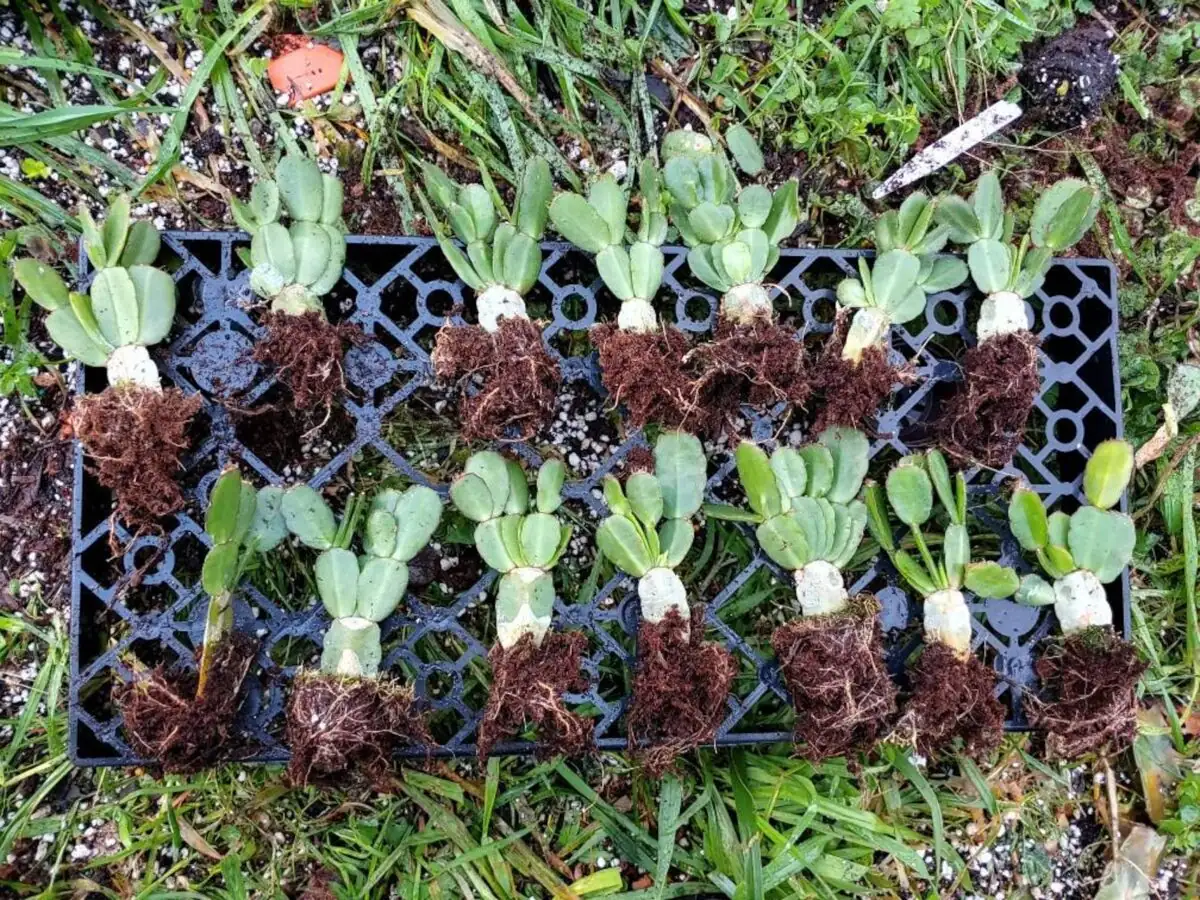
7) The rooting timeline
- Expect roots in about 2–4 weeks. You’ll notice new turgor and possibly a flush of fresh segment growth.
- Check gently: a light tug should meet resistance. Avoid frequent tugging; watch for new growth instead.
First repot and beyond: aftercare for brand-new plants
Weeks 0–4: settle and root
- Keep conditions stable: bright filtered light, steady humidity, lightly moist mix.
- No fertilizer yet; focus on rooting.
Weeks 4–8: early growth
- Once you see new growth, begin a gentle feeding routine during active growth: a balanced fertilizer (e.g., 10-10-10 or 15-15-15) monthly, or every 2–4 weeks at half strength.
- Maintain even moisture—never soggy. Good airflow prevents fungus gnats and rot.
Months 2–6: shaping a future bloomer
- Light: bright, indirect; a touch of gentle morning sun is fine if acclimated.
- Pruning to branch: you can pinch the tip segment once the plant is growing strongly to encourage more tips (more tips = more flowers next spring).
- Pot sizing: Easter Cactus likes to be slightly pot-bound. Repot only when necessary and usually not until the following spring after blooming.
The bloom setup (for later)
- For bud initiation, give cooler nights around 10–13°C (50–55°F) with about 12 hours of uninterrupted darkness for 6–8 weeks in late winter. Water a bit lighter. This “cool + dark” cue encourages a cascade of spring buds.
Troubleshooting: what can go wrong (and how to fix it)
- Cutting shrivels before rooting:
- Air too dry or too warm; increase humidity to ~50%+, provide bright but softer light, and keep the mix lightly moist.
- Base turns mushy:
- Overwatering or no callus period. Let future cuttings callus 1–2 days and keep the medium airy. Water only when the top dries slightly.
- Fungus gnats:
- Usually from chronically wet mix. Let the top inch dry a bit more, improve airflow, and use a well-draining blend.
- No roots after 4 weeks:
- Temperatures may be low; move to 18–24°C (65–75°F). Check that the cutting is oriented correctly and at least half of the bottom segment is buried.
- Sun scorch on segments:
- Move out of direct, harsh sun. Bright, filtered light is best for both rooting and mature growth.
- Pests (mealybugs, scale, spider mites):
- Inspect mother plants and cuttings. Treat promptly and improve airflow. Avoid oil-heavy sprays on tender new growth in strong light.
Shortcut recipes and pro tips
- Rooting mix recipe (by volume):
- 2 parts cactus/succulent mix
- 1 part perlite
- 1 part fine orchid bark
- Watering rhythm:
- Water thoroughly, then drain well. Allow the top layer to dry slightly before watering again; don’t let it go bone-dry for long during active growth or bloom.
- Orientation matters:
- Plant the correct end down. If you lost track, the end with a smoother joint scar typically faced the plant base.
- Label your batches:
- Note parent plant color and date. You’ll thank yourself next spring.
Beyond cuttings: division and grafting
- Division: When repotting in spring after bloom, you can divide a dense, multi-crowned plant. Keep generous roots with each division and pot into the same airy mix.
- Grafting: Occasionally done in cultivation onto other cacti—mostly a specialist’s technique for collection or rescue work.
Mini calendar for propagators
- Spring (after bloom): brief 2–3 week rest with lighter watering, then take 2–3 segment cuttings 2–3 months after flowering.
- Summer: grow on with bright filtered light, even moisture, and periodic feeding.
- Fall: gradually reduce watering and pause feeding to set up winter bud cues.
- Late winter: cooler nights and long dark periods encourage buds; keep new plants just slightly drier until you see signs of growth.
Safety and placement notes
- Non-toxic to humans, cats, and dogs. Still, discourage nibbling—any plant material can cause mild stomach upset.
- Indoors: bright windowsill with filtered light or 5–8 feet back from a strong south/west window. Humid rooms (like a bright bathroom) are excellent.
A brief note on meaning
- Symbolism: Easter Cactus is a classic emblem of spring renewal and hope—its timely, starry blossoms feel like a celebration of brighter days.
- About “flower language” (花语): Many modern attributions trace back to Victorian-era floriography and later popular culture rather than ancient lore. For Easter Cactus, the seasonal rhythm—rest, cool nights, then an exuberant bloom—naturally aligns with ideas of patience rewarded and cycles of renewal.
Your propagation checklist
- Time it right: 2–3 months after flowering.
- Take 2–3 segment cuttings; callus 1–2 days.
- Root in a lightly moist, airy epiphyte mix; bury half the bottom segment.
- Provide bright, indirect light, ~50%+ humidity, and 18–24°C.
- Expect roots in ~2–4 weeks; start light feeding once new growth appears.
- Keep the plant slightly pot-bound and cue bloom with cooler, longer nights before spring.
Do this once, and you’ll wonder why you ever bought just one. With a steady hand and an airy mix, Hatiora gaertneri practically multiplies itself—ready to spill over pots with star-shaped flowers when spring returns.