

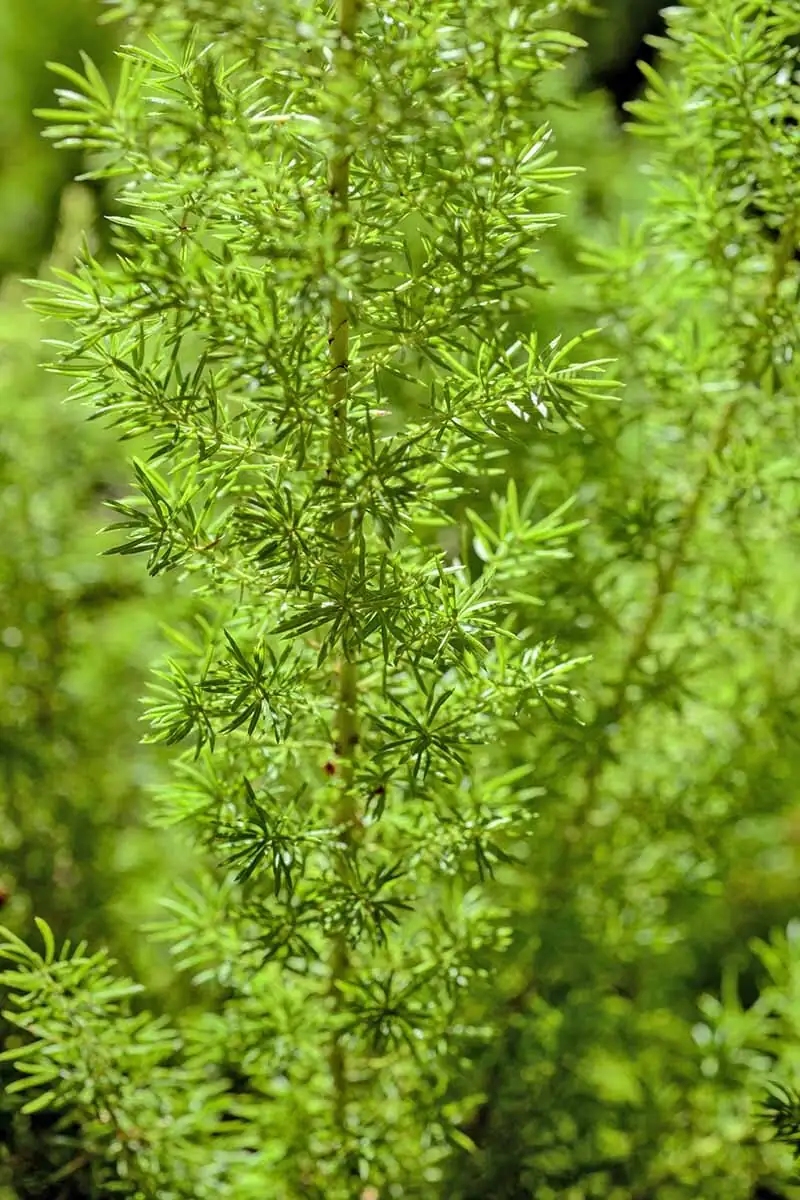
Think of your Asparagus fern (Asparagus densiflorus) as a ballerina in soft shoes: it looks delicate, but it’s tougher than it appears—so long as you don’t shove it under a spotlight overnight. With a gentle, week-by-week plan, you can shift it from shade to brighter digs and keep those feathery sprays lush, not bleached or crispy.
Meet the plant you’re guiding into the light
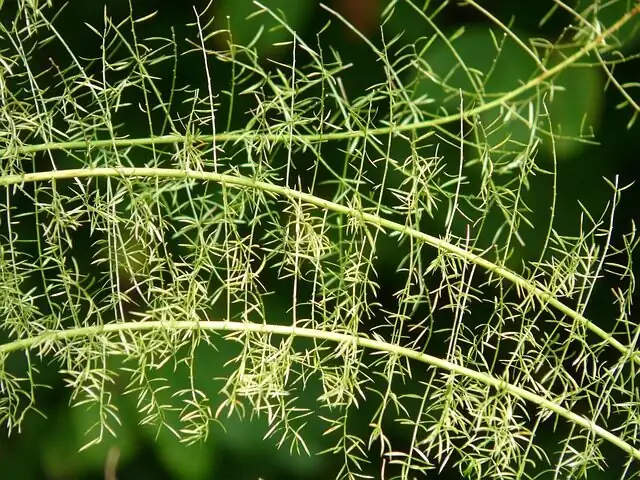
- What it is: Asparagus densiflorus—commonly called Asparagus Fern, Foxtail Fern, Plume Asparagus, or Sprenger’s Asparagus—isn’t a true fern. The “needles” are actually tiny modified stems (cladodes).
- Personality: Soft-looking, surprisingly resilient. Tuberous, water-storing roots make it more forgiving than most real ferns.
- Native roots: Southern Africa (especially South Africa and Mozambique).
- Light taste: Bright, indirect light to partial shade; a little gentle morning or late-afternoon sun is usually fine. Avoid harsh midday sun.
- Ideal indoor spots: Near an east- or north-facing window, or set back from a bright south/west window behind a sheer curtain. Perfect for hanging baskets and tall planters where it can cascade.
- Comfort range: 13–24°C (55–75°F). Protect from cold drafts; avoid temps below ~10°C (50°F).
Why light acclimation matters
Cladodes grown in shade are thin and tender. When light increases gradually:
- The plant thickens its cuticle, builds more protective pigments, and adjusts chlorophyll—so it can “hold” more light without scorching.
- Metabolism rises, which also increases water and nutrient needs.
Rushing this process causes bleaching, crispy tips, or a sudden shed of cladodes. Go slow, and it rewards you with denser, brighter plumes.
When to start (and when to wait)
- Best season: Spring into early summer, when days are longer and growth is active.
- Temperature check: Keep nights above 13°C (55°F); postpone if a cold snap is coming.
- Health check: Address pests (spider mites, mealybugs, scale) and soggy soil first. A stressed plant won’t acclimate well.
Your week-by-week indoor plan
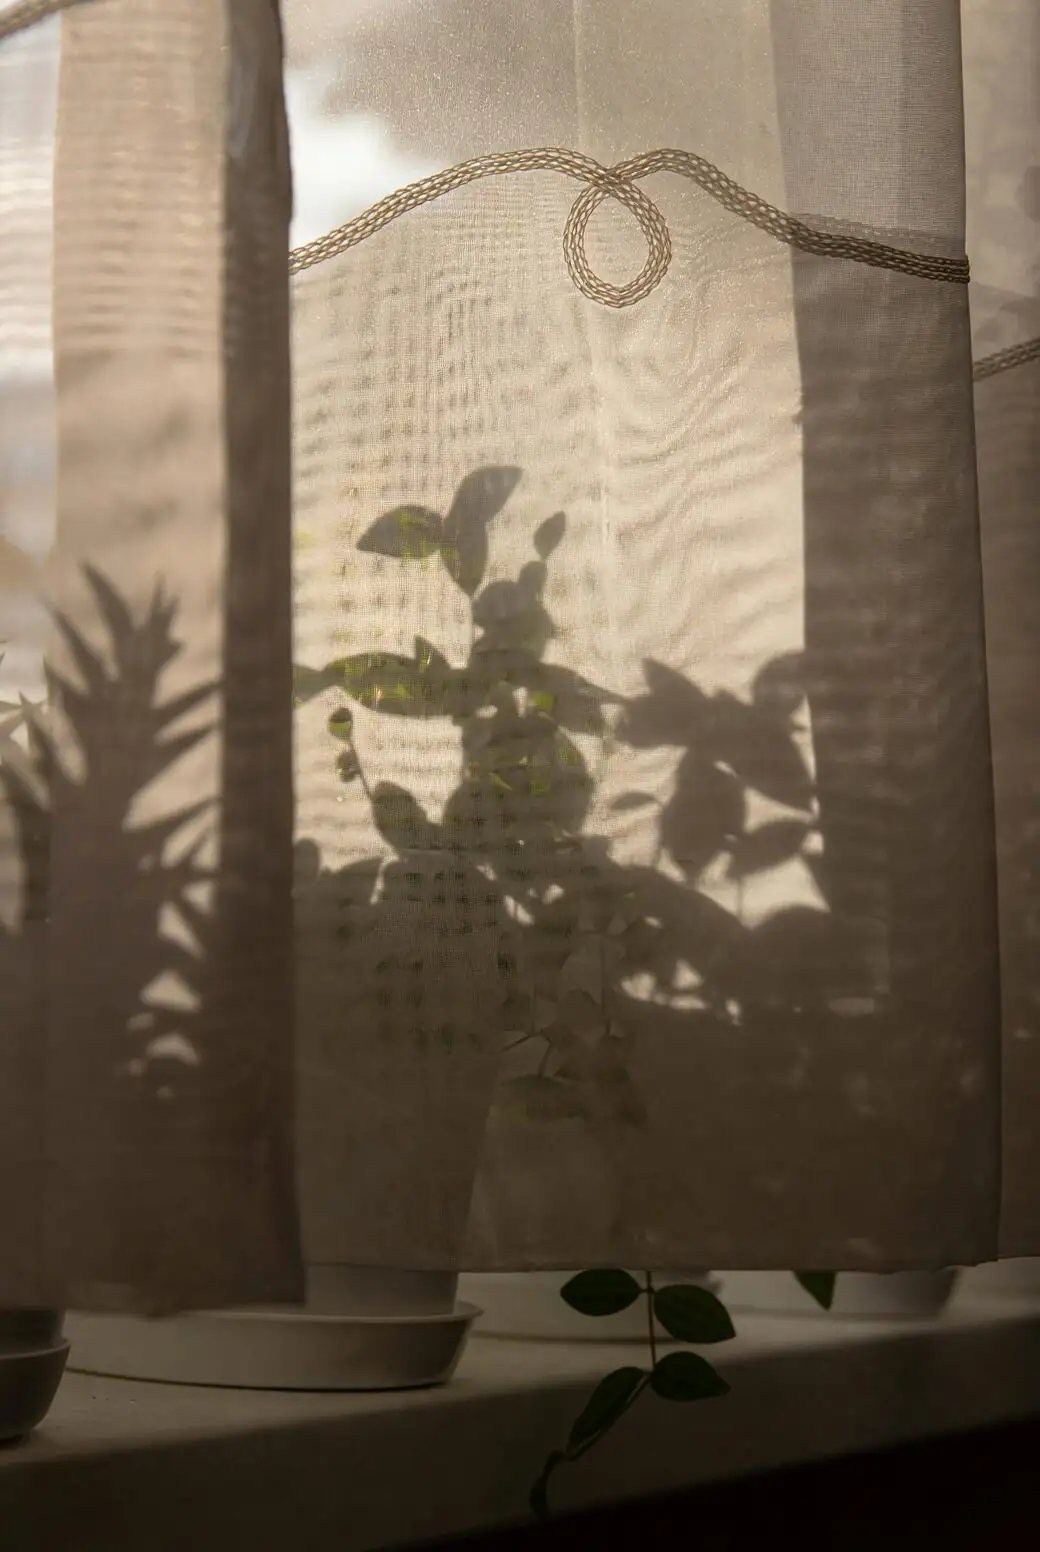
Use a sheer curtain as your friend. The aim is brighter, filtered light and a short, gentle dose of direct sun only in the coolest hours.
Shadow test cheat sheet:
- No shadow = low light
- Soft, fuzzy shadow = medium/bright indirect
- Sharp shadow = direct sun (use only in the morning or late afternoon)
Week 0: Prep and baseline
- Watering baseline: In spring–autumn, water when the top 1–2 cm (0.4–0.8 in) just begins to dry. Never keep it soggy.
- Feeding: If it’s the growing season, start monthly, balanced liquid fertilizer at 1/2 strength.
- Grooming: Snip any brown or overly long stems at the base to encourage fresh growth.
Week 1: First step brighter
- Move 60–90 cm (2–3 ft) closer to your target window, behind a sheer curtain.
- Light goal: Soft, bright indirect light for most of the day.
- Care tweaks: Check soil a bit earlier; brighter light = faster drying.
Week 2: A sip of sunshine
- Move another 30–60 cm (1–2 ft) closer, still behind sheer.
- Introduce 15–20 minutes of gentle morning sun (or late-afternoon sun) if you have an east window. Skip midday sun entirely.
- Watch for signals: Faint paling is a nudge to slow down; crisped tips mean too much, too soon.
Week 3: Settle near the window
- Position within 30–60 cm (1–2 ft) of an east/north window behind sheer.
- Increase morning sun to 30–45 minutes if leaves look happy (no bleaching or brittleness).
- Rotate the pot a quarter-turn weekly to balance growth.
Week 4: Bright, indirect “home base”
- Aim for bright, filtered light most of the day. If you want a dash more sun, allow up to 60 minutes of gentle morning rays.
- Watering now: Expect slightly more frequent watering, but still let the top 1–2 cm dry between waterings.
Week 5: Fine-tune for fullness
- If you want a touch brighter, move the plant to the sill behind sheer for the first half of the morning, then slide it a little farther back by noon.
- Keep morning sun in the 45–60 minute range. No midday sun.
Week 6: Hold and observe
- Maintain this setup for two more weeks. Look for denser, fresh green sprays and no signs of scorch.
- If all looks good, this is your long-term spot. If you need even more brightness, continue with baby steps (10–15% increases each week).
Note: If your starting point is very dim or your destination is quite bright, stretch the plan to 8 weeks. If the plant protests at any point, pause or step back a stage.
Moving outdoors for summer (or year-round in warm zones)
- Where it thrives outside: Dappled shade or bright shade; a little early sun is fine. Avoid strong midday sun.
- Timing: Night temps above 13°C (55°F). Bring indoors before it dips toward 10°C (50°F).
A 3-week outdoor ramp:
- Week 1: Full shade on a porch or under a tree.
- Week 2: Bright shade; introduce 15 minutes of early morning sun.
- Week 3: Up to 45–60 minutes of early morning sun, then shade/filtered light the rest of the day.
Wind dries pots fast—check soil often. Rinse the foliage weekly to keep dust and mites at bay.
Care tweaks as light increases

- Water: Brighter light = thirstier plant. Keep the mix evenly moist in the growing season, never waterlogged. Those tuberous roots store water, so it forgives an occasional miss better than constant wet feet.
- Soil and pot: Use a loose, well-draining potting mix in a pot with drainage holes. Avoid heavy, water-retentive mixes.
- Feeding: Monthly at 1/2 strength spring through autumn; pause or greatly reduce in winter.
- Pruning: Trim brown or straggly stems at the base in spring to spark fresh growth.
- Repotting: Every 1–2 years, just one size up (2–5 cm / 1–2 in wider). The roots are dense and tuberous—handle gently.
Early-warning signs (and quick fixes)
- Bleaching or silvery cast: Too much direct light. Add a sheer curtain or move back 30–60 cm.
- Crispy tips: Sun scorch or underwatering. Reduce direct sun, water when the top 1–2 cm dries.
- Yellowing/cladode drop: Often from low light, waterlogged soil, or spider mites. Brighten light (indirect), let the surface dry between waterings, and check for pests.
- Webbing or sticky patches: Spider mites, mealybugs, or scale. Rinse foliage, improve airflow, and treat with insecticidal soap or horticultural oil if needed.
Easy placement ideas to keep it cloud-bright, not sun-baked
- East window with a sheer curtain
- North window close-by
- Set back from a south/west window with filtered light
- Hanging basket where sprays can cascade without brushing hot glass
Safety and good housekeeping
- Mildly toxic if ingested; berries and foliage can upset stomachs in people and pets. Keep out of reach of children and cats/dogs.
- The sap can bother sensitive skin—wear gloves if pruning extensively.
- Indoors, it copes better with average air than true ferns, but it appreciates an occasional mist or pebble tray and loves a gentle rinse to deter mites.
A note on names and flowers
- You’ll see it sold under trade names like “Sprenger’s asparagus” or “foxtail fern.” Despite the “fern” nickname, it’s an Asparagus relative in the Asparagaceae family.
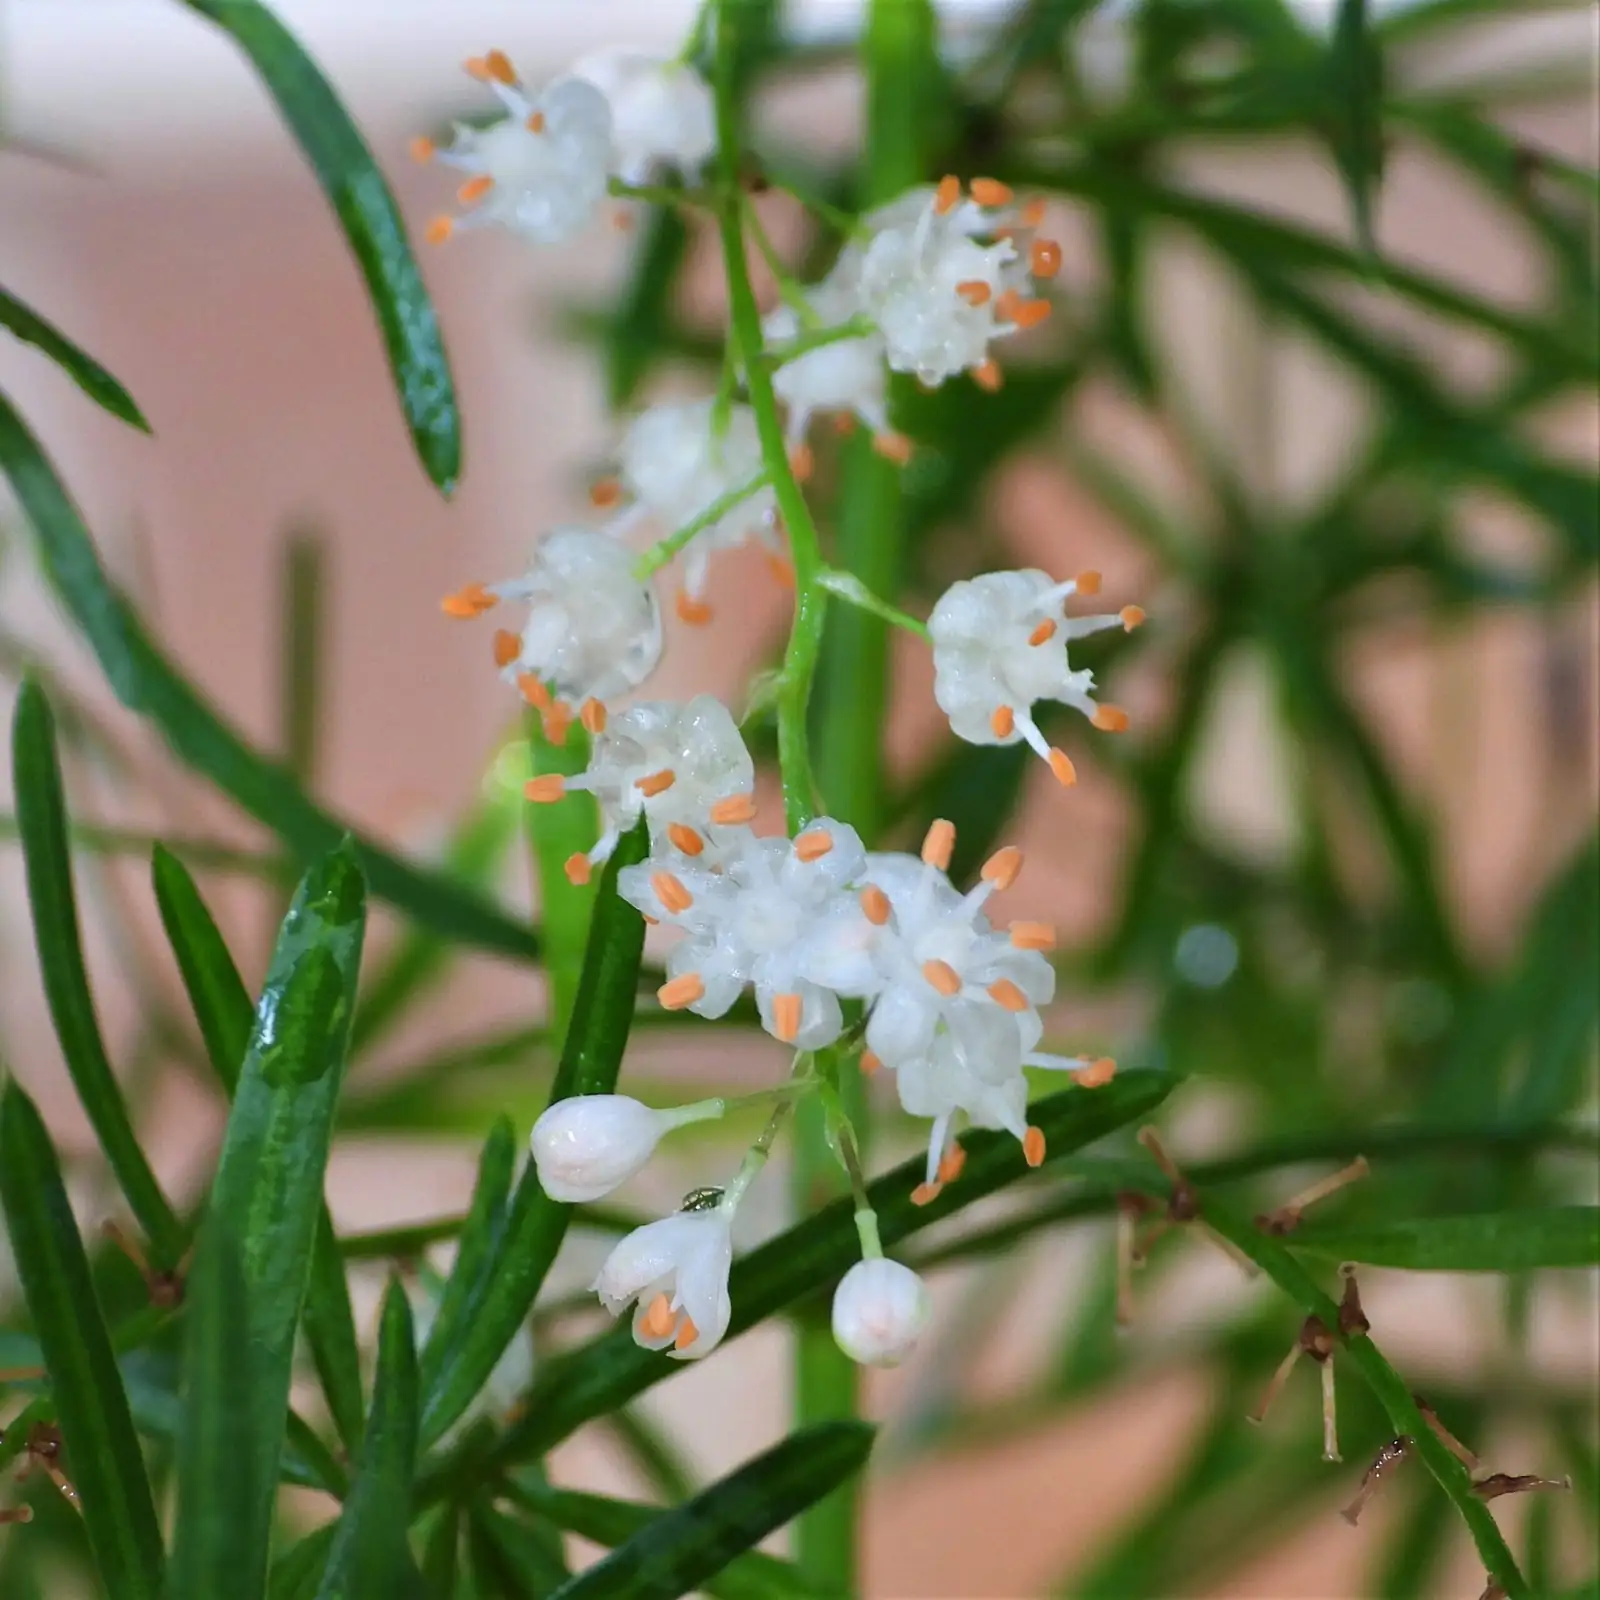
- Mature plants may produce small, starry white flowers and sometimes red berries indoors—an occasional treat rather than a guarantee.
Symbolism, lightly held
Asparagus “fern” often symbolizes resilient affection: a soft-looking companion that endures. That idea took root less from ancient lore and more from its long service as dependable greenery in gardens and arrangements—enduring texture, quietly supportive, always making the ensemble look better.
Your gentle-light checklist
- Increase light gradually in weekly steps; never jump from shade to midday sun.
- Favor bright, indirect light and short sips of morning sun.
- Water when the top 1–2 cm of mix dries; avoid soggy soil.
- Feed monthly at 1/2 strength during active growth.
- Prune at the base, repot only one size up, and keep it warm.
Do this, and those feathery plumes won’t bleach or crisp—they’ll billow, emerald and effortless, right where you want them.