


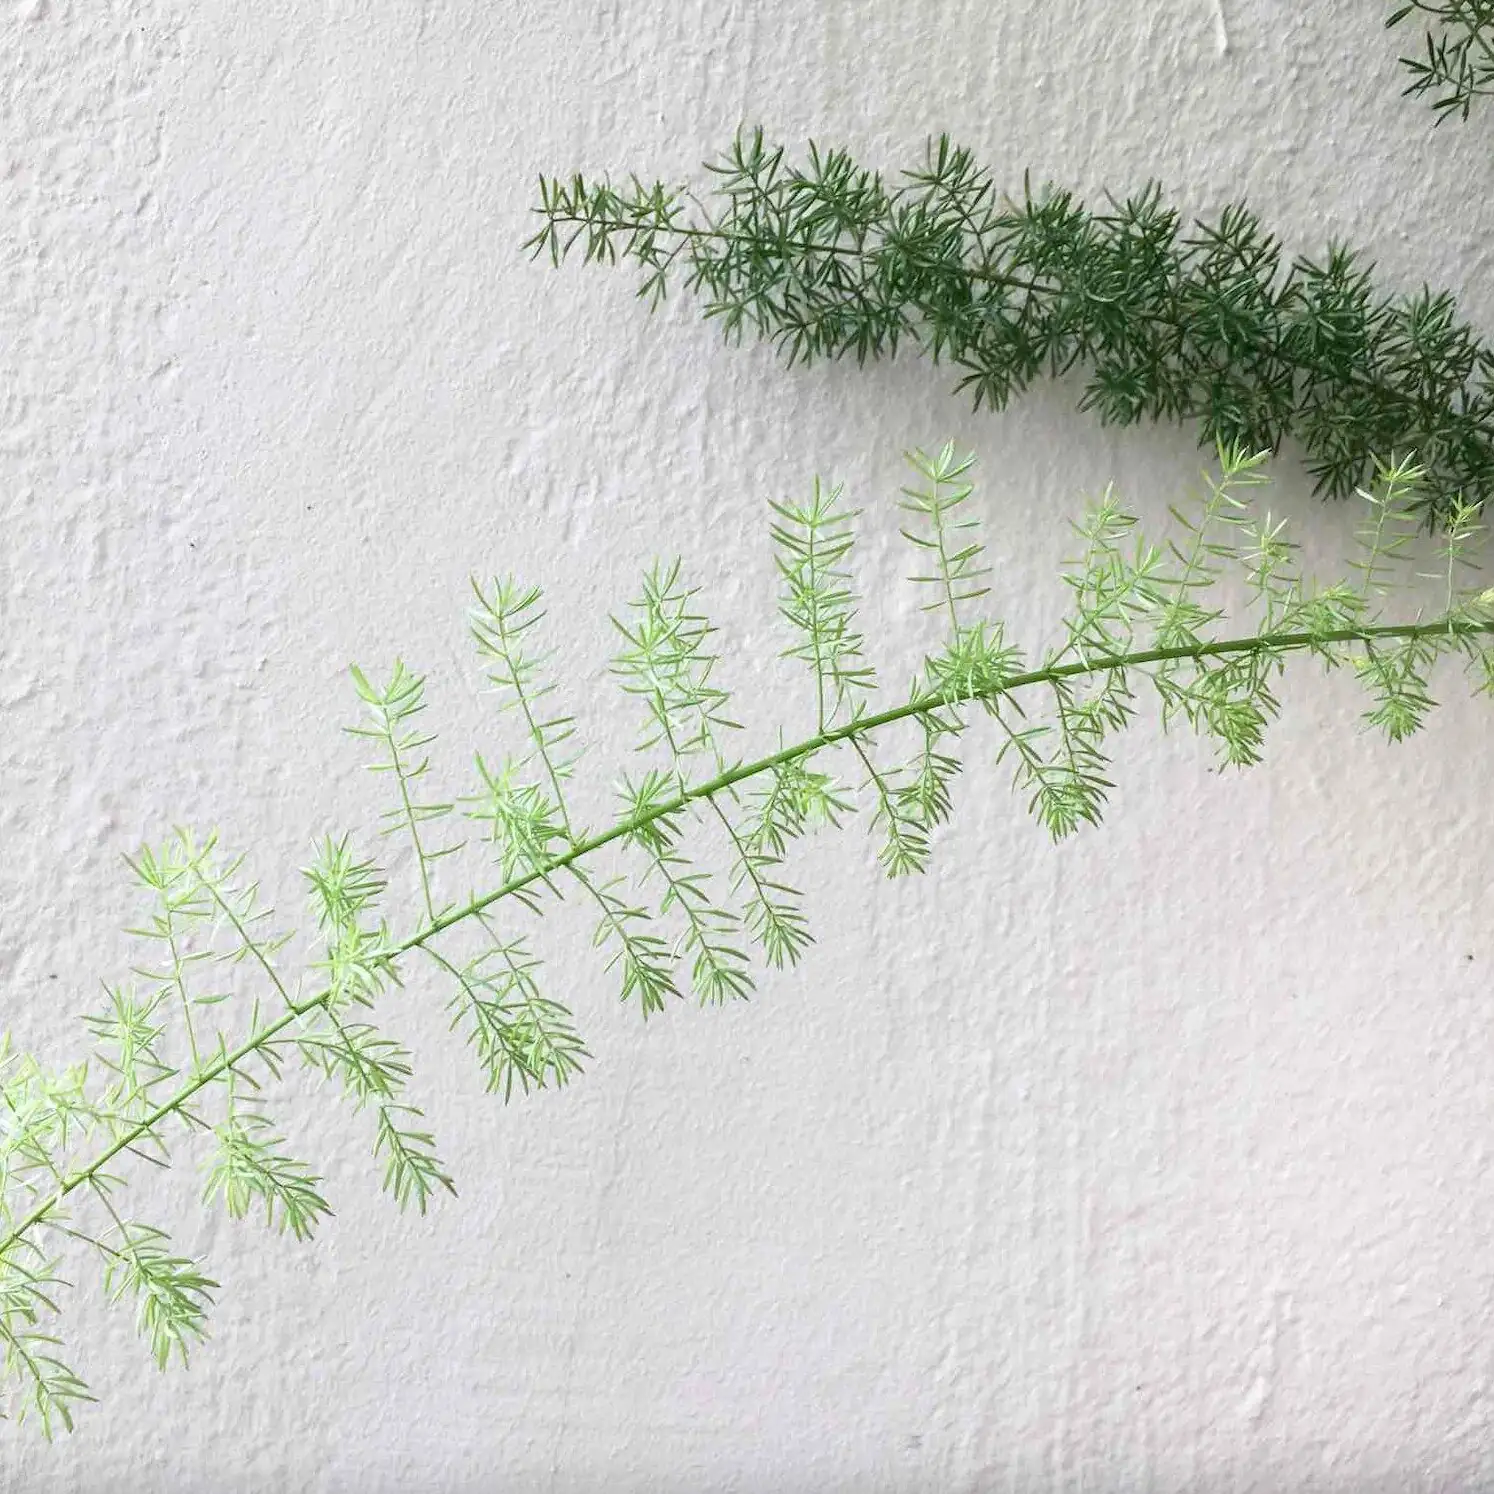
If your asparagus fern suddenly looks more “frazzled feather boa” than foxtail, don’t panic. Asparagus densiflorus (aka asparagus fern, foxtail/plume asparagus, Sprenger’s asparagus) is famously tougher than it looks. With a quick diagnosis and a simple IPM (integrated pest management) plan, you can stop yellowing, needle drop, and sticky stems—and see fresh, feathery growth return in weeks.
Meet your patient: Asparagus densiflorus at a glance
- Not a true fern—those “needles” are soft, leaf‑like cladodes on arching stems
- Native to Southern Africa; resilient with water‑storing, tuberous roots
- Light: bright, indirect to partial shade; a little gentle morning or late-afternoon sun is fine; avoid harsh midday sun
- Temperature: 13–24°C (55–75°F); protect from cold drafts and anything below ~10°C (50°F)
- Water: spring–autumn keep evenly moist, water when top 1–2 cm (0.4–0.8 in) dries; in winter, let the surface dry more between waterings
- Soil: loose, well‑draining mix in a pot with drainage
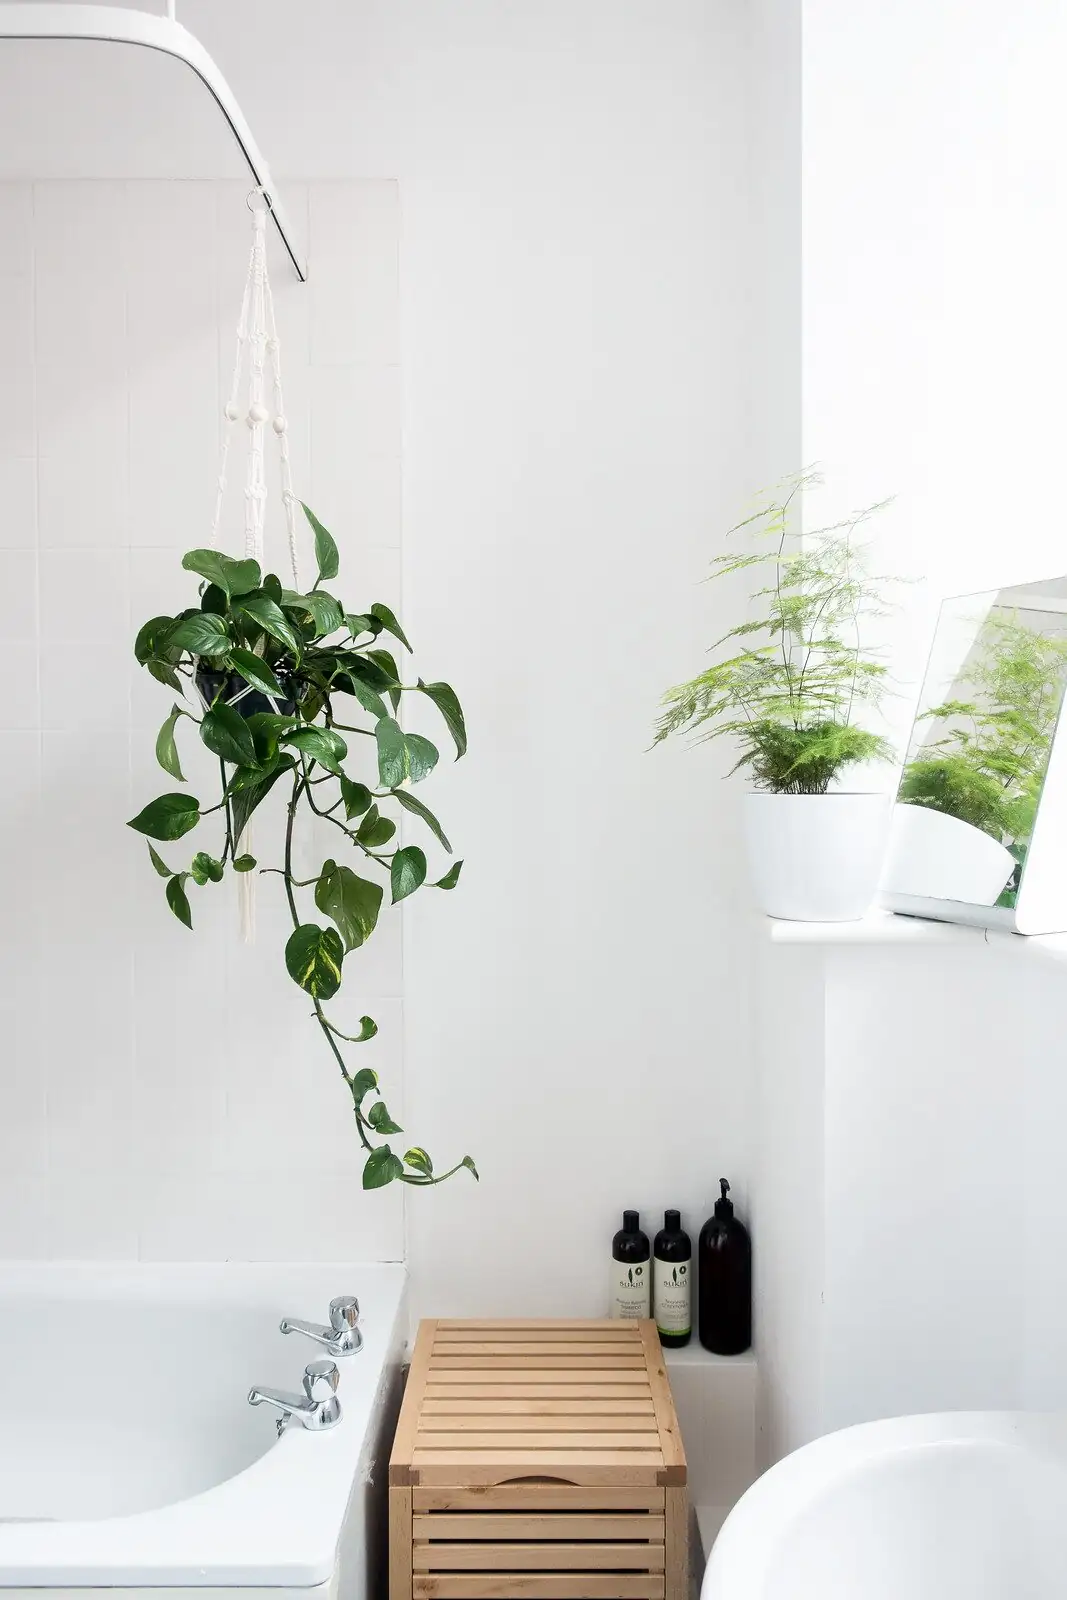
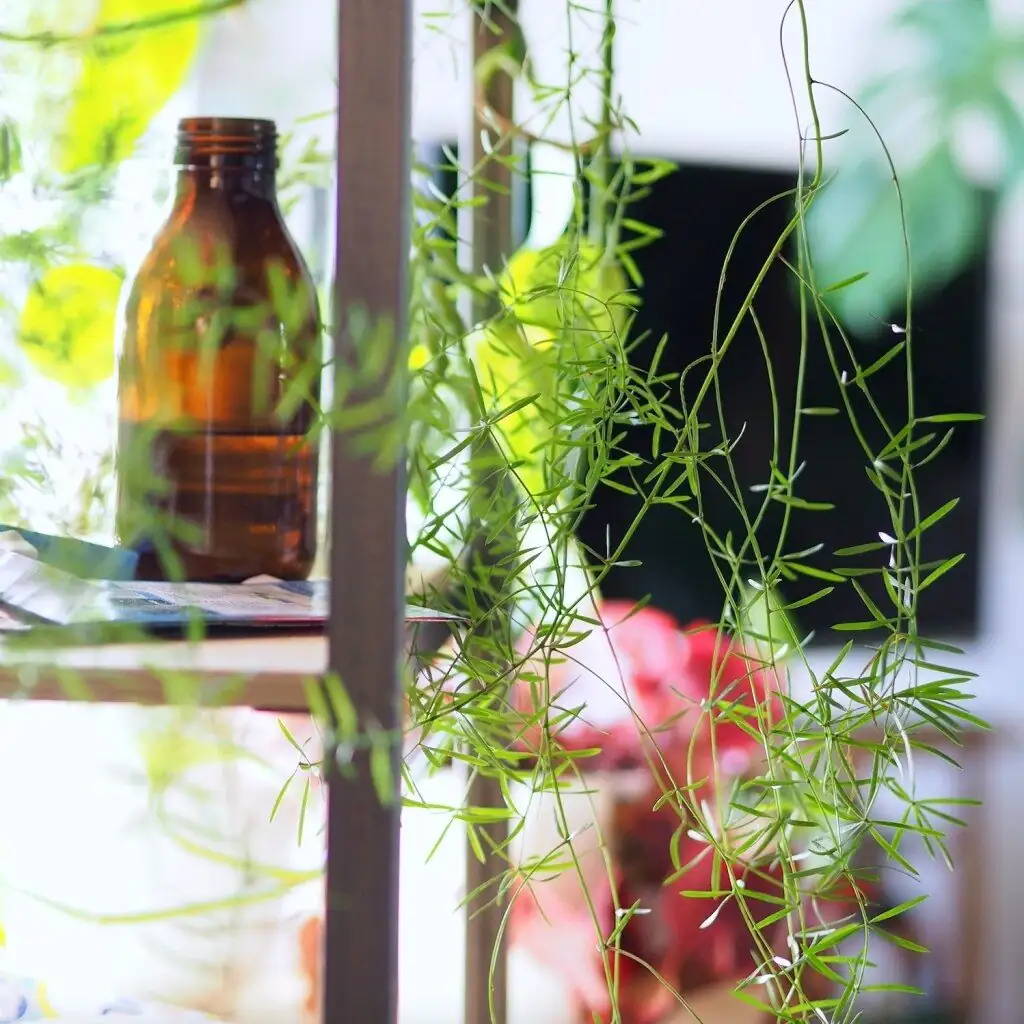
- Habit: arching, trailing, perfect for hanging baskets and tall planters
Diagnose in 60 seconds: yellowing, needle drop, sticky stems
Use this quick “symptom decoder” to pinpoint the problem.
- Yellowing + fine webbing, dusty speckling, dry air history
- Likely spider mites. Webbing may be most visible where stems fork.
- Sticky stems/leaves + cottony tufts tucked in nooks; slow, spreading mess
- Mealybugs. The “sticky” is honeydew.
- Sticky stems/leaves + flat, brown/tan “shells” stuck along stems; ants sometimes present
- Scale insects producing honeydew.
- Yellowing + pot stays heavy/soggy, soil smells sour, stems thinning; possible collapse from the base
- Root rot from chronic overwatering or heavy soil.
- Crispy needle drop, pot very light, mix pulls from pot edges
- Underwatering (especially in warm, bright conditions).
- Overall paling, stretch, slow growth, no pests found
- Low light or a plant set too far back from windows.
- Sudden yellowing/drop after a drafty night or near an A/C vent
- Cold stress.
Tip: Sticky residue = honeydew from sap‑sucking pests (mealybugs/scale). Spider mites don’t make honeydew; they make webbing and stippling.
Day‑0 triage: fast actions that stop the slide
- Isolate the plant. Keep it off your plant shelf to prevent spread.
- Rinse thoroughly. In the shower or sink, use a gentle but thorough spray—especially undersides and stem forks—to knock down mites and wash off honeydew/sooty mold.
- Wipe what you can’t rinse. Use a damp, soft cloth or a soft brush to lift scale shells and mealy clusters.
- Light reset. Move to bright, filtered light (east window or a bit back from a south/west window with sheer).
- Water check. If the pot feels heavy and cool or the mix is clumpy and sour:
- Slip the plant from its pot. Trim mushy, brown roots. Repot into fresh, well‑draining mix and a pot with drainage.
- Temperature sanity check. Keep 18–24°C (65–75°F), away from cold drafts.
Now you’re ready for a simple IPM plan.
An easy, effective IPM plan (spider mites, mealybugs, scale)
IPM blends prevention, physical control, and least‑toxic treatments—repeated on a schedule to break pest life cycles.
1) Cultural prevention (make your plant a bad host)
- Light: bright, indirect light keeps growth dense and resilient.
- Watering rhythm: water when the top 1–2 cm dries (spring–autumn). In winter, let the surface dry more. Avoid soggy soil.
- Airflow: give it breathing room; avoid cramming baskets together.
- Quarantine newcomers: two weeks apart from your collection.
- Clean leaves: monthly rinse keeps dust and early pests in check.
2) Mechanical controls (what you can do by hand)
- Weekly shower rinse: focus on undersides and tight junctions where pests hide.
- For scale shells: gently lift with a fingernail or soft brush after rinsing.
3) Least‑toxic treatments (repeat to outpace hatch cycles)
- Insecticidal soap: excellent for spider mites, mealybugs, and young scale (crawlers). Thorough coverage is essential, especially undersides and stem joints.
- Horticultural oil: smothers mealybugs and scale (including many nymphs); also helps with mites.
- How to apply safely:
- Test‑spray a small area; wait 24 hours to check for sensitivity.
- Treat in the evening or in bright shade (never in hot, direct sun).
- Rinse off residues after 4–12 hours if you see buildup or if indoors to prevent sooty deposits.
- Repeat every 7–10 days for 3–4 cycles to catch new hatchlings.
Pest‑by‑pest cheatsheet
- Spider mites
- Signs: fine webbing, stippled/yellowing cladodes, dusty look in dry rooms.
- Actions: shower rinse + insecticidal soap; follow with oil one week later if needed. Slightly higher ambient humidity and regular rinses help deter flare‑ups.
- Mealybugs
- Signs: cottony clusters, honeydew/stickiness, slow spread, distorted new fronds.
- Actions: precision coverage with soap or oil into crevices; wipe visible clusters after softening with spray; repeat weekly.
- Scale
- Signs: immobile brown/tan “shields” along stems, sticky honeydew; often more on older wood.
- Actions: manually remove shields you can reach; target the nearly invisible crawler stage with soap or oil on a 7–10‑day schedule for at least 3 rounds.
Note: Avoid harsh homemade detergents; commercial insecticidal soaps and labeled horticultural oils are formulated to minimize plant injury.
Root rot rescue (and how not to repeat it)

- Confirm: persistent wet mix, sour odor, dark/mushy roots, yellowing and collapse from the base.
- Steps:
1) Unpot and gently wash soil from roots.
2) Trim mushy roots back to firm, white tissue with sterile shears.
3) Repot into a loose, well‑draining mix (peat/coco or soil‑based amended for drainage) in a pot just 2–5 cm (1–2 in) wider than the root mass.
4) Water once to settle; then allow the top 1–2 cm to dry before watering again.
5) Keep warm (18–24°C), bright, and never water late in a cold room.
- Prevention: right‑sized pot, drainage holes, and a consistent “moist, not soggy” routine. Remember: those tuberous roots store water—it forgives a missed watering better than a waterlogged week.
Recovery timeline: what to expect and when
- Day 0–2: Rinse, isolate, first treatment, light/temperature reset. Sticky residue clears; webbing reduced.
- Week 1: Pests noticeably down; minimal new honeydew/webbing. Some yellowed cladodes may still shed.
- Week 2–4: New, bright green sprays begin emerging from the base and along stems. Maintain treatments at 7–10‑day intervals.
- Week 6–8: Full, fresh flush underway; most pest pressure gone. Shift to prevention mode: monthly rinses, good airflow, and a sane watering rhythm.
- Week 8–12 (growing season): Resume gentle feeding—balanced liquid fertilizer at half strength monthly. Prune tired, brown, or overly leggy stems at the base to channel energy into new growth.
Prevent the next flare‑up: light, water, and placement
- Light: hang or place near an east or bright north window; or set back from a south/west window with sheer curtains. Acclimate gradually to any increase in sun to avoid scorch.
- Water: in active growth, water when the top 1–2 cm dries; in winter, let the surface dry between waterings. Never let it sit in a saucer of water.
- Temperature: steady 13–24°C; avoid cold drafts and nights near 10°C.
- Humidity: average indoor air is fine (it’s not a true fern), but occasional misting or a pebble tray is appreciated—especially helpful against spider mites.
Smart pruning and repotting
- Prune: in spring, cut brown, damaged, or overly long stems off at the base to refresh the plant.
- Repot/divide: every 1–2 years or when root‑bound. Move up one size and refresh the mix; divide clumps in spring, ensuring each division has healthy roots and several stems.
Safety notes
- Mildly toxic if ingested. Keep berries and foliage away from pets and children.
- Sap can irritate sensitive skin—wear gloves when pruning or dividing.
Buying and placement tips
- Choose dense, bright green, plume‑like growth with minimal browning.
- Avoid pots that feel soggy or smell sour (root issues).
- Inspect undersides and stems for spider mites, mealybugs, or scale before purchase.
- Best displayed in hanging baskets or tall planters where stems can cascade.
Is it really a “fern”? And what it symbolizes
Asparagus densiflorus only looks ferny; its soft “needles” are actually modified stems called cladodes. Maybe that’s why it’s often linked with resilience and enduring affection—soft to the touch yet surprisingly tough. While not rooted in a traditional Victorian “flower language,” this modern symbolism fits its personality: a plant that forgives mistakes, bounces back after setbacks, and keeps on cascading.
Quick FAQ
- Why is my asparagus fern yellowing or dropping needles?
- Most often uneven watering (too wet more than too dry), low light, or pest pressure—especially spider mites in dry rooms. Adjust light and watering, and inspect closely.
- Can it take direct sun?
- A little gentle morning or late‑afternoon sun is fine; strong midday sun can scorch or bleach.
- Is it a true fern?
- No—it’s in the Asparagus genus and handles average indoor air better than many true ferns.
Bottom line: act fast, stay gentle, and be consistent. With bright, filtered light, a breathable potting mix, and a simple rinse‑and‑repeat IPM routine, your asparagus fern will trade sticky stems and yellow fronds for lush, feathery cascades in a matter of weeks.