

If you love the idea of turning one lush fern into many—with minimal fuss—Chinese brake fern (Pteris vittata, also called Brake Fern or Ladder Brake) is your springtime star. This graceful, clump-forming fern all but volunteers to be divided when you refresh its pot, and with the right aftercare, new plants settle in fast. And if you’re the patient, curious type, its spores open a whole other world of fern magic you can try on a windowsill.
Meet the plant: what makes Pteris vittata so obliging
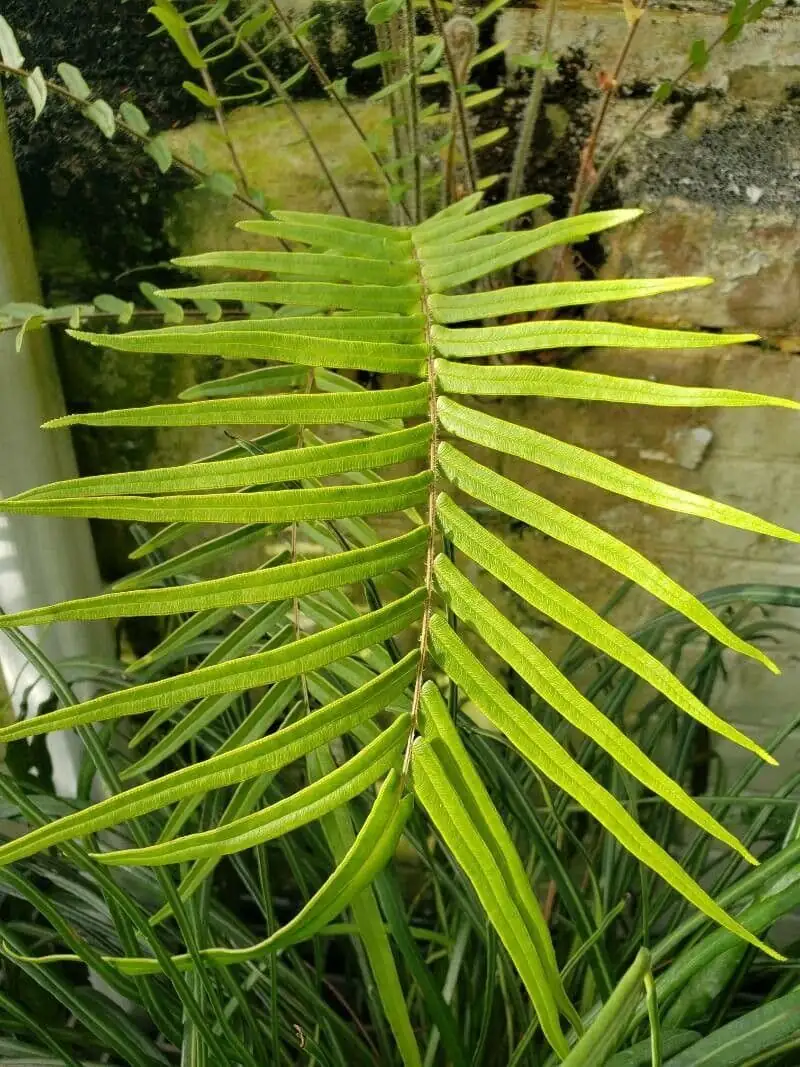
- Names: Chinese Brake Fern, Pteris vittata (凤尾蕨)
- Habit: Clump-forming, tufted, arching fronds on wiry dark stems; looks fantastic in pots or hanging baskets
- Size in pots: Usually 30–60 cm tall and wide; mature houseplants often reach about 60 × 60 cm
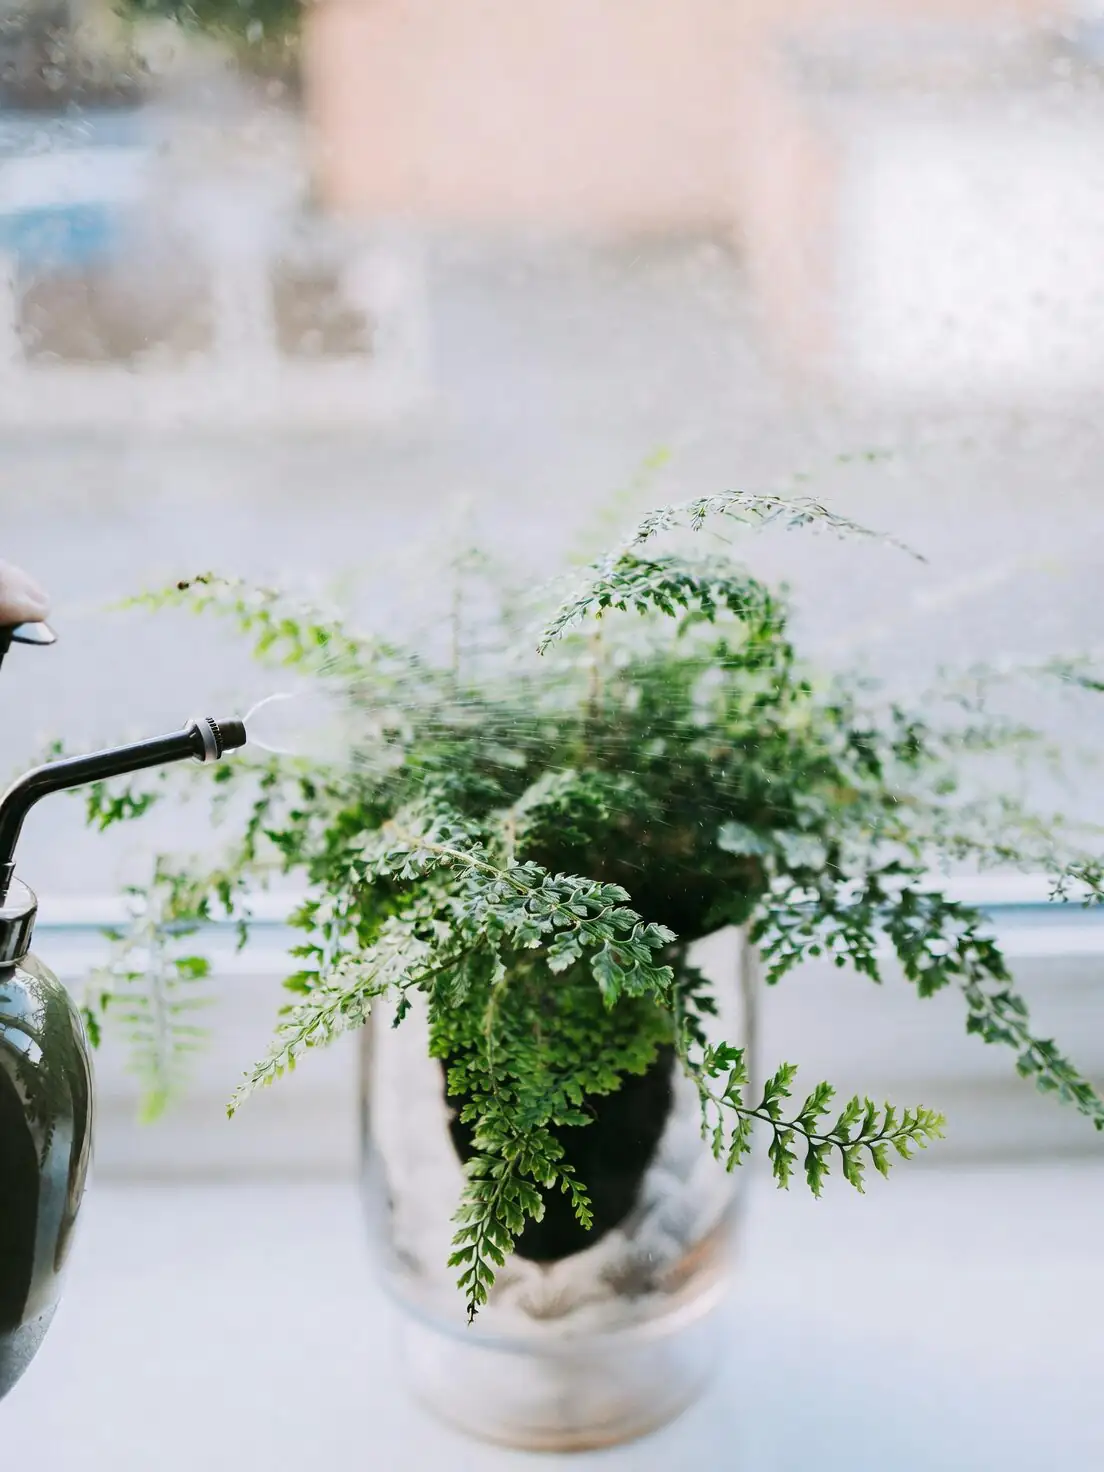
- Light: Bright, filtered light to part shade; avoid harsh midday sun
- Water: Evenly moist, never waterlogged; don’t let it go bone-dry
- Humidity: Moderate is fine; looks best with extra humidity (around 60–70%)
- Temperature: Typical indoor comfort; protect from cold drafts and avoid prolonged dips below ~10°C (50°F)
- Soil: Moisture-retentive but free-draining with excellent drainage holes
- Repotting rhythm: About every 2 years in spring (perfect time to divide)
- Pests: Scale, mealybugs, spider mites; occasional leaf spot
- Safety: Generally regarded as non-toxic/low-toxicity to people and pets
- Fun fact: Famous as an arsenic hyperaccumulator studied for phytoremediation
Best timing and tools for a stress-free division
Early spring is ideal—right when you’re repotting anyway. The plant is gearing up for growth and bounces back quickly.
Signs it’s ready:
- Fronds are densely packed and airflow is poor
- Roots circle the pot or push from drainage holes
- Mix dries out very fast despite regular watering
You’ll need:
- Fresh fern-friendly mix: for example, 2 parts all-purpose potting mix + 1 part fine bark-based medium + 1 part horticultural charcoal (or a peat/leaf mold mix with coarse sand)
- Pots with drainage (step up only one size if not dividing hard)
- Clean, sharp shears or a serrated knife; a chopstick or fork for teasing roots
- Watering can; optional cinnamon or horticultural sulfur for dusting cuts
- A tray or newspaper to work over; gloves if you like
Pro tip: Water the plant thoroughly the day before you divide. Hydrated roots are more resilient and easier to untangle.
The division masterclass: gentle, quick, and tidy
- Unpot and loosen
- Slide the plant out by supporting the base. Cradle the root mass and gently tease away old mix with your fingers or a chopstick.
- Read the clump
- Pteris vittata forms natural segments. Follow those seams and locate offsets. Avoid making divisions too tiny—each section should have several healthy fronds and a good chunk of roots.
- Make the cut (if needed)
- If a natural split won’t separate with hand pressure, use a clean knife. Remove dead roots and any mushy or spent crowns. Snip off damaged or yellow fronds at the base.
- Pot each division
- Part-fill each pot with moistened mix. Set the crown at its original depth (not buried). Backfill and press lightly to anchor—no compacting. Water thoroughly and let excess drain.
- Create a recovery nook
- Place divisions in bright, indirect light (think east/north window or a south window filtered by a sheer). Keep warm and out of drafts. Boost humidity for the first few weeks.
What not to do
- Don’t leave divisions in soggy media or standing water.
- Don’t park them in hot direct sun “to help them grow faster”—that scorches fronds.
- Don’t fertilize heavily right away.
Aftercare that speeds establishment
Weeks 0–2: Settle and hydrate
- Keep evenly moist (not saturated). In warm rooms, you may water more often; in cooler rooms, less.
- Raise humidity: mist lightly, group plants, or use a clear cover with a few air holes for 7–10 days. Vent daily to prevent fungal issues.
- Light: bright, filtered light only. No harsh midday rays.

Weeks 3–6: Gentle growth push
- Continue even moisture. In active summer conditions, many indoor growers find a rhythm of roughly 3 waterings per week—adjust to your light, heat, and pot size.
- Start feeding monthly at half strength with a balanced liquid fertilizer (keep solution off the fronds; flush with plain water occasionally to prevent salt buildup).
Ongoing grooming and tune-ups
- Snip any yellow or tired fronds at the base to tidy and redirect energy.
- If the clump gets ultra-dense, thin a few tall fertile fronds to improve airflow.
- Watch for crispy tips (low humidity or underwatering), and raise ambient moisture accordingly.
A beginner-friendly peek at spores (for the patient grower)
Ferns don’t flower—they write their origin story in spores. It’s slower than division, but fascinating and doable on a windowsill.
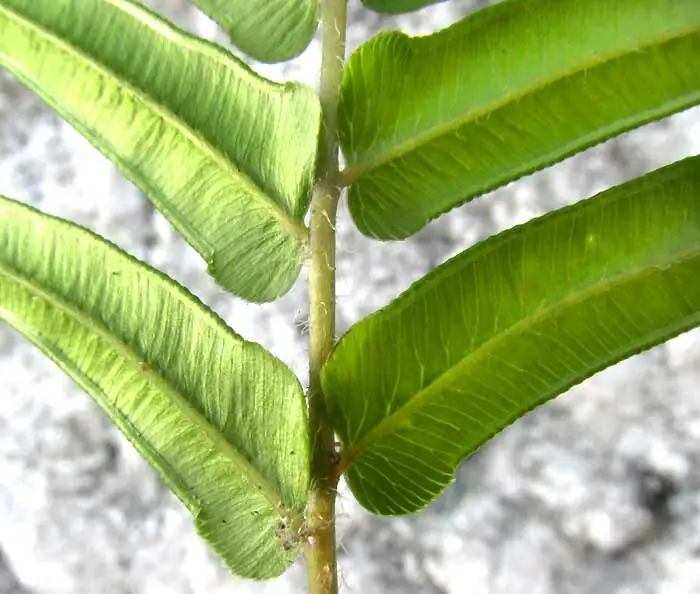
Spotting fertile fronds
- Look for mature fronds with spore clusters on the underside. When they turn brown and dusty, they’re ripe.
Collecting
- Slip an envelope or piece of clean paper under a fertile frond and tap gently. The “chocolate dust” is your spore bounty.
Sowing
- Fill a shallow, clean container with a sterile, fine mix (a seed-starting medium or finely sieved fern mix). Pre-moisten evenly.
- Sprinkle spores very thinly on the surface—don’t bury.
- Cover with a clear lid or plastic to keep humidity high. Place in bright shade at comfortable room temperatures.
What happens next
- In a few to several weeks, spores germinate into tiny green heart-shaped gametophytes (prothalli).
- Keep conditions humid with minimal splashing; a fine mist or bottom-watering helps. A light film of moisture enables fertilization.
- Baby ferns (sporophytes) appear with tiny true fronds. When they have 2–3 fronds and visible roots, prick out carefully and pot on.
Expect a marathon, not a sprint
- Timeline: months, not weeks. Some variability is normal, and spore-grown plants can be a bit diverse—part of the fun.
- Hygiene counts: clean tools and containers, occasional brief venting, and bright shade deter algae and fungal issues.
Repotting without dividing (totally fine!)
If you’d prefer to keep a large, dramatic clump, move up only one pot size in spring and refresh the mix generously. This fern appreciates a roomy but not cavernous container with excellent drainage.
Light, water, and humidity—your steady-state settings
- Light: Bright, indirect to part shade. East windows are great; south windows need a sheer; bright north shelves also work.
- Water: Keep evenly moist in spring–autumn; reduce in winter, watering when the surface starts to dry. Never let the whole root ball desiccate.
- Humidity: Moderate is workable; 60–70% keeps tips lush. A bright bathroom can be ideal.
Common pitfalls (and easy fixes)
- Tiny divisions that stall: Next time, split larger. For now, raise humidity and avoid fertilizer for a few weeks.
- Scorched, crispy fronds: Move out of direct sun; maintain even moisture and higher humidity.
- Repeated dry-outs: Expect yellowing or curl. Trim, rehydrate thoroughly, and reset your watering cadence.
- Waterlogging: Improve drainage and let excess run freely; never leave the pot in a saucer of water.
- Salt buildup (browning tips): Flush the pot with plain water monthly.
- Pests: Check undersides for scale/mealybugs; wipe and follow with horticultural oil or insecticidal soap. For spider mites, raise humidity and rinse fronds. Remove badly spotted fronds if leaf spot appears and use a fern-safe fungicide if needed.
Styling tips
- Hanging baskets let those elegant fronds drape beautifully—great where pets or small kids might fiddle.
- Variegated forms with a pale midrib stripe show best in bright, filtered light (still no harsh sun).
- Overcrowded fertile fronds? A light thin keeps the look airy and reduces pest pressure.
Symbolism and a note on “flower language”
Ferns don’t bloom, so any “flower language” is poetic license. Culturally, ferns often symbolize resilience and quiet elegance—green, architectural grace without needing a single petal. Pteris vittata wears that meaning well: undemanding when its few preferences are met, and serene even as it multiplies.
Quick calendar
- Early spring: Repot; divide if desired; trim old roots and damaged fronds.
- Spring–autumn: Keep evenly moist; mist in dry rooms; feed monthly at half strength; thin crowded fertile fronds as needed.
- Summer: Expect faster drying—watering can be as frequent as ~3× weekly indoors, adjusted to your conditions.
- Winter: Water less often (when the surface begins to dry), keep warm, and shelter from drafts.
With one unhurried spring session and the right aftercare, Pteris vittata turns division into a confidence-boosting ritual. Give it bright, filtered light, steady moisture, and a touch of humidity, and you’ll have a small grove of graceful, fingered fronds before the season is out—plus a spore tray quietly hatching the next generation on the side.