

Think of your dwarf umbrella tree (Heptapleurum arboricola) as a tiny indoor canopy you get to design. With a few well-placed cuts and smart seasonal touch-ups, you can coax lanky stems into a dense, layered crown that looks intentionally sculpted—not accidentally stretched.
Here’s your shaping clinic: where to cut (above nodes), how to spark branching, and when to step in through the year for that full, umbrella-like canopy.
First, read the plant: architecture and light drive the shape
- Growth habit: Upright, woody, and fast-growing. Indoors it often stands 1–2 m (3–6.5 ft), and with age and space can reach roughly 2.4 m × 1.2 m (8 ft × 4 ft).
- Nodes are your steering wheel: A node is the place a leaf (or its scar) joins the stem. Buds live here. Cut just above a node and you’ll “wake” buds below the cut to branch.
- Light = density: Bright, indirect light builds compact internodes and tight foliage. Low light stretches stems and pushes leaves to the tips. Move it near a bright east window or a filtered south window (sheer curtain); avoid harsh midday sun that can scorch.
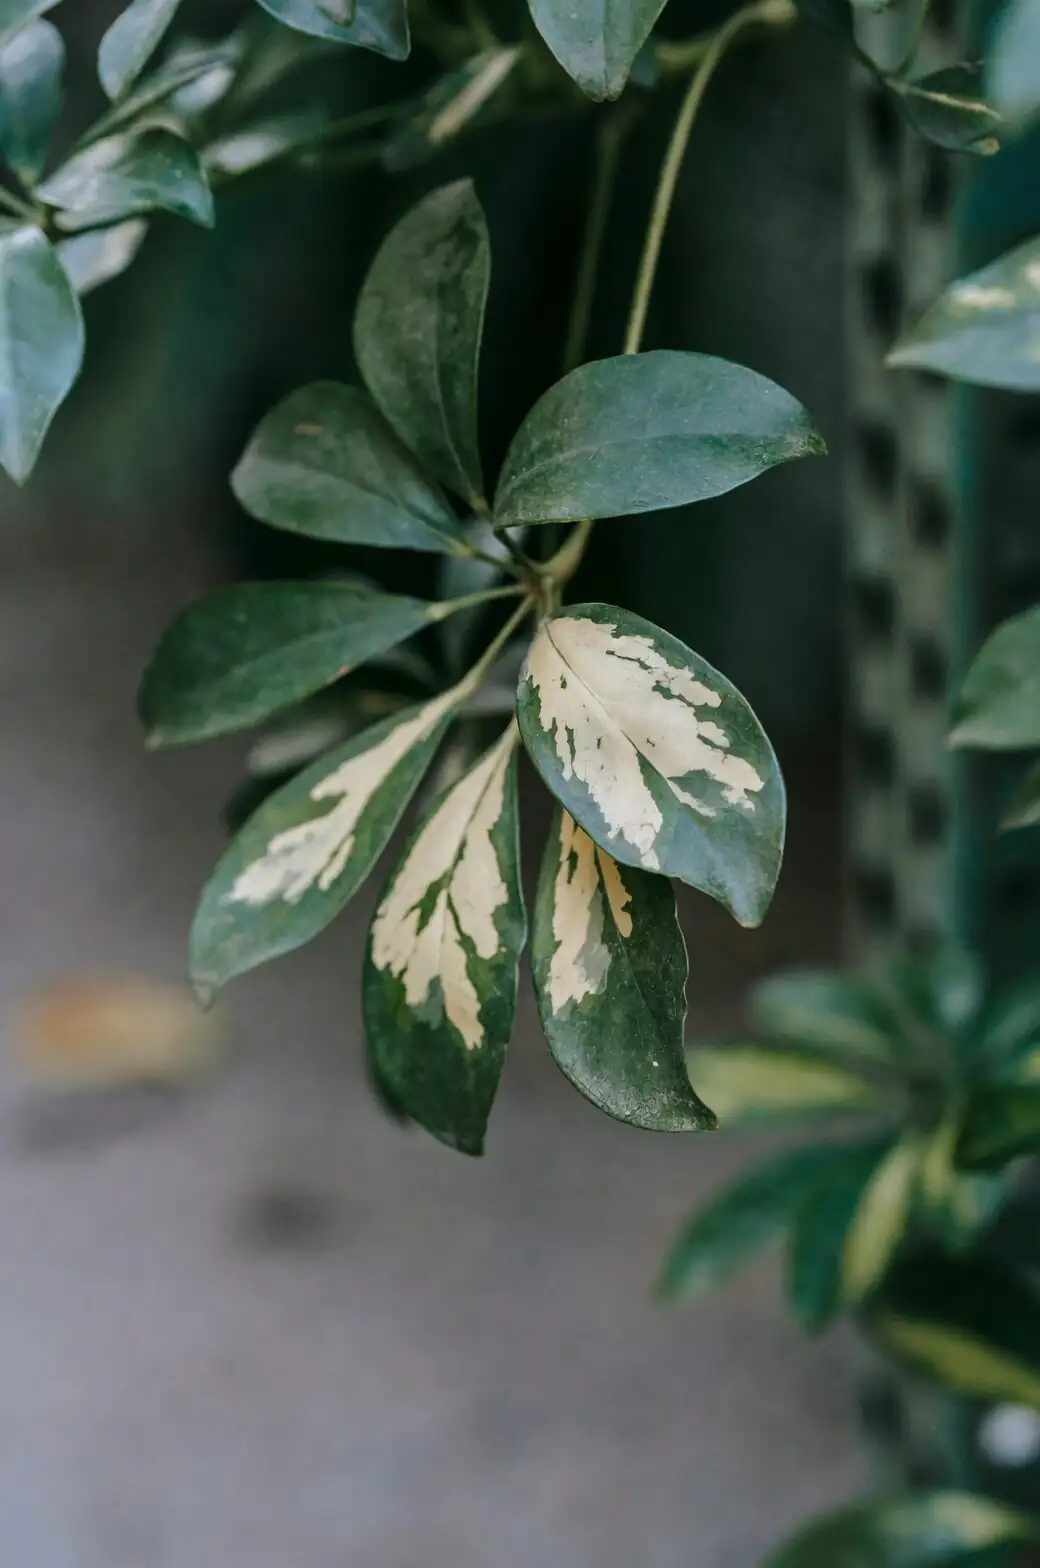
- Variegated cultivars: They keep their cream/yellow patterning best in brighter, filtered light. In dim rooms they fade and get leggier.

Timing, tools, and safety
- Best pruning window: Spring into early/midsummer (about May–July). That’s when cuts reliably trigger new side shoots. You can do light tune-ups again mid/late summer, but avoid heavy pruning in autumn and winter.
- Frequency: Two to three light shaping sessions during the growing season can transform the canopy.
- Tools:
- Sharp, clean bypass pruners (sanitize before you start; a 10% bleach solution or isopropyl alcohol works).
- Gloves and a cloth: the sap can irritate skin and is toxic if ingested.
- Aftercare conditions: Keep it warm and steady (roughly 15–30°C / 59–86°F), with free-draining soil. Water when the top 2–3 cm (about 1 inch) dries, then drain thoroughly—never leave it standing in water.
Where to cut: above nodes, with intention
Make every cut count. Each heading cut creates your next fork.
- Find the node: Look for the point where a leaf joins the stem (or a slight swelling/leaf scar on older wood).
- Cut position: Make a clean cut 3–6 mm (1/8–1/4 in) above a node. A tiny slope away from the bud helps water shed.
- Choose the bud direction: Cut to an outward-facing node to open the plant and avoid crossing branches.
- How much to remove: For long, leggy stems, reduce by about one-third in spring. Leave healthy foliage below each cut to fuel recovery.
- Don’t leave stubs: Cutting far above a node leaves a dead “flagpole” that invites dieback.
Tip: If your plant is small or has limited foliage, make several lighter reductions over 6–8 weeks rather than one severe haircut.
How to force branching (and get that fuller canopy)
You’re overriding apical dominance: remove or pinch the tip, and the plant responds with lateral shoots below.
1) Classic heading cuts for strong forks
- Shorten overlong stems by 20–40%, cutting just above an outward node.
- Expect 1–3 new shoots from the topmost nodes beneath the cut.
- Stagger the heights of your cuts around the plant to create a rounded, tiered crown rather than a flat “bowl cut.”
2) Pinch soft tips for fine ramification
- Once new shoots are 10–15 cm (4–6 in) long, pinch the soft tip back to 2–3 leaves.
- Repeat every few weeks in active growth to thicken the canopy without adding height.

3) Single-stem reboot (the “chop-and-prop”)
Great for those pole-straight, leafy-at-the-top plants:
- In late spring, cut the main stem just above a node at the height you want the new branching to start (often 20–40 cm / 8–16 in above the pot line).
- Keep several leaves below the cut to power regrowth.
- Root the top you removed as a cutting (see propagation below).
- Warmth and bright, indirect light will trigger multiple buds near the cut to sprout, creating a bushier head.
4) Multi-stem thickening
- Reduce each stem to a different height (think gentle staircase) so new growth fills distinct layers.
- Remove weak, inward-facing, or rubbing shoots to prevent congestion and keep light moving through the canopy.
Seasonal touch-ups: a year-round shaping plan
Spring: structure and momentum
- Do your main reductions (about one-third off leggy stems, above outward nodes).
- Repot if rootbound into a heavier, free-draining pot to stabilize top growth.
- Begin feeding during active growth with a balanced liquid fertilizer (monthly at half strength is a safe baseline).
Early to midsummer: refine and densify
- Select the best new shoots and pinch tips to 2–3 leaves to multiply branches.
- Remove weak watersprouts and any shading, inward shoots.
- Train upright stems to a stake or moss pole if you’re aiming for a neat “tree” form.
Late summer: light grooming
- Tidy stragglers; avoid deep cuts. You want time for wounds to callus and for modest regrowth before days shorten.
Autumn and winter: rest and restraint
- Only remove dead, damaged, or pest-ridden bits.
- Keep it warm, in bright filtered light, and reduce watering markedly in winter. Heavy pruning now can stall recovery and invite leaf drop.
Shaping styles you can grow into
- Dense bush: Encourage multiple leaders. Stagger heading cuts and frequent pinches for a domed silhouette.
- Small indoor tree (standard): Select a single strong trunk. Remove lower side shoots gradually, stake for straightness, and build a rounded head with tip pinching.
- Staked or moss-pole specimen: Tie supple stems for tidy, upright lines; prune side growth to maintain a sleek profile.
- Braided stems: Start while stems are young and flexible; prune sparingly at first so plants keep vigor as you train.
Aftercare that makes pruning “stick”
- Light: Brighter, filtered light keeps internodes short so your new branches stay compact.
- Water: Even, moderate moisture—no soggy soil. Following a prune, avoid the “bone-dry then drench” cycle that triggers leaf drop.
- Humidity and airflow: Normal home humidity is fine, but moderate humidity with good airflow keeps leaves glossy and discourages mites.
- Cleanliness: Wipe sap drips and sanitize tools between plants. Wear gloves; the sap can irritate skin. Keep out of reach of pets and children (toxic if ingested).
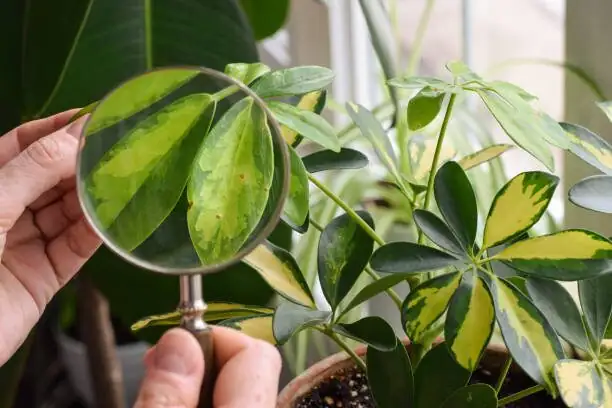
Troubleshooting your shape-up
- Regrowth is leggy again: It needs more light. Move closer to a bright window with sheer filtering.
- Bare lower stems: In spring, cut a bit lower (above a node on older wood) to prompt back-budding, but always leave some foliage below the cut.
- One side is fuller: Rotate the pot a quarter-turn every week in bright seasons; tip-pinch the heavier side to balance.
- Variegation fading: Increase bright, indirect light. Variegated forms especially need it to keep patterns crisp.
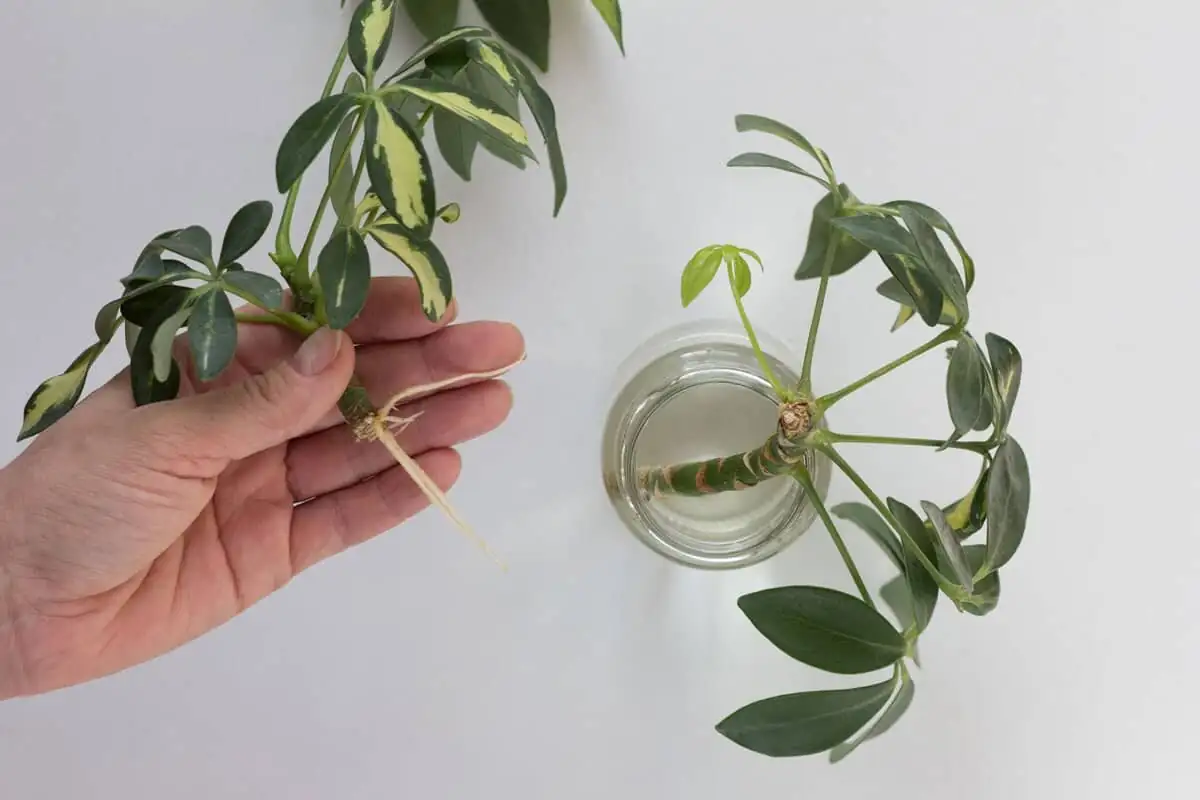
Turn trimmings into new plants (easy propagation)
- Best window: April–September.
- Take 10–12 cm (4–5 in) tip or semi-ripe cuttings. Remove lower leaves.
- Root in moist perlite/coarse sand or a very airy mix; warmth around 25°C (77°F) and high humidity help.
- Rooting often takes about a month. Water propagation can work too.
- Pot up once roots are established; keep in bright, indirect light as it settles.
Quick do’s and don’ts
- Do: Cut just above nodes, choose outward-facing buds, and stagger heights for a rounded canopy.
- Do: Prune mainly in spring to early/midsummer; pinch tips through summer to thicken.
- Don’t: Leave long stubs, prune heavily in winter, or overwater after pruning.
- Don’t: Park it in harsh midday sun—scorch looks like tan patches and won’t “green back.”
A small note on symbolism
The umbrella-like canopy has long been associated with shelter, protection, and abundance. It’s a fitting metaphor: when you shape yours into layered “parasols,” you’re literally crafting that emblem of cover and good fortune—one clean cut above a node at a time.
With light on your side and a few timely snips, Heptapleurum arboricola responds beautifully—branching, filling, and polishing itself into the kind of evergreen architecture that makes a room feel finished.