

If you’ve ever wished your Black Rose Aeonium would sprout into a sculptural candelabra of inky rosettes, this is your playbook. Aeonium arboreum ‘Zwartkop’ is famously generous with cuttings and offsets—if you get the timing, callusing, and mix right. Below is a propagation masterclass that shows you when to cut, how long to let wounds seal, the realistic rooting timeline, exactly how gritty to make your potting mix, and how to prune for an architectural, branching specimen.
Meet the plant you’re multiplying
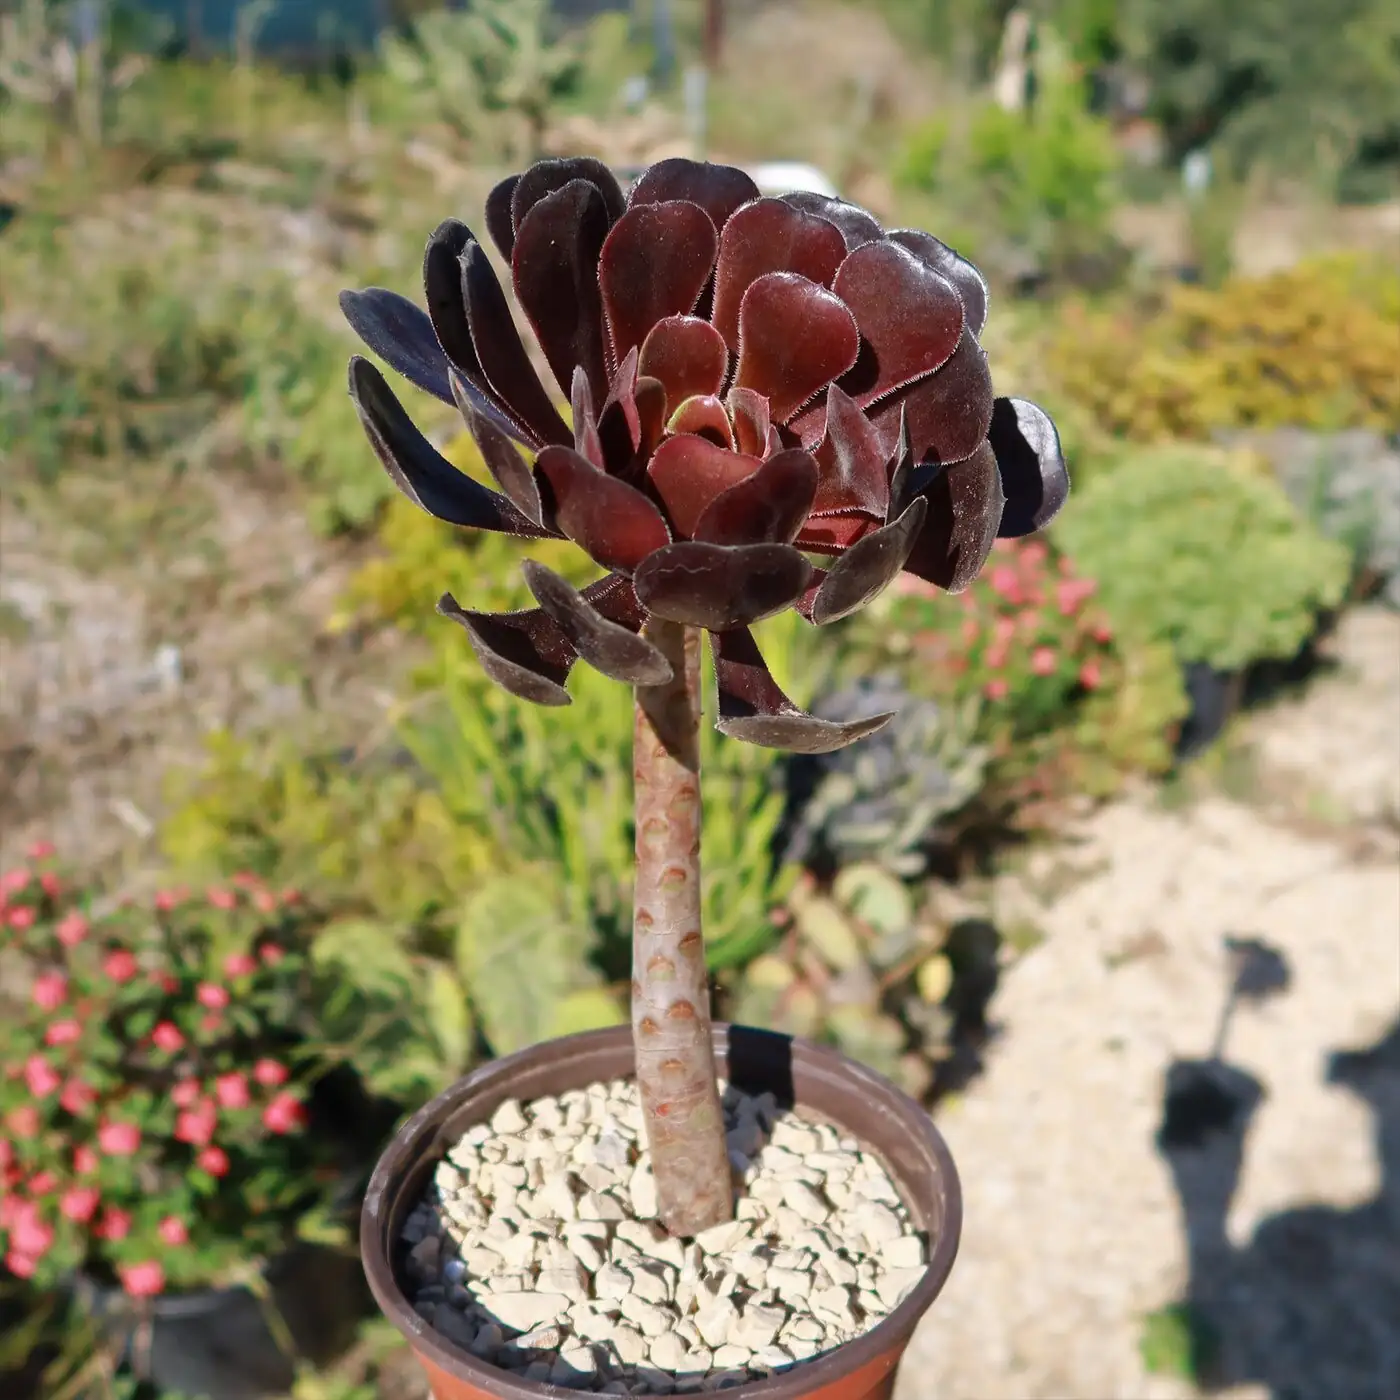
- Botanical: Aeonium arboreum ‘Zwartkop’ (Black Rose Aeonium; family Crassulaceae)
- Look: Glossy rosettes so dark purple they read as black, perched on woody, branching stems
- Rhythm: Grows strongest in cool seasons (autumn through spring); slows or semi-rests in hot summer
- Light: Full sun to very bright light; protect from harsh midday scorch behind glass in heat
- Flowers: Starry yellow sprays from mature rosettes; that rosette declines after bloom while others continue
Timing is everything
Cut when the plant is active and eager to root.
- Best windows: Autumn to spring. Cool, bright weather and 20–25°C (68–77°F) push fast, sturdy rooting.
- Avoid: Peak summer heat. Aeoniums often semi-dorm; rooting is slower and rot risk rises.
- Flower note: A blooming rosette will decline afterward. Take cuttings before a rosette commits to flowering, or remove the spent rosette once it dries.
Tools and prep
- Sharp, clean pruners or a knife (sterilize with alcohol)
- Powdered sulfur or cinnamon (optional) to dust fresh cuts
- Nursery pots with drainage
- Gritty succulent mix (details below)
- Labels and a shaded, airy spot for callusing
The stem-cutting masterclass
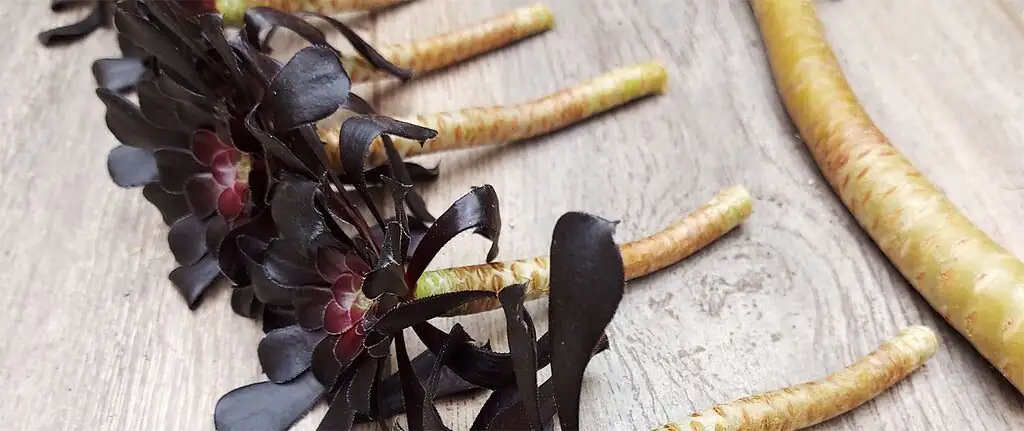
1) Choose where to cut
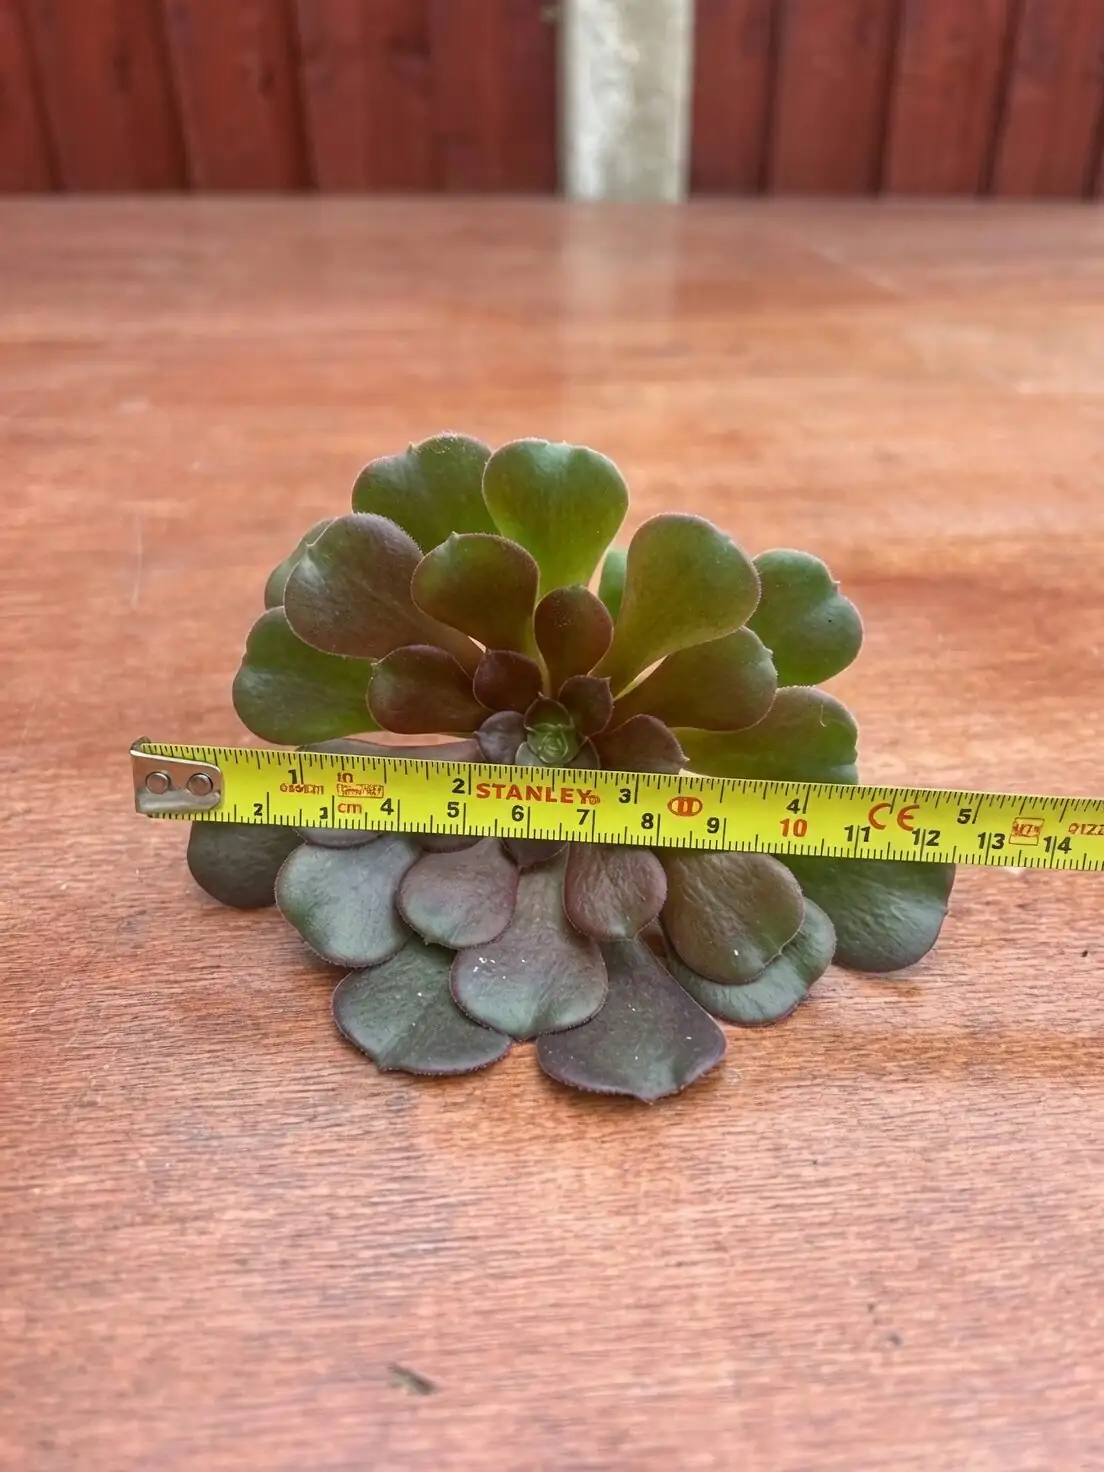
- Pick firm, unblemished rosettes with 8–15 cm (3–6 in) of clean stem.
- Cut just below a node (where leaves once attached), leaving a stump on the mother plant. Those nodes are your dormant buds—they’ll push new side shoots and give you branching.
Pro tip: Take a few cuts at different heights on the same plant to create tiers when it resprouts—instant architecture.
2) Let it callus (don’t rush this)
- Lay the cuttings in bright shade with good airflow.
- Typical callus time: 3–7 days. In dry, warm rooms a few days can suffice; in cool or humid rooms, give it the full week.
- How to know it’s ready: The cut end feels dry, matte, and slightly firm—no shine, no tackiness.
- Optional: Dust the cut with sulfur or cinnamon on day one to discourage rot.
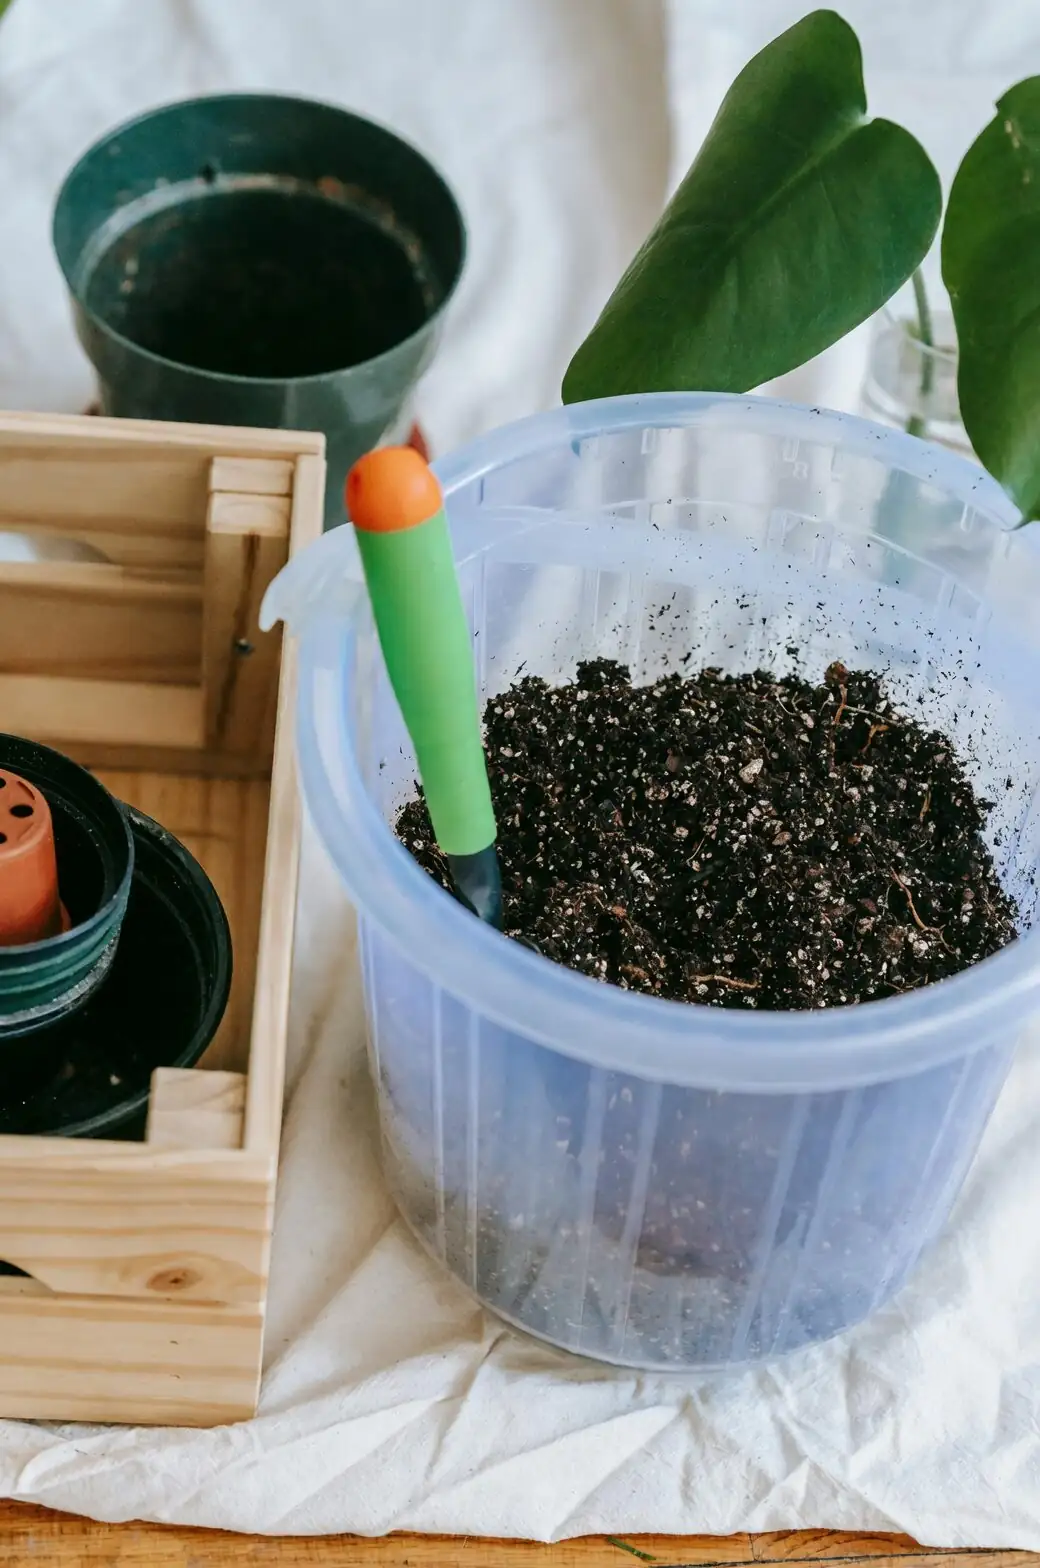
3) Mix matters—go gritty
Aeoniums love air around the stem and roots.
- Target blend: 50–70% mineral grit to 30–50% organic base.
- Easy recipes:
- 1:1 cactus mix : pumice/perlite, or
- 2 parts pumice/perlite + 1 part standard potting mix + a handful of coarse sand/grit
- Particle size: 2–5 mm (about 1/8–1/4 in) for pumice/grit; avoid fine sand that compacts.
- Always use pots with drainage; terra-cotta helps moisture escape.
4) Set the cutting—then wait to water
- Pot shallowly: Insert 2–3 cm (about an inch) of the callused stem; keep the rosette well above the soil.
- Stabilize: Firm the mix or use small rocks to brace top-heavy heads.
- Light: Bright, indirect light at first. Strong sun is fine after rooting and acclimation.
- Absolutely key: Keep the mix dry until roots form. Do not soak or mist the medium before rooting.
5) Rooting timeline and the first drink
- Rooting window: Expect 3–4 weeks under good conditions (bright light, 20–25°C). Cooler rooms may take longer.
- Tug test: After ~3 weeks, a gentle pull should meet resistance.
- First watering: Once you feel resistance or see fresh roots emerging, water lightly and let excess drain. Continue to let the top layer dry between drinks.
- Feeding: During active growth (cool season), begin a monthly half-strength balanced feed once the cutting is clearly established. Skip fertilizer in summer dormancy.
6) Sun-up and shape-up
- Gradual sun: Over 7–10 days, move from bright indirect light to stronger sun. Indoors, a very bright window is ideal.
- Pot sizing: Small-to-medium cuttings root happily in 7–15 cm (3–6 in) pots. Don’t oversize—go one step up only when roots fill the pot.
Offsets (pups): the easy wins
Aeoniums often pop new rosettes along stems or near the base.
- Removal: Gently twist or slice a pup free, aiming to take a sliver of stem if possible.
- Callus: 3–5 days in bright shade with airflow.
- Planting: Treat like a small cutting—set shallowly in a gritty mix, keep dry until rooted, then begin light watering.
- Spacing strategy: Keep some pups on the mother to fill space while you root others separately—this lets you both thicken the original plant and start satellite specimens.
Shape a branching, architectural specimen
Beheading to branch
- Why it works: Aeoniums hold dormant buds along stems. Removing the terminal rosette breaks apical dominance and wakes buds below the cut.
- How high to cut: Think in tiers. Leave 10–20 cm (4–8 in) of stem for the base “trunk,” then take additional heads at staggered heights to create multi-level shoulders.
- Stump care: Keep the mother plant bright and on the dry side until you see new nubs form—usually within a few weeks in the cool season.
Manage spacing and silhouette
- Thin with intention: As new side rosettes appear, remove a few that crowd the center. Plant those as new cuttings and leave well-placed shoots to form your framework.
- Correct legginess: If stems stretch in low light, behead the rosette, root the top, and let the original stem re-sprout at a better node count—win-win.
- Tiered “candelabra” effect: Encourage three to five evenly spaced heads per level. Rotate the pot weekly so shoots develop evenly toward the light.
After flowering
- A flowering rosette will decline. Let the bloom show; once the stalk and rosette dry, remove it cleanly. Side rosettes usually carry on.
Grit-first potting mixes (recipes you can trust)
- Classic airy blend
- 40% cactus/succulent mix
- 40% pumice (or coarse perlite)
- 20% 2–5 mm grit/coarse sand
- Ultra-fast drainage (humid homes or cool rooms)
- 30% potting base
- 50% pumice
- 20% grit
- Top-dress with 3–6 mm stones to keep necks dry and prevent algae.
Watering principles for ‘Zwartkop’ in containers:
- Active growth (cool seasons): Water thoroughly, then drain; water again when the top layer dries. Never leave it soggy.
- Summer semi-dormancy and cool winter rooms: Keep almost dry; give only small sips if rosettes begin to wrinkle.
Troubleshooting propagation
- Rot at the cut end
- Likely cause: Inadequate callus or overwatering before roots.
- Fix: Recut above the mushy section, re-sterilize tools, extend callus time, replant in drier, grittier mix.
- Rosette flops or won’t stand
- Cause: Cut too shallowly planted, or mix too fluffy.
- Fix: Seat 2–3 cm of stem; firm the mix or brace with stones until roots anchor.
- No roots after 5–6 weeks
- Check: Light too low? Room too cold/hot? Is the medium wet?
- Remedy: Move to brighter light, aim for ~20–25°C, keep the medium dry until roots appear.
- Pale or greenish color, long internodes
- Etiolation from low light.
- Remedy: Increase light; once healthy, re-cut and restart tops if needed.
- Pests on tender new growth
- Usual suspects: Mealybugs, aphids (especially on bloom stalks), whiteflies, scale.
- Action: Treat early with insecticidal soap or horticultural oil; repeat as needed and improve airflow.
- Skin sensitivity
- The sap can irritate. Wear gloves if you’re sensitive and keep out of reach of pets and children.
Quick-start plan: from single rosette to statement piece
- Week 0: Behead the top and a few side stems; callus 3–7 days.
- Weeks 3–4: Rooted cuttings get their first light watering; begin gradual sun.
- Month 2–3: Pot up slightly if roots fill the pot; start monthly half-strength feeding in the cool season.
- Months 3–6: Mother plant sprouts new shoots along stumps; thin crowding shoots and reroot the extras.
- Months 6–12: Establish tiers, rotate weekly, and maintain strong light. You’ll see a branching, multiheaded silhouette emerge.
Leaf cuttings—myth check
Single aeonium leaves may root but rarely produce full rosettes. For reliable results with ‘Zwartkop’, stick to stem cuttings and offsets.
Care cues that keep it nearly black
- Light: Strong sun or the brightest indoor window keeps rosettes darkest; protect from scorching midday rays in heat, especially behind glass.
- Temperature: Aim for 20–25°C in active growth; keep it frost-free and avoid cold, wet conditions.
- Airflow: Low to average humidity with good ventilation helps prevent rot and leaf spot.
A note on symbolism
Often read as a symbol of resilience and bold, modern elegance, ‘Zwartkop’ thrives on bright light and restraint with water—an aesthetic of strength through simplicity. While there’s no ancient “flower language” tied specifically to this cultivar, gardeners have embraced its near-black rosettes as living sculpture, a reminder that striking form can come from lean conditions.
With sharp timing, a dry callus, a grit-forward mix, and pruning that respects the plant’s natural branching, Aeonium arboreum ‘Zwartkop’ transforms from a single dark rose into a layered, architectural showpiece—one satisfying snip at a time.