

If you’ve ever wished your single ti plant would magically multiply into a lush, multi-stemmed grove, good news: Cordyline fruticosa is surprisingly generous when you propagate it the right way. Below you’ll find three reliable routes—tip cuttings, air-layering, and seed—complete with exact windows, materials, timelines, and the little “yes, it’s working” cues that tell you you’re on track to a fuller, bushier plant.
Meet the plant (and what it loves)

- Botanical name: Cordyline fruticosa (aka ti plant, good luck plant, Hawaiian ti)
- Family/Genus: Asparagaceae, Cordyline
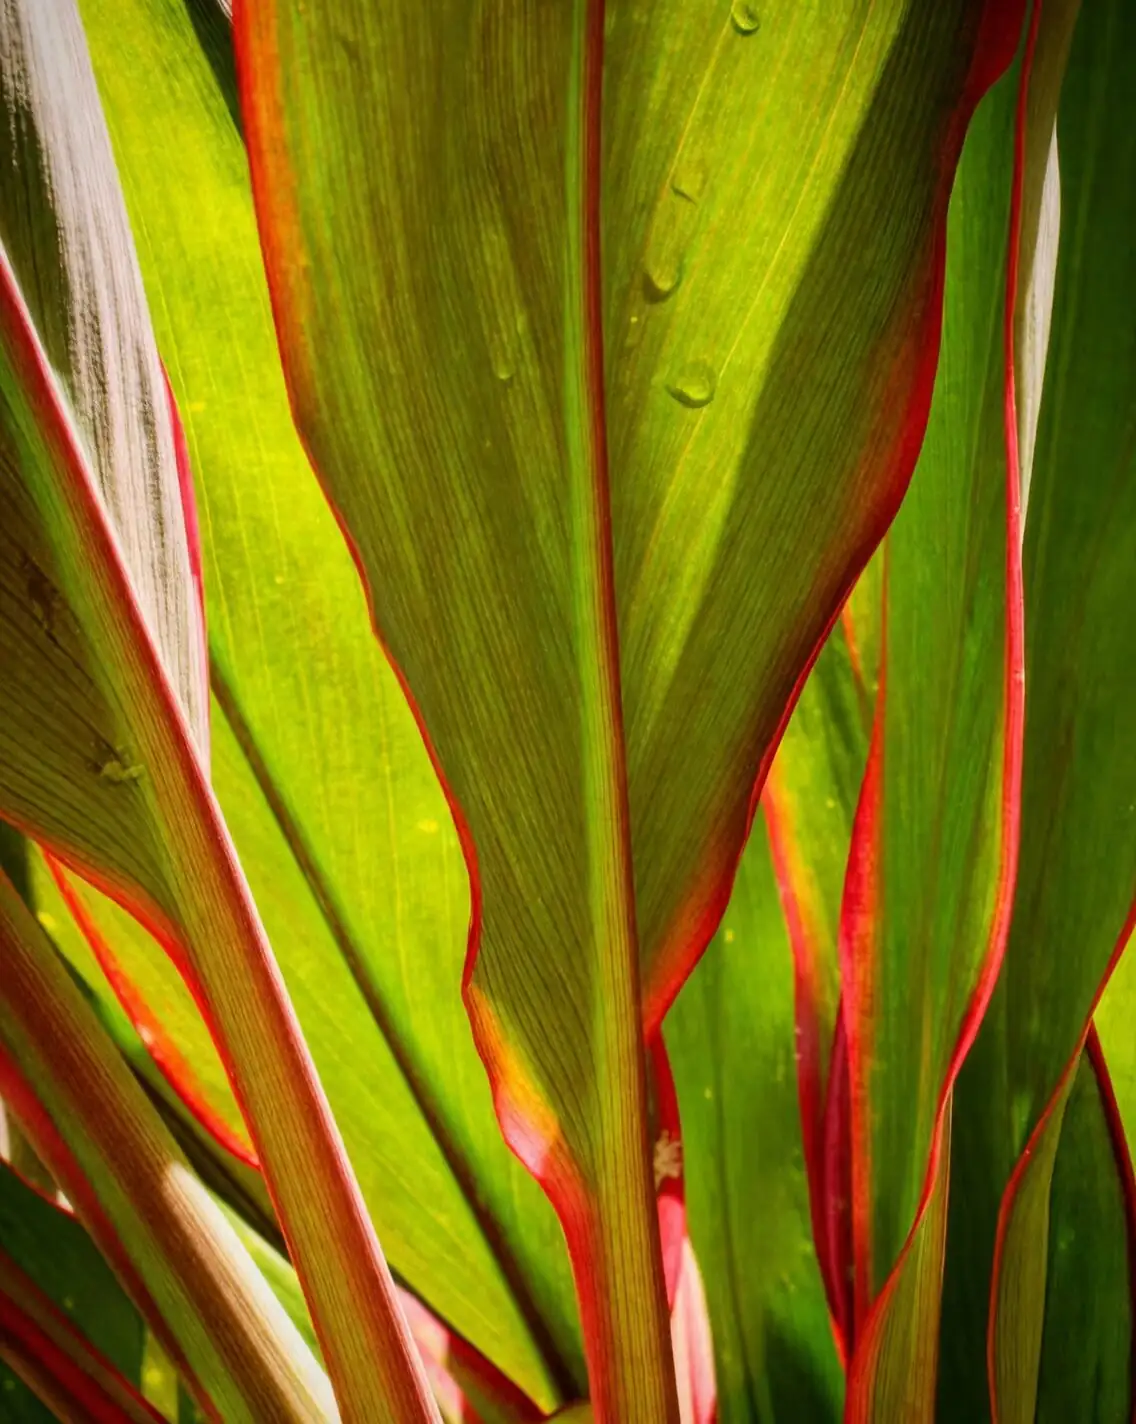
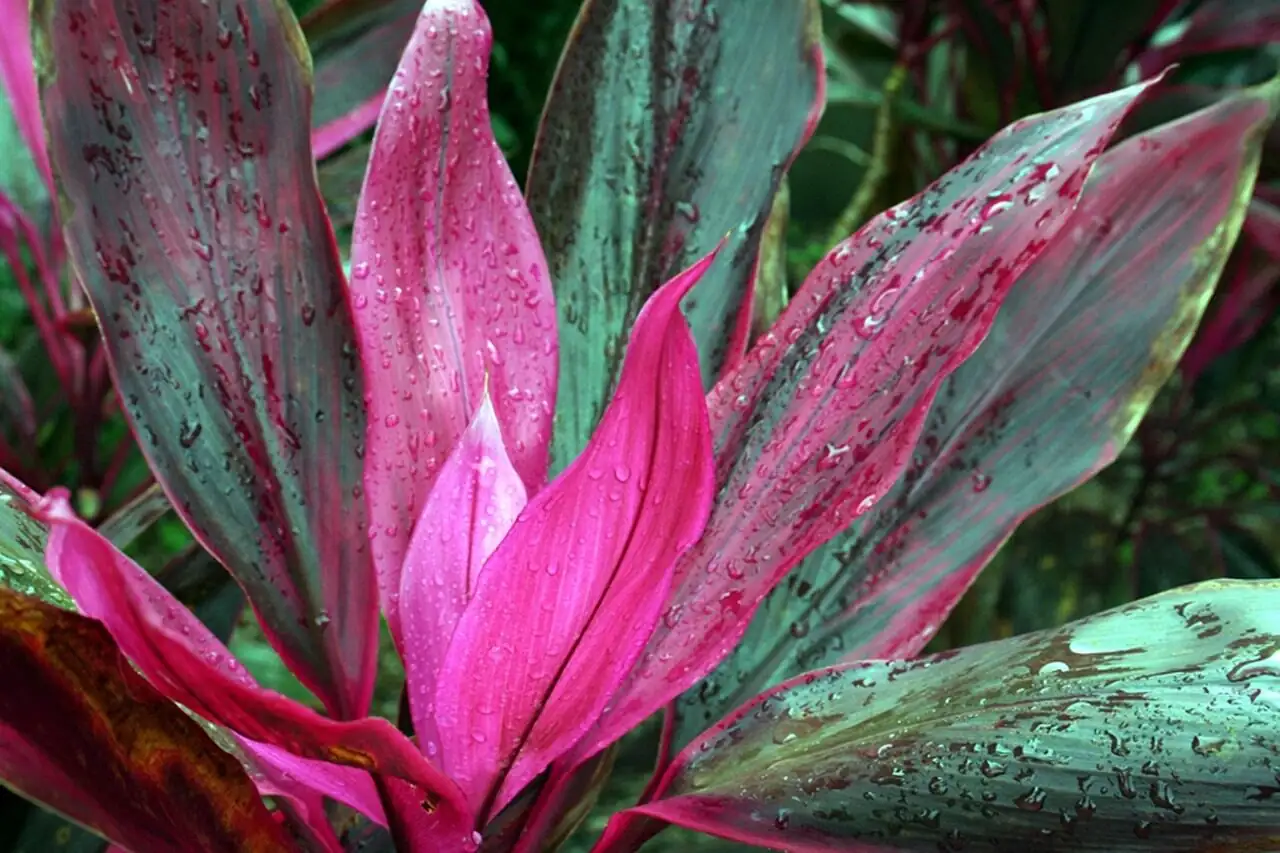
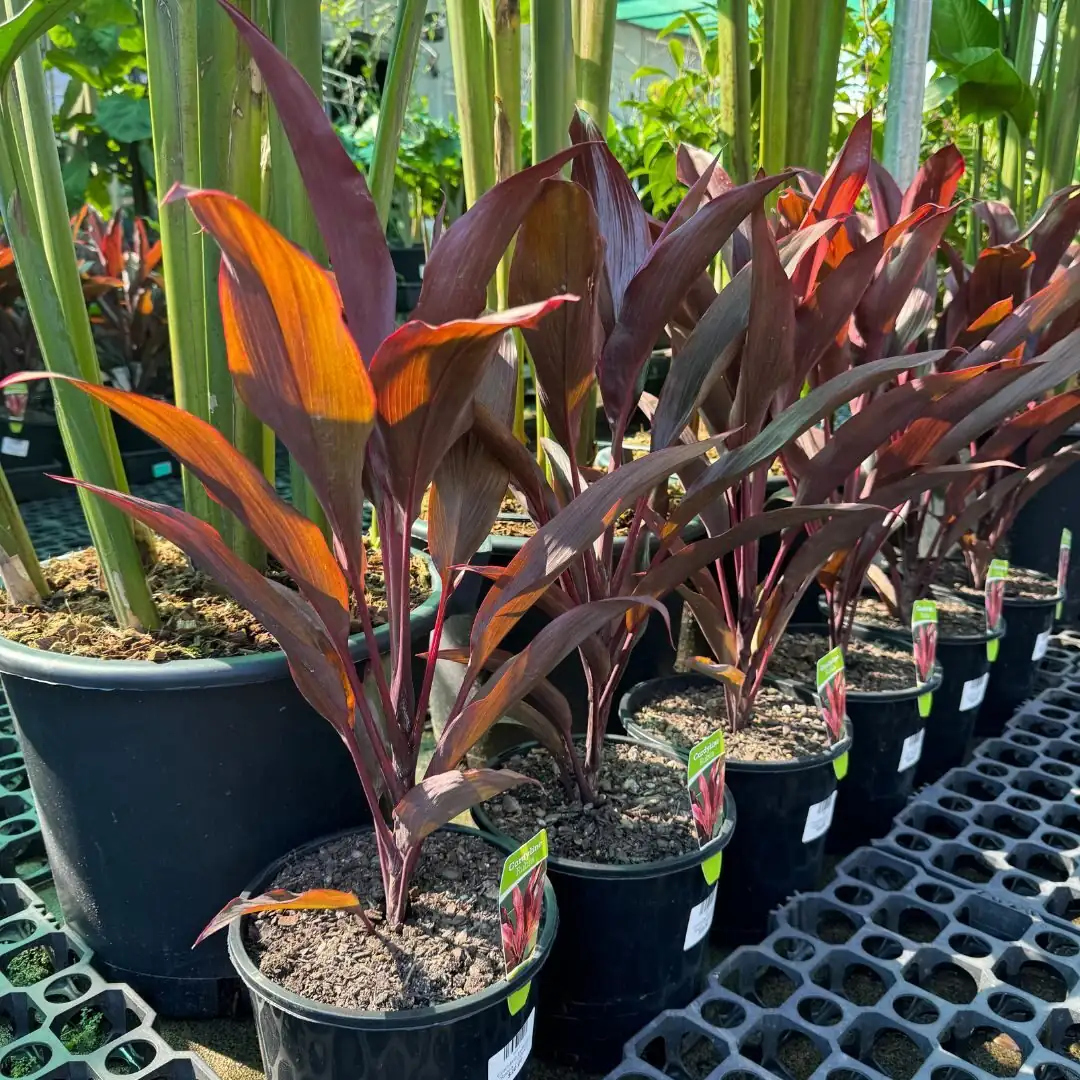
- Look: Upright, cane-like stems crowned with long, strap leaves in green, burgundy, hot pink, or bold variegation
- Light and warmth for propagation: Bright, filtered light; warm rooms around 20–25°C (68–77°F)
- Humidity: Prefers 50–60%—a gentle humidity dome or regular misting around, not on, cut surfaces helps
- Soil: Free-draining, airy mix (quality potting soil with compost or leaf mold plus coarse sand/perlite)
- Big-picture growth habit: As stems lengthen, lower leaves naturally shed. Cutting back encourages side shoots and a bushier crown.
Your propagation routes at a glance
- Tip cuttings (June–October): Semi-mature tips root in roughly 4 weeks. Best for quick multiplication and fuller crowns.
- Air-layering (May–June): Ring and root a still-attached stem; roots in about 5–6 weeks. Great for creating an instant, sizable new plant.
- Seeds (around September; 24–27°C / 75–81°F): Germinate in ~2 weeks. Slower to a display size but rewarding and fun.
Pro tip for bushiness: Any time you cut the main cane, you prompt branching below the cut—hello, multi-head ti.
—
Tip cuttings (June–October): The fast track to fullness
Tip cuttings are your most straightforward, high-success option during the main growing season.
You’ll need
- Sharp, sterilized pruners or a knife
- Small pots or a propagation tray with drainage
- A free-draining medium: moist coarse sand + perlite, or perlite alone (you can tuck rooted cuttings into richer mix later)
- Optional: rooting hormone
- Clear bag or humidity dome (vented)
- Labels and dates
How to take and prepare cuttings
- Choose semi-mature tips 10–15 cm (4–6 in) long from a healthy, well-lit plant.
- Keep 5–6 leaves; shorten each leaf by about half to reduce transpiration without sacrificing photosynthesis.
- Make a clean cut just below a node. If using hormone, lightly dust the cut end.
- Pre-moisten your propagation medium so it’s evenly damp but never soggy.
Plant and place
- Insert the cutting 2–3 cm (about 1 in) deep so at least one node is buried.
- Firm gently, then tent with a clear bag or dome to maintain ~50–60% humidity (vent daily to prevent stagnation).
- Place in bright, filtered light—no harsh midday sun. Aim for a warm 20–25°C (68–77°F).
Rooting timeline and cues
- Days 7–10: A dry, clean callus forms at the base; stems remain turgid.
- Around Week 4: Roots form. Cues include:
- A gentle “tug test” meets slight resistance.
- A pale new leaf spear appears in the center.
- Once rooted: Shift to a standard, airy potting mix (add perlite or coarse sand). Water thoroughly, then drain well.
Aftercare for bushiness
- Cluster two or three rooted tips in one pot to create instant fullness.
- As they establish, feed every 2 weeks (May–September) with a balanced liquid fertilizer at label strength. Avoid overdoing nitrogen—it can wash out variegation.
Troubleshooting quick fixes
- Blackening or mushy bases: Too wet—improve drainage and airflow; trim to healthy tissue and re-root.
- Floppy leaves that won’t perk: Too dry or too dim—check moisture and move to brighter, indirect light.
- Yellowing tips: Often a sign of waterlogging; let excess drain, never leave water in the saucer.
Optional note: Ti cuttings can root in water (another way to watch progress). Keep the water fresh and move to soil when roots reach 2–3 cm (about 1 in) to avoid weak, water-adapted roots.
—
Air-layering (May–June): Pre-root a top for an instant, showy plant
Air-layering gives you a nearly finished plant—roots form while the top stays nourished on the mother cane.
You’ll need
- Sharp, sterilized knife
- Sphagnum moss or a peat-based alternative (well-moistened, not dripping)
- Clear plastic wrap and ties or tape
- Optional: rooting hormone
- Foil or opaque wrap (to shade roots)
Step-by-step
- Choose a healthy stem and measure about 20 cm (8 in) below the tip.
- Ring-bark: Make two circular cuts around the stem 1.5 cm (0.6 in) apart and remove the bark between, exposing the pale cambium. Keep the area clean and dry.
- Optional: Lightly apply rooting hormone to the exposed band.
- Pack a handful of moist sphagnum around the wound to form a firm sleeve.
- Wrap snugly with clear plastic, sealing top and bottom. Shade with foil or opaque wrap to protect new roots from light.
- Keep the moss evenly moist—check weekly.
Timeline and what success looks like
- Weeks 5–6: Roots typically thread through the moss. You may see white roots pressing against the plastic, and the crown above stays perky and growing.
Detach and pot
- Cut the rooted top off just below the moss ball.
- Pot into a free-draining mix and water thoroughly. Stake if needed.
- Keep in bright, filtered light and steady warmth as it establishes. Resume regular feeding during the growing season.
- The old base will often sprout side shoots—don’t discard it! You’ve now got a multi-plant win.
—
Seeds (around September; 24–27°C): For the patient grower
Seed-grown ti can be delightful if you enjoy the full arc from sprout to strap-leaf beauty.
You’ll need
- Fresh, ripe seed (often available around September)
- Fine, free-draining seed mix (sieved potting mix with added perlite/sand)
- Clean trays or small pots with drainage
- Humidity dome or clear cover
- Steady warmth: 24–27°C (75–81°F)
Sowing
- Fill containers with pre-moistened mix and level gently.
- Sow thinly, barely covering seeds with a dusting of mix or vermiculite.
- Cover with a clear lid/dome for gentle humidity; keep evenly moist, not wet.
- Provide bright, indirect light and the key: stable warmth at 24–27°C.
Timeline and next steps
- About 2 weeks: Germination begins.
- When seedlings reach 4–5 cm (1.6–2.0 in): Prick out and pot individually into a light, free-draining mix.
- Grow on warm and bright; feed very lightly once established. Expect a slower journey to “garden-ready,” but the process is rewarding.
Note: Seedlings may vary from the parent, especially in color patterns. If you want exact matches to your favorite variegate, stick to cuttings or air-layering.
—
Shape and stage for a bushier ti
- Head back lanky canes: Prune to a lower node—new shoots typically sprout just below the cut, thickening the crown.
- Plant in multiples: Three rooted tips in a single pot deliver instant volume.
- Keep conditions consistent: Bright, filtered light and steady moisture (never soggy) prevent leaf drop and keep color strong.
—
Clean tools, kind climate, happier roots
- Sterilize blades before each cut to deter leaf spot, anthracnose, and scale spread.
- Air movement and bright, indirect light are your allies; avoid wetting leaves late in the day.
- Warmth-loving but cold-sensitive: Keep well above 5°C (41°F). Outdoor year-round only in frost-free climates (roughly USDA 10–12).
—
Culture note: why ti is the “good luck plant”
Across the Pacific—especially in Hawai‘i—ti has long been woven into celebration and daily life. Its tough, glossy leaves show up in decoration and traditional adornment, and the plant itself is often placed at entrances or gathering spaces as a symbol of welcome and protection. This “flower language” isn’t about blossoms at all; it’s a cultural language of foliage—enduring, practical, and deeply tied to place. Growing a ti at home nods to that tradition: a living emblem of hospitality, color, and good fortune.
—
Quick safety note
Ti is potentially toxic to pets if chewed (cats and dogs may drool or develop stomach upset). Keep it out of reach of curious companions.
—
Mini calendar (propagation-focused)
- May–June: Air-layering window; start feedings every 2 weeks. Repot in spring every 2–3 years.
- June–October: Take semi-mature tip cuttings; expect roots in ~4 weeks.
- September: Sow fresh seed indoors at 24–27°C; sprouts in ~2 weeks.
- Winter: Reduce watering, pause fertilizer in cool rooms, and protect from cold drafts.
With a clean cut here and a moss wrap there, you’ll turn one ti into many—and each new plant will reward you with that unmistakable island glow. Happy propagating!