

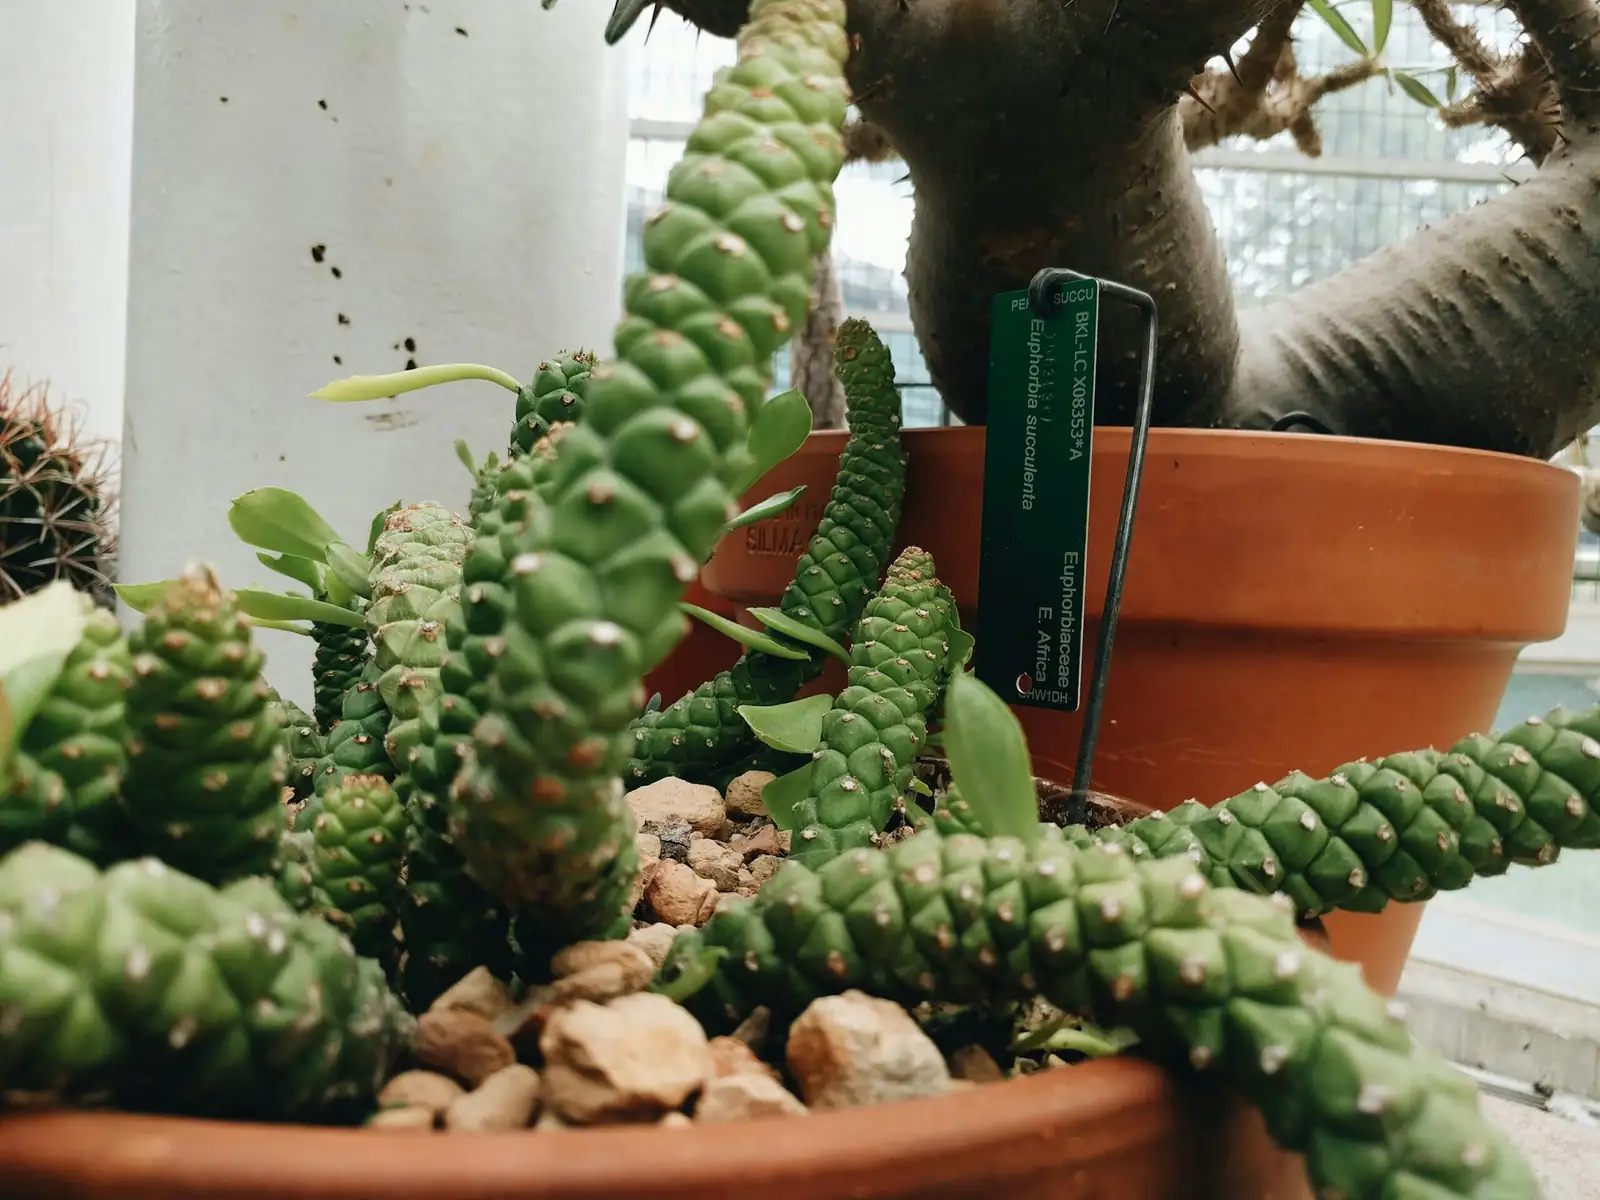
If you’ve ever admired the sculptural, corn‑cob stems of Euphorbia mammillaris (aka Red Coral Spurge) and thought, “I’d love a few more of those,” good news: stem-cutting propagation is simple, tidy, and fast when you follow a few safety and timing rules. This cactus‑lookalike Euphorbia rewards patience during the callus stage and thrives on a dry start. Here’s a hands-on guide to take you from a single stem to a neat clump with confidence.
Meet your plant partner
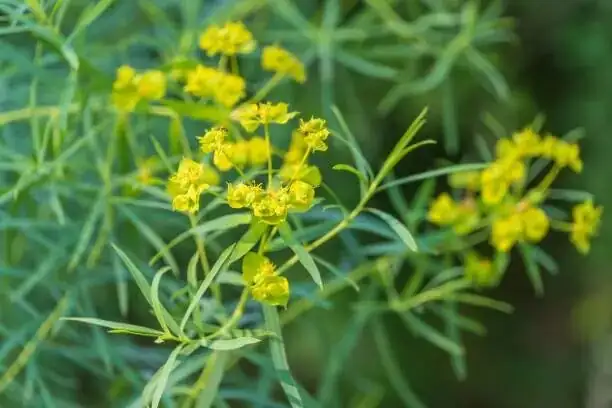
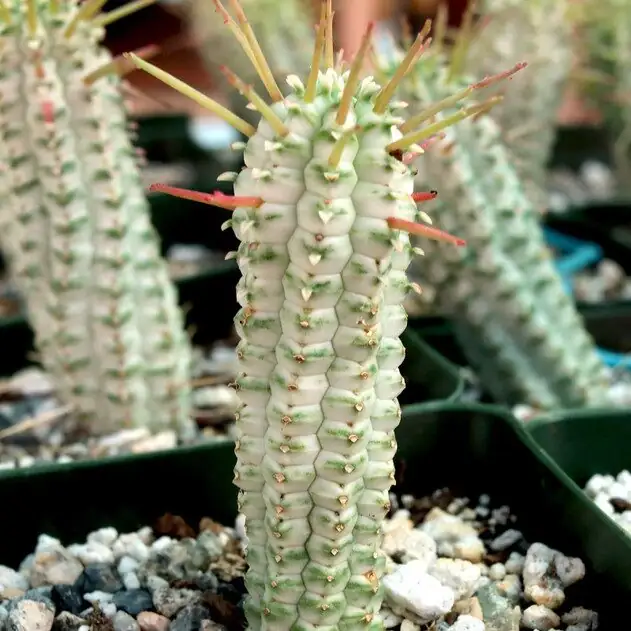
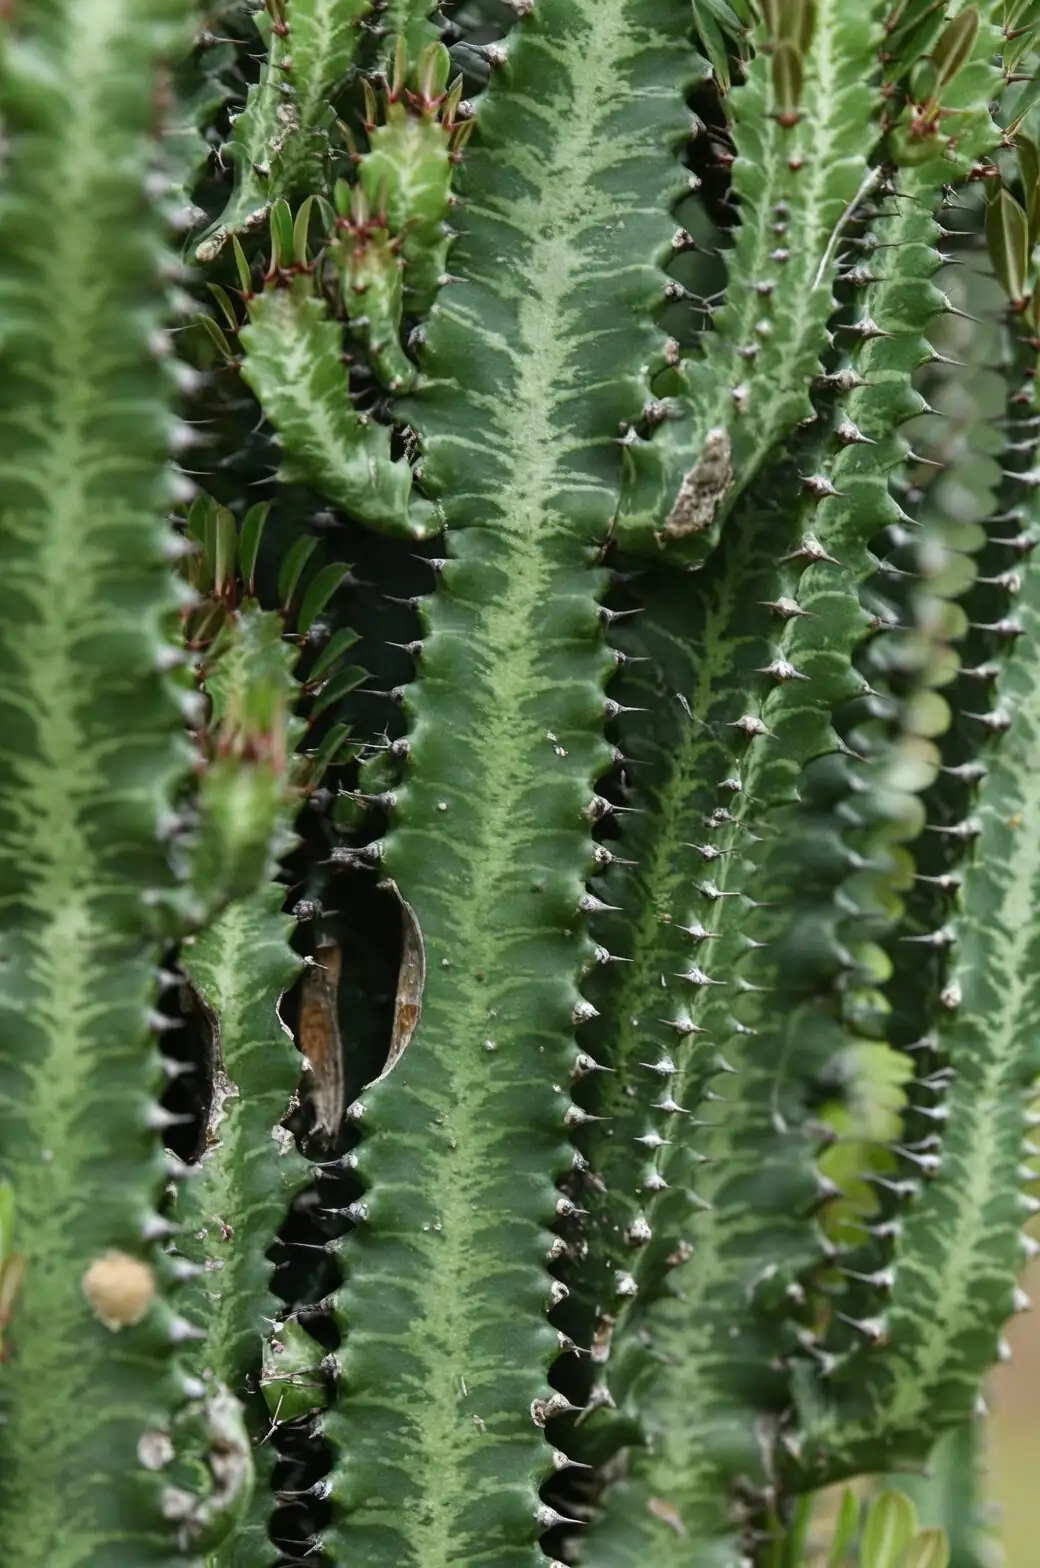
Native to South Africa’s Cape Provinces, Red Coral Spurge forms upright, gray‑green, ribbed stems dotted with short red to reddish‑brown spines. It branches readily, stays compact (about 12 inches tall), and loves bright light. It isn’t a cactus—it’s a Euphorbia—so it contains a milky latex sap that demands careful handling.
Safety first: latex sap protocol
All Euphorbias bleed a caustic, white latex when cut. Treat it with the same respect you’d give hot chili oil—except worse for eyes.
- Wear nitrile or rubber gloves and eye protection.
- Cover work surfaces; keep pets and kids away.
- If sap contacts skin: rinse promptly with cool water and mild soap.
- If sap gets in eyes: flush with plenty of water for at least 15 minutes and seek medical attention.
- Don’t ingest any part of the plant; it’s toxic.
Pro tip: Keep paper towels handy to blot sap immediately. A quick rinse of the cut ends under cold running water can help coagulate the latex—just be sure to dry the cutting thoroughly before callusing.
Best season, stems, and prep
- When to take cuttings: Spring to early summer is ideal (active growth = faster rooting).
- What to cut: Choose firm, unwrinkled stems with clean color; avoid any with softness or darkened bases.
- Cutting size: 2–6 inches (5–15 cm) is perfect for most stems—straight, clean cuts root more reliably than ragged ones.
Your propagation kit
- Clean, sharp shears or a sterile knife
- Nitrile gloves and protective eyewear
- Paper towels and a catch tray
- Small nursery pot with drainage (3–4 inches)
- Very fast-draining succulent mix, upgraded with mineral grit (see below)
- Optional: rooting hormone (helpful but not essential)
- Plant label and a bright, warm spot out of direct midday sun
The flawless method, step by step
1) Take the cutting
- Put on gloves and eye protection.
- Make a single, decisive cut to remove a healthy stem. Keep both the mother plant and cutting angled so sap drips onto paper towels, not your hands or surfaces.
- Blot sap. Optionally, briefly rinse the cut ends under cold water to slow the latex flow, then pat dry thoroughly.
2) Callus completely (non‑negotiable)
Euphorbia cuttings must dry and callus before planting.
- Place the cutting upright on a dry paper towel in bright shade with airflow.
- Timeline:
- Slim stems: 3–7 days
- Thicker stems: 7–14 days
- Ready check: The cut surface is dry, hard, and slightly shrunken—no weeping or tackiness.
While the cutting cures, let the mother plant’s wound air-dry as well.
3) Mix and pot for a dry start
Euphorbia mammillaris hates wet feet. Use a gritty, mineral-heavy substrate.
- Rooting media:
- 50–70% pumice, perlite, or coarse mineral grit
- 30–50% well-draining cactus/succulent mix
- Potting:
- Fill a small pot; make a pilot hole so you don’t scrape the callus.
- Insert the cutting 1–2 cm deep for stability; gently firm the mix.
- Do not water. Keep the medium bone dry to prevent rot.
4) Root in warm, bright, airy conditions
- Light: Bright light to gentle morning sun; avoid harsh midday rays until rooted.
- Temperature: 18–30°C (64–86°F) for steady rooting.
- Humidity: Low to average; skip humidity domes and plastic bags.
- Airflow: Good ventilation helps prevent fungal issues.
5) When to start watering
Unlike many houseplants, this Euphorbia roots best when kept dry initially.
- Tug test at 2–4 weeks: A slight resistance or a hint of new growth signals roots are forming.
- Only after rooting begins, start very light watering:
- First drink: a small sip around the pot’s edge (a few tablespoons), then wait for the mix to dry fully.
- Gradually increase to a thorough soak-and-dry cycle over the next 2–3 weeks.
Typical rooting window: 2–4 weeks in warm, bright conditions; some cuttings take up to 6 weeks.
Aftercare: the first 8 weeks
- Light: Once rooted, acclimate to stronger light slowly. Aim for 4–6+ hours of direct sun with careful ramp-up to avoid scorch.
- Watering rhythm:
- Spring–summer: Water thoroughly, then wait for the mix to dry out completely (often 10–21 days).
- Winter: Much sparser watering (about every 3–6 weeks), depending on light and warmth.
- Feeding: After you see sustained new growth, feed lightly in spring–summer with diluted cactus fertilizer (1/4–1/2 strength) every 4–6 weeks. Skip winter feedings.
- Temperature: Keep above 10°C (50°F). This species is not frost hardy.
- Repotting: Only when rootbound, in spring, and move up just one pot size.
Rooting media, demystified
Great drainage is your insurance policy.
- Reliable recipe: 1 part coarse succulent mix + 1–2 parts pumice or perlite.
- What to avoid: Peat-heavy, moisture-retentive blends; water-holding crystals; oversized pots.
Handling sap and wounds on the mother plant
- After pruning, let the mother plant’s wound dry naturally in bright shade with airflow.
- Avoid watering the mother plant’s soil for a few days after cutting to reduce rot risk.
Troubleshooting and pro tips
- Base turning black or mushy: That’s rot. Unpot, cut the stem back to clean, firm tissue, let it re‑callus, and restart in a drier, grittier mix. Reduce pot size if it’s oversized.
- No roots after 5–6 weeks: Increase warmth and light (without midday scorch). Verify the cut end was fully callused; re-cut and re‑start if necessary.
- Pests: Check ribs and crevices for mealybugs or scale. Spot treat early with cotton swabs dipped in isopropyl alcohol or use horticultural soap.
- Variegated forms: More prone to sunburn—acclimate even more gradually to direct sun.
Quick FAQs
- Is it a cactus? No. It’s a Euphorbia with milky sap and specialized “flowers” (cyathia).
- Do I need rooting hormone? Optional. It can modestly speed rooting but isn’t essential when your callus is complete and the mix is gritty.
- Can I root a broken piece? Yes—trim to clean tissue, callus thoroughly, then pot dry as above.
- Should I bag the cutting for humidity? No. This arid-adapted succulent prefers airflow and a dry start.
A note on meaning
Collectors often associate Red Coral Spurge with resilience and protection. Its armored, drought-tough silhouette reads like a tiny living fortress—fitting for a plant that thrives by staying lean, bright, and unbothered by life’s dry spells.
With smart sap safety, a patient callus, and a mineral-rich, bone-dry start, Euphorbia mammillaris rewards you with tidy, upright clusters that look custom-designed for a sunny sill. Once you’ve propagated one, you’ll wonder why you ever stopped at a single stem.