

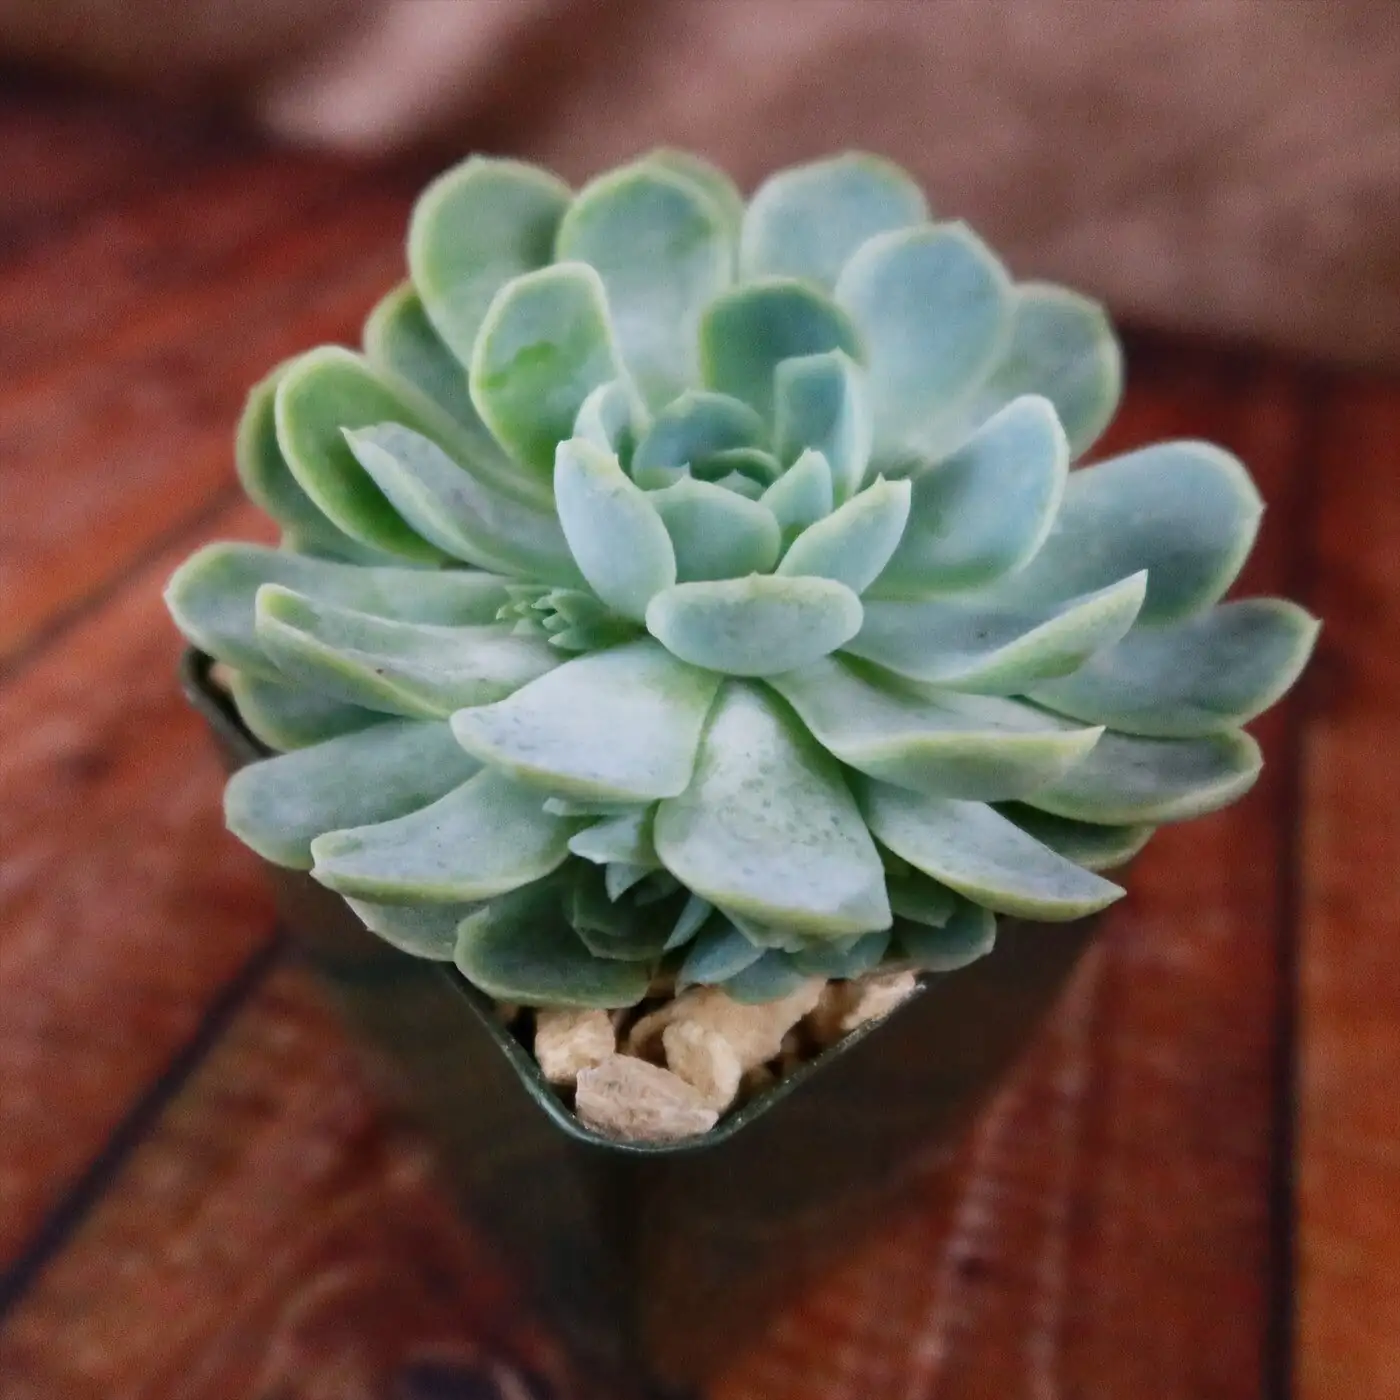
Picture a perfect, lotus-like rosette sitting on your sunny sill—the Mexican Snowball (Echeveria elegans) in all its powdery-blue glory—quietly multiplying into a whole colony you can share. This masterclass walks you through three winning propagation paths—offsets, leaf cuttings, and rosette cuttings—on a simple, motivating timeline. You’ll know exactly when to let pieces callus, how to mist just enough (but not too much), and the golden moment to pot up: when new roots reach about 2–3 cm (0.8–1.2 in).
Pro tip before we begin: that soft, frosty coating on the leaves is a natural sunscreen called farina—admire it, don’t rub it. Handle by the pot or stem base whenever possible.
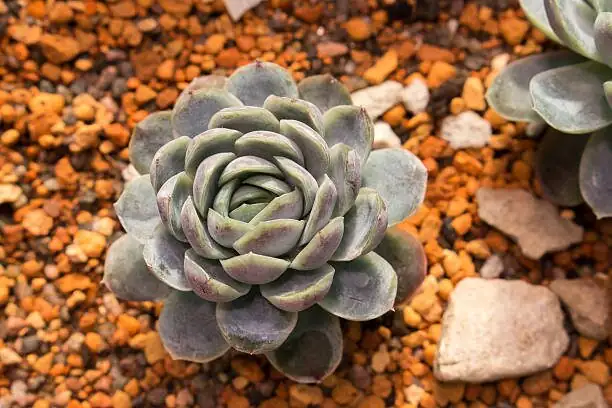
Meet Echeveria elegans in 60 seconds
- Origin: Mexico (notably semi‑arid regions such as Hidalgo)
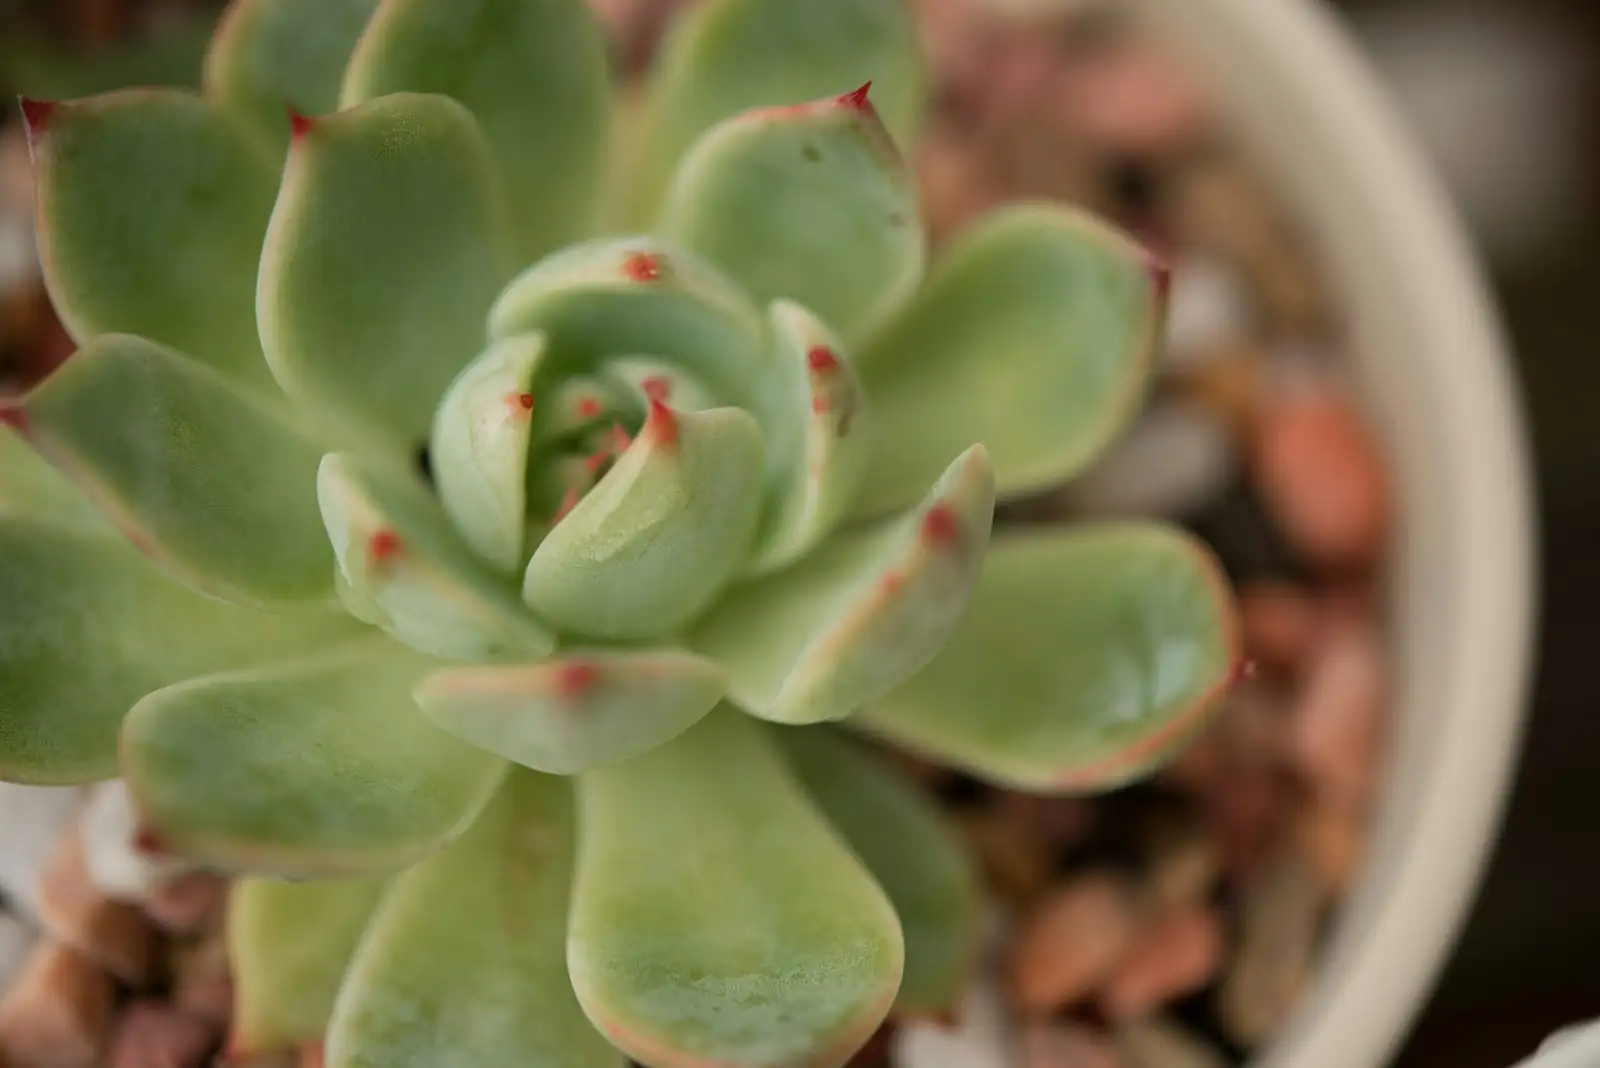
- Look: Tidy, symmetrical rosettes of thick, powdery blue‑gray to blue‑green leaves; often blush-pink at the edges in strong light
- Size: Rosettes typically 8–15 cm (3–6 in) wide; flower stalks lift blooms to 10–20 cm (4–8 in)
- Light: Bright light to full sun for 4–6+ hours; give light afternoon shade in extreme heat
- Temperature: Best at 15–27°C (59–81°F); protect from frost
- Air and soil: Loves dry air, strong airflow, and very fast-draining, gritty succulent mix
- Growth habit: Compact, rosette-forming, offsets readily into charming clumps
- Bloom season: Late spring into summer, with coral-pink to yellow bell-shaped flowers
Your propagation setup (the “don’t-skip” checklist)
- Gritty, fast-draining cactus/succulent mix with plenty of pumice, coarse sand, or grit
- Shallow trays or small pots with drainage holes
- Bright light (sunny windowsill or strong grow light); avoid scorching midday sun for babies
- Airflow (a gentle fan indoors helps); avoid stagnant, humid corners
- Clean snips, labels, and a dry paintbrush (for brushing stray grit—not leaves)
- Patience and a light misting bottle
Environment sweet spot: 18–25°C (64–77°F), bright but not baking, airy, and on the dry side. Avoid wetting rosettes.
The master timeline at a glance
- Day 0: Take the piece (offset, leaf, or rosette cutting)
- Days 2–7: Callus period (absolutely dry)
- Days 7–21: Root initiation under bright, indirect light; mist substrate very sparingly
- Around Day 20+: Roots often visible in warm, bright conditions
- When roots reach 2–3 cm (0.8–1.2 in): Pot up into gritty mix and begin “soak and dry” watering
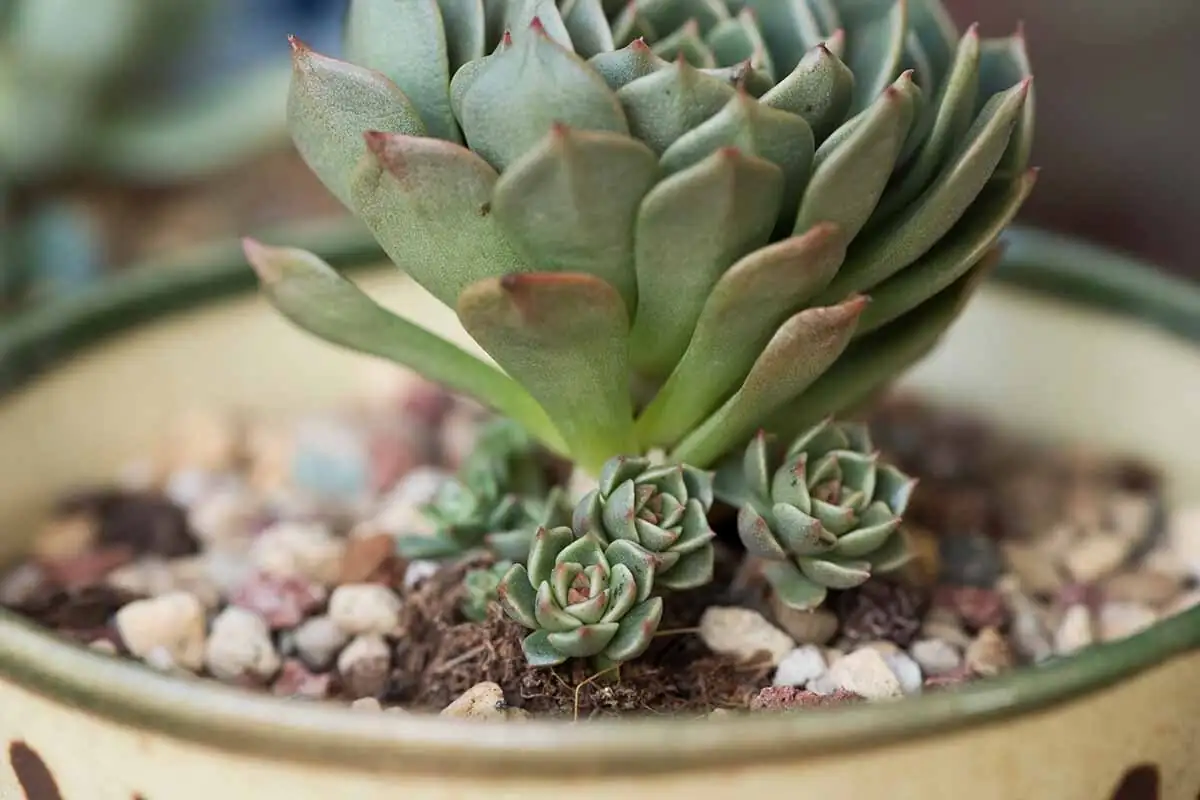
Method 1: Offsets (pups) — simplest and fastest
When to harvest:
- Look for offsets with several leaves and their own tiny roots peeking from the base. If you gently wiggle, the pup feels “anchored” rather than loose.
Step-by-step
1) Day 0 — Separate
- Ease away old, dried leaves around the base to see the connection.
- Use a clean blade to sever the pup where it joins the mother, keeping as many roots as possible.
2) Days 2–3 — Callus dry
- Place the pup in bright, indirect light on a dry paper towel or empty tray until cut edges are dry to the touch.
3) Day 3+ — Set on mix
- Nestle the pup onto dry gritty mix; don’t bury it deeply. If it has roots already, tuck them in gently.
4) Days 3–10 — Mist sparingly
- Lightly mist the substrate (not the rosette) once every 3–5 days if the air is very dry. Keep great airflow.
5) By Week 2–3 — Establishment
- If roots are short, let them lengthen; if already 2–3 cm long, water thoroughly once (then let the mix dry completely) and call it “potted up.”
Notes:
- If you separated a pup with no roots, treat it like a cutting: allow a longer callus and root-building phase, and only pot up after roots reach 2–3 cm.
Method 2: Leaf cuttings — the surprisingly prolific route
Choose the right leaf:
- Pick a healthy, full, unblemished leaf from the lower rosette. Gently twist with your thumb and forefinger so the entire base of the leaf detaches cleanly—no tears or half-moons.
Step-by-step
1) Day 0 — Detach the leaf
- Handle the leaf by its edges or petiole end to preserve farina. One clean snap = best odds.
2) Days 3–7 — Callus dry
- Lay the leaf flat on a dry tray out of direct sun. The cut end should dry to a matte, sealed “scab.”
3) Day 7 — Lay on mix (still dry)
- Place the callused leaf on top of dry, gritty mix; do not bury the cut end.
4) Days 7–21 — Root and pup formation
- Mist the substrate very lightly once or twice a week to create a hint of surface humidity. Keep the leaf edge just kissing the grit.
- Bright, indirect light and airflow are key; baby roots hate soggy air and cold.
5) Around Day 20+ — The milestone
- Look for tiny pink-white roots and a miniature rosette (“pup”) at the cut end.
6) Pot up at 2–3 cm roots
- Once roots are about 2–3 cm long, move to a small pot of gritty mix. Water thoroughly once, then let dry fully before the next drink.
Aftercare:
- Keep babies shaded from harsh midday sun for 7–10 days, then gradually increase light.
- The original leaf will shrivel as it fuels the pup—don’t tug it off prematurely.
Method 3: Rosette (stem) cuttings — rejuvenate leggy plants
When to behead:
- If your snowball stretches (flatter, more open rosette, long bare stem), it’s prime time.
Step-by-step
1) Day 0 — Cut the rosette
- Leave 2–5 cm (about 1–2 in) of stem under the rosette. Remove a few lower leaves to reveal clean stem.
2) Days 4–7 — Callus dry
- Stand the rosette upright in bright, indirect light, absolutely dry. The cut surface should feel firm, not tacky.
3) Rooting options (start Day 7)
- Classic: Set on top of dry gritty mix with the stem just touching the surface.
- Advanced: Suspend the rosette so the stem hovers millimeters above the mix—new roots will “reach” downward.
4) Misting protocol
- Mist the substrate lightly once or twice a week; avoid misting the rosette. Great airflow, bright light.
5) Around Day 20+ — Roots appear
- When roots reach 2–3 cm, plant the rosette properly into gritty mix and give its first thorough watering after a few days, once any minor abrasions have dried.
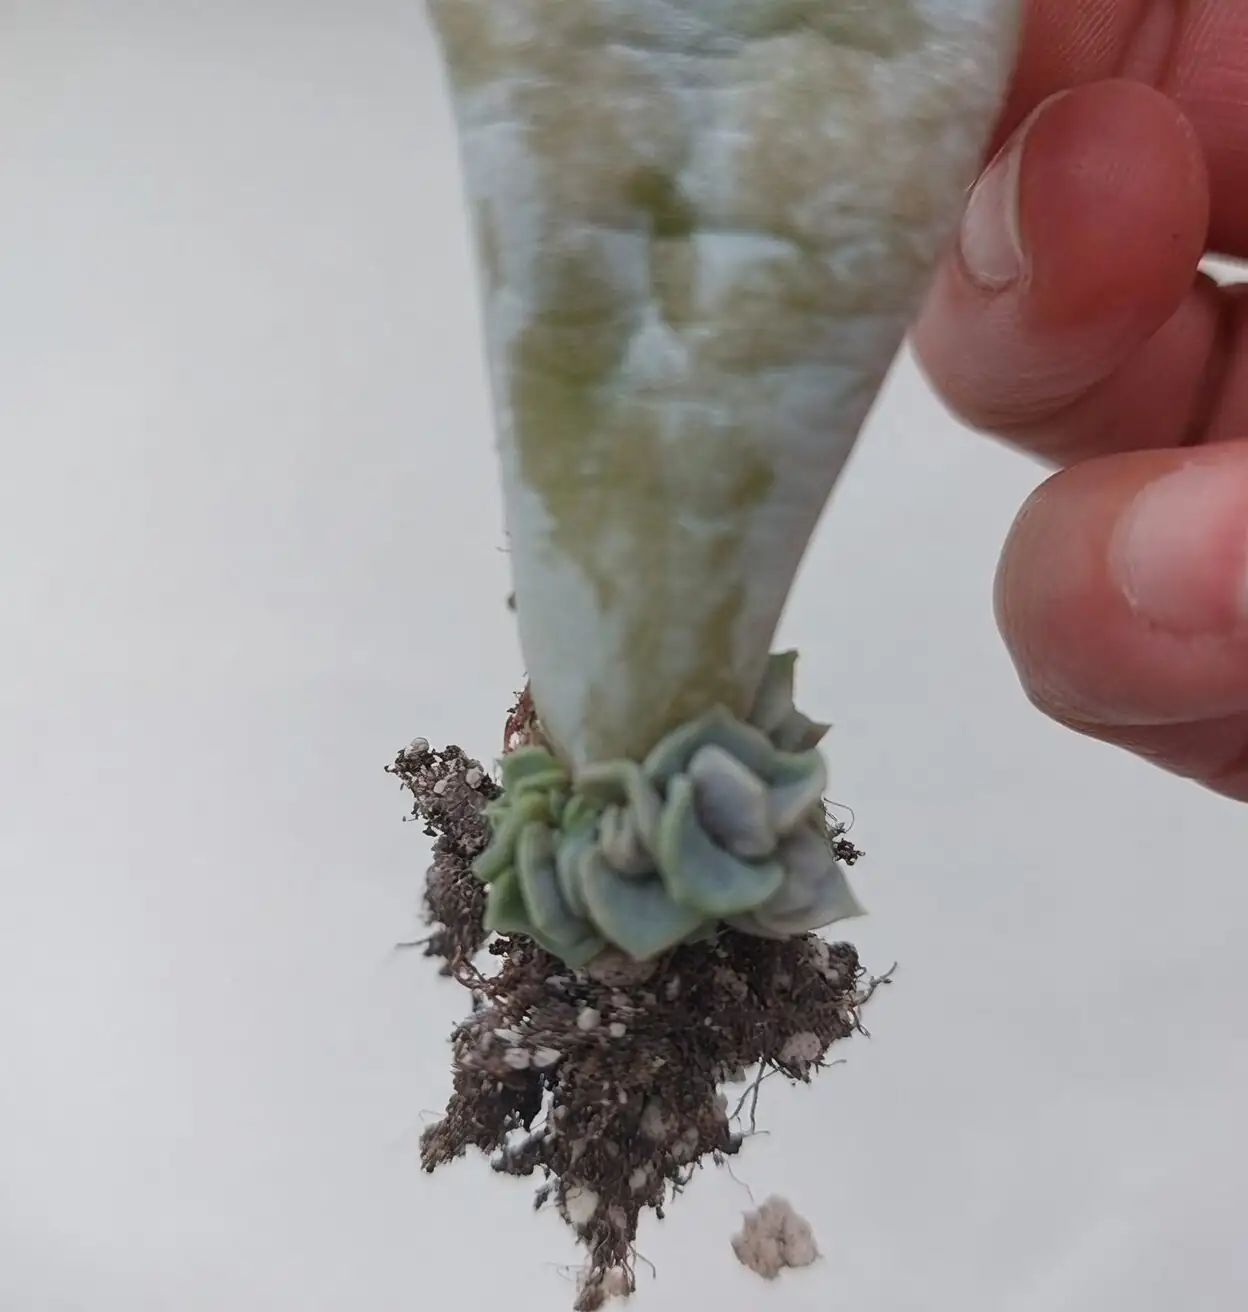
Bonus:
- Don’t discard the old stem if it’s healthy—new baby rosettes often sprout from it. Let them grow, then harvest as offsets later.
The art of “mist sparingly”
Think of misting as scenting the air around the roots rather than watering the soil.
- Aim for the top 0.5–1 cm of grit near the cutting/leaf end—1–2 light mists per week in dry rooms.
- Skip misting if the air is naturally dry and warm enough to encourage rooting on its own.
- Never leave surfaces damp overnight in cool conditions.
- Absolutely avoid misting into rosettes; water should not sit in leaves.
When to water for real
- No water during the callus period.
- No “soaks” before roots form.
- First thorough watering happens only after roots reach about 2–3 cm (0.8–1.2 in) and the cutting/plant is potted up.
- Then switch to a soak-and-dry rhythm: water fully, drain completely, and wait until the mix is bone-dry before watering again.
Light, temperature, and airflow cues for success
- Light: Bright light is your rooting engine; think 4–6+ hours of sun (morning preferred) or strong grow lights. Shield babies from scorching midday rays.
- Temperature: Aim for 18–25°C (64–77°F). Below ~10°C (50°F) with humidity is risky; cold + wet is the classic rot combo.
- Airflow: Gentle, consistent air movement deters rot and fungus. Avoid terrariums or cloches unless well-vented.
Potting up and early care (the first month after 2–3 cm roots)
- Pot: Small, shallow pot with drainage; gritty mix only.
- Water: One thorough drink after potting, then let dry completely; typically every 7–14 days in bright, warm conditions.
- Light acclimation: Bright indirect for a week, then gradually increase sun to tighten the rosette.
- Feeding: Optional, very light feeding (1/4 strength cactus fertilizer) about once a month in spring–summer. Skip in winter.
- Grooming: Remove any dry basal leaves. Keep farina pristine—handle gently.
A seasonal nudge: timing that tilts the odds
- Can propagate year-round in warm, bright conditions.
- Especially reliable from late summer to early autumn (about August–October): stable warmth, excellent light, and less extreme heat stress make rooting smooth.
- In winter, keep things bright and much drier; growth slows, so be extra patient.
Troubleshooting: read the signals
- Leaf end turns mushy: Too much moisture before callusing or during cool nights. Trim back to healthy tissue, re‑callus longer.
- No roots after a month: Increase light and airflow; try barely warmer conditions. Check you’re not over‑misting.
- Pup shriveling fast: It may be using stored energy; give slightly brighter light and a whisper of substrate mist, not a soak.
- Stretching (open rosette, longer internodes): Needs more light; move to a sunnier spot and rotate the pot weekly.
- Pests (mealybugs in leaf axils, aphids on flower stalks): Isolate, dab with isopropyl alcohol or use insecticidal soap; improve airflow and reduce humidity.
Keep the mother plant happy while you propagate
- Light: As bright as you can offer without scorch; several hours of sun is ideal.
- Water: Soak and dry—water thoroughly, then wait until the mix is completely dry.
- Soil: Mineral-rich, gritty mix in a pot with drainage holes.
- Clean-up: Remove dried lower leaves and spent flower stalks. If it gets leggy, behead and reboot.
Flowers and meaning: what the “language of flowers” says here
Echeveria elegans sends up elegant, nodding bells from late spring into summer—coral to pink outside, glowing yellow within. While there’s no centuries-old, codified “flower language” specific to this species, modern gardeners often read it as a symbol of resilience, enduring love, and quiet beauty. That interpretation fits its nature: the plant holds its sculptural form through dry spells, rebounds from pruning, and patiently multiplies—living proof that steady care and bright days build lasting grace.
Quick wins to remember
- Callus first: 2–7 days dry before any contact with moisture.
- Mist sparingly: Light, infrequent spritzes at the substrate—never the rosette.
- Bright + airy: Strong light and airflow beat humidity every time.
- Pot up on cue: Wait for 2–3 cm (0.8–1.2 in) roots before the first real drink.
- Multiply often: Offsets for speed, leaves for numbers, rosette cuttings for rejuvenation.
Set out one tray today, and by next month you’ll have a small, glaucous galaxy of Mexican Snowballs—each one a tiny, resilient echo of the original.