

Think of Freesia × hybrida as a perfectly timed orchestra: if you set the tempo now—right after flowering—you’ll get a lush, synchronized symphony of fragrant spikes next cool season. The secret? Mastering the corm cycle: harvest the baby cormlets, cure and store them warm and dry, then replant densely in early autumn. Here’s your step‑by‑step, from precision lifting to that glorious mass bloom.
Meet your plant, meet its rhythm
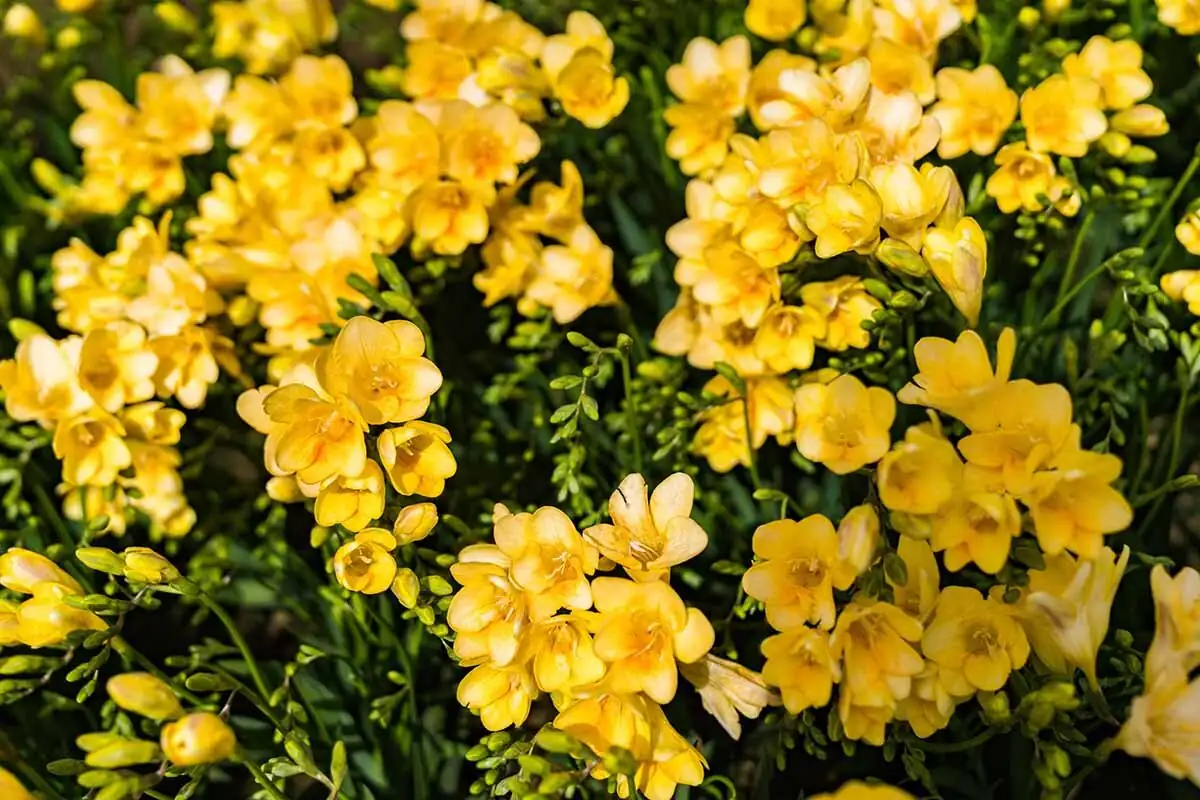
- What it is: Freesia × hybrida (Iridaceae), a Southern African, cool-season bloomer grown from corms (not true bulbs).
- What it does: After flowering, a freesia replaces its old “mother” corm with a new one—and produces several small offsets (cormlets). Those cormlets are your ticket to multiplying plants and achieving fuller, more uniform displays next season.
- What it loves: Bright light, cool air (ideally days around 18–20°C and nights 14–16°C), even moisture during growth, and a dry, airy dormancy. Heat and soggy mix = floppy stems and rot.
The propagation master plan at a glance
- Late winter–spring: Bloom and feed the next generation (don’t rush to cut foliage).
- Late spring: Foliage yellows—lift, separate, and harvest cormlets.
- Summer: Cure and store dry with ventilation at about 25°C.
- Early autumn (often September): Replant densely, water lightly as shoots appear.
- Winter to spring: Bright, cool growth for strong, synchronized spikes.
Step 1 — After flowering: let the leaves refuel
- Keep the plant bright and cool; water evenly but never waterlog.
- Snip spent blooms (unless saving seed), but leave the leaves—this photosynthesis period builds next season’s corm.
- Over about a month, taper watering as foliage naturally yellows. When it has dried down, stop watering completely.
Pro tip: Freesias hate stuffy, humid air—ensure good airflow to dodge gray mold (Botrytis), especially as the plant winds down.
Step 2 — Lifting and harvesting cormlets (the delicate part)
When foliage is dry and crisp:
- Unpot gently and crumble away the dry mix.
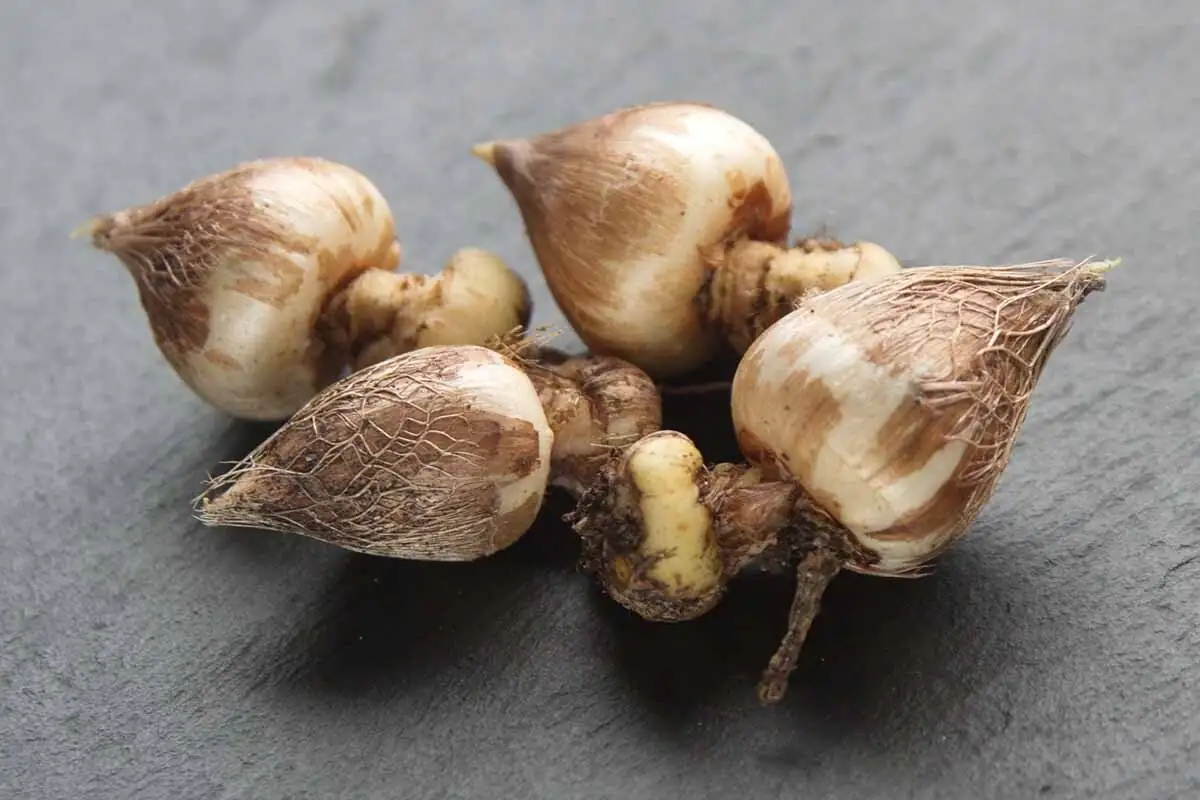
- Identify the parts:
- Spent “mother” corm: shriveled, papery—discard it.
- New replacement corm: firm, plump—keep it for flowering.
- Cormlets (often 3–5): marble-to-pea sized babies under the new corm—these are your propagation gold.
- Separate carefully. Keep the brown fibrous tunic on; it protects against desiccation.
- Brush off soil; don’t wash. If any surface nicks occur, let them air-dry; many home growers rely on cleanliness and airflow rather than chemical dips. Sterilize your tools before and after handling.
Grade your cormlets by size and keep similar sizes together—uniform grade = uniform timing later.
Step 3 — Cure and store: warm, dry, and airy at ~25°C
Curing sets corms up for a clean, vigorous restart.
- First cure: Spread your corms and cormlets in a single layer in shade with moving air for 1–2 weeks.
- Storage: Keep them dry, ventilated, and warm at about 25°C (77°F) through dormancy. Mesh bags, paper envelopes, or slatted trays work well. Label by cultivar and size.
- Check monthly: Discard anything soft, moldy, or suspicious for virus (mottled, distorted remnants if still attached).
Avoid damp, stale places—humidity invites rot; excessive heat bakes them.
Step 4 — Replant densely in early autumn for a unified show
Timing: Early autumn is ideal (commonly around September), as freesia is a cool-season grower.

- Containers and mix
- Pot: 12–15 cm diameter for tight clumps; go bigger for large displays.
- Mix: Fertile but fast-draining—think loam + leaf mold/compost + coarse sand or perlite. Drainage is essential.
- Depth and spacing
- In pots: Plant 2–3 cm deep.
- In the ground: 3–4 cm deep in very free-draining soil.
- For instant impact: 5–7 flowering-size corms per 12–15 cm pot.
- For cormlets: Grow on densely in nursery pots or trays—space roughly 1–2 cm apart. Plant cormlets of the same grade together for synchronized growth.
- Orientation: Pointed tip up; if unsure, lay on the side—freesias will sort it out.
- Watering: After planting, water lightly once; then hold off until you see the first shoots. As growth builds, keep evenly moist, never soggy.
- Temperature and light: Aim for cool, bright conditions—days about 18–20°C, nights 14–16°C. Prolonged warmth above ~20°C can cause weak, floppy growth and shorter flowering.
- Feeding: Light, regular feeding during leafy growth helps stout stems. Options:
- A diluted balanced feed about every 10 days during active growth, then stop once flower stems rise; or
- Feed every 2 weeks with a bloom-leaning formula; give a gentle phosphorus/potassium nudge as spikes emerge.
Avoid heavy feeding during peak bloom—it can trigger bud drop.
- Airflow and support: Keep air moving; avoid muggy rooms. Stake lightly if needed.
Synchronization secrets for “all-at-once” spikes
- Grade = timing: Plant cormlets of identical size together. Larger cormlets generally sprint; smaller ones jog.
- One date, one depth: Plant each group the same day and at the same depth for an even start.
- Uniform conditions: Keep grouped pots in the same bright, cool spot. A steady 15–20°C band tightens flowering windows.
- Water rhythm: Keep moisture levels consistent across containers—don’t let one pot roller-coaster between drought and drench.
- Light matters: Maximum brightness (without heat stress) keeps stems upright and spikes on schedule.
Troubleshooting your propagation
- Cormlets not sprouting: Check storage—were they kept warm and dry, not cooked or damp? Plant shallowly (2–3 cm), and wait—cool-season growth begins as temperatures ease in autumn.
- Floppy stems: Usually heat or low light. Move to a brighter, cooler place and improve airflow; avoid rich nitrogen feeds.
- Gray mold (Botrytis): Stale, humid air is the culprit. Space for air movement, avoid wetting flowers, remove affected tissue promptly.
- Rotting corms: Mix too wet or poorly drained. Repot into a free-draining medium, reduce watering, and never leave pots standing in saucers of water.
- Virus suspicion (mosaics, distortion): Remove and discard the plant—don’t reuse that mix.
Safety and home care notes
- While not widely listed as highly toxic, treat corms and foliage as potentially irritating if chewed; keep away from pets and children.
- Freesia flowers are ethylene-sensitive. Keep blooming pots and cut stems away from ripening fruit to extend vase and pot life.
A quick seasonal checklist
- Spring: Enjoy blooms; keep cool and bright; water evenly. Deadhead; support stems.
- After flowering (late spring): Taper watering over ~1 month; let foliage yellow naturally.
- Early summer: Lift; separate replacement corm and cormlets; cure for 1–2 weeks.
- Summer: Store dry at about 25°C with ventilation; inspect monthly.
- Early autumn: Replant densely; water lightly as shoots appear; move to the brightest, coolest spot you have.
- Winter to early spring: Maintain cool temperatures, even moisture, fresh air—and get ready for that synchronized show.
A note on meaning and history
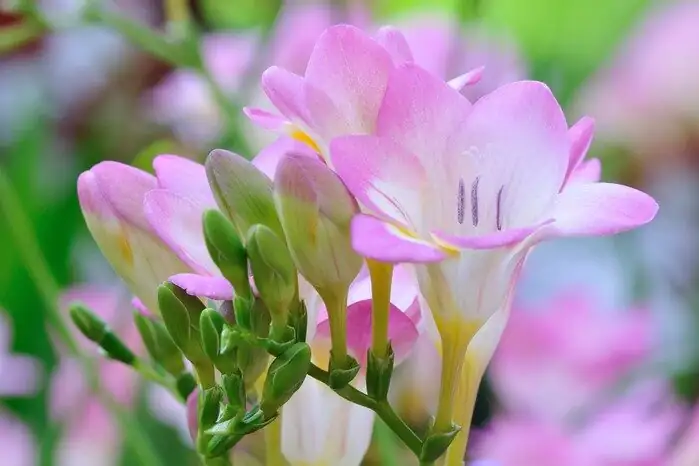
The genus honors a 19th‑century friendship: botanist Christian Ecklon named it for his colleague Dr. Friedrich Freese, which is why freesias often symbolize trust, purity, and thoughtful affection. Modern “flower language” adds color-specific nuances—white for innocence and romantic love, yellow for warm friendship, red for admiration. These associations are cultural rather than botanical, but they’ve stuck because freesias deliver exactly that feeling: a clean, uplifting scent and an elegant, honest spike that unfolds bloom by bloom.
Why this method works
You’re aligning with freesia’s natural cycle: build the new corm after bloom, rest it dry and warm, then wake it into cool, bright conditions. By harvesting and curing cormlets, storing them dry around 25°C, and replanting them densely and uniformly in early autumn, you set the tempo—so next season’s performance rises together, fragrant and flawless.