

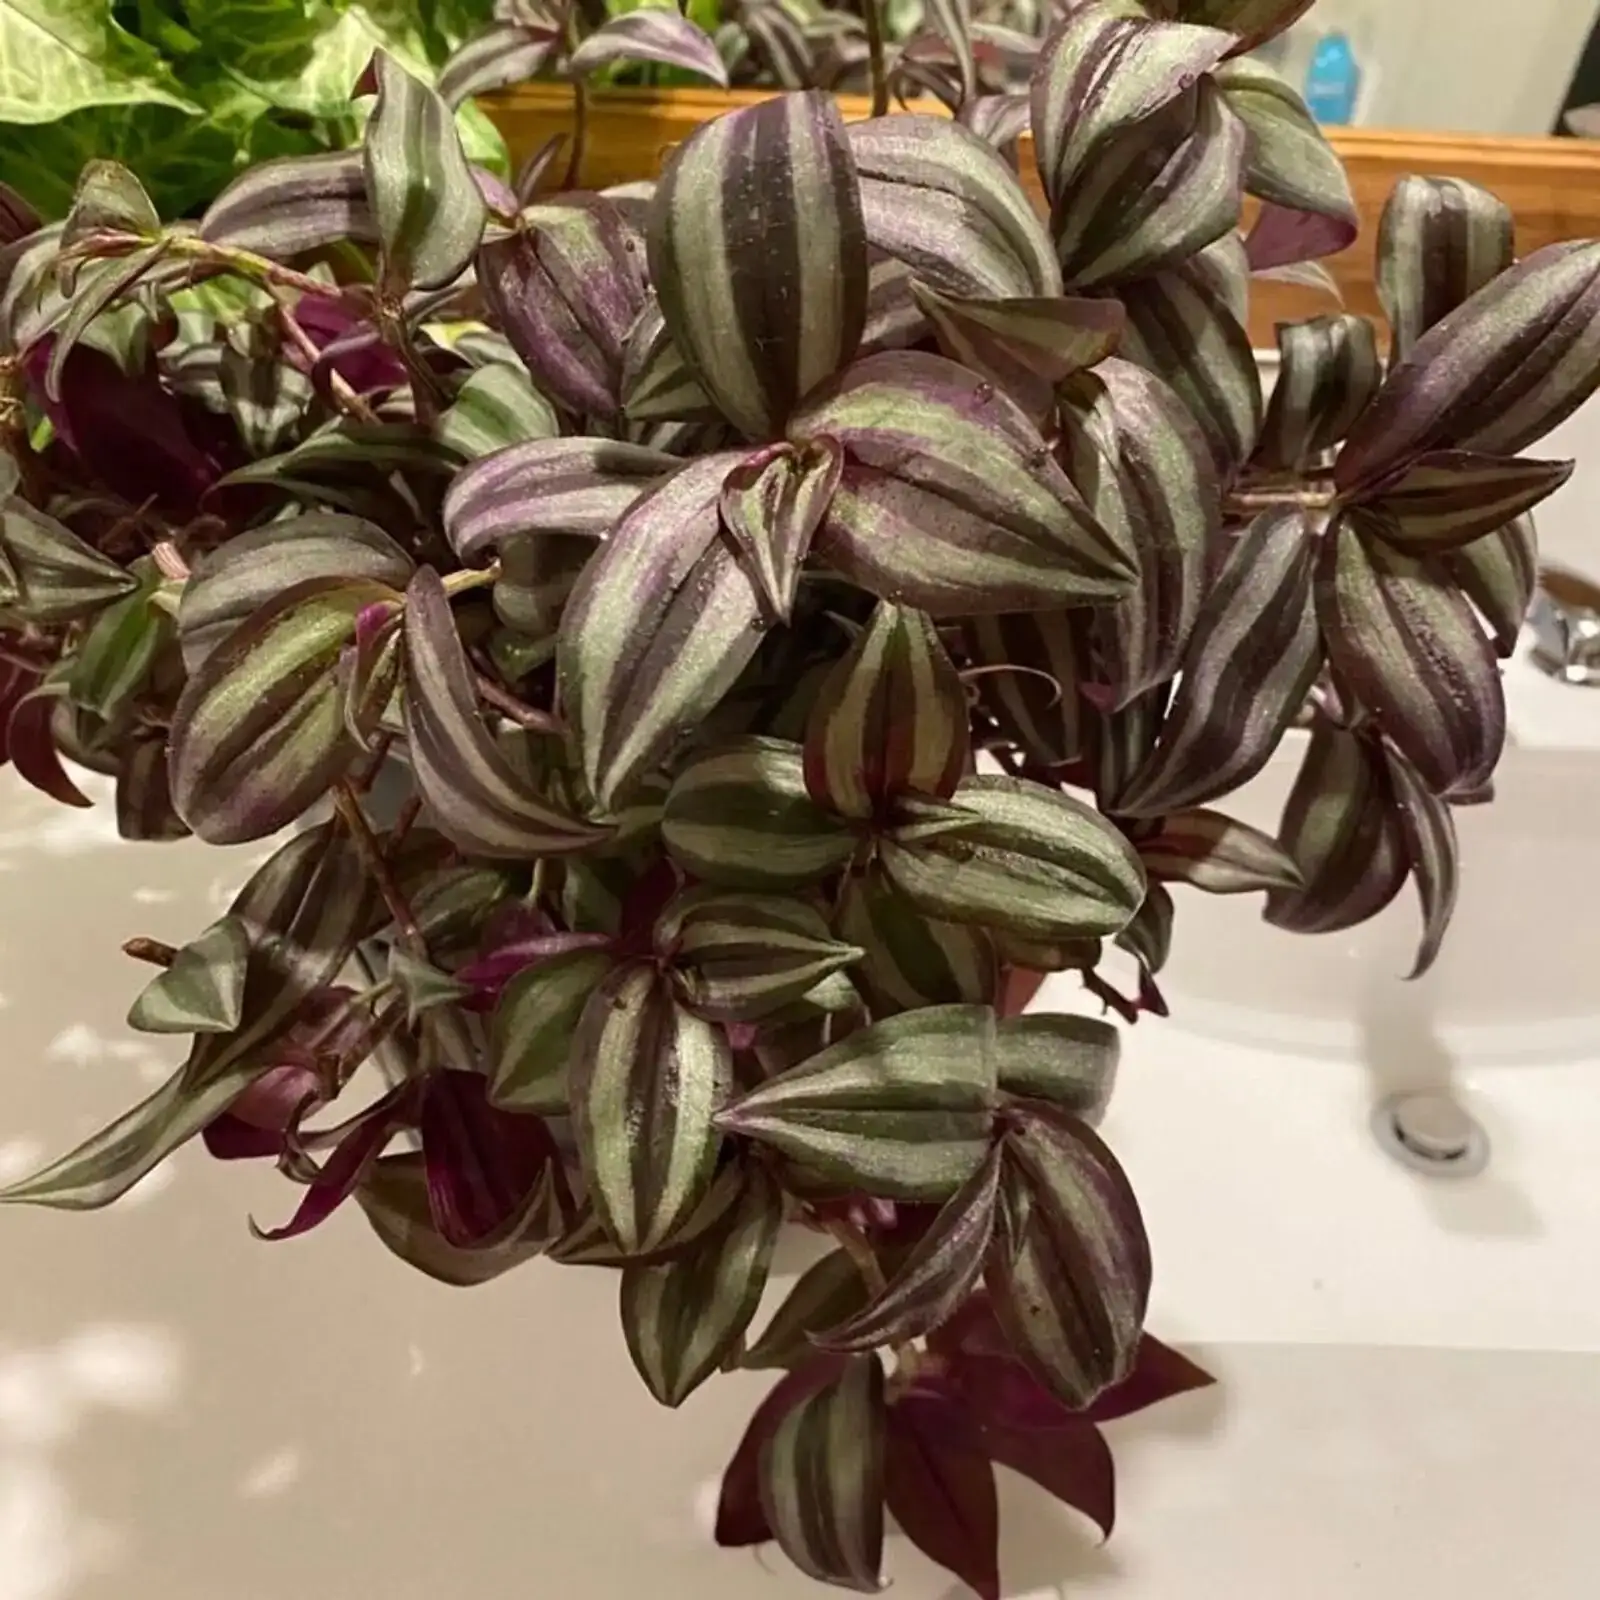
If your Tradescantia zebrina (the ever-stylish inch plant) has gone from dazzling silver-and-purple to dull, sticky, or spotty, don’t panic—this is a plant that bounces back fast with the right moves. Here’s a tight, practical guide to diagnose pests in seconds, wash them out with repeatable treatments, triage rot and leaf spots, and tune up airflow and drainage so your stripes return and growth surges again.
Fast pest diagnostics: spot the culprit in 10 seconds
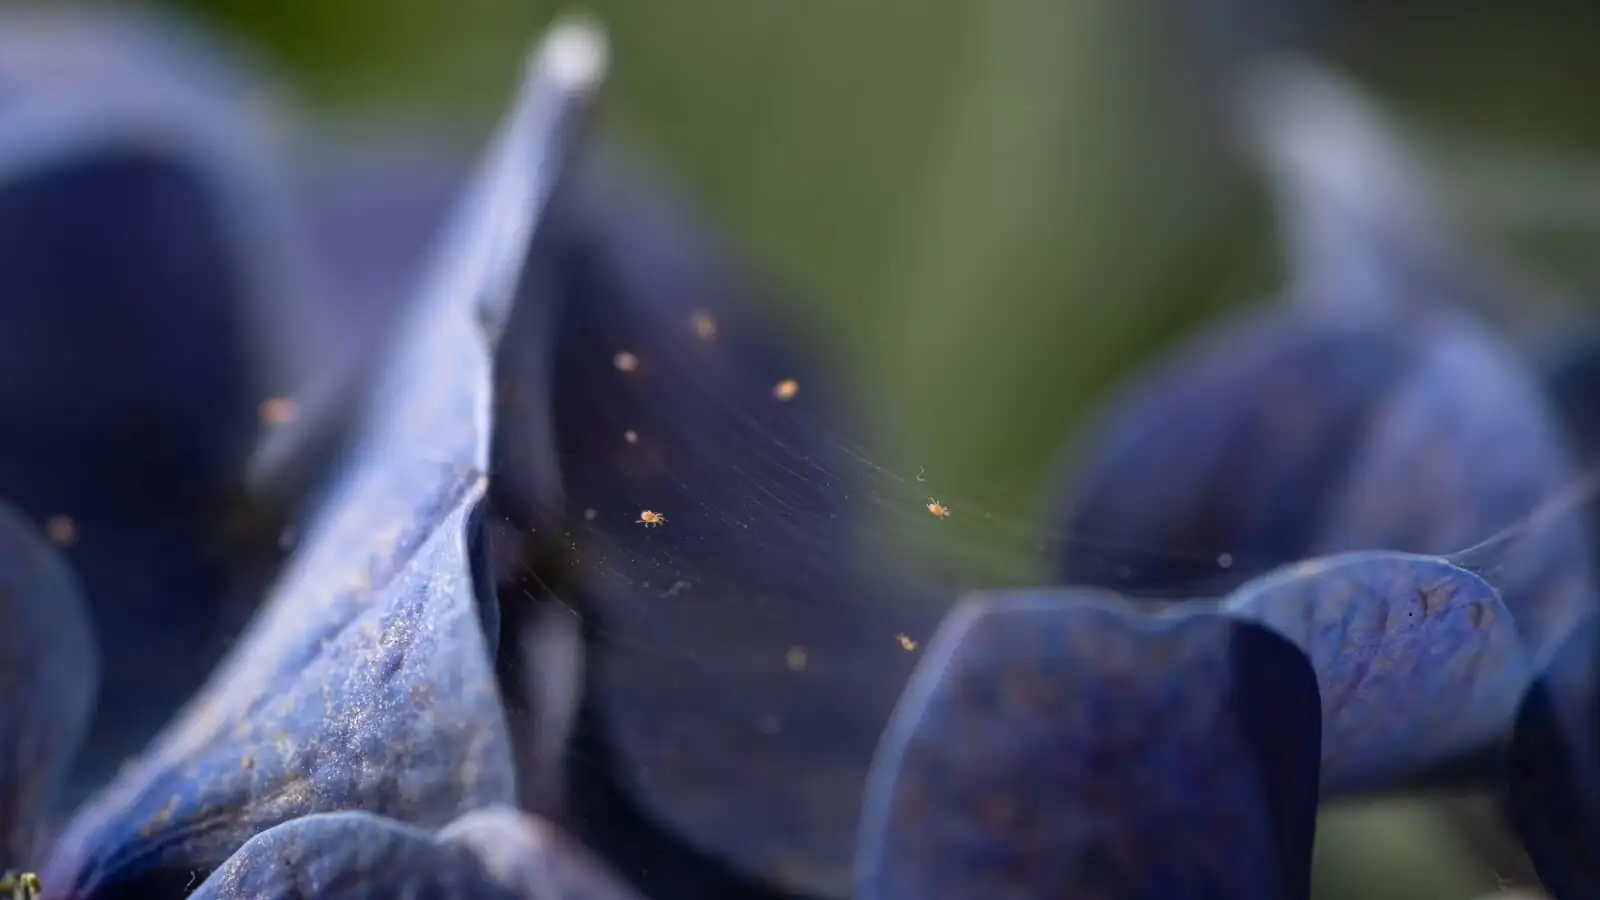
- Spider mites
- Signs: Fine webbing in leaf axils/undersides; sand-like speckling (stippling); leaves look dusty or faded. Common in dry, still air.
- Mealybugs
- Signs: White, cottony tufts tucked in nodes and leaf bases; sticky leaves (honeydew). You may see sooty mold develop on that residue.
- Scale
- Signs: Hard, pinhead-sized bumps that don’t brush off easily; sticky residue; leaves may yellow and drop.
- Aphids
- Signs: Clusters on soft new tips; curling or distorted growth; sticky honeydew on leaves and the surface below.
If you’re unsure, press a clear tape strip to the underside of a leaf and look closely: tiny red/brown mites, oval green/black aphids, or fuzzy mealy clusters give the game away.
Rinse-and-repeat treatment plans that work
Use a simple integrated approach: isolate, blast, treat, and repeat.
Step 1: Isolate and prep
- Move the plant away from others.
- Put it in a tub/sink; protect floors from drips.
- Wear gloves—sap can irritate skin.
Step 2: Rinse away the majority
- Give a thorough lukewarm shower, focusing on undersides of leaves and nodes.
- For mealybugs and scale: dab visible clusters/bumps with cotton swabs dipped in 70% isopropyl alcohol to dissolve wax and loosen them.
Step 3: Treat with the right product
- Spray to full coverage (leaf undersides, stems, nodes) with insecticidal soap or a horticultural oil (e.g., neem-based) labeled for houseplants.
- Let it contact-dry per label directions. Ensure good airflow while it dries.
Step 4: Repeat on schedule
- Re-treat every 4–7 days for 3–4 cycles. Eggs hatch in waves; consistency wins.
- Between cycles, rinse again to remove dead pests and honeydew.
- For heavy scale, expect more manual removal each round; discard the worst-infested stems if needed.
Step 5: Aftercare that prevents rebound
- Improve light to bright, filtered levels; avoid harsh midday sun.
- Keep humidity moderate with airflow (a gentle fan nearby), not a closed, steamy corner.
- Water sensibly: thorough waterings, then let the top 2–3 cm (about 1 in) dry before the next.
Tip: If a stem is riddled with pests or looks tired, snip healthy tips and root them—this plant reboots brilliantly from cuttings.
Rot and leaf-spot triage
How to tell them apart
- Root/stem rot: Mushy, dark, or collapsing nodes; a sour smell; leaves yellow from the base upward. Often follows waterlogged soil or poor drainage.
- Leaf spot/blight: Discrete brown or tan lesions (sometimes with a yellow halo); may spread in humid, stagnant air, especially when foliage stays wet.
Emergency rescue for rot
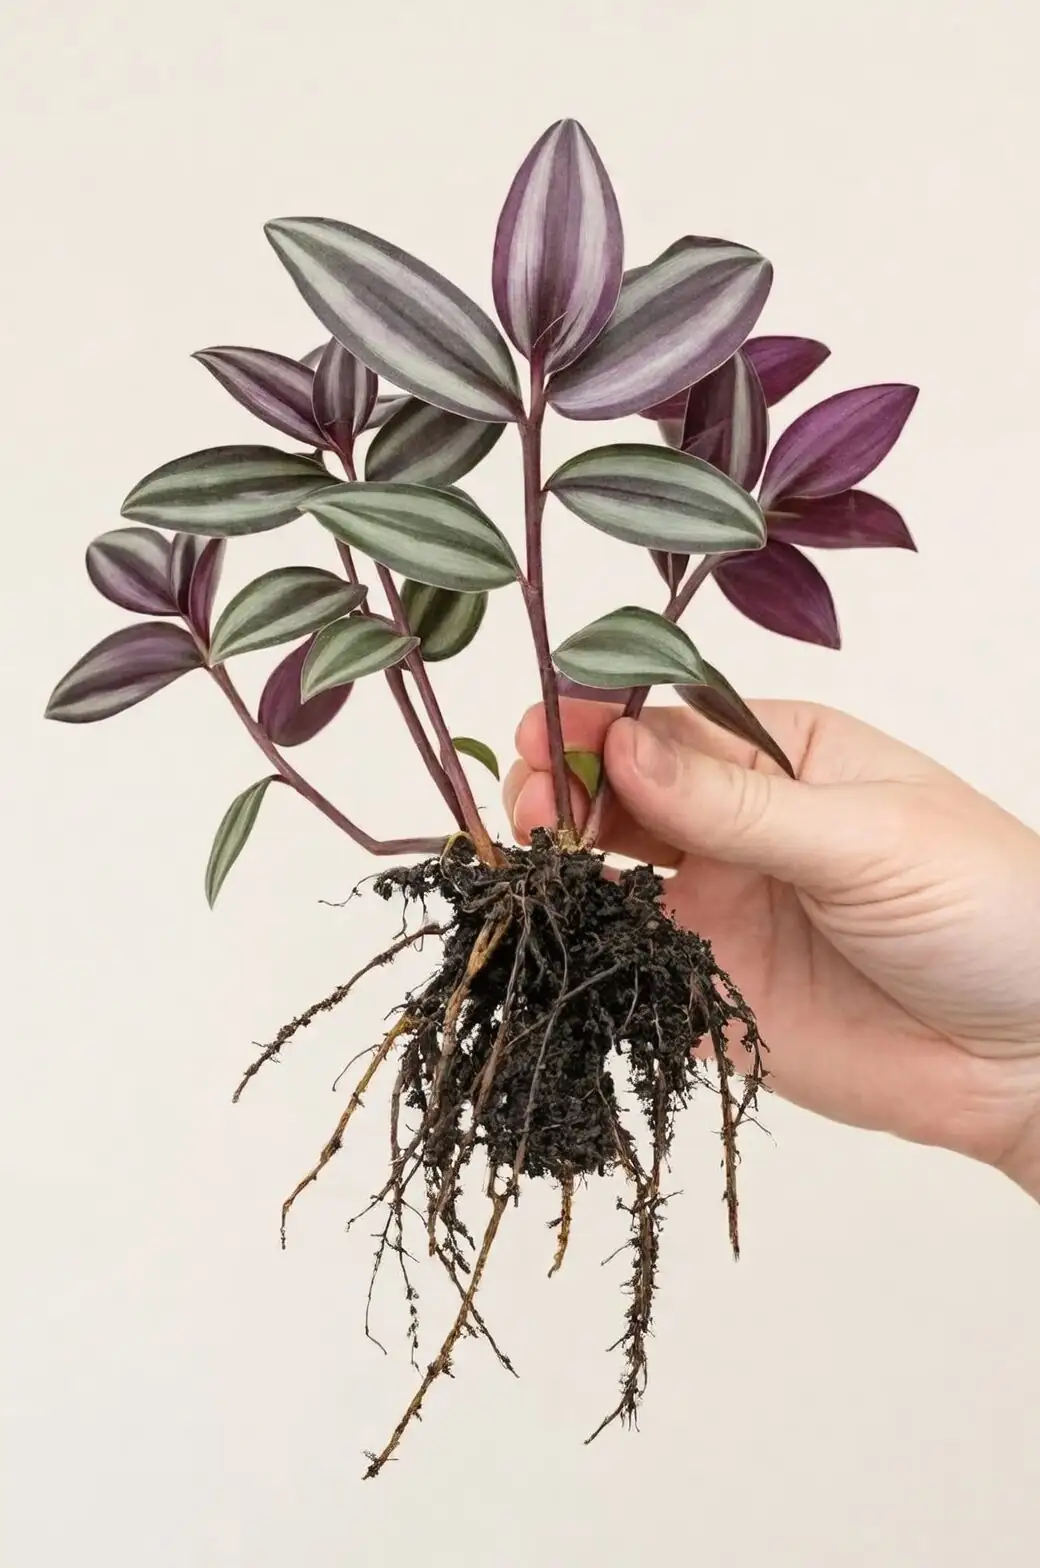
- Unpot and inspect. Rinse off soil and check roots/nodes.
- Trim back all mushy tissue to firm, healthy growth using sterilized shears.
- Repot fresh:
- Mix: loose and fast-draining—about 3:1 general potting mix to perlite or coarse sand.
- Pot: drainage holes are non-negotiable; don’t upsize excessively.
- Water lightly to settle, then wait until the top 2–3 cm are dry before watering again. Never keep it soggy.
- Place in bright, indirect light with steady warmth (around 18–22°C / 64–72°F) and gentle airflow.
Containing leaf spot
- Remove worst-affected leaves; clean scissors between cuts.
- Water the soil, not the foliage; avoid late-evening splashes on leaves.
- Increase ventilation; give the plant space so stems can breathe.
- Where appropriate, a copper-based product can help leaf spots—always follow label directions and test on a small area first.
Airflow and drainage upgrades that change everything

- Light: Bright, indirect light is the sweet spot. Gentle morning sun is fine; protect from harsh midday summer rays that can scorch and wash out color.
- Pot and mix:
- Use a 15–20 cm (6–8 in) pot or hanging basket with generous drainage.
- Mix 3:1 potting mix to perlite/coarse sand. This plant loves oxygen at the roots.
- Watering rhythm:
- Spring–autumn: keep the mix lightly and evenly moist, never waterlogged—water thoroughly, drain fully, then wait until the top 2–3 cm feel dry.
- Winter: scale back; keep just slightly moist.
- Air movement: A small fan on low across the room prevents mites and leaf disease without chilling the plant.
- Humidity: Aiming around 50% keeps tips fresh; in very dry rooms, a pebble tray helps—provided airflow is good.
A realistic recovery timeline
- After pest control
- Day 0: Rinse + first treatment; sticky leaves and obvious pests mostly gone.
- Week 1: Less webbing/honeydew; new growth looks cleaner.
- Weeks 2–3: Population crash if treatments were repeated on schedule; prune tattered leaves to make way for fresh growth.
- Week 4: Monitor weekly; resume normal care and keep inspecting undersides.
- After rot rescue
- Days 3–7: Wilting stabilizes as remaining roots recover.
- Days 7–14: New white roots form; turgor improves.
- Weeks 3–6: Visible rebound with brighter color and firmer stems.
- Severe cases: Re-root tip cuttings—nodes typically root in about 7–10 days; pot up several together for fullness within 4–8 weeks.
- After leaf spot cleanup
- 7–10 days: Spots stop spreading under better airflow and drier leaves.
- 3–6 weeks: New, clean foliage replaces the worst; remove old spotted leaves gradually.
Preventive care that keeps the stripes vivid
- Light first: Brighter (filtered) light deepens silver and purple; too little light = lanky, greenish stems.
- Pinch and refresh: Regularly pinch tips to trigger branching. If the base gets bare, cut back and re-root a fresh, full pot—many growers do this every 1–2 years.
- Water wisdom: Avoid the extremes—crispy tips come from underwatering/dry air; rot follows constant wetness.
- Feeding: During active growth, a balanced liquid feed works well every two weeks at a dilute rate or about monthly at label strength. Avoid high nitrogen that washes out color.
- Quarantine newcomers for a few weeks and inspect weekly; wipe dust from leaves so you can spot issues early.
Quick fixes to common frustrations
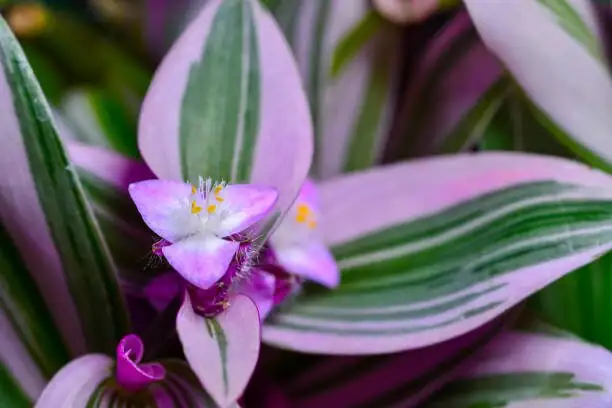
- “It’s leggy and not flowering.”
- Move it to brighter, indirect light and pinch stems around 20 cm (8 in) to encourage branching. Flowers are more likely with good light and fresh growth.
- “Older leaves are yellowing and the base looks bare.”
- Normal with age; refresh by cutting back and re-rooting healthy tips for a thicker cascade.
- “Can it handle sun?”
- Gentle morning sun is fine; avoid strong midday sun that scorches and fades.
A note on meaning and mojo
Inch plant is often linked to resilience and adaptability—fitting for a vine that roots at every node, shrugs off a hard haircut, and rebounds from setbacks with gusto. Its “bounce-back” spirit is less folklore than lived experience: give it light, air, and a sharp trim, and it answers with vivid stripes and quick new shoots.
Safety first
The sap can irritate sensitive skin; gloves are a good idea during pruning and pest control. If chewed, it may cause mild stomach upset in pets or children—best kept out of reach until treatments have dried.
With fast ID, a rinse-and-repeat plan, and a few structural upgrades to light, airflow, and drainage, Tradescantia zebrina rewards you quickly. Expect clean, glossy new growth within weeks—and don’t be shy with the scissors. This is a plant that loves a makeover.