

If you’ve ever admired the China Doll plant’s elegant, tiered silhouette and thought, “I want mine to look like that—but denser,” you’re in the right place. Radermachera sinica naturally layers its branches, and with a few smart pinches and timely trims, you can coax a fuller canopy with crisp, pagoda-like tiers—without triggering the notorious leaf-drop tantrums.
Here’s a hands-on routine for shaping, complete with timing, tool hygiene, and the gentle aftercare this glossy evergreen appreciates.
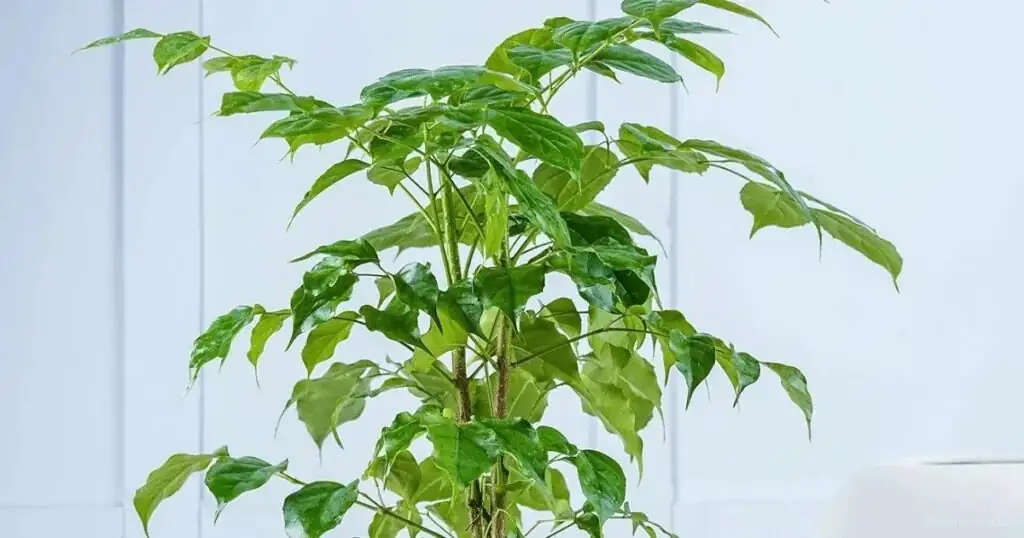
First, know your canvas: how China Doll grows
- Growth habit: Upright, bushy, evergreen shrub/small tree with compound leaves of many small, glossy, deep-green leaflets. It naturally forms layered “floors” of foliage and responds beautifully to pinching.
- Best time to shape: During active growth—spring through early autumn—when temps are warm (around 20–30°C / 68–86°F) and light is bright but filtered. Avoid heavy pruning in winter.
- Indoor scale: Usually 60–200 cm (2–6.5 ft) in pots, depending on pruning and pot size.
Tip: Think “little-and-often.” Regular pinching builds density; occasional selective pruning preserves the layered architecture.
Tools and hygiene: crisp cuts, happy plant
Clean, sharp tools prevent torn wood, disease spread, and slow healing.
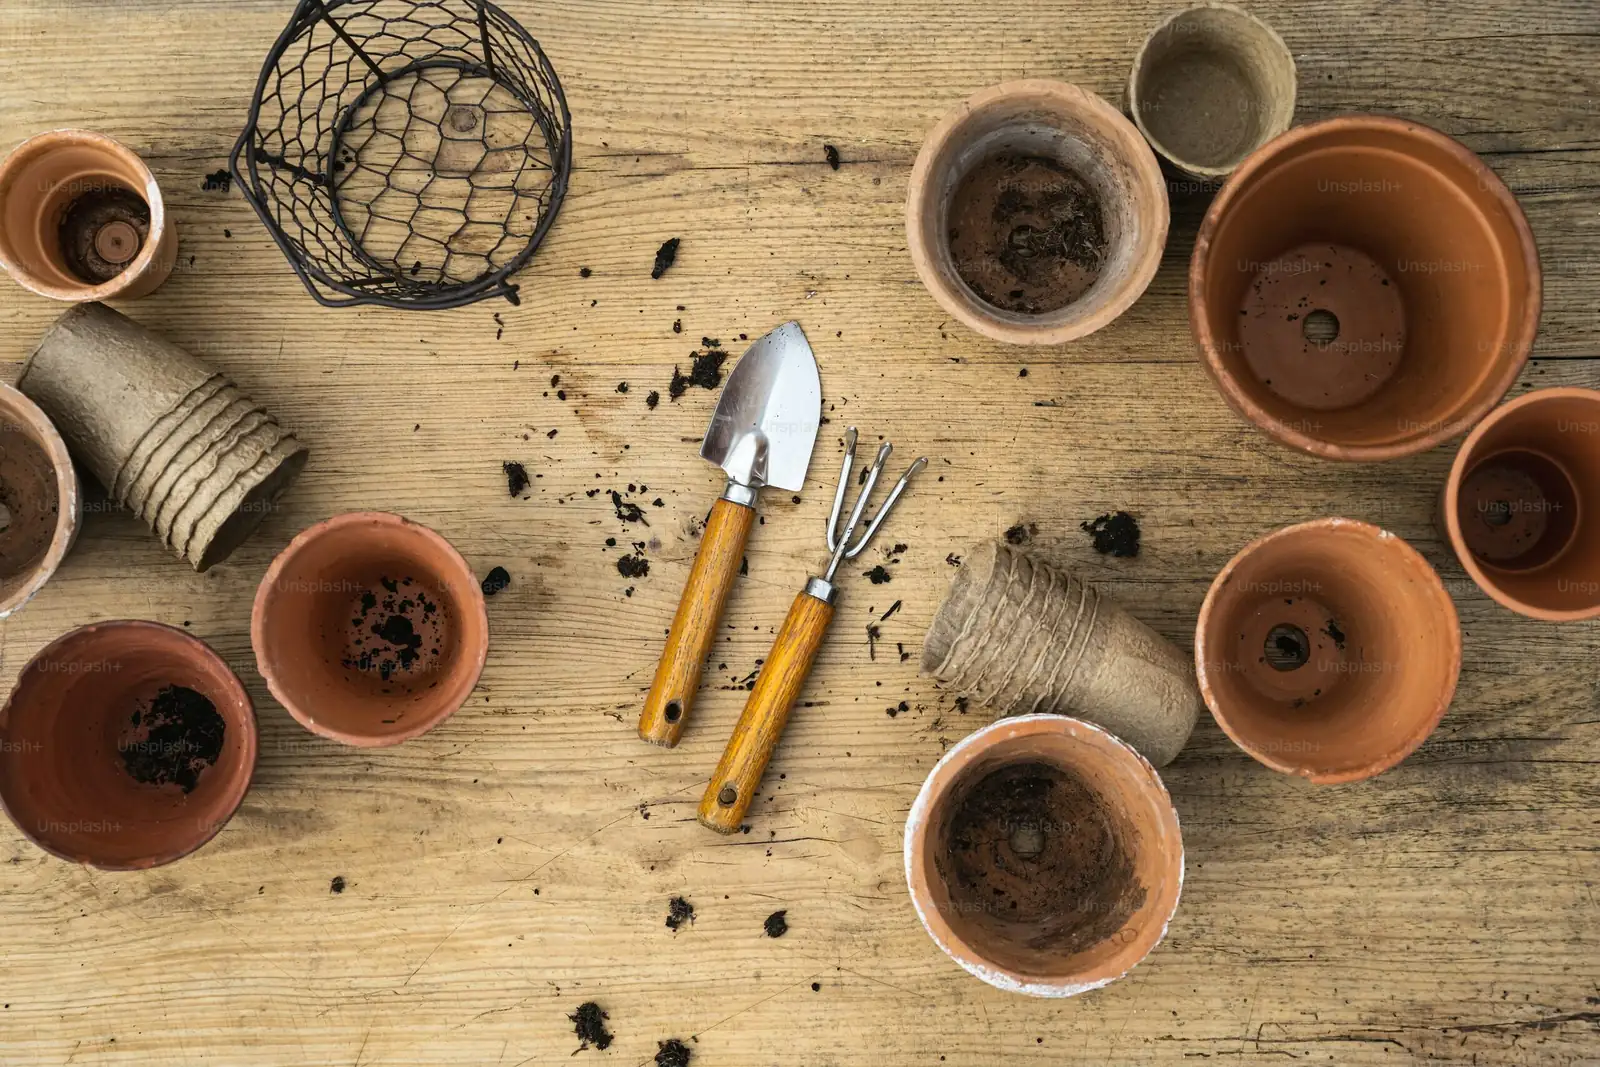
- What you need
- Sharp, clean bypass pruners for woody stems
- Precision snips for soft tips
- 70% isopropyl alcohol (or a 1:10 bleach solution) and a clean cloth
- Paper towels for sap and wipe-downs
- Hygiene routine
- Disinfect blades before you start and when moving between plants—wipe with alcohol and let air-dry.
- If you remove any suspect or pesty growth, disinfect before making the next cut.
- Make each pruning cut just above a leaf node (the point where a leaf/petiole meets the stem). Leave a 3–5 mm “collar” above the node—don’t leave long stubs and don’t shave into the node.
Pinching: the secret to a fuller canopy
Pinching removes only the soft growing tip and a pair of tiny, just-formed leaflets, nudging dormant buds below to break into multiple shoots.

Stage 1: New or recently acquired plant (Weeks 1–6)
- Let it settle in bright, indirect light with steady warmth and modestly higher humidity.
- Begin with soft pinches once new growth is visibly active.
- How: On each soft, extending tip, pinch out the top 0.5–1 cm above a healthy node. Do 25–40% of the tips each week rather than all at once—this keeps photosynthesis going and reduces shock.
- Frequency: Every 10–14 days during active growth.
Result: Each pinched tip typically produces 2–3 side shoots, thickening the canopy without altering the plant’s natural layers.
Stage 2: Building tiers with intention (Months 2–6)
Use staggered pinching to form “floors” of foliage.
- Choose a height for the next tier (for example, 25–35 cm above the pot rim for a small plant).
- Pinch the central leaders slightly above an outward-facing node at this height to encourage a ring of lateral shoots.
- As each new lateral extends 3–4 nodes, pinch again to fork them. Stagger these second pinches over 1–2 weeks to avoid removing too many tips in one go.
- Aim for symmetry without forcing it—favor outward-facing nodes to keep the center airy.
Result: A broader “shelf” of foliage forms. Repeat the sequence higher up for the next tier.
Stage 3: Maintenance pinching (Ongoing)
- During spring–summer, lightly pinch any shoot that runs ahead, roughly every 3–4 weeks.
- Thin (don’t shear) a few inward-facing or crossing shoots to preserve layered structure and light penetration.
Pruning: for legginess, gaps, or a height reset
When stems turn lanky or the canopy looks sparse, switch from pinching to selective pruning of woody sections.
- Rule of thirds: Avoid removing more than about one-third of the total foliage at one time.
- Where to cut: Trace leggy stems back to a point with healthy leaves and visible nodes. Prune to 1–2 nodes above a strong, outward-facing node to direct new growth where you want density.
- Renewal in rounds: If the plant is very bare, prune in two or three rounds, 2–3 weeks apart. This staged approach dramatically reduces shock and leaf drop.
Good targets to remove
- Spindly, shaded interior twigs
- Rubbing or crossing stems
- Very top-heavy leaders that throw the tiers out of proportion (reduce height by 20–30% in active growth, then rebuild with pinching)
Avoid
- Stripping lower stems completely bare—China Doll looks best when each level carries some foliage.
- Shearing across the top; it creates a “boxy” look and lots of weak, congested regrowth.
Aftercare that prevents shock and leaf drop
China Doll rewards steady care and sulks with sudden swings. Right after pruning or pinching:
- Light
- Keep in bright, filtered light (east window or softened south light).
- Protect from harsh midday sun; a sheer curtain is perfect.
- Temperature
- Aim for 20–30°C (68–86°F). Keep it warm and stable.
- Avoid cold drafts; best to stay above about 12°C (54°F). Dipping near 5°C (41°F) risks severe leaf drop.
- Water
- Maintain even moisture during active growth—thoroughly water, then let excess drain. Don’t let the pot dry out completely, but never keep it soggy.
- In winter, water less; many homes find about once every 2 weeks is right, but always check how fast the mix dries.
- Humidity and airflow
- China Doll appreciates moderate to high humidity (around 60%+). Use a humidifier, pebble tray, or gentle misting paired with good airflow to prevent leaf spot.
- Feeding
- Resume a diluted, balanced feed about once a month during the growing season. Hold fertilizer for 1–2 weeks after a heavier prune.
- Don’t stack stresses
- Avoid repotting on the same day you prune. If repotting is needed, do it in spring and give the plant 3–4 weeks between major operations.
- Pest watch
- Check undersides for scale or whiteflies, especially after any stress. Treat early with horticultural oil or insecticidal soap and isolate while treating.
A practical shaping plan (first 6–12 months)
- Month 1: Acclimate, then start soft pinching of 25–40% of tips.
- Months 2–3: Define the first tier by pinching leaders at your chosen height; fork laterals when they’ve added 3–4 nodes.
- Months 4–6: Repeat the pattern to form the second tier. Lightly thin any congested interior twigs.
- Months 7–12: Maintain tiers with regular pinches every 3–4 weeks in active growth; a selective prune if a stem outruns the canopy.
Style recipes you can try
- Umbrella canopy
- Encourage a single trunk, then pinch repeatedly near a target height to create a broad, even top tier. Keep the center slightly open so light reaches lower layers.
- Multi-tier “pagoda”
- Build two or three tiers by repeating the leader-pinch → lateral-fork cycle at ascending heights, keeping each “floor” slightly narrower than the one below.
- Bushy multi-stem
- Let several main stems develop, pinch them evenly, and thin only the most crowded interior twigs. Great for a dense, hedge-like look in bright living rooms or studies.
Troubleshooting (cut-by-cut)
- Sudden leaf drop after pruning
- Usually a combo of stressors: low light, dry air, cold drafts, or a big temperature swing. Move to brighter filtered light, warm and stable conditions, and raise humidity.
- Yellowing leaves
- Commonly triggered by stress or chill; overwatering can also contribute. Check for cold drafts, adjust watering to “evenly moist, not wet,” and improve airflow.
- Long spaces between leaves (leggy internodes)
- The plant needs more light. Move closer to bright, indirect light and pinch to branch.
- Cuts aren’t breaking new buds
- Recut slightly closer—3–5 mm above a healthy outward-facing node—and ensure warmth, brightness, and a modest monthly feed in the growing season.
What to do with the trimmings: make more plants
Tip cuttings root reliably during warm months.
- Take semi-mature tip cuttings 12–20 cm (4.7–8 in) long in summer.
- Remove lower leaves; keep 2–4 top leaves and halve larger leaflets to reduce wilt.
- Root in a sandy or peat-based medium at 22–26°C (72–79°F) with high humidity.
- Expect rooting in about 5–6 weeks (around 35–40 days).
Seasonal shaping checklist
- Spring
- Repot if needed; refresh soil; begin shaping pinches; resume monthly feeding.
- Summer
- Bright, filtered light; maintain even moisture and humidity; pause fertilizer in extreme heat; continue pinching for density.
- Autumn
- Keep it bright; light tidying only; wipe leaves to keep them glossy and dust-free.
- Winter
- Keep warm (ideally above 12°C/54°F), away from drafts; water sparingly (often ~every 2 weeks); stop feeding; avoid heavy pruning.
Soil and placement that support your work
- Use a loose, fertile, well-draining mix—quality potting soil with leaf mold/compost plus coarse sand or perlite. Always use a pot with drainage.
- Place in a bright, airy spot, away from heating/AC vents and smoky or stagnant air.
Safety and health notes
- Pests: Scale insects and whiteflies are the usual suspects indoors; leaf spot can occur in stagnant, wet conditions. Treat early, maintain airflow, and avoid wet leaves late in the day.
- Toxicity: Generally regarded as non-toxic to people and pets, though ingestion can cause mild stomach upset in sensitive individuals.
A note on meaning: why it’s nicknamed the “Happiness Tree”
Marketed widely across Asia as a “happiness” or “good luck” plant, China Doll’s lush, polished tiers symbolize prosperity and a calm, diligent spirit—especially fitting for study rooms and offices. It’s a modern houseplant tradition rather than an ancient legend, but the sentiment sticks: a well-kept canopy suggests steady care and thriving energy.
—
With clean tools, thoughtfully timed pinches, and steady aftercare, Radermachera sinica will reward you with a compact, architectural canopy that looks expertly styled—because it is. Build your tiers one measured snip at a time, and enjoy that glossy, layered look all year.