

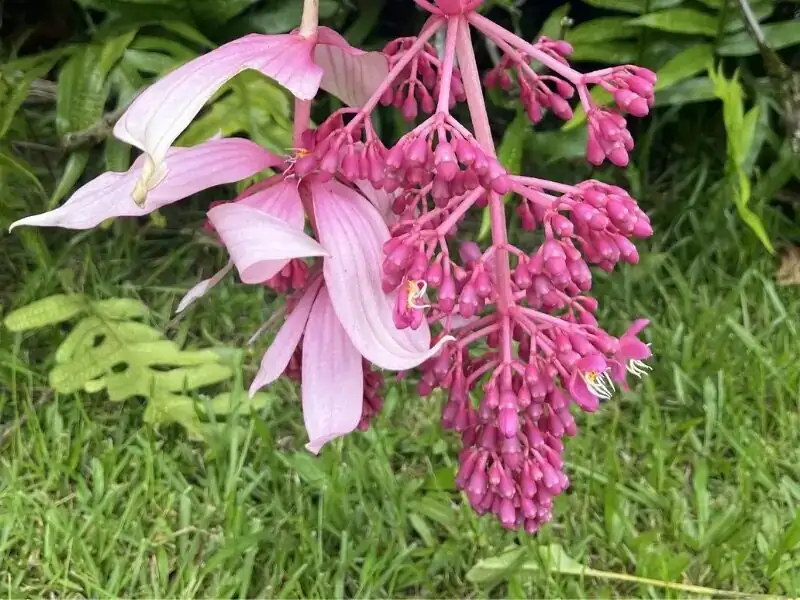
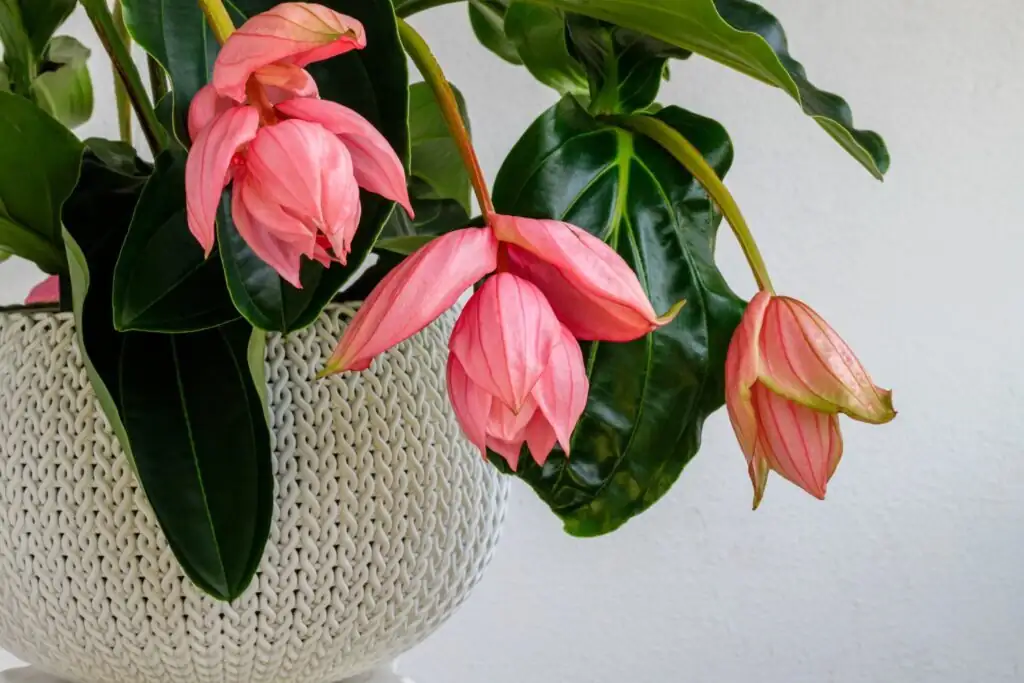
Think of Medinilla magnifica—Rose Grape—as the chandelier of the tropical plant world: glossy, architectural leaves above, cascading pink bracts and tucked-away flowers below. If you’ve fallen for its drama and want more, you’ve got two reliable propagation paths: quick-turn stem cuttings or steady-and-sure air-layering. Here’s a practical masterclass to help you choose, execute, and harden off new plants with confidence.
Before You Start: Set the Stage for Success
Healthy propagation starts with a happy mother plant.
- Light: Bright, filtered light (no harsh midday sun). An east window or a south window with a sheer curtain is ideal.
- Warmth: Aim for 22–28°C (72–82°F). Keep it above 16°C (61°F).
- Humidity: Loves 50–70%+, with 70–80% ideal—especially around budding and bloom time.
- Mix: Airy and free-draining. Many growers use either a chunky orchid-style mix (fine bark + perlite/charcoal) or a humus-rich potting mix lightened with perlite or coarse sand. Oxygen at the roots is the non-negotiable.
- Timing: Spring to early summer is prime. Avoid peak bloom and winter dormancy dips.
Pro tip: After flowering, prune back the shoots that flowered by about half. This encourages fresh growth that’s perfect for cuttings the following cycle.
The Quick Multiplier: Stem Cuttings (3–4 Weeks to Root)
Best for: Fast results, multiple plants, compact mother plants.
Tools and Materials
- Clean, sharp pruners or a sterile blade
- Optional rooting hormone (IBA)
- Small nursery pots (7–9 cm/3–4 in)
- Free-draining propagation mix: e.g., fine bark + perlite + a little coco coir/peat
- Clear humidity dome or a zip-top bag + stakes
- Lukewarm rainwater or distilled water
- Heat mat with thermostat (optional but helpful)
- Alcohol wipes for tool hygiene
What to Take and When
- Timing: Spring for softwood cuttings; early summer for semi-ripe.
- Size: 8–10 cm (3–4 in) with 2 nodes.
- Prep: Strip lower leaves; keep 1–2 leaves at the tip (you can halve large leaves to curb transpiration).
Step-by-Step
- Make a clean diagonal cut just below a node. Let sap bead and stop.
- Dip in rooting hormone (optional, but useful).
- Insert into moist, airy mix—just deep enough to bury the lower node. Firm lightly.
- Tent with a clear bag or place under a humidity dome. Keep foliage from touching the plastic.
- Place in bright, filtered light; steady warmth at 22–28°C (72–82°F).
- Keep the mix evenly moist, never soggy. Vent briefly daily for fresh air.
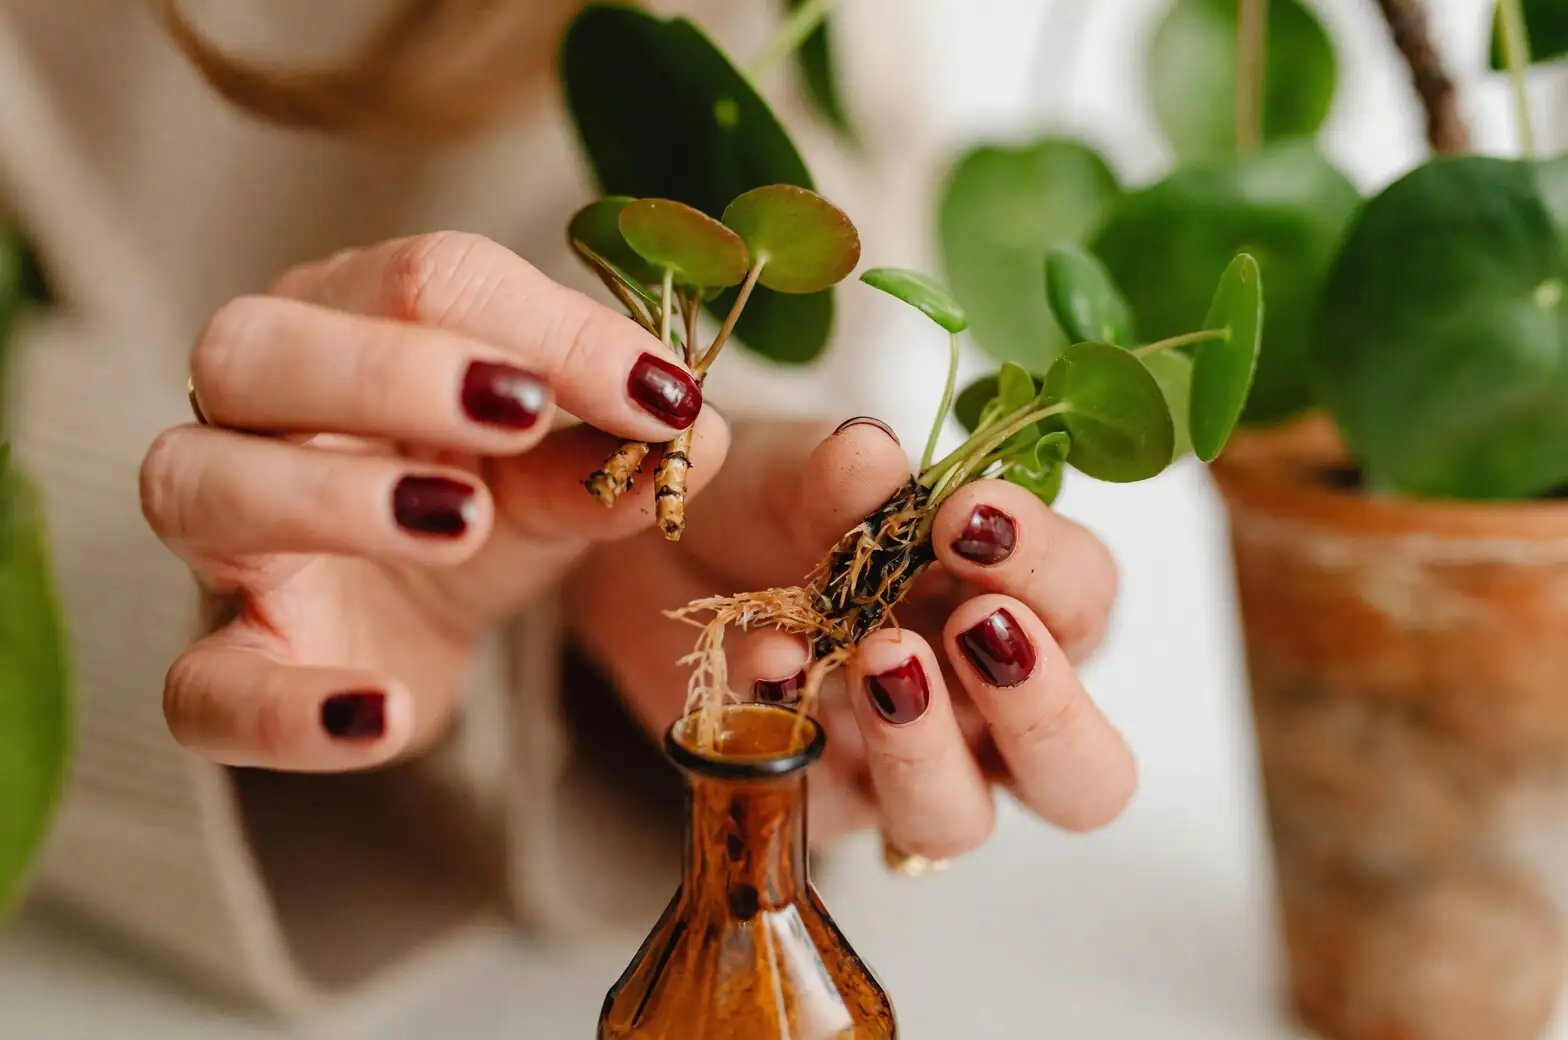
Rooting Window and Signs of Success
- Expect rooting warm and humid in about 20–25 days to 3–4 weeks.
- New leaf push and gentle resistance when tugged indicate success.
- Avoid: Waterlogging, cold drafts, direct sun on the dome, and wild wet–dry swings.
The Sculptor’s Route: Air-Layering (8–12 Weeks to Root)
Best for: Leggy, larger plants; minimal risk to the mother; bigger, more established starts.
Tools and Materials
- Clean pruners/sterile knife
- Sphagnum moss (pre-soaked and wrung out)
- Optional rooting hormone
- Plastic wrap or a cut-open propagation pod
- Twine/zip ties + foil (to block light and reduce heat)
- Spray bottle with lukewarm rain/distilled water
When and Where to Layer
- Timing: Spring through summer, during active growth.
- Choose a healthy, semi-woody section just below a node. Aim for a pencil-thick stem if possible.
Step-by-Step
- Girdle a 1–2 cm ring of bark: carefully remove bark to expose the green cambium.
- Lightly scrape the cambium to discourage callus-only healing.
- Optional: Brush on rooting hormone.
- Wrap a handful of damp (not dripping) sphagnum around the wound.
- Seal snugly with plastic wrap; tie both ends. Cover with foil to keep it dark and cool.
- Keep moss evenly damp. If you used clear wrap, check moisture without unsealing; mist lightly if needed.
Rooting Window and Finish
- Expect visible roots in about 8–12 weeks.
- When you see a healthy root mass, sever below the rooted section and pot into a deep, well-drained mix. Support the new plant while it establishes.
Humidity Domes Done Right (Without Invite-Only Fungus Parties)
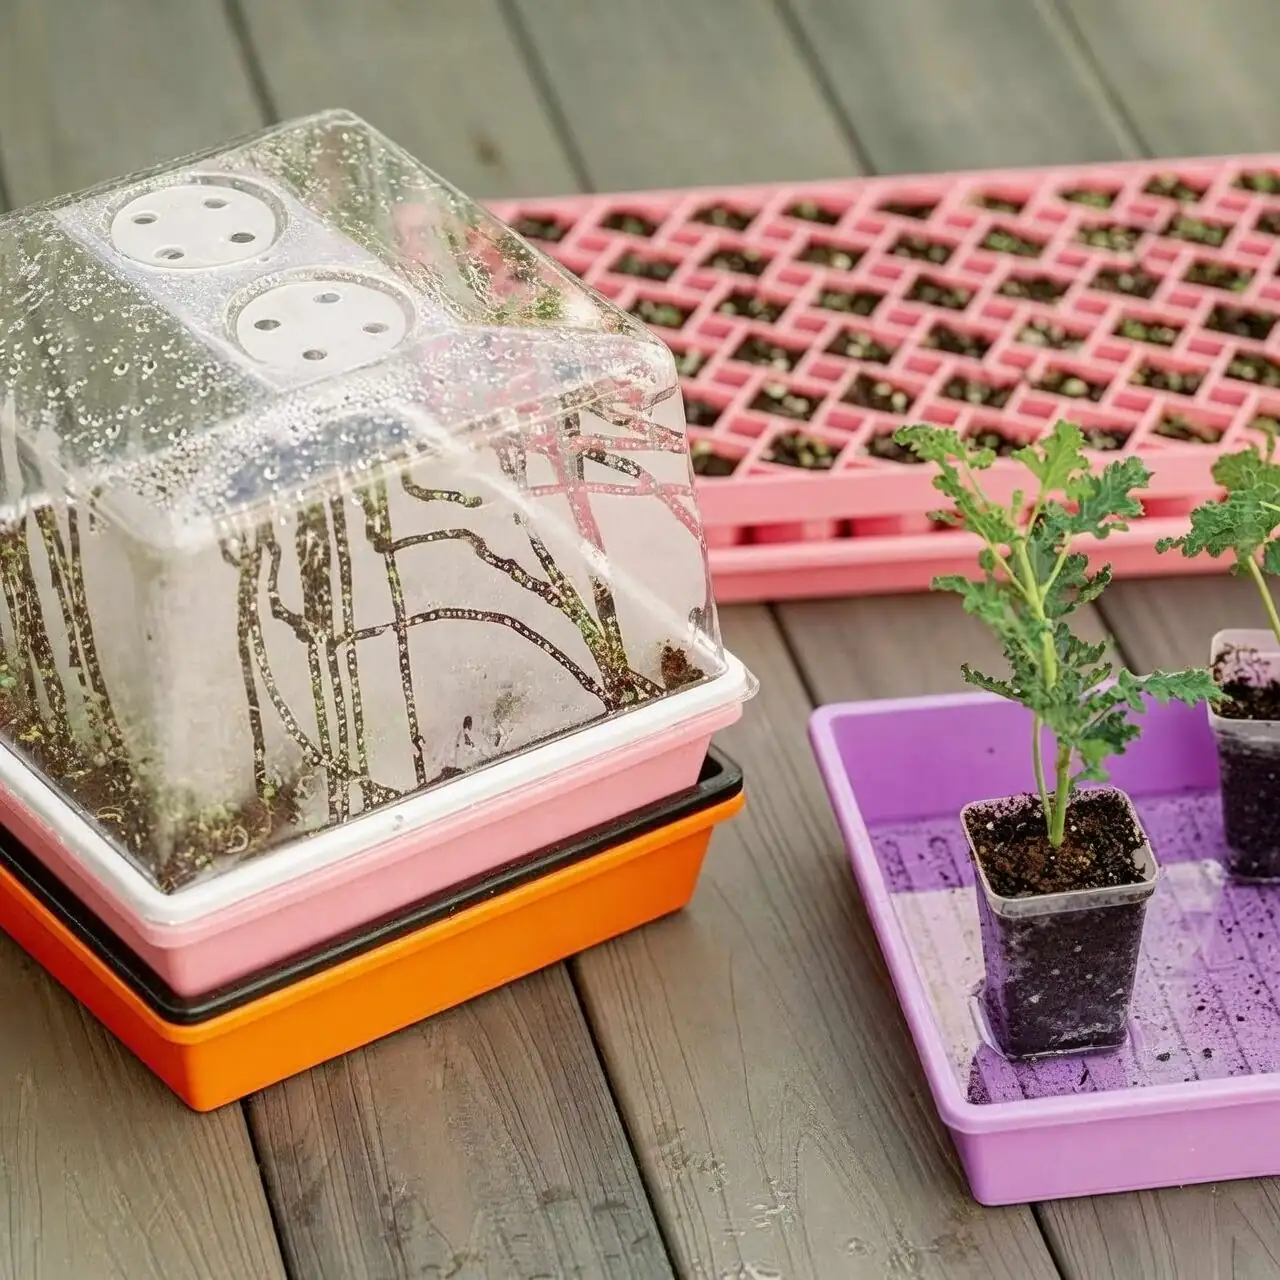
- Keep it bright but never in hot direct sun—domes magnify heat.
- Vent daily for a minute or two; wipe condensation if it’s dripping.
- Sterilize tools and use fresh medium to reduce rot risk.
- Keep media moist, not sopping. If in doubt, feel the mix—not just the surface.
Hardening Off: The “Graduate Phase” After Rooting

The most common place people lose new Medinillas is right after rooting. Transition with intention.
Weeks 1–2 After Confirmed Roots
- Wean off humidity slowly over 10–14 days: open the dome a little more each day.
- Keep light bright and filtered; avoid heat spikes.
- Water gently and evenly; never let the mix collapse into mud.
Weeks 3–6
- Pot up only when roots are branching and at least 2–3 cm long.
- Mix: airy and rich, with excellent drainage (orchid-style bark + perlite/charcoal works beautifully).
- Begin light feeding at half-strength during active growth—focus on balanced nutrition and add extra potassium when buds form later in life.
- Maintain 50–70% humidity; increase to 70–80% when you’re ready to push for flowering.
Ongoing Shaping
- Once established, pinch lightly for branching.
- Support heavy, arching stems during future blooms so they don’t flop or break.
Cuttings vs. Air-Layering: Which Should You Choose?
- Speed
- Stem cuttings: Fast. Root in about 3–4 weeks.
- Air-layering: Slower at 8–12 weeks.
- Risk to Mother Plant
- Cuttings: Multiple snips can reduce foliage mass.
- Air-layering: Minimal risk; the new plant roots before separation.
- Plant Size at Start
- Cuttings: Small starts; great for making several.
- Air-layering: Larger, head-start plants from day one.
- Skill and Gear
- Cuttings: Simple tools, humidity dome helpful.
- Air-layering: A little more technique; sphagnum and careful wrapping needed.
- Space and Setup
- Cuttings: Benchtop-friendly; ideal under a dome.
- Air-layering: Done on the mother plant; perfect if your plant is already sizable.
Troubleshooting: From “Almost There” to “Yes, Roots!”
- Leaves collapse inside the dome
- Too hot or too little airflow. Move to bright shade, vent daily, and reduce leaf area if oversized.
- Blackened stem base
- Media too wet, poor aeration, or contamination. Refresh with a chunkier blend; sterilize tools.
- No roots after 6 weeks (cuttings)
- It’s likely too cool, too dark, or the cutting is too woody. Increase warmth and light; retry with softer growth in spring.
- Bud or flower drop on the mother plant
- Classic stress signal: harsh sun, heat buildup, cold drafts, or lurching between too dry/too wet. Keep conditions steady and avoid wetting blooms.
- Pests: spider mites, mealybugs, scale, whiteflies
- Improve humidity and airflow; isolate and treat early with insecticidal soap or horticultural oil. Repeat as needed.
Water, Light, and Mix: The Golden Triangle for Medinilla Babies
- Water: Use lukewarm rain or distilled water when possible. Keep evenly moist, never soggy—especially under a dome.
- Light: Very bright but filtered. Direct midday sun scorches.
- Mix: High oxygen at the roots prevents rot and fuels new growth. Bark + perlite is your friend.
A Small Note on “Flower Language” and Symbolism
Medinilla magnifica is often gifted as a symbol of tropical glamour, elegance, and abundance—the kind of statement that says, “I brought the conservatory to your living room.” While there’s no single, formal historical “flower language” attached to it the way some blooms carry Victorian or Hanakotoba meanings, modern gifting culture reads its cascading pink bracts as celebratory, refined, and memorably unusual. In short: it stands for making an entrance.
A Quick Seasonal Cheat Sheet
- Spring: Prime time for both stem cuttings and air-layering; repot if due; increase feeding and humidity.
- Late spring to early summer: Bloom season—keep evenly moist, bright-filtered light, and high humidity with good airflow.
- After flowering: Remove spent clusters; cut back flowered shoots by about half. This sets the stage for fresh, bloom-ready growth.
- Winter: Keep warm and bright; reduce watering slightly; avoid drafts.
Once you master the rhythm—cuttings for speed, air-layering for certainty—and nail the hardening-off phase, Rose Grape repays you with more of what you love: sculptural foliage and those jaw-dropping, cascading chandeliers of pink.