

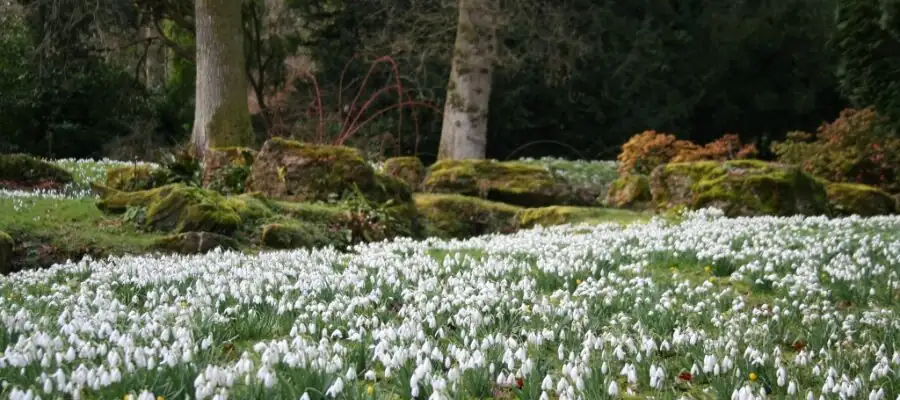
When winter still has its grip and the soil crust crackles under foot, Snowdrops (Galanthus nivalis) are already moving. Those nodding white bells don’t just announce spring—they hand gardeners a perfect window for making more. Right after flowering, while the leaves are lush and green, is the prime time to lift and split clumps “in the green,” keep roots intact, and replant for bigger drifts next year.
Here’s your hands-on playbook—tools, timing, spacing, and the smart moments to raise snowdrops from seed.
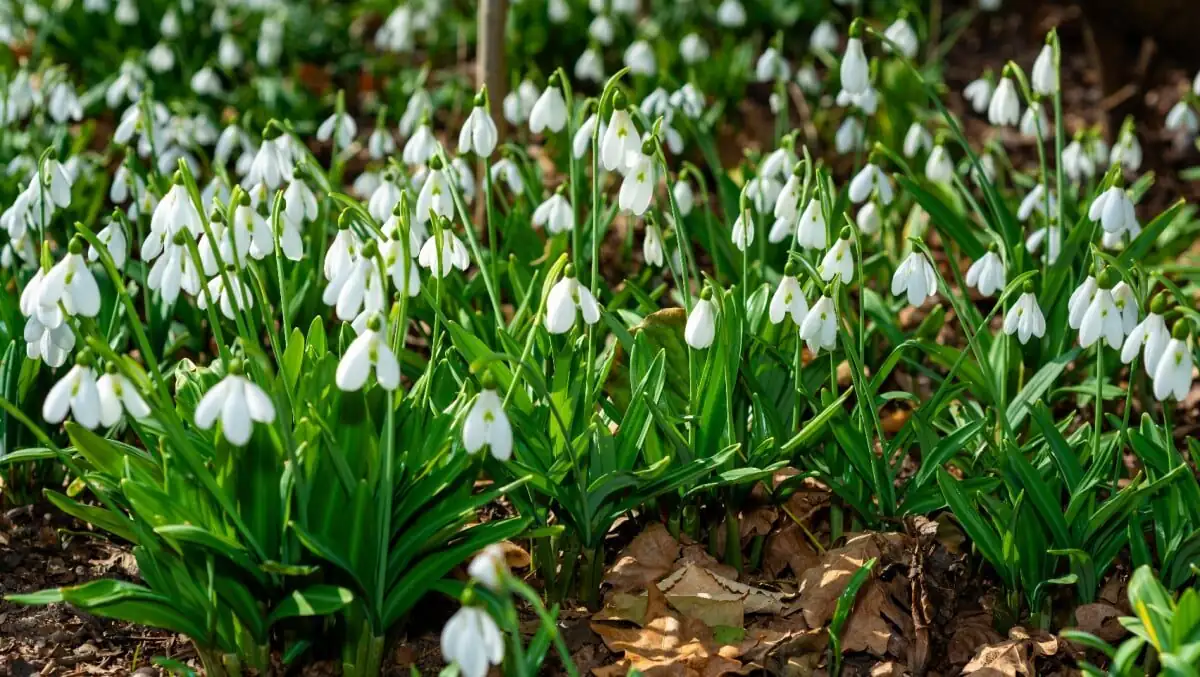
Meet Galanthus nivalis, the small plant with big courage
- What it is: A hardy, bulb-forming perennial in the Amaryllidaceae family; native to much of Europe and naturalized widely.
- Size and bloom: Typically 7–15 cm (3–6 in) tall with single, nodding white flowers in late winter to early spring (often January–March).
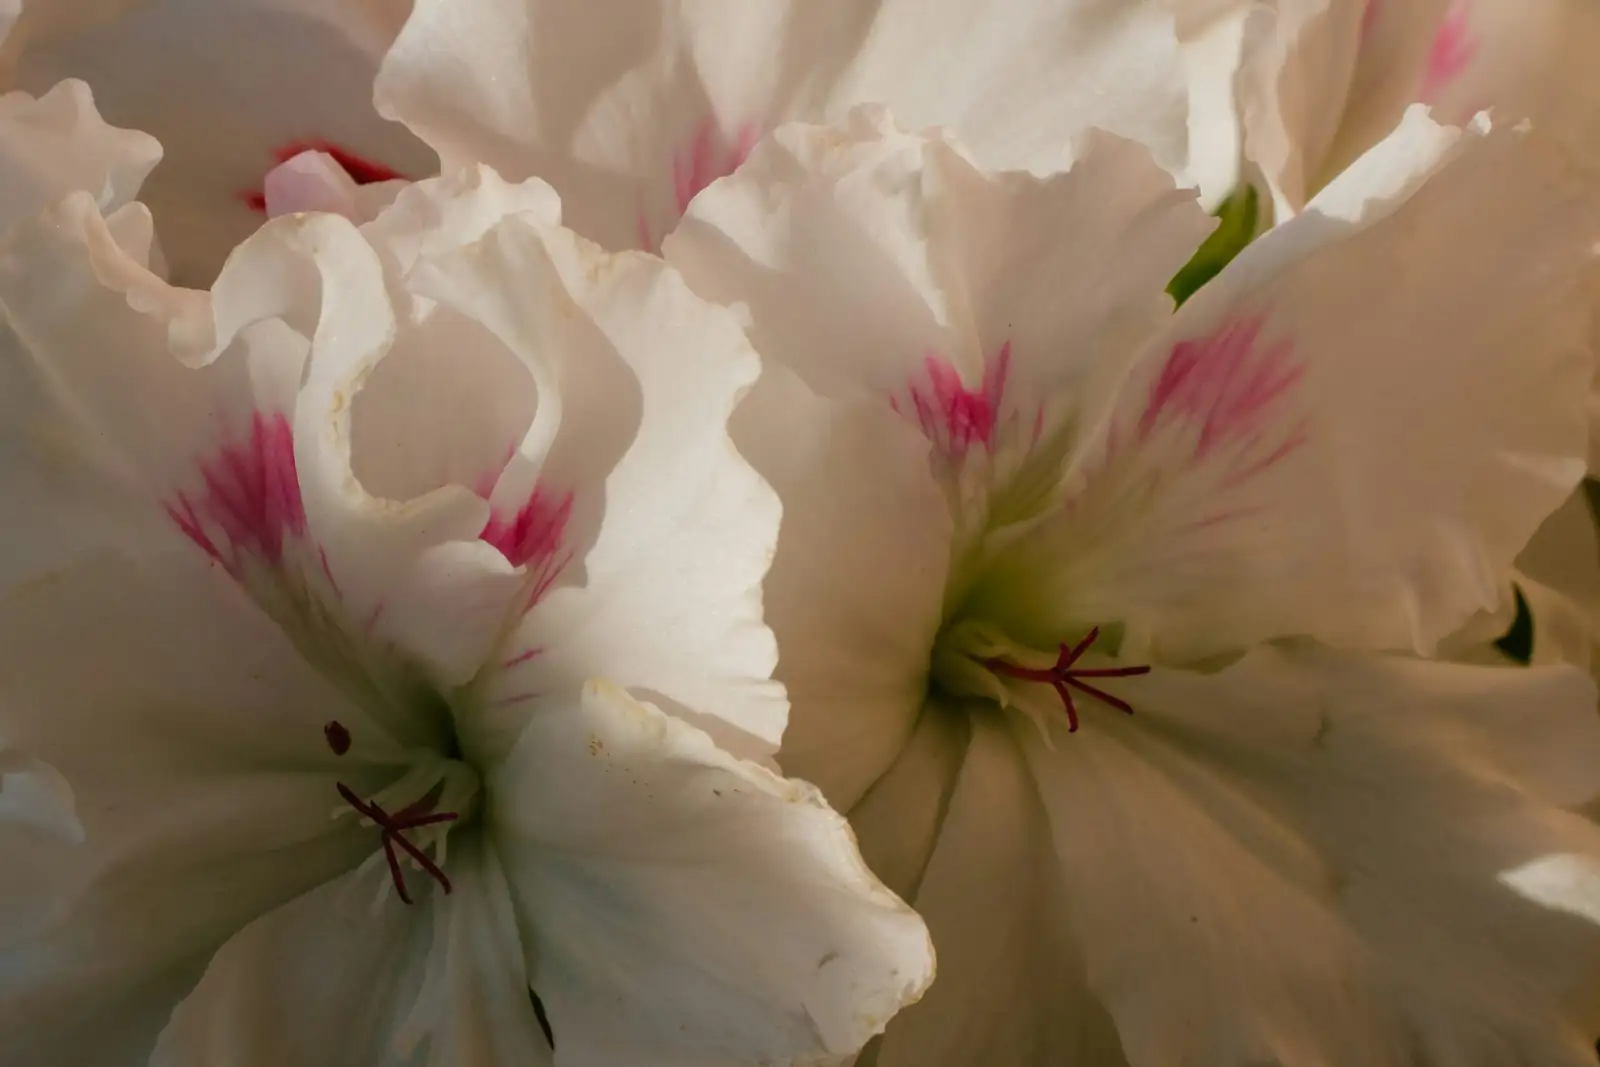
- Leaves and flowers: Two to three strap-like, glaucous leaves; six white tepals with the inner trio tipped by neat green markings.
- Where it thrives: Moist but well-drained, humus-rich soil; happiest under deciduous trees/shrubs with bright spring light and summer shade. USDA Zones 3–7.
- A gentle warning: All parts are toxic to humans and pets if ingested. Handle sensibly and keep away from curious mouths.
The perfect moment: divide “in the green” right after flowering
Dividing just after bloom (often February–April, depending on climate) hits the sweet spot: the bulbs still have active roots and leaves to power recovery, yet flowering is finished so you won’t sacrifice this year’s show. Overcrowded clumps flower less and benefit from a refresh every few years.
Signs it’s time:
- Blooms are dwindling or getting smaller.
- Clumps are very dense with little soil showing between stems.
- You’re ready to spread the magic into new beds, beneath shrubs, along paths, or through a lawn you won’t mow until foliage yellows.
Step-by-step: splitting clumps without losing roots
Think “lift gently, divide kindly, replant immediately.” The goal is to keep roots intact and moist throughout.
What you’ll need
- Border fork (gentler than a spade)
- Bucket or trug with a little water (to keep roots from drying)
- Hand fork for teasing clumps apart
- Labels
- A light bulb fertilizer (optional, for aftercare)
Prepare the new spots first
- Water the planting areas if the soil is dry.
- Loosen soil 15–20 cm (6–8 in) deep and mix in leaf mold or compost for humus-rich, well-drained conditions.
- Aim for part shade—under deciduous canopies is perfect.
Lift the clump
- Slide a fork well outside the foliage edge and lever up the whole clump in one go.
- Keep the lifted clump shaded. If you’re moving far, sit roots briefly in your trug so they never dry.
Split into planting units
- Tease the clump apart into small fans or mini-clumps of 3–5 bulbs (singles are fine if you have many, but small groups look fuller, faster).
- Handle by the leaves or the base—avoid snapping the root-plate at the bulb’s bottom.
Replant immediately (depth and placement)
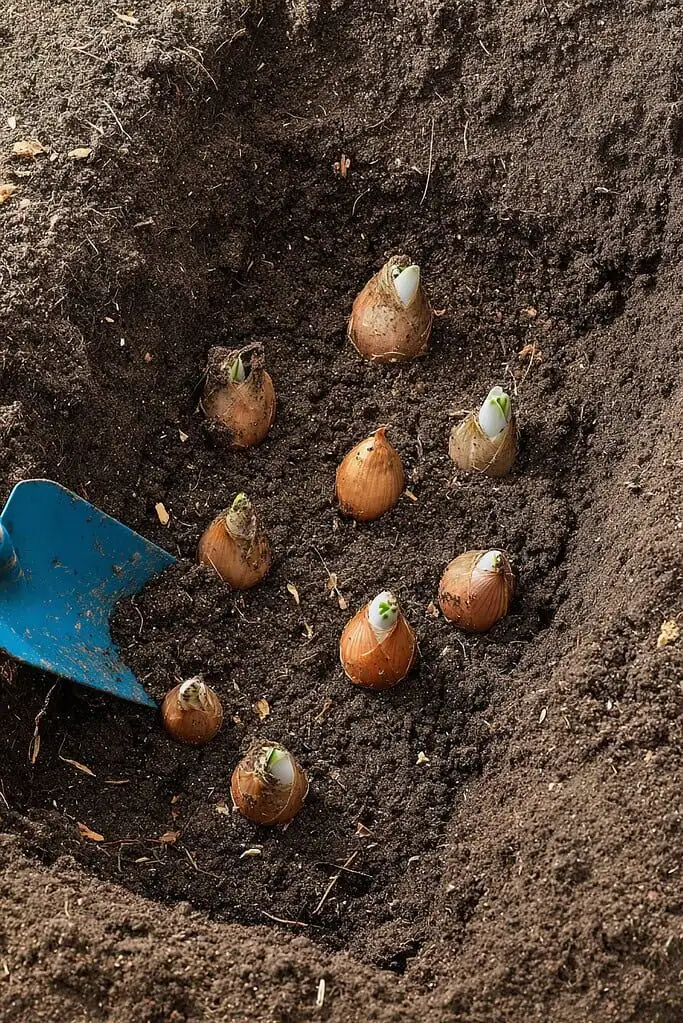
- Depth: Replant at the same depth the bulbs were growing. If in doubt, set them so the top of each bulb sits about 7–8 cm (3 in) below the surface.
- Orientation: Keep foliage upright and spread slightly like a small fan.
- Firm gently, water well to settle soil, and label.
Aftercare
- Keep soil lightly moist through spring growth, then allow it to dry down modestly in summer dormancy (never waterlogged).
- Do not cut leaves early; wait until they yellow and wither naturally.
- A light feed after flowering can help replenish the bulbs.
Spacing for naturalized drifts (your painter’s palette)
Snowdrops shine when planted in painterly swathes, not soldier-straight lines.
- Plant mini-clumps: 3–7 bulbs per spot, bulbs 7–10 cm (3–4 in) apart within a clump.
- Space clumps irregularly: 20–30 cm (8–12 in) between clumps so they can knit together over a few seasons.
- The “toss method”: Gently toss handfuls of bulbs/leaved fans and plant where they land for a truly natural scatter.
- Best settings:
- At the feet of deciduous shrubs/hedges
- Under open-branched trees
- Along path edges and front borders
- In grass you won’t mow until leaves have fully died back
Tip: For a full look quicker, stagger clumps in a loose triangle pattern and mix a few clumps closer than you think. Natural scenes rarely have even gaps.
When seeds are worth the wait (and how to do it right)
Dividing gives instant results. Seeds deliver scale, diversity, and resilience—worth it if you’re patient or aiming to carpet a woodland.
Good reasons to sow seed:
- You want to naturalize a large area more economically.
- You enjoy the genetic variety that seedlings bring.
- You’re not trying to clone a named cultivar (seedlings won’t come true).
What to expect:
- Time to bloom: often 2–3 years (or longer in cooler climates).
- Self-seeding can help: Snowdrops will gently seed around in suitable sites; ants may help move the seeds.
How to grow from seed:
- Collect fresh: Harvest as pods begin to split and seeds turn pale to beige. Freshness matters—don’t let them dry out for long.
- Sow promptly: In pots or a nursery bed of gritty, humus-rich, well-drained mix; cover lightly and keep evenly moist, never boggy.
- Let nature stratify: Place pots outdoors in part shade. A natural warm–cool cycle usually triggers germination by the following spring.
- Grow on with minimal disturbance: Keep seedlings moist through spring, a bit drier in summer dormancy. Let them bulk up in the pot 1–2 seasons before planting out.
- Plant out gently: Treat baby bulbs like treasures—shift them while “in the green” and keep roots intact.
When not to bother with seed:
- You want a specific named form replicated exactly—divide or buy “in the green” instead.
- You need quick impact in a small garden bed—division wins.
Common hiccups and quick fixes
- Few or no flowers: Clumps too crowded (divide), site too warm, bulbs planted too shallow/deep when dry, or insufficient winter chill. Lightly feed and ensure spring moisture.
- Squirrels or birds disturbing plantings: A light mulch after replanting helps; firm soil well.
- Pots drying in summer: Snowdrops sulk if baked dry—pot-grown plants need steady moisture when in growth and careful summer shade.
The good news: Snowdrops are generally pest-resistant (deer, rabbits, and many rodents tend to leave them alone) and remarkably easy once established.
Safety and ethics
- Toxicity: All parts are poisonous to people and pets if eaten. Wash hands after handling, and keep bulbs and plants away from children and animals.
- Sourcing: Buy from reputable growers and never dig from the wild. The Galanthus genus is internationally regulated; trade in wild plants is strictly controlled.
A simple seasonal calendar
- Late winter to early spring (Jan–Mar): Bloom time—enjoy the show.
- Just after flowering (Feb–Apr): Divide “in the green,” replant at once, water in.
- Fall (Oct–Nov): Plant dry bulbs about 7–8 cm (3 in) deep if you’re using dry stock.
- Spring into early summer: Keep soil lightly moist while foliage feeds the bulbs; allow leaves to yellow before clearing. Summer: let plants rest a bit drier.
A note on snowdrop “language” and meaning
Victorian flower-language traditions cast snowdrops as emblems of consolation and purity, but their real power is seasonal: they appear when little else can. Folklore sometimes warned that a lone snowdrop near the door was unlucky—yet sweeping drifts were seen as hope made visible. In today’s gardens, that’s the message most of us recognize: renewal after cold and darkness, and the promise that spring is on its way.
Bonus for the curious: scaling up, the expert way
Collectors sometimes use techniques like “chips” and “twinscaling” to multiply rare forms rapidly. These advanced methods require sterile tools, careful fungicide treatment, and controlled conditions. For most gardeners, division “in the green” remains the fastest, least fussy route to generous drifts.
—
With a fork, a bucket, and half an hour after bloom, you can turn a single clump of Galanthus nivalis into a sparkling scatter. Keep the roots intact, tuck each fan back in at about 7–8 cm deep, water well, and let the leaves do their quiet work. By next winter’s end, your garden will repay you with more bells—little lanterns of hope lighting the turn of the year.