If you’ve ever brushed past your Jelly Bean Plant and watched a few plump leaves pop right off, congratulations—you’ve just been handed free plants. Sedum rubrotinctum is the poster child for easy, fast propagation. In this masterclass, we’ll compare leaf vs. stem cuttings, dial in callusing times and temperatures, and use a simple timeline to get roots in 10–21 days. Fewer guesses, more new plants.
Meet Sedum rubrotinctum (in 60 seconds)
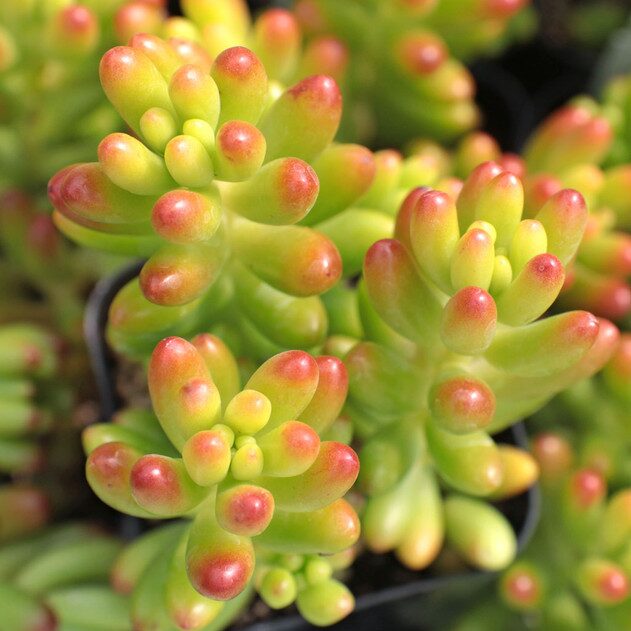
- Origin: Mexico; family Crassulaceae; commonly called Jelly Bean Plant, Pork and Beans.
- Look: Glossy, bean-shaped leaves; green in lower light, flushed coppery red to reddish-brown in strong sun, especially with warm days and cooler nights.
- Habit: Low, mounding, and eventually a bit trailing; 10–20 cm tall, spreading 20–45+ cm with age.
- Temperament: Sun-loving, drought-tolerant, and famously easy to propagate. Not frost-hardy; keep above about 5°C (41°F).
- Bonus: In good light and cool seasons, it may produce starry yellow flowers from winter to spring.
Leaf vs. Stem Cuttings: Which Wins When?
Both methods work beautifully—choose based on your goals.
- Speed to roots
- Stem cuttings: Typically 10–21 days under warm, bright conditions.
- Leaf cuttings: Slower—think weeks, not days. Roots often appear before a tiny rosette forms.
- Yield per attempt
- Leaf cuttings: Highest. A single stem can become dozens of leaves.
- Stem cuttings: Fewer pieces, but each piece roots faster and grows to size sooner.
- Ease and handling
- Leaf cuttings: Minimal tools; simply set on gritty mix. Best from cleanly detached, intact leaves.
- Stem cuttings: Slightly more setup (tip cut, strip lower leaves, callus), but very reliable.
- Best seasons
- Both excel in spring and autumn. Avoid extreme heat waves or cold snaps.
Results-focused verdict:
- Want quick, shapely plants? Take 5–7 cm stem tips.
- Want to multiply your stock massively (and you’re patient)? Harvest healthy leaves.
Tools and Setup That Make Rooting Effortless
- Medium: Very fast-draining succulent mix—roughly 1:1 regular potting soil to coarse perlite/pumice/grit. Avoid heavy, water-retentive media.
- Containers: Shallow trays or small pots with drainage.
- Light: Bright light to full sun. Acclimate gradually; in very hot midsummer or behind glass, give light midday shade.
- Temperature:
- Reliable rooting range: warm and steady. Think 16–21°C (60–70°F) for cuttings; steady growth is also excellent around 13–18°C (55–64°F).
- Keep above 5°C (41°F); extreme heat or cold slows rooting.
- Airflow: Dry air and good ventilation reduce spotting and rot.
- Optional: Rooting hormone (not essential, but can help if conditions are cool).
The 10–21 Day Rooting Timeline (Stem Cuttings)
Use this as your scoreboard. Warmer, brighter (but not scorching) conditions push you toward the faster end.
- Day 0: Take a 5–7 cm (2–3 in) tip cutting. Remove the lowest 1–2 cm of leaves to expose a bare stem. Clean snips only.
- Day 1–3: Callus. Set the cutting in bright, indirect light on a dry paper towel or empty tray. The cut end should dry and feel slightly leathery. In cool/humid conditions, allow up to 5–7 days.
- Day 3–4: Stick. Insert the callused end into dry-to-slightly-moist gritty mix. Do not water in yet.
- Day 4–7: Nudge. Provide bright light (a couple of gentle morning sun hours are great). If very dry, lightly mist the surrounding mix (not the cut’s wound).
- Day 7–10: First roots. A tiny “tug test” should meet light resistance. If yes, offer a modest drink—moisten thoroughly, then let the mix dry well again.
- Day 14–21: Establishment. Roots branch out; new growth swells at the tip. Gradually increase sun exposure. Adopt a succulent rhythm: water thoroughly, then wait for a near-complete dry-down before watering again.
- After Day 21: Pot on or group several rooted cuttings for a fuller look. Begin light feeding monthly during active growth.
Pro tip: Plant 3–5 rooted tips together in a 12–15 cm pot for an instantly lush clump.
Step-by-Step: Stem Cuttings (Fast Track)
- Select: Choose a firm, non-mushy stem with plump leaves and good color.
- Cut: Snip a 5–7 cm tip. Strip lower leaves cleanly so 1–2 cm of bare stem can be inserted.
- Callus: 24–72 hours (longer if cool/humid).
- Plant: Insert into dry/s lightly moist gritty mix. Keep upright; do not bury leaves.
- Light & Temp: Bright light; aim for about 16–21°C. Avoid hot glass at midday.
- Water: Wait until you feel the first root resistance (7–10 days). Then water thoroughly; let dry between drinks.
- Aftercare: Increase sun gradually; feed lightly once a month in spring–early autumn.
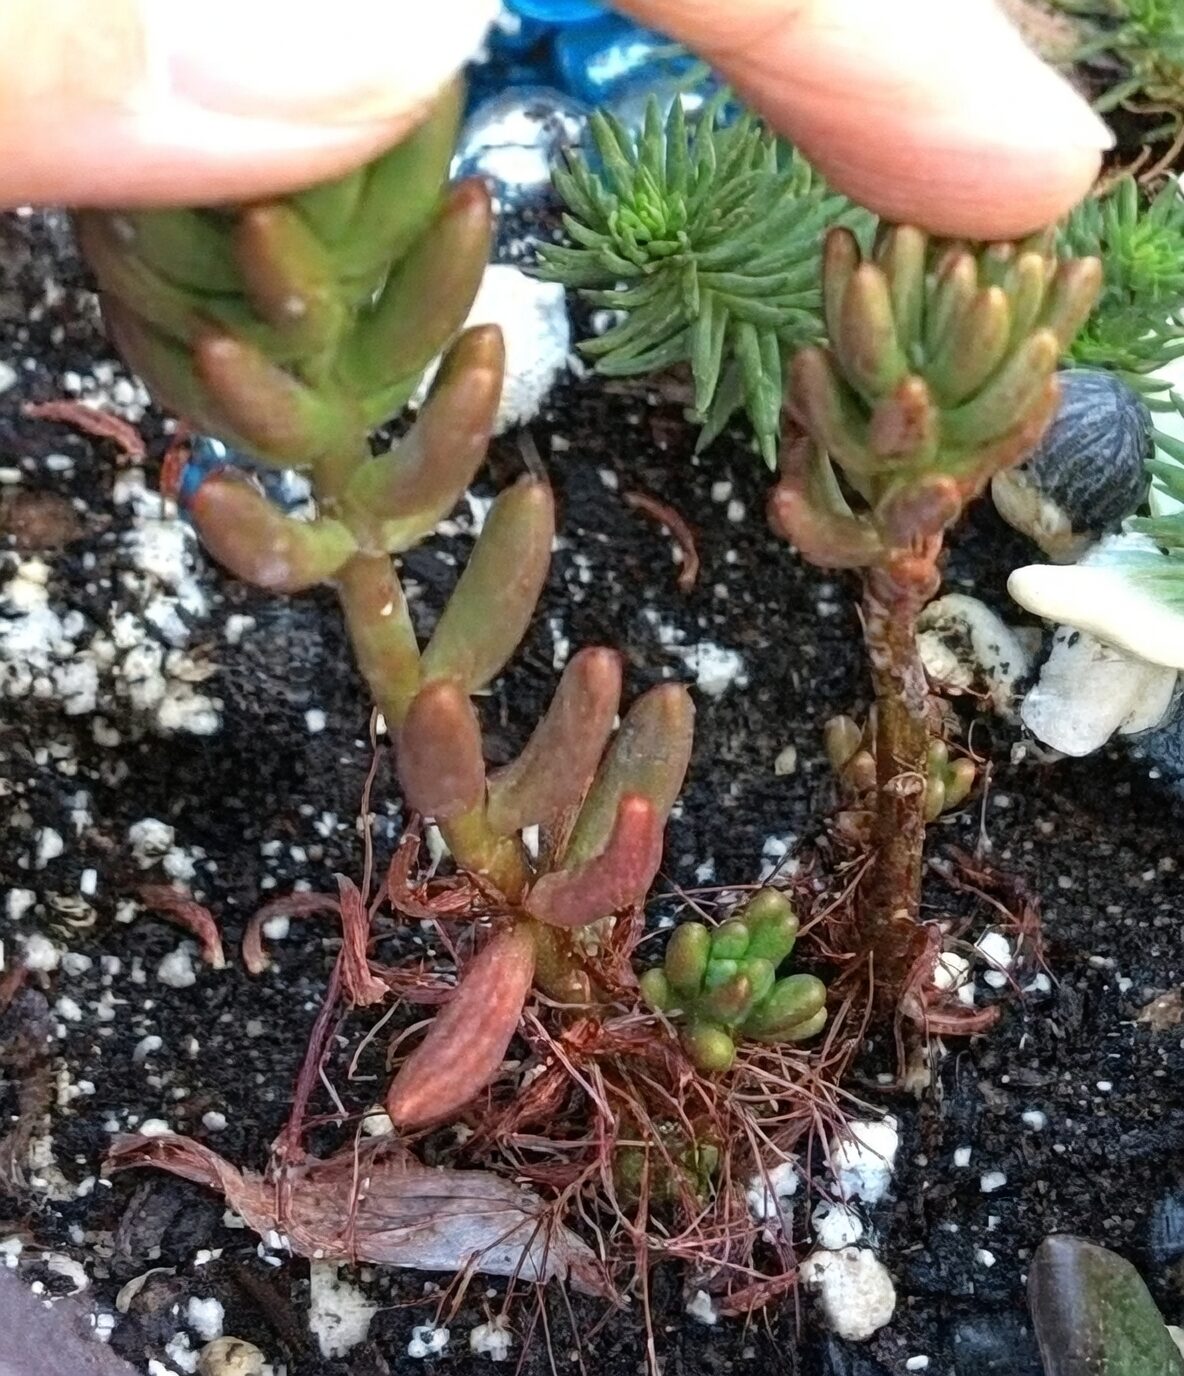
The Leaf-Cutting Playbook (High Yield)
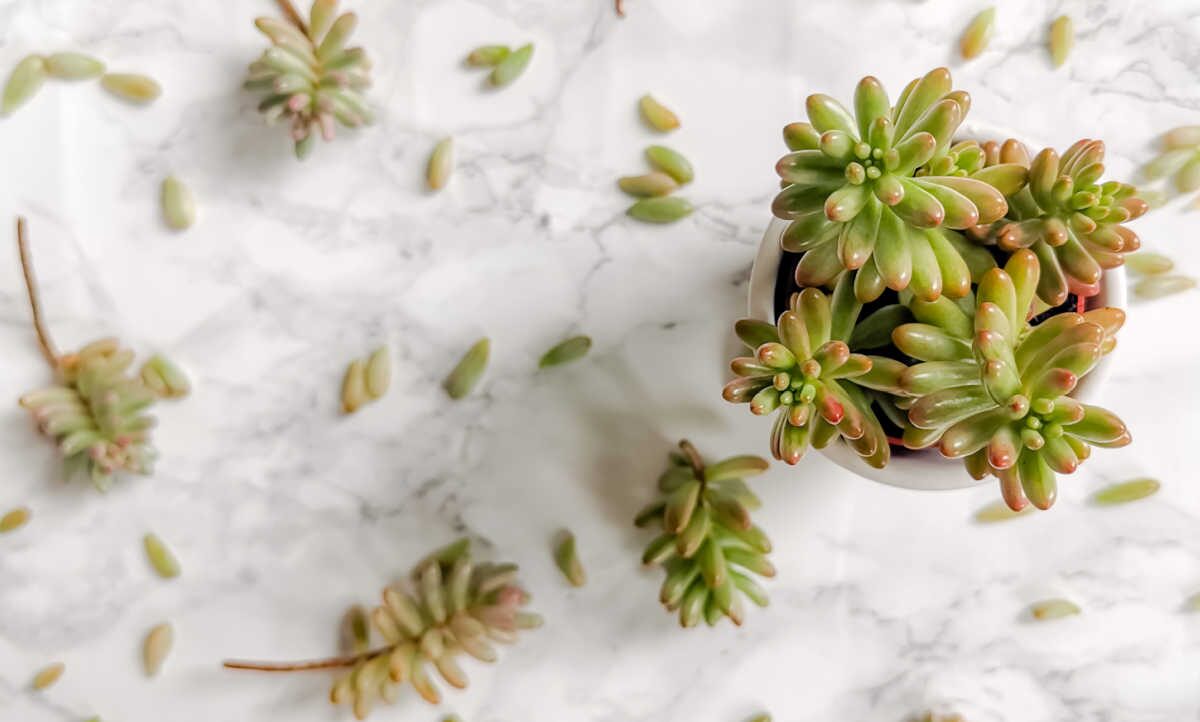
Leaf propagation turns “oops, it dropped” into “yay, it multiplied.”
- Choose: Healthy, full leaves. Twist gently so the entire leaf base releases cleanly—no tears.
- Callus: 1–3 days in bright, indirect light.
- Place: Lay leaves flat on the surface of dry gritty mix; do not bury.
- Light & Temp: Bright, warm, ventilated spot. A touch of morning sun is fine.
- Humidity: A little ambient humidity helps, but avoid sealed domes. Keep foliage dry.
- Water: Mist the surrounding mix sparingly to prevent desiccation; avoid wetting the leaf base.
- Timeline: Roots often appear first; a tiny rosette (“pup”) follows. Expect weeks, not days. When the mother leaf shrivels and the pup reaches 1–2 cm, move to its own pot and begin conservative watering.
Conditions That Speed Rooting
- Brightness: 4–6 hours of gentle sun (morning/late afternoon) fuels quick root formation and tight, colorful growth.
- Temperature: A steady 16–21°C sweet spot, with good airflow. Avoid cold, damp rooms.
- Mix: Coarse mineral content (perlite/pumice/grit) drives oxygen to the cut surface and prevents rot.
- Airflow: Fans, open windows, or a breezy spot—this plant resents stagnant, humid air.
Watering Strategy for New Propagules
- Start dry: Insert cuttings into dry-to-slightly-moist mix; don’t “water in.”
- First drink: After root initials form (7–10 days for stems), water once thoroughly.
- Thereafter: Water deeply, then wait for a full dry-down. Never keep the medium constantly moist.
- Seasonal sense: In summer’s heat, keep on the drier side; in winter, watering frequency drops dramatically.
Five Common Mistakes (and How to Avoid Them)
- Planting into wet, heavy soil
- Fix: Use a gritty, fast-draining mix (about 1:1 potting soil to perlite/pumice/grit). Start dry.
- Skipping the callus
- Fix: Always allow 1–3 days (longer if cool/humid) for a firm, dry cut end before planting.
- Over-shading or low light
- Fix: Move to the brightest window or give gentle direct sun. Acclimate gradually to prevent sunburn.
- Sealed humidity domes
- Fix: Provide airflow. Slight ambient humidity is fine; trapped moisture invites fungal issues.
- Overwatering early on
- Fix: Wait for root resistance before the first soak, then adopt a thorough-then-dry rhythm.
Bonus pitfalls:
- Burying leaves (they rot)—just lay them on top.
- Handling too much—leaves detach easily; work gently.
- Cold snaps—keep above 5°C (41°F).
Troubleshooting at a Glance
- Soft stem base, sudden leaf drop, or a sour smell: Likely rot from excess moisture. Unpot, remove mushy tissue, let wounds callus, and replant in fresh gritty mix.
- Leaves shriveling with no pup: Normal to an extent; add a touch more ambient humidity, confirm warmth and brightness, and give time.
- Pests (aphids/scale): Treat promptly with insecticidal soap or horticultural oil; repeat and improve airflow.
Aftercare: From Cutting to Compact, Colorful Clump
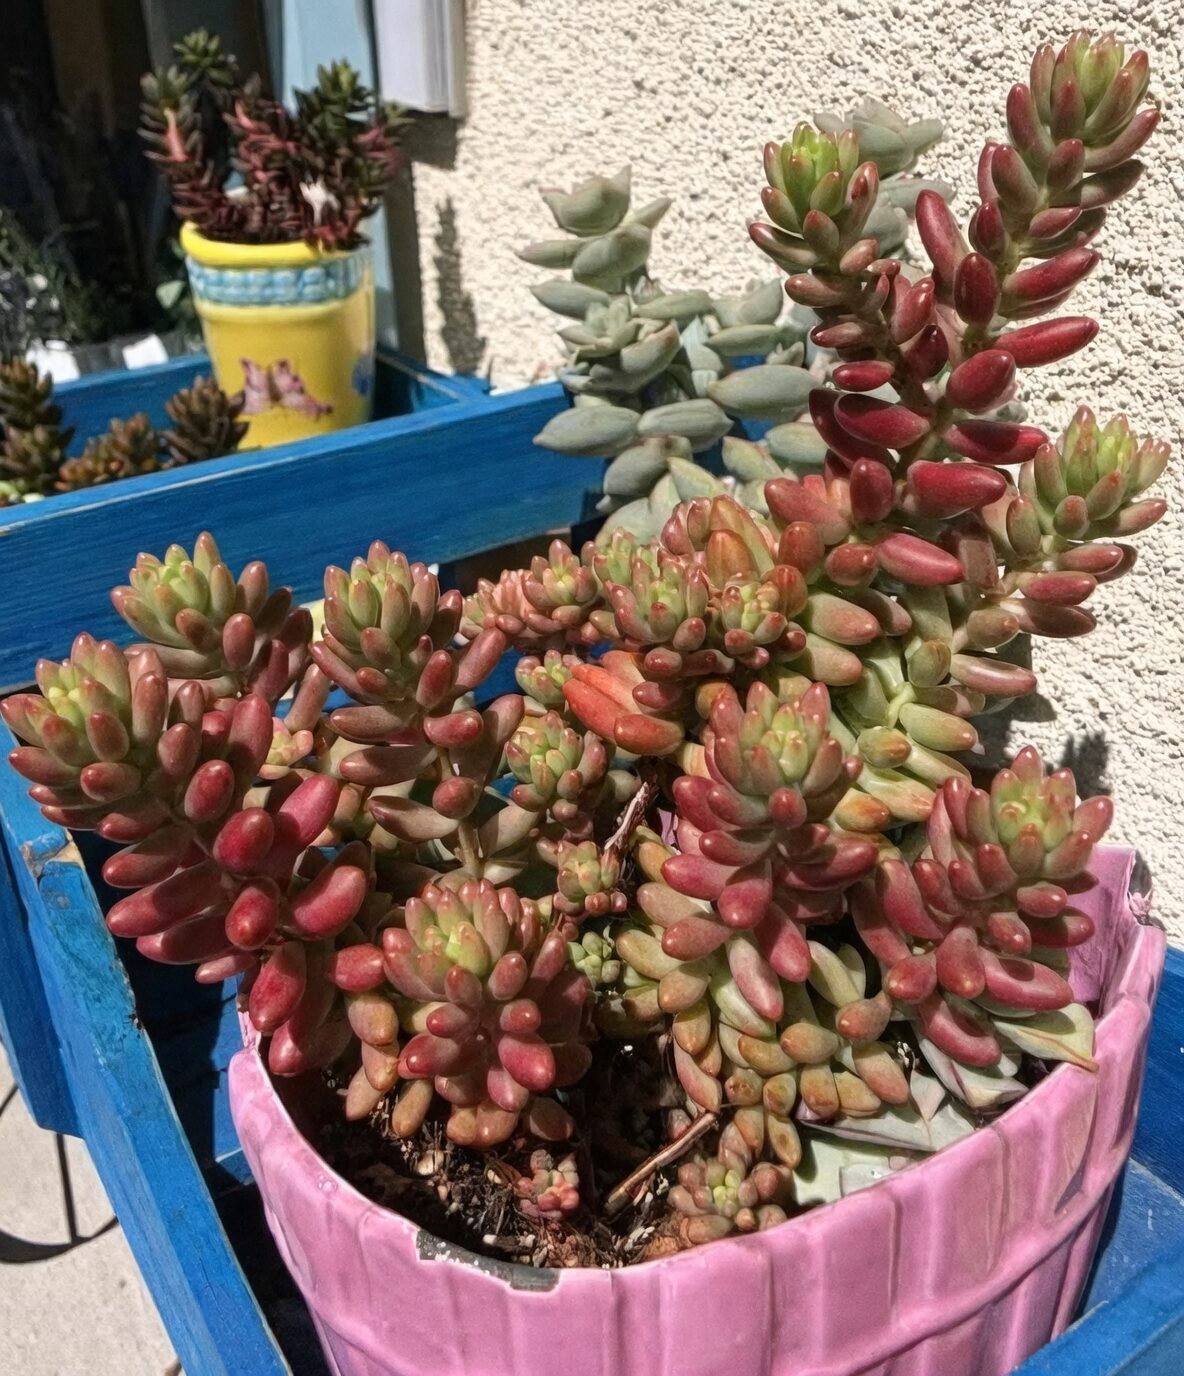
- Light: Bright light to full sun for tight spacing and red-tipped color; acclimate to avoid burn, especially behind glass.
- Water: Thorough drinks followed by full dry-downs; much less in winter.
- Feeding: Lightly, about monthly in spring through early autumn; avoid heavy nitrogen.
- Pruning: Trim leggy or overcrowded stems; reuse trimmings as new cuttings.
- Repotting: Every 1–3 years in spring, or sooner if the mix breaks down. For instant fullness, group several rooted stems per pot.
A Note on Meaning and Lore
Gardeners often associate the Jelly Bean Plant with resilience and steadfast affection—fitting for a succulent that happily regenerates from a single dropped leaf and returns brighter with good light and cooler nights. While “flower language” traditions vary by culture and aren’t scientifically grounded, this plant’s easy sharing and quick bounce-back make it a living emblem of devotion and companionship.
Quick Reference: Your 10–21 Day Plan
- Day 0: Take 5–7 cm stem tips; strip lower leaves.
- Day 1–3: Callus in bright shade.
- Day 3–4: Insert into dry-to-slightly-moist gritty mix.
- Day 7–10: First roots; give the first thorough drink.
- Day 14–21: Roots established; increase light; resume succulent watering.
- Meanwhile, start a tray of leaves—roots and pups will follow in the coming weeks.
Safety note: While toxicity isn’t consistently documented, treat it as potentially mildly irritating if chewed. Keep away from pets and small children.
Give this sun-lover brightness, warmth, and a gritty footing—and in a few short weeks, you’ll have a cheerful drift of new “jelly beans” ready to color up.