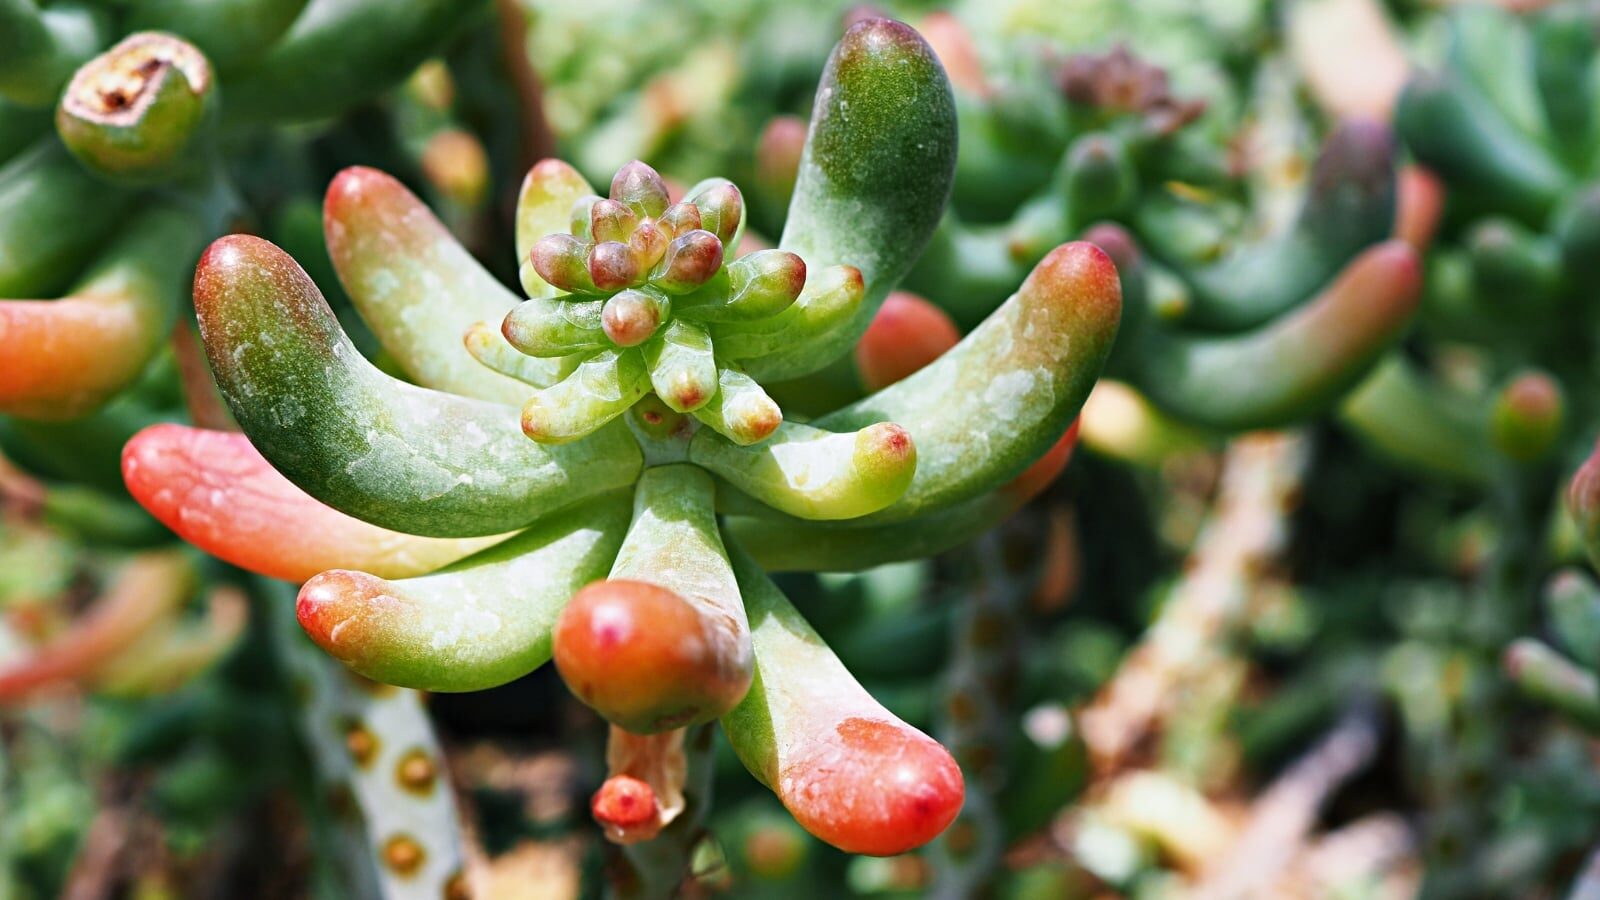
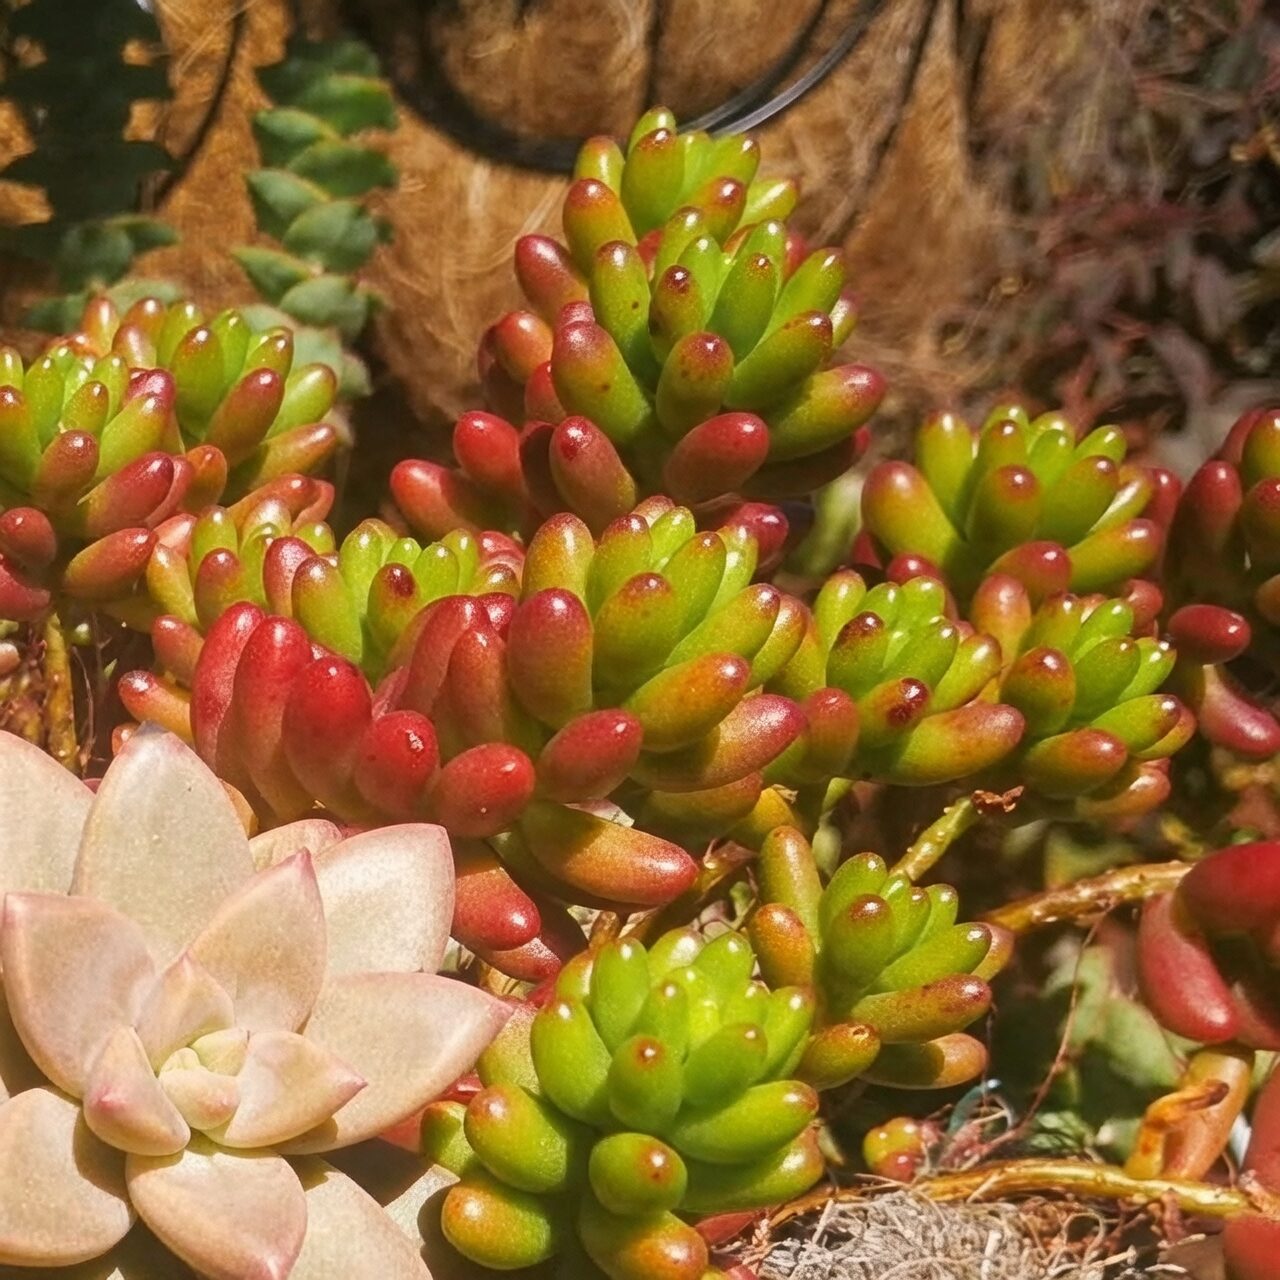
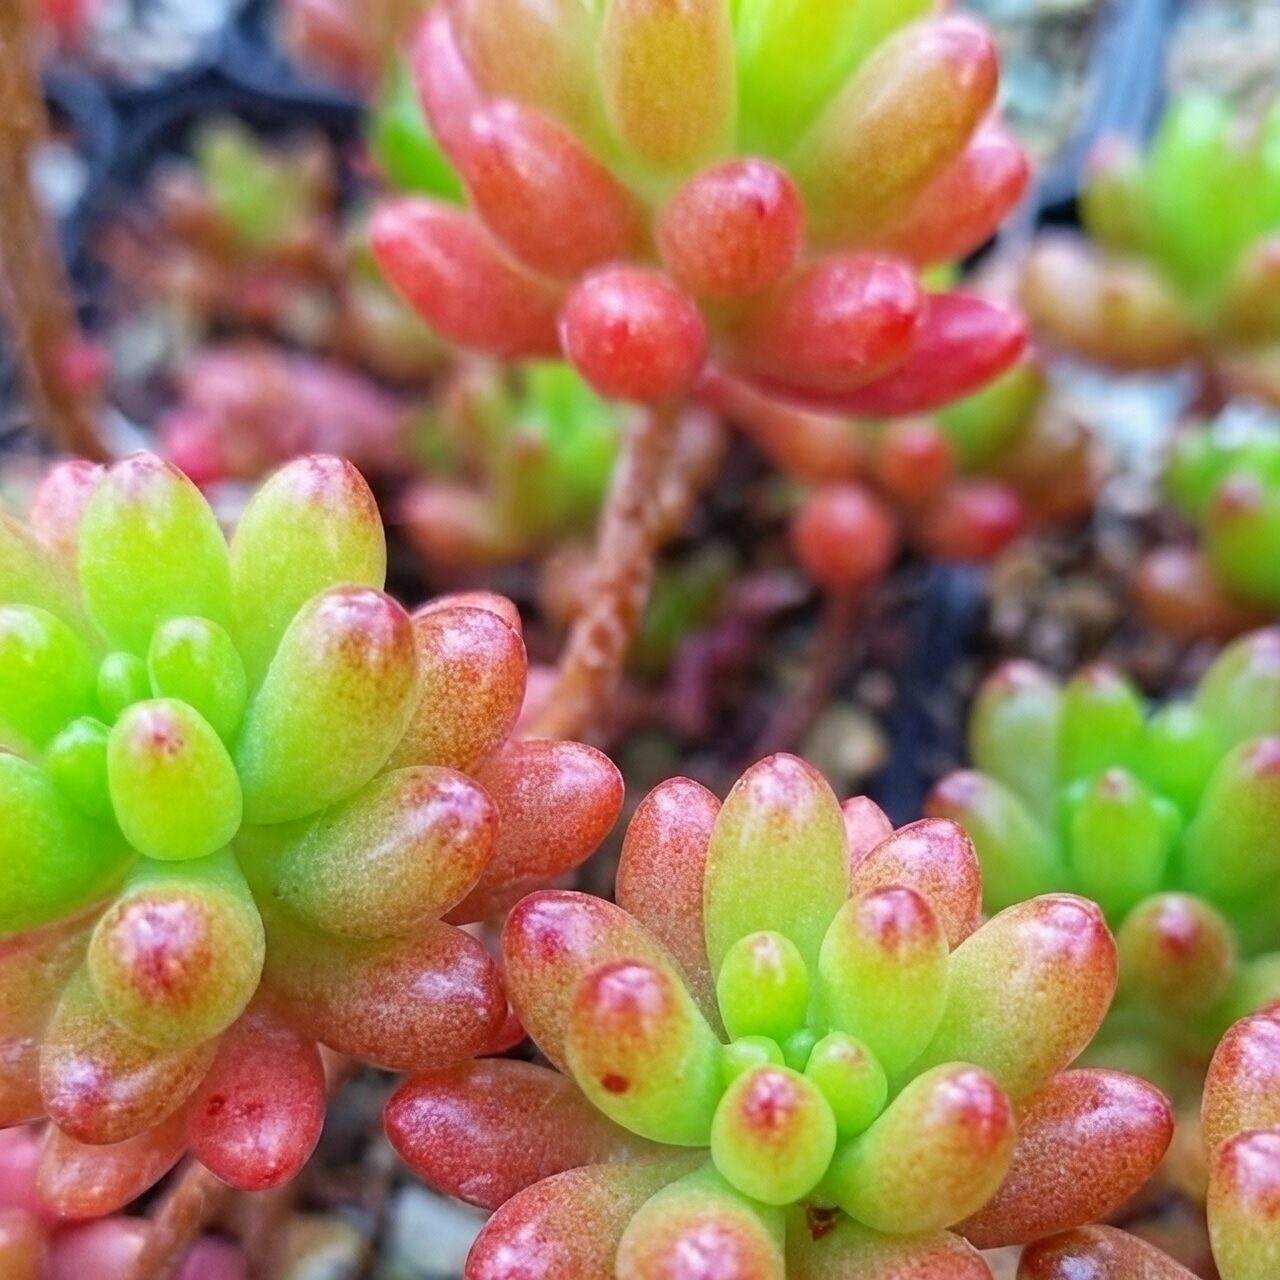
Think of Sedum rubrotinctum (Jelly Bean Plant) as a sun-loving little tank with a sweet tooth for bright light and dry feet. It’s tough and beginner-friendly, but even the toughest succulents have kryptonite: too much water, stale humid air, and sap-sucking pests. Here’s your step-by-step rescue playbook to diagnose problems fast, fix them gently, and keep those glossy “jelly beans” plump and colorful.
Quick Symptom Decoder
- Mushy stem base, sour-smelling wet soil, frequent leaf drop with wrinkling: overwatering/root or stem rot.
- Sticky leaves, curling/distorted new growth, ants marching, or black sooty mold: aphids or scale.
- Freckled tan/brown spots after muggy weather or misting, especially where water sat on leaves: humidity-related leaf spots/fungal spotting.
—
Overwatering Rot: A Step-by-Step Rescue
1) Confirm the Diagnosis
- Feel: base of stems soft or mushy? Leaves translucent, squishy, or falling off with the lightest touch?
- Smell: sour, swampy, or “old mushroom” odor from the mix.
- Look: brown/black, slimy roots or stem sections; fungus gnats hovering are a common sidekick to soggy soil.
- Weight: pot feels heavy long after watering.
If you’re nodding “yes,” act now—this plant is sensitive to excess moisture, especially in low light or cool conditions.
2) The Surgical Save
- Unpot gently. Shake/tease away wet soil.
- Trim all rot: cut back to firm, clean tissue using sterile snips (wipe with alcohol between cuts).
- Let wounds callus: air-dry cut ends 24–72 hours in bright, indirect light until surfaces feel dry and matte.
- Optional dust: a light touch of powdered sulfur or ground cinnamon on cuts can help discourage microbes.
- Replant dry into a very fast-draining mix: about 1:1 regular potting soil and coarse grit/perlite/pumice so water runs through quickly.
- Do not water yet. Wait 5–7 days for roots and cuts to settle, then water once thoroughly and allow a full dry-down before the next drink.
- Light: bright light right away; reintroduce direct sun gradually after recovery to prevent sunburn.
3) If It’s Too Far Gone—Salvage Mode
- Take healthy tip cuttings (5–7 cm). Let callus, then set in dry-to-slightly-moist gritty mix. Roots often form in about 10–21 days in warm, bright conditions.
- Fallen, firm leaves? Lay them on dry grit and wait—new plantlets frequently appear at the leaf base.
4) Prevention Going Forward
Water thoroughly, then wait until the mix has dried out well (almost completely) before watering again. Adjust with the seasons:
- Spring: roughly every 2 weeks after a full dry-down.
- Summer: much drier; water lightly only after complete dry-out and shield from extreme heat.
- Autumn: about every 2 weeks, still after dry-down; bright light deepens red tones.
- Winter: cut back to roughly once a month (or less indoors), keep on the dry side.
Bonus safeguards:
- Always use a pot with drainage holes.
- Provide excellent airflow and bright light.
- Avoid heavy fertilizer—strong nitrogen encourages weak, rot-prone growth.
—
Aphids and Scale: Gentle, Effective Controls
What You’ll See
- Aphids: tiny pear-shaped clusters on tender tips and flower stalks, causing yellowed, puckered, or twisted new growth and sticky honeydew.
- Scale: small, hard or dome-like bumps on stems/leaves; they exude honeydew and cling tightly.
Both can invite ants and sooty mold—address early for the easiest win.
Three-Tier Plan (Start Soft, Repeat as Needed)
1) Mechanical knockback (great for early aphids)
- Take the plant to a sink or outdoors and spray a strong stream of water to dislodge pests. Do this early morning for 3 consecutive days so foliage dries fast.
- Wipe reachable pests with a soft cloth or a cotton swab.
2) Insecticidal soap (gentle but effective)
- Spray all surfaces (tops/undersides of leaves, stems) every 2–3 days for 1–2 weeks. Keep the plant out of harsh midday sun during treatment to avoid leaf burn.
- Rinse residue after each cycle if buildup occurs.
3) Horticultural oil or spot dabs for scale
- For stubborn scale, gently dab individual insects with a cotton swab dipped in 70% isopropyl alcohol, testing a small area first.
- Follow with a light horticultural oil treatment if needed; apply in cooler parts of the day and never on heat-stressed plants.
Supportive moves:
- Quarantine infested plants away from your collection.
- Manage ants (they farm aphids/scale for honeydew).
- Improve airflow and avoid overfertilizing (lush, sappy growth attracts pests).
—
Humidity-Related Leaf Spots: Fix the Microclimate
Recognize the Issue
- Speckled tan/brown spots (sometimes with a faint halo), often after muggy weather, cramped shelving, or misting/overhead watering.
- Spots develop where water lingered on leaves or airflow was poor.
This plant prefers dry air and good ventilation—stagnant humidity encourages fungal issues.
Culture-First Fixes (Often All You Need)
- Increase airflow: space plants, run a small fan, and avoid cramming shelves.
- Keep foliage dry: no misting; water early and at soil level.
- Improve light: bright light to full sun (acclimate gradually) keeps tissues firm and dries surfaces quickly.
- Remove affected leaves with sterile scissors; dispose, don’t compost.
- Refresh the top 1–2 cm of mix with clean, dry grit to reduce splash-back.
- Ventilate: open a window or keep a gentle cross-breeze where possible.
If spots continue to spread despite better culture, consult local guidance for a gentle fungicide labeled for succulents and always test a small patch first. Prioritize ventilation and dry foliage—these are your lasting cures.
—
Quick-Repot Checklist (Rescue or Routine)
When
- Spring is ideal; also repot immediately for rot rescue, a collapsing mix, slow drainage, or salt/pest-laden soil.
- Typical cadence: every 1–3 years.
Pot
- Must have drainage holes; terracotta helps the mix dry evenly.
- Size: a pot around 12–15 cm suits most plants. Don’t size up too much.
Mix
- Very fast-draining: about 1:1 potting soil to coarse sand/grit/perlite/pumice.
Steps
- Unpot, shake off old soil, prune dead/brown roots.
- If you made cuts, let roots and stems callus 24–72 hours.
- Plant into dry mix and top-dress with gravel to keep leaves clean.
- Do not water for 5–7 days; then water once thoroughly and let it dry almost completely before watering again.
- Place in bright light and reacclimate to direct sun over 7–10 days.
—
Pro Tips to Keep It Trouble-Free
- Light like a pro: strong light to full sun brings that coppery red blush—acclimate slowly to prevent sunburn, and offer light midday shade in very hot summers, especially behind glass.
- Air is medicine: this plant thrives in dry air with steady ventilation. Skip pebble trays and misting.
- Feed lightly: monthly, spring to early autumn, with a dilute balanced or low-nitrogen succulent fertilizer. Avoid heavy nitrogen.
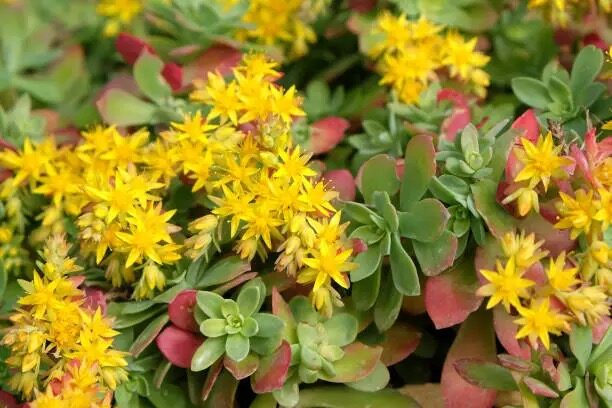
- Winter strategy: keep above about 5°C (41°F), very bright, and on the dry side. Flowers may appear from winter into spring.
- Handle gently: those “jelly beans” pop off easily; the silver lining is easy propagation—fallen leaves often root into new plants.
- Safety first: toxicity isn’t consistently documented. Treat it as potentially mildly irritating if ingested; keep away from pets and small children.
—
When you dial in sun, airflow, and that quick-draining mix, Sedum rubrotinctum lives up to its resilient reputation—bouncing back from slips and rewarding you with glossy beans that blush red like tiny embers in strong light. Keep this playbook handy, and you’ll turn most troubles into simple tune-ups.