If you dream of a pint-sized pepper bush smothered in glossy, upright “candles” that shift from green to yellow, orange, purple, and red, Capsicum annuum ornamental peppers are your canvas. The secret? A simple toolkit: early pinching for structure, smart thinning for balance, and a feed plan that starts balanced and nudges higher in P/K after fruit set. Here’s how to steer your plant from lanky to loaded.
Meet the plant: compact fireworks in a pot
- What it is: Capsicum annuum (ornamental pepper), a compact, branching member of the Solanaceae.
- Habit and size: Typically 20–45 cm (8–18 in) tall with a similar spread; happiest as a container accent.
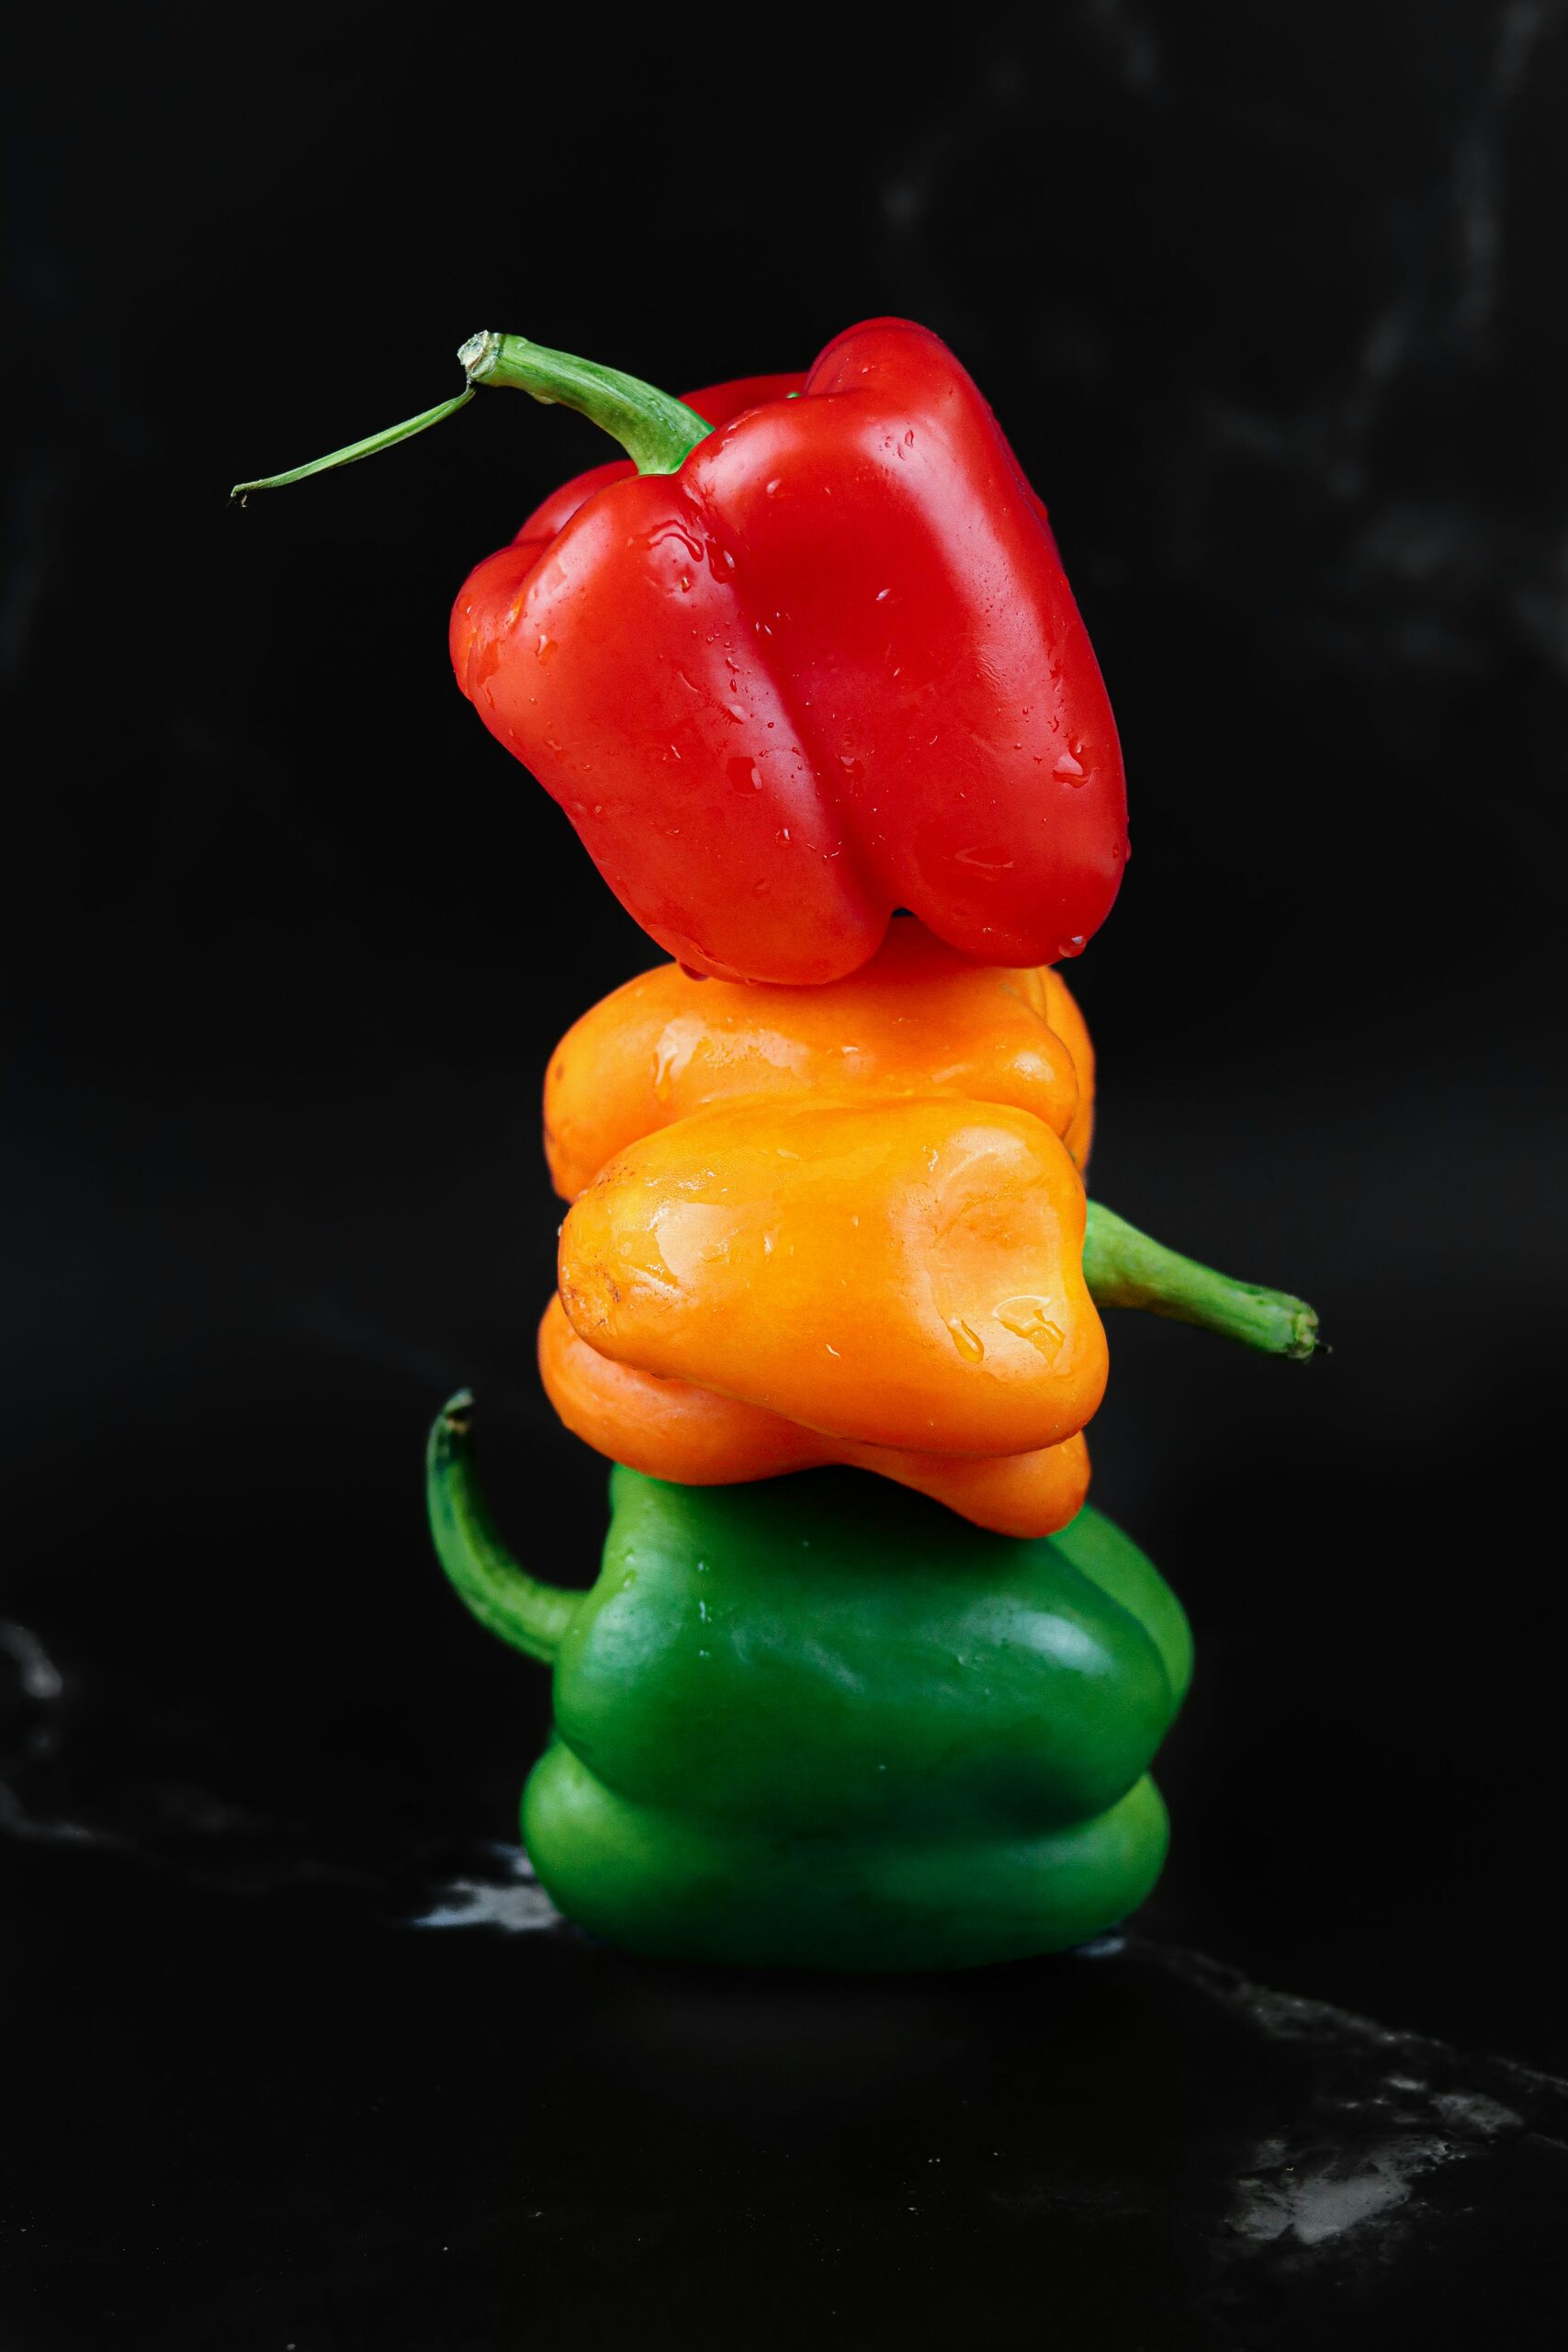
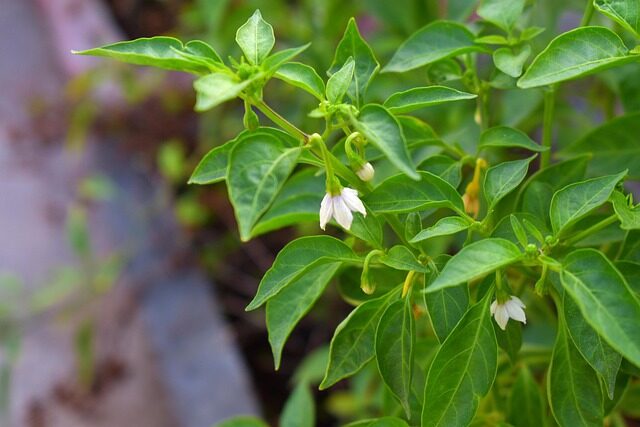
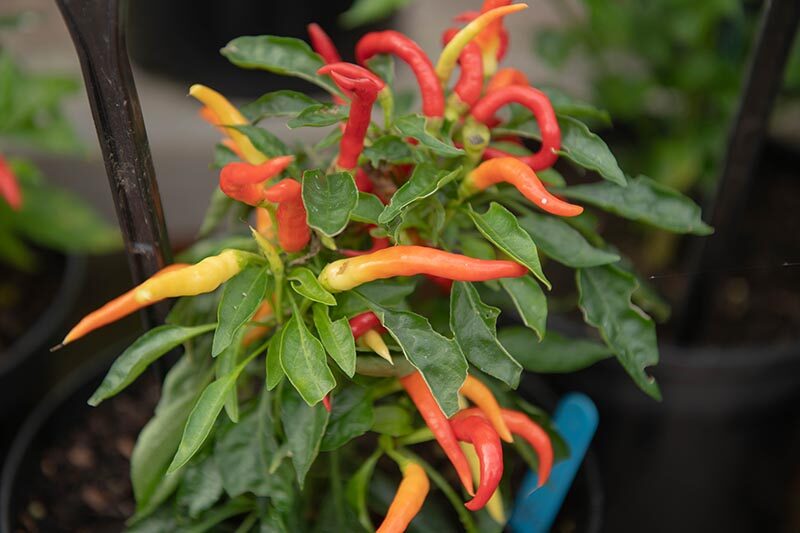
- The show: Small, white starry flowers give way to upright, glossy fruits ripening in waves—often multiple colors on the same plant.
- Edibility note: Technically edible but often extremely hot. Handle and taste cautiously; keep out of reach of kids and pets.
- Origins: Native to the tropical Americas (Mexico to northern South America); now grown worldwide.
The compact-and-loaded formula
Think of success as a three-legged stool: light and warmth, steady moisture, and nutrient timing.
Light and placement
- Aim for full sun to very bright light: at least 6–8 hours of direct sun daily.
- Indoors: the brightest east-, south-, or west-facing window, sunroom, or sunny balcony.
- Warning signs: Leggy stems and sparse/small fruit mean it needs more light.
Temperature and humidity
- Sweet spot: 21–25°C (70–77°F).
- Above 30°C (86°F): growth can slow and fruit set may drop.
- Below 10°C (50°F): growth stalls; protect from chills and any frost.
- Humidity: Moderate is best. Hot, dry air + dry soil = flower/fruit drop. Mist lightly in very dry air but keep foliage from staying wet overnight, and ensure airflow.
Soil and pot
- Mix: Rich, fertile, well-drained potting medium. Try a loam-based mix with compost plus 10–30% coarse sand or perlite. Incorporate a modest amount of well-rotted compost for fertility.
- Pot: Commonly finished in a 12–15 cm (4.7–5.9 in) pot with drainage holes. Avoid oversizing—too-wet roots mean sulky plants.
Water like clockwork (but watch the plant, not the calendar)
- During active growth: Water when the top 2–3 cm (0.8–1.2 in) of mix feels dry—often about every ~3 days in bright, warm conditions. Never let it sit soggy or bone-dry.
- In summer heat: Missed watering + hot, dry air often trigger blossom and young-fruit drop—stay steady.
- As fruits fully color: You can reduce slightly, but never allow a full dry-down.
Feeding that fuels flowers, then fruits
- Growth phase (roughly April–August): Feed about once a week with a balanced fertilizer, e.g., NPK 20-20-20, at label rates.
- After fruit set: Add 1–2 feedings higher in phosphorus and potassium (e.g., 15-30-15) to support flowering and fruit development. You’re not switching permanently—just giving a targeted boost.
- Pro tip: More nitrogen than the plant needs will push leaves at the expense of flowers and fruit; stick to the plan.
Pinch for structure: when and how to top for bushiness
Pinching removes the soft growing tip to wake up side buds—your shortcut to a compact, branchy plant that can hold a lot of fruit without flopping.
Best timing
- Start once plants are established and actively growing—often just after transplant, around 8–10 true leaves or about 10–15 cm (4–6 in) tall.
- Stop pinching once you see the first flower clusters forming or roughly 6–8 weeks before you want peak color, to avoid delaying the show.
How to pinch
- First pinch: Using clean fingers or snips, remove the tip just above the 4th–6th leaf node. This prompts two strong side shoots.
- Second pinch: After those side shoots produce 2–3 new leaf sets, pinch their tips to turn 2 stems into 4.
- Optional third pinch: If you want an ultra-compact dome, repeat lightly. Most growers get great structure with 2–3 early pinches.
- Keep it light: Aim for structure, not surgery. Pinching encourages branching and a fuller canopy; the total fruit count varies by cultivar, but the distribution and display almost always improve.
Thin flowers and fruits for a glossy, even display
Ornamental peppers love to overachieve. Thinning prevents energy overload, boosts fruit size and color, and reduces stress-related drop.
When to thin
- If you see clusters of flowers stacking on the same node, new fruits staying tiny, leaves yellowing from stress, or young fruits dropping, it’s time.
What to remove (gently)
- During bloom: On crowded nodes, remove about one-quarter to one-third of the earliest flowers, leaving the best-spaced blooms.
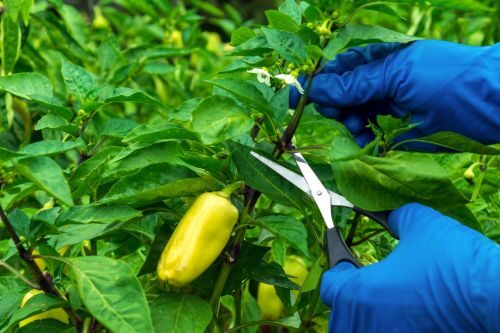
- After fruit set: Space fruits so you keep 1–2 per node on thin stems; remove the smallest, misshapen, or shaded peppers so remaining fruits size up and color evenly.
- Throughout: Snip rather than tear to avoid damaging stems.
Canopy grooming: better light in, better color out
- Selectively remove a few inner or lower leaves that shade developing fruit or touch the soil. This improves airflow and light penetration.
- Keep most of the foliage—think 70–80% leaf cover—to power the plant and prevent sunscald.
A sow-to-show timeline you can trust
- Late winter to early spring: Start seeds. Soak 1–2 hours, sow about 1 cm (0.4 in) deep, and keep at 25–30°C (77–86°F). Germination: ~3–5 days.
- Transplant: When seedlings have 8–10 true leaves, step into their finish pot (often 12–15 cm).
- Early structure: Pinch 2–3 times during early growth for a full, branchy plant.
- Feeding rhythm: Weekly balanced feed from April–August; after fruit set, add 1–2 high P/K feedings.
- Peak display: Late summer through winter indoors; many cultivars hit their “holiday lights” stride in autumn–winter. Keep it bright, warm, and evenly moist.
Troubleshooting quick fixes
- Sparse or small fruits: Increase light to full sun; keep temps around 21–25°C; feed weekly; water consistently.
- Flower/fruit drop: Usually heat + dry air or uneven watering. Add humidity, avoid droughts, and don’t place near bowls of ripening fruit—ethylene gas encourages drop.
- Leggy growth: More light and earlier pinching next round. You can lightly trim back tips mid-season to promote side shoots.
- Pests: Aphids and spider mites love warm, dry air. Rinse plants, improve humidity/airflow, and use insecticidal soap or horticultural oil as needed.
- Disease spots or rot (e.g., anthracnose): Remove affected parts, boost ventilation, and avoid wetting leaves late in the day.
Safety and handling
- Fruits are often extremely hot. Wear gloves if you’re sensitive; wash hands after handling; keep away from eyes, mouth, broken skin, kids, and pets.
Design cues and cultivar vibes
- Look for varieties billed as “Christmas Pepper” or “Five-Color Pepper” for multi-hue displays on one plant.
- Many ornamental types hold fruits upright like tiny candles—stunning on a bright windowsill or sunny balcony.
Quick checklist: your grower’s toolkit
- Light: 6–8 hours of direct sun; brightest indoor window.
- Warmth: 21–25°C ideal; shield from chills and blazing, dry heat.
- Pot and mix: 12–15 cm pot, fertile and fast-draining.
- Water: When top 2–3 cm are dry; never soggy or bone-dry.
- Feed: Weekly balanced (e.g., 20-20-20); after set, 1–2 high P/K feeds (e.g., 15-30-15).
- Pinch: 2–3 early pinches above leaf nodes to build structure; stop as flowering begins.
- Thin: Remove excess flowers/fruits on crowded nodes for size and staying power.
- Groom: Light leaf thinning for airflow and light; keep most foliage.
- Protect: Keep away from ripening-fruit bowls (ethylene), pests, and drafts.
With this simple sequence—shape early, thin wisely, and feed on cue—you’ll turn a small plant into a dense, jewel-studded bouquet of peppers that dazzles from late summer straight through the darker months.