

You can clone your favorite Zonal Geranium this afternoon and have tidy, rooted babies in two to three weeks. Pelargonium × hortorum is famously generous about cuttings—especially when you stick to non-flowering tips, gritty media, and that cool, steady 13–18°C sweet spot. Here’s a no-guesswork, step-by-step game plan, plus rapid fixes if anything looks wilty or suspiciously squishy.
Meet your plant, meet your moment
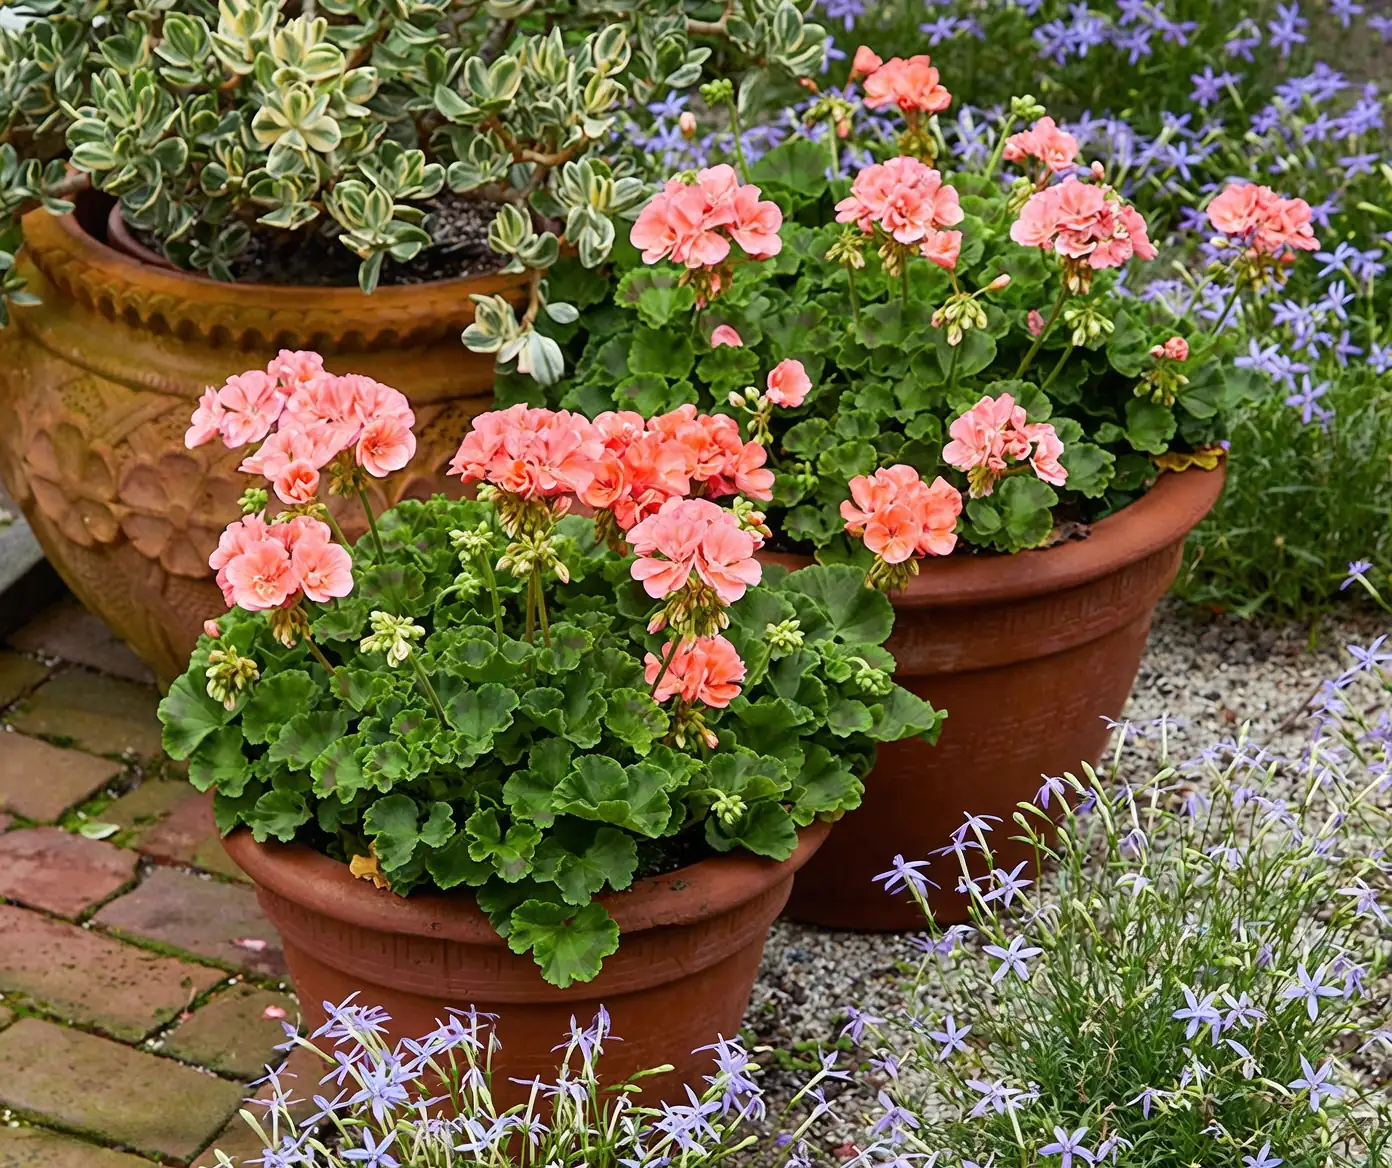
Zonal Geraniums are compact, bushy pelargoniums with rounded leaves (often with a darker “zone” band) and umbrella-like flower clusters in reds, pinks, and whites. They’re sun-lovers that bloom for months and root quickly from cuttings. Most modern forms descend from South African species; indoors or on bright balconies, they’re classic, unfussy companions—so long as their feet aren’t wet.
Prime cutting window: late spring through early fall. Indoors, you can take cuttings almost any time if you have bright light and cool, airy conditions.
The zero-guesswork cutting recipe
Tools and materials
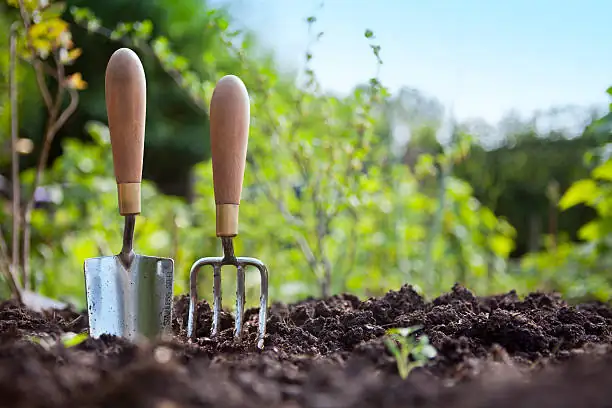
- Pruners or a razor blade, freshly sharpened and sanitized
- 8–10 cm nursery pots or a tray of small cells with drainage
- Gritty, free-draining rooting mix, pre-moistened to barely damp:
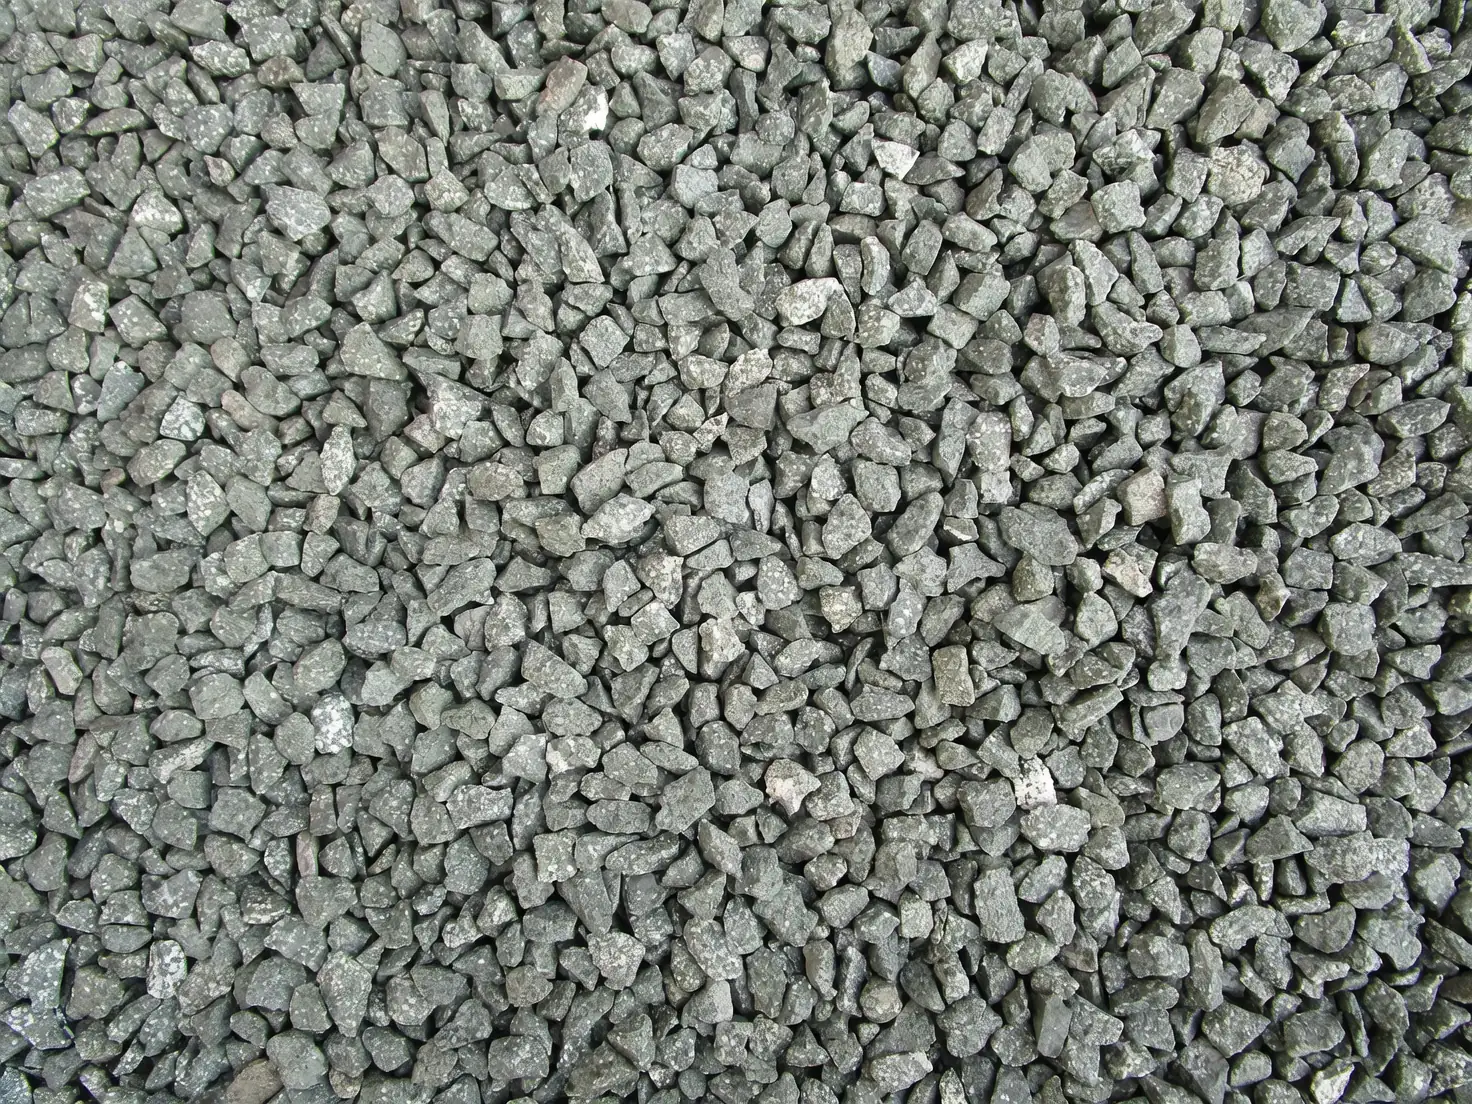
- Option A: 1 part coco/peat + 1 part perlite + 1 part coarse sand
- Option B: 2 parts all-purpose potting mix + 1 part perlite + 1 part fine orchid bark or grit
- Optional: rooting hormone (IBA), light dusting
- Labels, pencil, and a ventilated, bright spot out of direct midday sun
- Rubbing alcohol for tool hygiene
Choose the right cutting (this matters most)
- Length: 10–15 cm (4–6 in)
- Type: non-flowering tip (no buds, no open blooms), firm but not woody
- Nodes: at least 2–3 leaf nodes on the stem
- Leaves: healthy, not floppy, not pest-riddled
Water the mother plant the day before, not the hour of, so tissues are turgid but the stems aren’t waterlogged.
Step-by-step, with timings
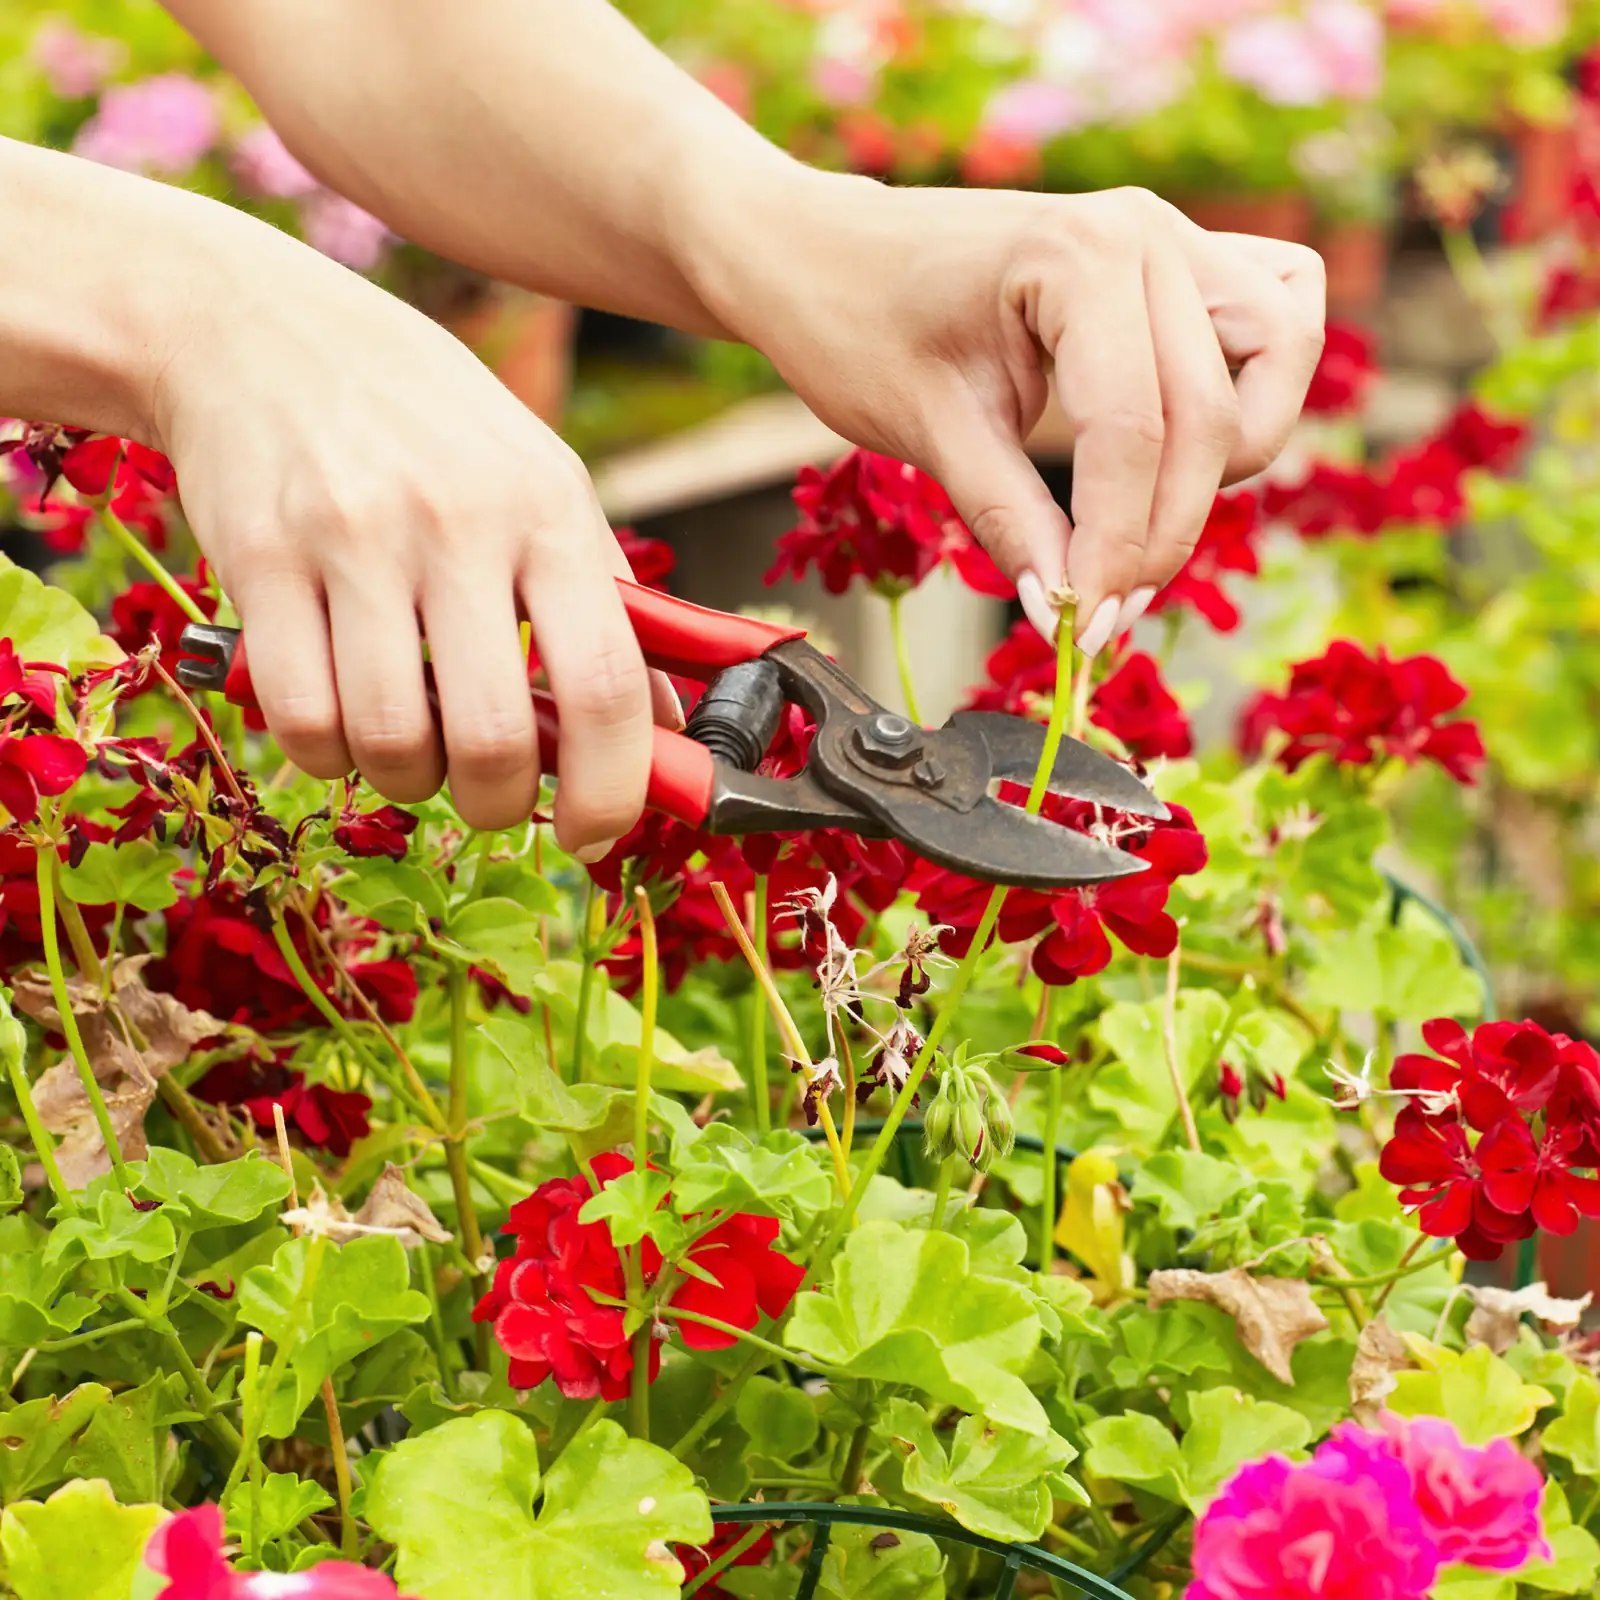
- Take the cut
- Make a clean cut just below a node.
- Strip off lower leaves so you’ll be able to bury 1–2 nodes without leaves sitting on the mix.
- Remove any buds/flower stalks—flowers steal energy from rooting.
- Quick callus (brief, not a long wait)
- Air-dry the cut end in bright shade for 20–60 minutes—just until it looks matte, not wet. This reduces rot risk without stalling rooting.
- Dust (optional but helpful)
- Lightly coat the basal 1–2 cm with an IBA rooting hormone and tap off the excess.
- Stick into gritty, barely damp mix
- Pre-moisten the mix so it’s evenly damp but not wet—no water pooling when you press it.
- Insert the cutting deep enough to bury 1–2 nodes; firm the mix snugly around the stem.
- Perfect the environment
- Light: bright, indirect light (avoid hot midday sun).
- Temperature: 13–18°C (55–64°F) is the sweet spot for quick, clean rooting.
- Air: good airflow, low–moderate humidity; skip humidity domes and misting.
- Water: do not rewater until the top 2–3 cm (about 1 in) is dry. When you do water, water at the base, then let it drain thoroughly.
- Hands off for a bit
- Day 7–10: gentle tug test—resistance means callus/early roots.
- Day 14–21: most cuttings are rooted. New leaf push is a green light.
- Pot up
- When roots are 2–3 cm (about an inch) long, shift carefully into 8–10 cm pots with a free-draining mix (add a little composted bark for structure).
- Keep bright and cool for a week, then begin acclimating to more sun.
Pro tip: Root a few more cuttings than you need. Even with perfect care, some pelargonium cuttings naturally fail—extras ensure success.
Temperature and light, dialed in
- Best rooting range: 13–18°C (55–64°F)
- Light: bright, indirect during rooting; after potting up, aim for 4–6 hours of direct sun for sturdy growth and abundant blooms.
- Avoid: heatwaves over ~25°C with wet mix—pelargoniums can stall and rot risks climb.
Watering cadence that prevents rot
- At sticking: barely damp mix only.
- Thereafter: water thoroughly only when the top 2–3 cm is dry; always drain the saucer.
- Never: leave stems sitting in a wet, heavy medium or under a cloche.
Rapid troubleshooting: rot or wilt
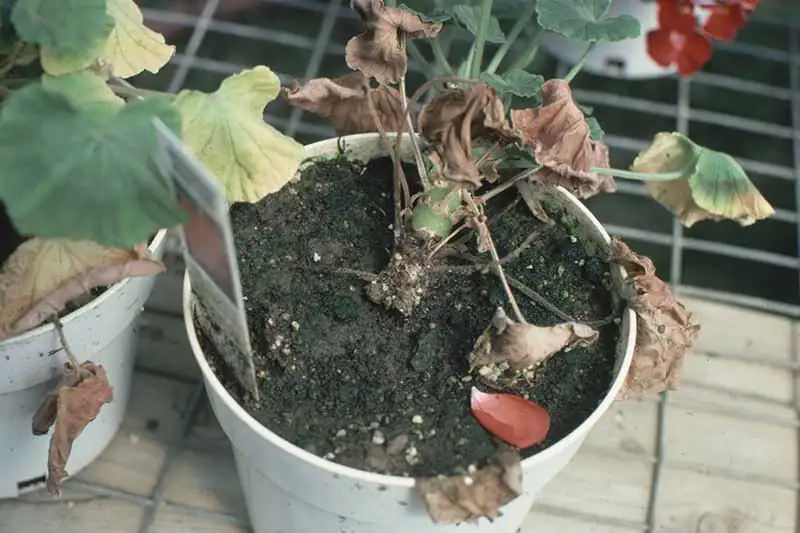
- Base rot (blackened, mushy stem; cutting flops)
- Likely cause: too-wet mix, stagnant air, temps too cool-and-wet combined.
- Immediate fix:
- Unpot. If rot hasn’t reached far, recut above healthy tissue with a sterile blade.
- Briefly air-dry (20–30 minutes), re-dust with IBA, and re-stick in fresh, grittier, barely damp mix.
- Increase airflow; water less often; keep at 15–18°C.
- If the stem is mushy high up, discard; start a new cutting.
- Wilt with firm stem (leaves limp, stem still solid)
- Likely cause: under-watering or too-warm, too-bright placement during rooting.
- Fix: Move to bright shade, water once at the base, then resume the “dry top” rule.
- Wilt with soft stem tip (top collapses)
- Likely cause: bacterial/fungal soft rot in stagnant, humid air.
- Fix: Remove and discard the cutting; sanitize tools; improve airflow and reduce humidity for the rest.
- Yellowing lower leaves (especially on survivors after pot-up)
- Likely cause: mix staying too wet or poor drainage.
- Fix: Repot into a grittier blend; water less frequently; ensure strong light.
- Gray fuzz on spent blooms/leaves (botrytis)
- Remove affected parts; improve airflow; avoid overhead watering and keep foliage dry.
Fail-safe mini checklist (tape this to your potting bench)
- Non-flowering tip, 10–15 cm
- Quick callus: 20–60 minutes
- Gritty, airy mix; barely damp
- Optional IBA dusting
- Bright, indirect light; free airflow
- Temperature: 13–18°C
- Water only when the top 2–3 cm is dry
- Expect roots in 14–21 days
Aftercare: from baby to blooming bush
- Light: Gradually increase to 4–6 hours of direct sun for best flowering.
- Pinch: When plants hit 12–15 cm tall, pinch the tip to encourage branching and a fuller, flower-packed shape.
- Feeding: During active growth, feed modestly; as buds form, shift toward a bloom-leaning, higher-potassium fertilizer to encourage flowers over foliage.
- Repotting: Move up just one pot size at a time into a 12–15 cm container with excellent drainage; don’t bury the stem deeper than before.
Safety, pests, and prevention
- Sap can irritate sensitive skin; wash hands after handling.
- Pets that nibble may get mild stomach upset—place out of reach.
- Keep cuttings and young plants airy and on the dry side between waterings to prevent root rot, rust, and gray mold.
- Watch for aphids, whiteflies, mites, and mealybugs. Treat early with isolation, rinsing, and insecticidal soap if needed.
A tiny tale and the “flower language” footnote
Pelargoniums journeyed from Southern Africa to European windowsills centuries ago and have been passed along as cuttings ever since. In Victorian floriography (the language of flowers), zonal geraniums gathered meanings about cheer and steadfast goodwill. Today, gardeners still echo those notes: red often reads as “you’re on my mind,” pink as warmth and friendship, and white as sincerity. It’s a cultural tradition rather than botany—but it fits the plant’s sunny, generous spirit.
Optional aside on water rooting: You can root pelargonium cuttings in water, but soil-rooted cuttings generally transition better and are less prone to rot when potted on. If your goal is fast, durable roots, the gritty mix method above wins.
Ready to multiply your favorites? Snip, quick-callus, stick in grit, keep it cool and airy—and in three weeks you’ll have sturdy little clones racing toward summer bloom.


