

You don’t need a greenhouse to turn one airy, lace‑fronded Asparagus setaceus into many—you just need good timing, clean tools, and a gentle hand. This propagation masterclass walks you through fast, fuss‑free division and patient, from‑scratch seed raising, plus the tender aftercare that keeps setbacks at bay.
Meet Asparagus setaceus at a glance
- Botanical: Asparagus setaceus (Kunth) Jessop
- Also called: Asparagus Fern, Lace Fern, Plumosa Fern, Ferny Asparagus, Climbing Asparagus
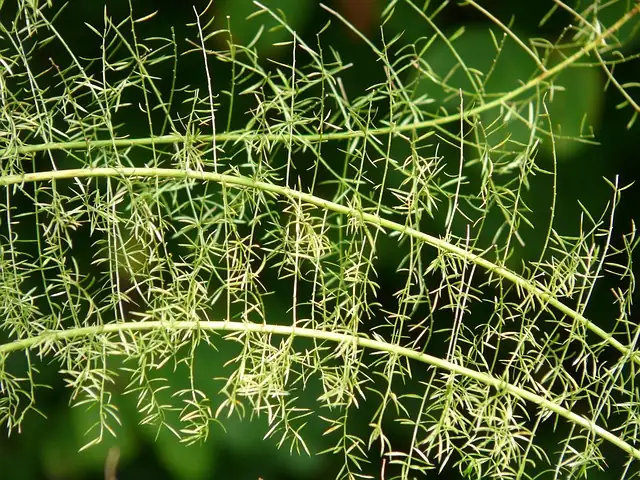
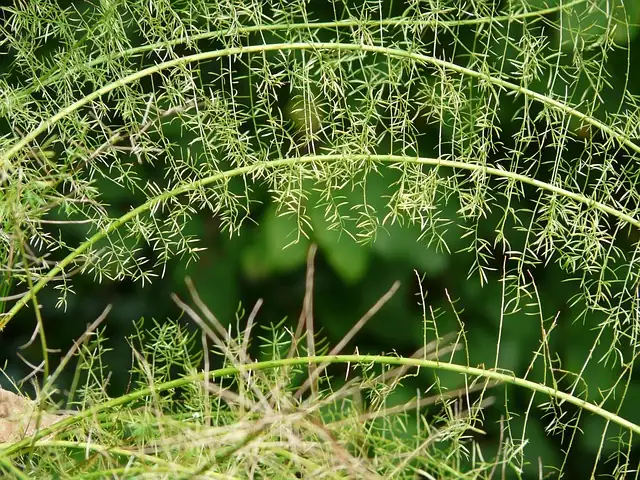
- Not actually a fern: those feathery “needles” are cladodes (leaf‑like stems)
- Native range: Southern to eastern/southern Africa
- Habit: Fast‑growing, evergreen, arching/climbing; great in hanging baskets or on a small trellis
- Sweet spot indoors: Bright, filtered light; evenly moist, never soggy soil; moderate–high humidity
- Best time to propagate: Spring, when new growth is eager and recovery is swift
Why spring? Days lengthen, temperatures sit comfortably around 20–25°C (68–77°F), and the plant’s roots and shoots rebound quickly after any disturbance.
Prep like a pro: tools, mix, and hygiene
- Clean, sharp knife or pruning shears (disinfect with 70% isopropyl alcohol or a 10% bleach solution; rinse and dry)
- Fresh pots with drainage holes (size up just enough for each division)
- Seedling cells or shallow pots if starting from seed
- Seed‑starting or houseplant mix:
- A reliable blend: quality potting mix + organic matter (leaf mold/compost, peat or coco coir) + perlite/coarse sand for drainage
- Aim for slightly acidic to neutral, loose, and well‑draining yet lightly moisture‑retentive
- Labels, gloves (helpful—berries are mildly toxic; fine foliage/sap can irritate sensitive skin)
- Optional: cinnamon powder or a sulfur dust on cut surfaces as a light antifungal
Tip: Stage the recovery zone before you cut—bright, indirect light, good airflow, and a warm room at 20–25°C.
Method 1 — Division: the speediest route to full plants
Division is the simplest and most reliable way to multiply Asparagus setaceus.
When to divide
- Best in spring (often paired with repotting).
- Choose a robust, well‑established clump, ideally a pot that feels tight with roots.
How to make clean, confident splits
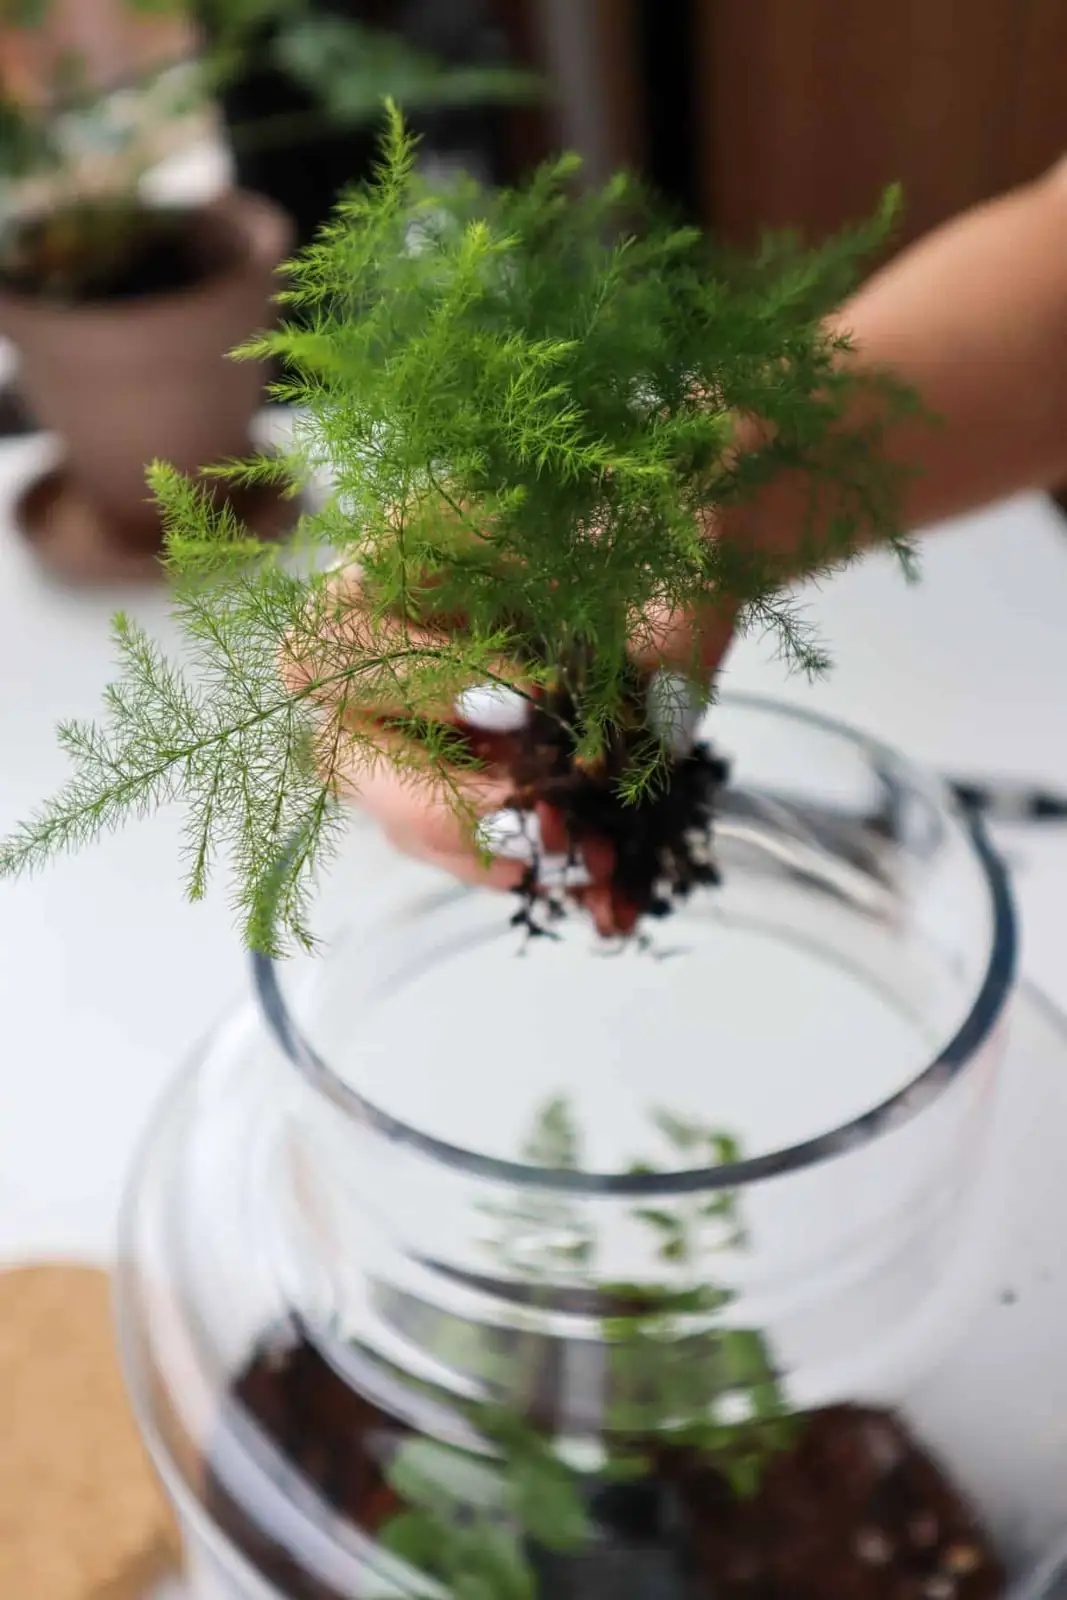
- Unpot gently. Slide the plant out and cradle the root mass. If it’s stuck, tap the pot edges and ease it free—no yanking.
- Shake/tease away loose mix. You’ll see tuberous roots and natural seams where the plant wants to separate.
- Plan divisions. Each piece should include roughly 3–5 stems (or 2–4 shoots) and a healthy chunk of roots.
- Make decisive cuts. Use a sterile knife to separate at the seams. Avoid shredding; aim for one clean motion per cut.
- Minimal root trimming. Remove only damaged roots; keep those water‑storing tubers intact.
- Pot up promptly. Use fresh, well‑draining mix. Set divisions at the same depth they grew before; firm lightly.
- Water to settle. Moisten evenly until water drains; never leave water sitting in the saucer.
- Recovery placement. Bright shade/bright indirect light; warm (about 20–25°C). Increase humidity to ~50%+ without creating stagnant air.
The first 4–6 weeks after division
- Watering rhythm: Keep evenly moist, not soggy; let the top 2–3 cm (0.8–1.2 in) dry slightly between waterings.
- No feeding yet. Wait 4 weeks, then resume a half‑strength balanced liquid feed about every 4–6 weeks in spring–summer.
- Light touch pruning only: Remove yellow/dead stems at the base; tip‑pinch very young shoots (2–3 cm long) to encourage fullness.
- Train early: A small trellis improves airflow and prevents a crowded center.
Division troubleshooting
- Wilting or flop: Too dry, too hot, or too bright. Move to softer light, raise humidity slightly, and water evenly.
- Yellowing collapse: Often from waterlogging or compacted mix. Refresh mix, ensure drainage, and reduce watering frequency.
- Brown tips: Low humidity or irregular watering—stabilize both.
- Spider mites in dry rooms: Increase humidity and use a gentle rinse or insecticidal soap early.
Method 2 — Seeds: from berry to billowy lace
Seeds are slower but satisfying—especially if your mature plant has produced berries.
Collect, clean, and prep seeds
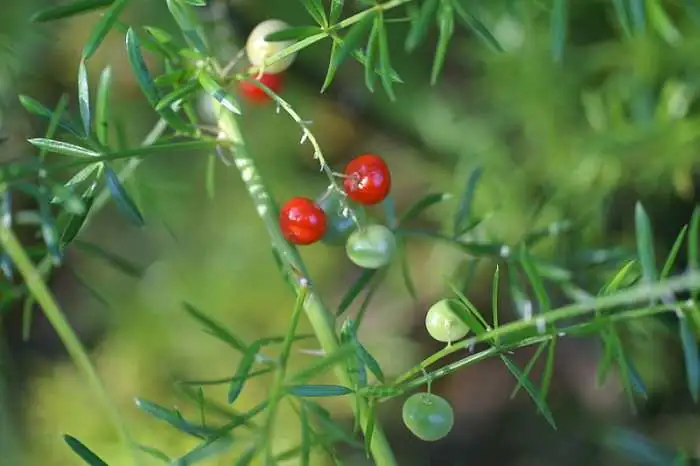
- Harvest when berries ripen dark purple‑black.
- Wear gloves; berries are mildly toxic and can irritate skin.
- Extract seeds, rinse off pulp, and soak them in warm water for ~24 hours to boost germination.
Sow for success
- Use a fine, well‑draining seed mix in shallow pots or trays.
- Sow shallowly—lightly press seeds into the surface and cover with a whisper of mix or vermiculite.
- Temperature: Keep warm at 20–22°C (68–72°F).
- Moisture: Evenly moist, never sodden. A clear cover/humidity dome helps, but vent daily for airflow.
- Light: Bright, indirect light. No harsh direct sun on trays.
- Patience: Germination usually takes a few weeks; slower batches may take longer.
After they sprout
- Gradually increase ventilation. Remove any cover over several days to prevent damping‑off.
- Water with care. Moisten the mix without wetting foliage late in the day.
- Potting up: Transplant when seedlings are sturdy—often around 5 cm (2 in) tall—into a loose, well‑draining houseplant mix. Handle by the base of the cladode cluster, not the delicate stems.
- Feeding: Hold off for 4 weeks post‑transplant, then begin a very dilute balanced feed monthly during active growth.
Your aftercare blueprint (the setback‑proof part)
- Light: Bright, filtered light or light shade. Avoid harsh midday sun, which scorches and yellows.
- Temperature: Aim for 20–25°C (68–77°F). Keep well above 4–5°C (39–41°F); it’s not frost‑tolerant.
- Humidity: 50%+ is a sweet spot. Use a pebble tray, humidifier, or group with other plants—but keep air moving.
- Watering: Evenly moist, never waterlogged. In summer/growth spurts, you’ll water more; in autumn/winter, let the mix dry a bit more between waterings.
- Feeding: Spring–summer, about every 4–6 weeks at half strength. Ease off in autumn/winter.
- Grooming: Remove yellow or overlong stems at the base in spring. Tip‑pinch new shoots to encourage branching and fullness.
- Space and support: Train on a small support to keep the center airy and reduce pest pressure.
A simple seasonal game plan
- Spring: Repot, divide, or sow. Prune lightly. Resume feeding. Bright, indirect light.
- Summer: Protect from harsh sun; maintain steady moisture and humidity. Watch for spider mites in dry heat.
- Autumn: Growth slows; reduce watering/feeding. Mature plants may flower and set berries.
- Winter: Bright light, warmer rooms, and careful watering. Avoid cold drafts and wet, cold soil.
Safety, pets, and placement
- Berries are mildly toxic if ingested (pets, children). Place plants out of reach—especially when berries are present.
- Fine foliage and sap may irritate sensitive skin; gloves are handy for dividing or de‑berrying.
- Outdoors in frost‑free regions (USDA 9–11), give bright shade and shelter from drying winds. Note: In some warm regions it can spread vigorously—dispose of berries responsibly.
Why your splits thrive (and cuttings don’t matter here)
Asparagus setaceus forms sturdy, tuberous root systems. Division leverages these ready‑made reserves, so new plants establish fast. Seed is the other reliable route. Focus on these two methods for the highest success rate and the happiest, fluffiest foliage.
A note on “flower language” and sharing the love
Often gifted as a symbol of enduring love and supportive energy, Asparagus setaceus has long graced bouquets and study spaces. The association springs less from big showy blooms and more from its lasting, gentle presence—sprays of green that stay elegant for months. Propagating by division and passing a pot along is a fitting extension of that meaning: the original clump stays strong, and the affection multiplies.
Quick reference: key numbers and cues
- Best propagation window: Spring
- Division size: About 3–5 stems (or 2–4 shoots) per piece
- Seed soak: ~24 hours
- Germination temp: 20–22°C (68–72°F)
- Light: Bright, indirect; avoid harsh midday sun
- Humidity: ~50%+
- Watering cue: Let the top 2–3 cm (0.8–1.2 in) dry slightly, then water
- First feed after propagation: ~4 weeks
With clean cuts, warm roots, and patient, even moisture, Asparagus setaceus rewards you fast—divisions fluff up in weeks, and seedlings transform into little lace clouds before long. Ready to turn one graceful plant into many? Spring is calling.


