

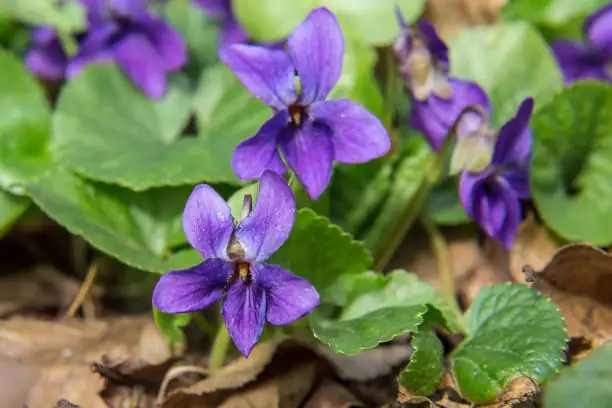
If you’ve ever knelt to catch the perfume of a Sweet Violet, you know why gardeners can’t stop at just one patch. Viola odorata is a small plant with a big presence—velvety, heart-shaped leaves and early, sweetly scented blooms that whisper “spring” before most plants wake up. The good news: it’s wonderfully easy to multiply. Whether you want a crisp, well-behaved edging or a scented woodland drift, here’s your hands-on guide to propagating by stolons, division, and seed—plus the timing, tools, and aftercare that make it effortless.
Meet the plant (so you propagate it like a pro)
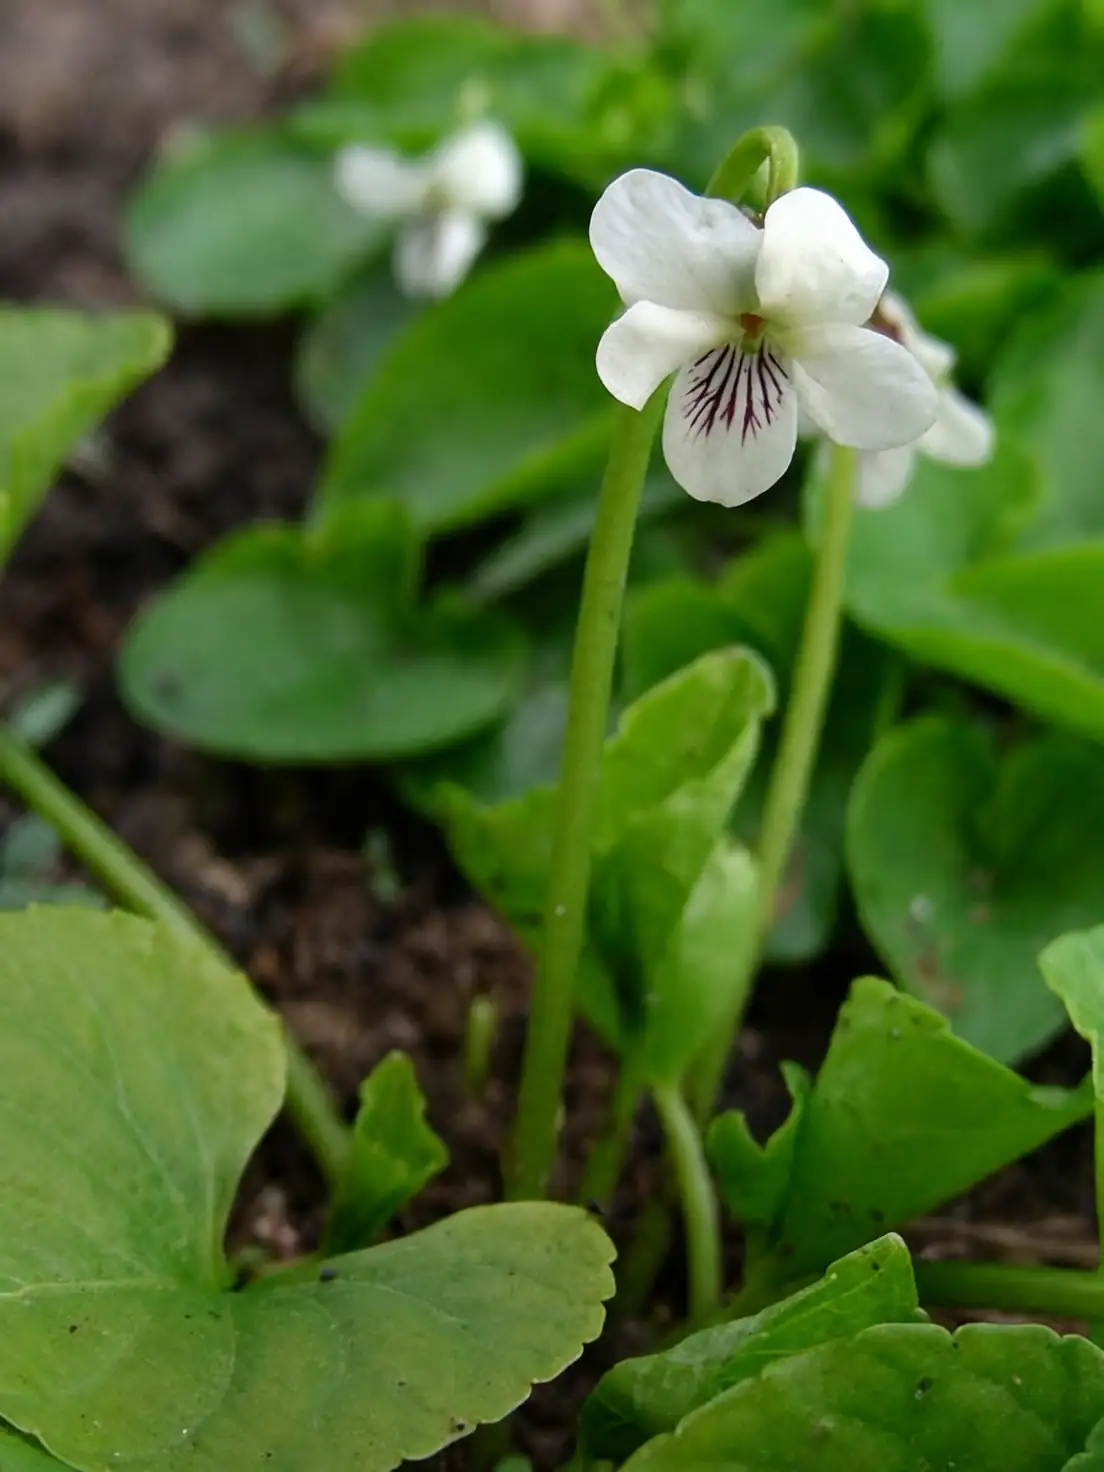
- Botanical essentials: Viola odorata (Sweet Violet), family Violaceae; native to Europe, North Africa, and Western Asia.
- Habit: Low, herbaceous perennial, typically about 15 cm (6 in) tall; forms clumps that slowly spread into colonies via stolons (runners).
- Flowers: Fragrant, usually deep purple; blooms late winter through spring (commonly February–April).
- Best conditions: Partial shade to dappled sun; moist, well-drained, fertile soil; happiest in cool to mild climates (USDA Zones 5–9). Protect from strong heat and harsh summer sun.
Tools and materials
- Hand fork or garden fork (for lifting and dividing)
- Hori-hori knife or sharp pruning knife
- Bypass pruners or scissors
- Small hand trowel and dibber
- U-shaped wire pins, hairpins, or small rocks (for pegging stolons)
- Pots or nursery trays, seed-starting mix (moisture-retentive but well-drained)
- Labels and a pencil (essential—violet patches look alike after a week!)
- Watering can with a fine rose, or a gentle spray nozzle
- Mulch (leaf mold, fine bark, or compost)
- Slug/snail deterrents (traps, copper tape, or wool pellets) if needed
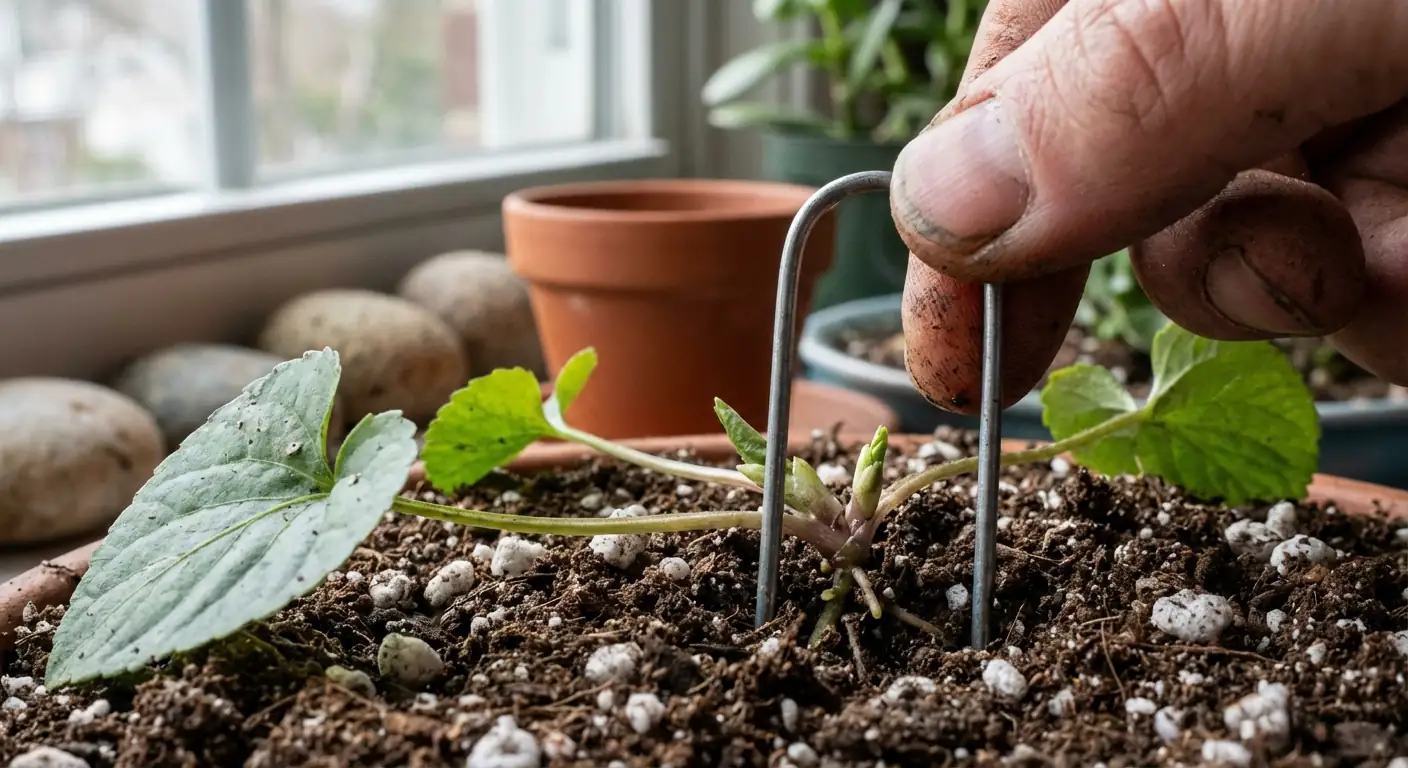
Propagation by stolons (runners): the easiest “copy-paste”
Sweet Violet naturally knits outward on slender runners that root as they go. You can guide this to fill gaps or start new plants.
Best timing
- Peak: Spring through early summer, while growth is active and soil is evenly moist.
- Also good: Early fall in mild climates, avoiding heat waves and hard frosts.
How to do it
- Scout for a healthy runner with a small node (tiny cluster of leaves or bud).
- Prepare a landing spot: a small pocket of loosened soil, or place a pot filled with moist, sandy loam right beside the parent plant.
- Peg it down: Gently bend the runner so the node sits on the soil. Pin with a U-shaped wire, hairpin, or a pebble so it makes firm contact.
- Keep it evenly moist: Not soggy—just never bone-dry.
- Wait for roots: In 3–6 weeks, give a gentle tug; resistance means it has rooted.
- Snip the umbilical: Cut the runner between the new plant and the parent. Transplant if rooted in-ground; if you layered into a pot, you’re ready to move it where you want it.
Aftercare
- Shade the newcomer for a week or two, especially in warm weather.
- Water when the surface begins to dry, then soak thoroughly.
- Light feeding helps: a mild, balanced fertilizer every 7–10 days during the main growing period if you want lush growth and more blooms.
Troubleshooting
- Runner dries before rooting: Increase shade and maintain consistent moisture.
- Root rot signs (yellowing, mushy node): Improve drainage and ease off watering.
Propagation by division: fast results and great for tidying
Division multiplies plants and rejuvenates older clumps that have become congested.
Best timing
- Early spring: Just as new growth starts, before strong heat.
- Early fall: When summer stress has passed and soil remains warm enough for quick root recovery.
Step-by-step
- Water the clump a day ahead to reduce stress.
- Lift the clump: Slide in a garden fork from two sides to avoid tearing roots.
- Tease or slice: Pull the clump apart by hand, or use a sharp knife to create divisions with at least one healthy crown and a good root fan.
- Replant promptly: Same depth as before, in partial shade, into moist, well-drained soil enriched with compost. Space plants about 15–20 cm (6–8 in) apart for a continuous edging, or wider for dotting through a border.
- Water in well and mulch lightly to conserve moisture.
Aftercare
- Keep evenly moist for the first 4–6 weeks.
- Shade from hot midday sun while they re-establish.
- Deadhead spent blooms to channel energy into root growth.
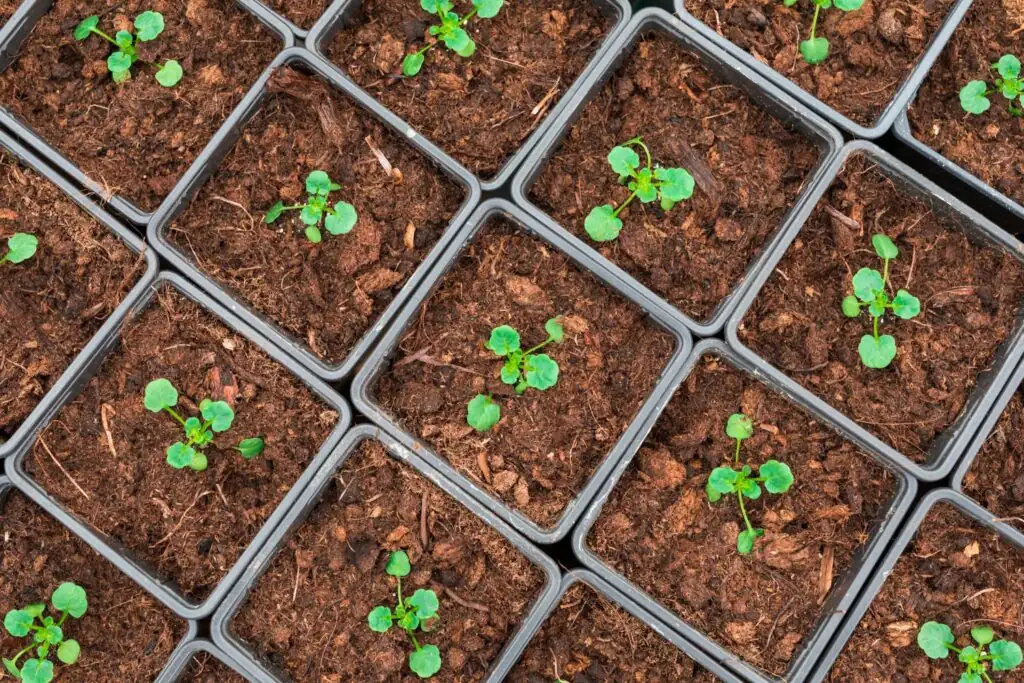
Propagation by seed: for naturalized drifts and fresh genetics
Violets are easy from seed when you honor their preference for cool, moist starts.
Timing options
- Fall sowing: Often the most reliable—seeds experience a natural chill, then sprout as the weather softens.
- Early spring sowing: Works if you pre-chill seeds in the fridge for 4–6 weeks in slightly moistened medium.
Methods
- Outdoor flat method (low-effort, high success):
- Fill shallow flats or pots with a fine, moisture-retentive mix.
- Sow thinly and cover seeds very lightly with mix or fine grit.
- Sink the flat into a shaded, sheltered spot outdoors. Keep evenly moist and cover with glass or a clear lid propped for airflow if critters are an issue.
- Germination typically takes about 6–8 weeks in cool conditions.
- Transplant seedlings after the last frost, spacing 15–20 cm (6–8 in).
- Direct-sow into a prepared, weed-free bed in fall:
- Rake in a thin covering, label well, and mulch lightly after consistent cool arrives.
Aftercare
- Seedlings appreciate consistent moisture more than mature plants—avoid drying out.
- Begin very light feeding about two weeks after germination (or one week after transplanting).
- Provide dappled light; avoid harsh midday sun.
Note on self-seeding
- If you want self-sown violets to stitch themselves around, let a few seed heads mature and avoid heavy mulch under the plants.
- Prefer tidy borders? Deadhead after flowering to reduce seedlings.
Keeping violets neat vs. letting them roam
You can have magazine-tidy edges or a romantic spring carpet—choose your style and manage accordingly.
For crisp borders and containers
- Edge it: Install a physical edging (steel, stone, or brick) to define lines and stop stolons.
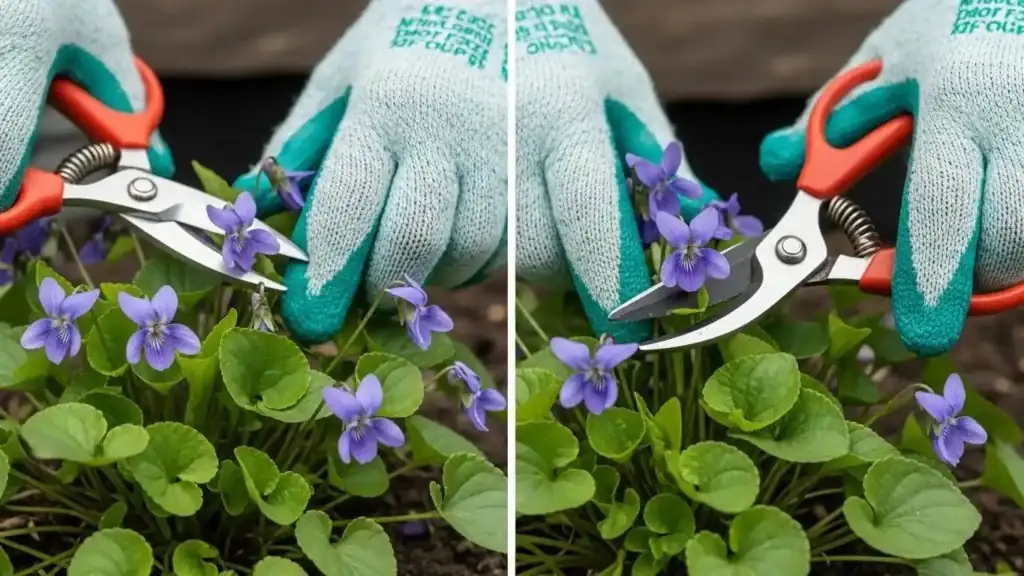
- Clip runners: Snip away long stolons in late fall or after flowering to keep clumps compact.
- Deadhead: Reduces self-sown surprises.
- Divide every 2–3 years: Keeps vigor high and size contained.
- Containers: Wonderful for fragrance near doors; refresh potting mix and divide every 2–3 years.
For naturalized drifts
- Encourage stolons: Peg runners into open pockets to fill bare soil.
- Weave under shrubs: Morning sun with afternoon shade is perfect.
- Thin, don’t shear: Remove a few older crowns annually to prevent overcrowding and disease.
- Keep the edges mown or edged to give wild areas a deliberate, designed look.
First-year care checklist for all new plants
- Watering: Keep the soil consistently moist, especially in spring growth and flowering. Water when the surface begins to dry, then drench; avoid waterlogging.
- Light: Partial shade or dappled light; in warm regions, morning sun with afternoon shade is ideal.
- Feeding: Light, balanced fertilization in active growth; optional light liquid feed every 7–10 days for extra bloom.
- Grooming: Deadhead for neatness and repeat bloom; in late fall, trim weak growth and rein in long runners if you want a tidy patch.
- Mulch: A light organic mulch keeps roots cool and moisture steady.
Pests, diseases, and simple defenses
- Usual suspects: Aphids, red spider mites (in hot/dry conditions), slugs, and snails.
- Diseases: Violet gall midge, leaf spots, and powdery mildew can occur.
- Prevention tactics:
- Water at the soil line; avoid drenching foliage.
- Ensure good airflow; don’t let clumps become too congested.
- Clean away tired foliage at season’s end.
- Use slug/snail traps or barriers early in spring.
- For aphids and mites, a gentle pass with insecticidal soap can help. Avoid spraying flowers if you plan to use them as edibles.
Safety and edible notes
- Edible parts: Flowers (and sometimes young leaves) are used as edible garnishes, in teas, and syrups.
- Important caution: Seeds and rhizomes are considered toxic and may cause vomiting or more serious symptoms if ingested. Keep away from children and pets, and avoid consuming these parts.
- If harvesting flowers for the kitchen, do not use systemic pesticides and rinse gently.
Symbolism and stories: why violets carry such feeling
- Meanings: Modesty, humility, faithfulness, devotion, and quiet remembrance—associations that took root in ancient Greek lore and blossomed in Victorian floriography, where flowers “spoke” in coded messages.
- Cultural threads:
- The species epithet odorata (“scented”) underlines its place in perfumery and romance.
- Napoleon’s fondness for violets helped fix their reputation as tokens of loyalty and enduring love.
- Read it with care: Flower language is cultural poetry, not botany—beautiful to borrow for bouquets and garden narratives, but shaped by history and storytelling.
A seasonal cheat sheet for multiplying Sweet Violets
- Late winter–spring (Feb–Apr):
- Peak bloom. Start stolon pegging as growth begins.
- Divide older clumps on mild days.
- Keep evenly moist and feed lightly.
- Early summer:
- Continue pegging runners; provide shade in hot spells.
- Water regularly; watch for mites in dry heat.
- Fall:
- Prime time for division in cooler regions.
- Fall-sow seeds outdoors, or start cold-stratification for spring sowing.
- Tidy weak growth; rein in long runners if you prefer a neat edge.
- Winter:
- Generally hardy in Zones 5–9. In containers, protect from deep freezes and water sparingly but don’t let them bone-dry.
Multiply Sweet Violets thoughtfully, and you’ll have exactly the display you dream of—neat, perfumed ribbons along a path or a soft, naturalized carpet that greets you at winter’s end. With a few pins, a sharp knife, and steady moisture, this little classic does the rest.


