

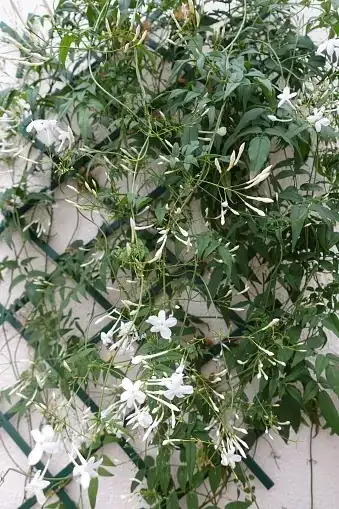
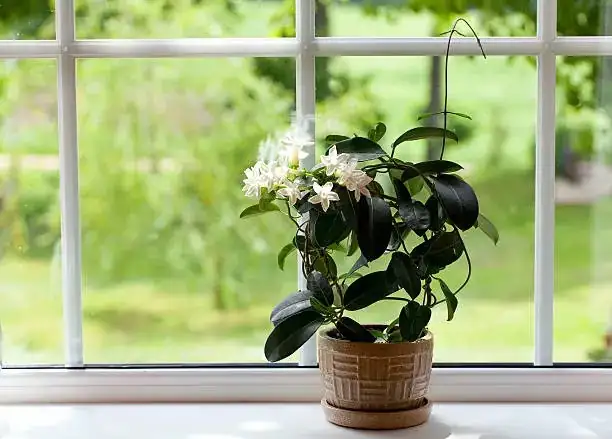
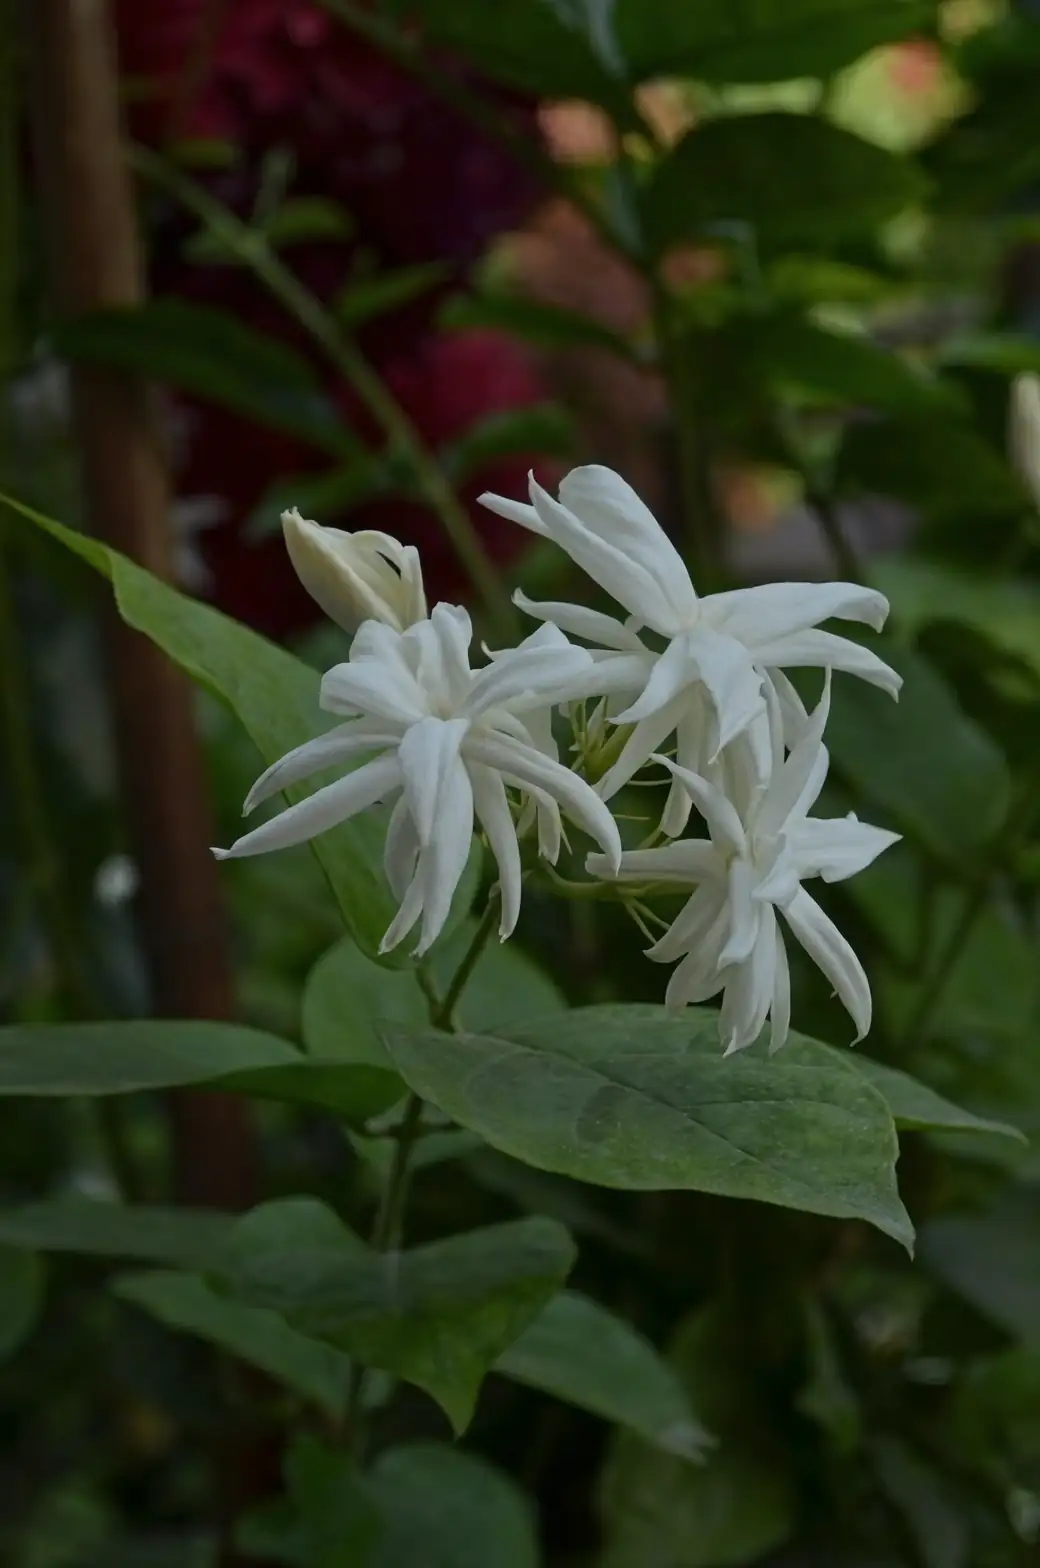
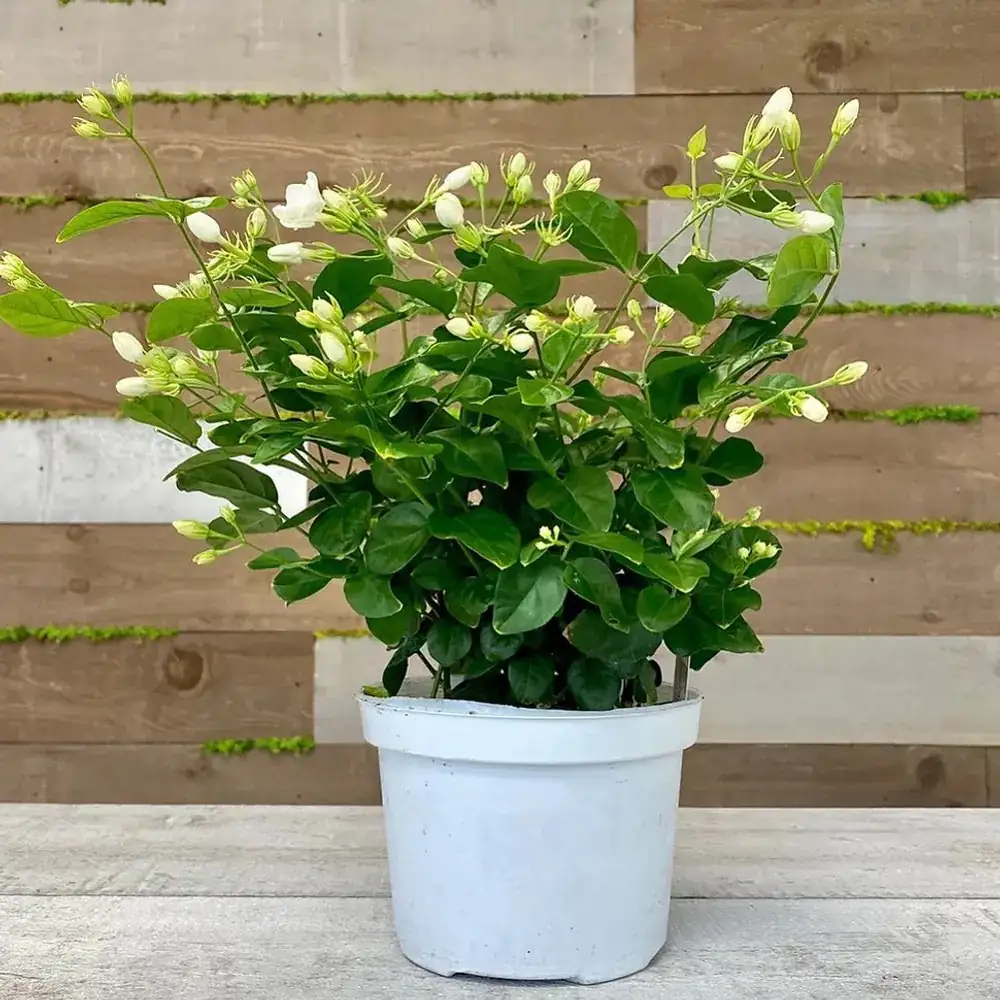
If you love the warm-evening perfume of Arabian jasmine (Jasminum sambac) and wish you had three more plants, good news: this species is blissfully easy to multiply. Two methods shine. Semi-ripe stem cuttings (8–10 cm) that root in roughly 6–10 weeks, and simple layering that often throws roots in just 2–3 weeks while the stem is still attached. Below you’ll find timing, media recipes, humidity-dome know‑how, and rot-proofing tricks that make success almost boringly reliable.
When to propagate Arabian jasmine
- Best season outdoors: late spring through late summer, when nights are warm and days are consistently above 20–25°C (68–77°F).
- Indoors or in a greenhouse: anytime you can hold bright light and warm temps (ideal rooting range 22–28°C / 72–82°F).
- Wood stage: target semi-ripe shoots—new season’s growth that has firmed up but is still flexible and green. Avoid very soft tips (rot-prone) and very woody bases (slow to root).
Pro tip: Take cuttings from non-flowering side shoots after a bloom flush. If a shoot has buds, pinch them off so the cutting focuses on roots.
Tools and materials
- Sharp, clean pruners or a sterile razor
- Small pots or plug trays with generous drainage
- Rooting hormone (a light-strength IBA powder or gel is plenty)
- A fine, free-draining propagation mix (recipes below)
- Humidity dome or clear bag + stakes
- Labels (you will forget which batch is which)
- Optional: bottom heat mat with thermostat set around 24–26°C (75–79°F)
Propagation media that resist rot
Arabian jasmine roots beautifully in airy mixes. Aim for moisture that drains quickly yet holds a gentle, even dampness.
Two reliable blends:
- 1:1 perlite : vermiculite (sparkling drainage, uniform moisture)
- 2:1 perlite : coco coir (or fine bark-based potting mix)
Slightly acidic to near-neutral is ideal (about pH 6.5–7.5). Avoid heavy, peat-only or muck-like mixes that stay wet.
Method 1: Semi-ripe stem cuttings (8–10 cm) — your fast track to clones
Typical rooting time: about 6–10 weeks (often ~8 weeks) under warm, humid conditions.
Step-by-step
- Select and prepare the cutting
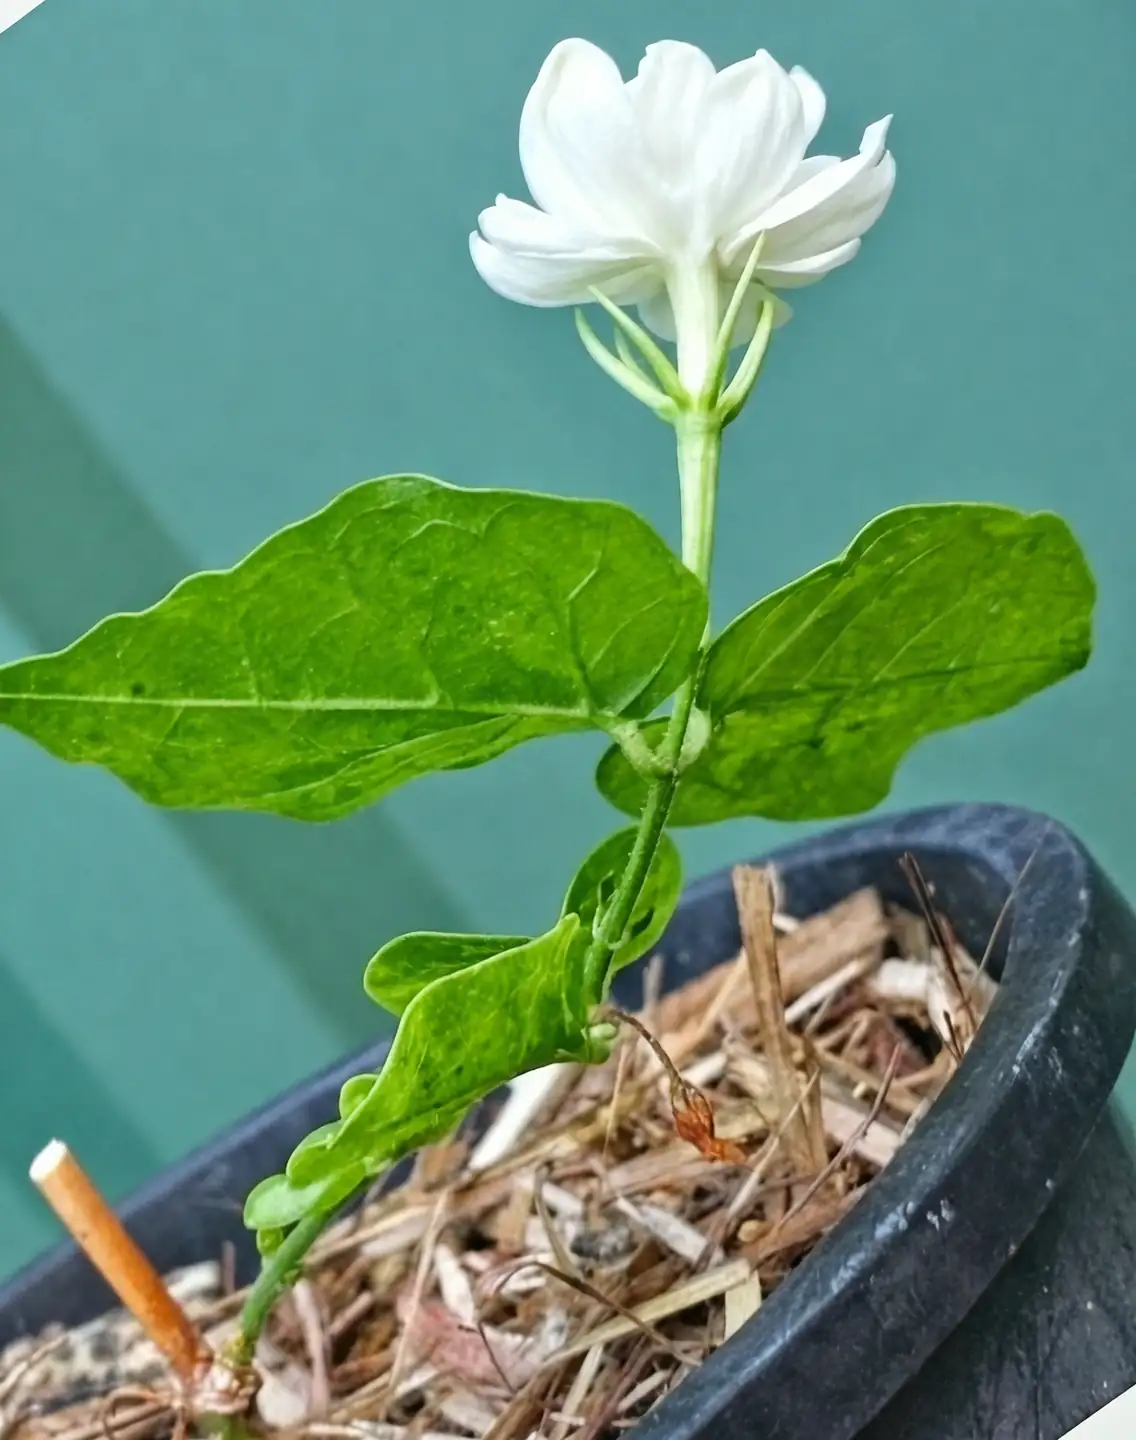
- Snip a healthy, semi-ripe shoot 8–10 cm (3–4 in) long.
- Cut just below a node. Remove lower leaves, leaving the top 2 leaves (halving very large leaves reduces transpiration).
- Optionally, lightly nick the bark at one side of the lowest node (a 5–8 mm scrape) to expose cambium and dust with rooting hormone.
- Pot it up
- Dibble a hole in your pre-moistened mix to avoid scraping off hormone.
- Insert so that at least one node is buried 1–2 cm (0.5–0.75 in).
- Firm gently; you want snug stem-to-media contact without compaction.
- Humidity dome and microclimate
- Cover with a clear dome or bag propped on stakes so foliage doesn’t touch the plastic.
- Bright light but no harsh midday sun. Morning sun + bright shade is perfect.
- Target 22–28°C (72–82°F). Bottom heat can shave days off callusing.
- Watering and airflow
- Keep the medium evenly moist—never waterlogged. Bottom-water or use a fine-rose sprayer.
- Vent the dome daily for 10–20 minutes. After week 1, crack it open slightly full-time to prevent stagnant air.
- The patience timeline
- Weeks 1–2: Callus forms; cutting stays turgid under high humidity.
- Weeks 2–6: Root initials develop. You may feel light resistance on a gentle tug.
- Weeks 6–10: Roots extend; new leaf push signals lift-off.
- Potting on
- When roots are 2–4 cm (about an inch) long and the cutting resists a tug, pot into a richer but still free-draining mix (e.g., a quality loam-based potting mix amended with perlite/bark).
- Brighten light progressively; avoid sudden full sun for a week. Begin light feeding after you see active growth.
Rot-proofing for cuttings
- Sterilize tools before each session. A quick wipe with alcohol prevents hitchhiking fungi.
- Use fresh, clean media. If reusing pots, scrub and rinse well.
- Don’t overdo hormone—excess can inhibit rooting and blacken bases. A light dusting is enough.
- Keep leaves dry. If you must mist, do it early morning so foliage dries quickly.
- Provide a whisper of air movement. A small fan nearby (not blasting) discourages fungal growth.
- If you’re in a high-risk, muggy climate, a preventative drench with a gentle, labeled propagation-safe fungicide can help; or dust the wound very lightly with powdered cinnamon as a traditional, mild antifungal.
Troubleshooting cuttings
- Blackened stem base: mix too wet, hormone overdosed, or temperature too cool. Refresh media, re-cut above damage, and reinsert.
- Wilting despite the dome: leaves too many/too large; trim leaf area and ensure no leaf touches the plastic.
- No roots after 10 weeks but cutting still green: be patient and warm it up. Check that a node is buried; without a node below the surface, rooting stalls.
Method 2: Layering — ultra-reliable and wonderfully quick
Layering coaxes roots from a stem that’s still attached to the mother plant. It stays hydrated and fed, so success soars.
- Rooting onset: often visible in 2–3 weeks.
- Separation: typically ready to cut free after about 8–10 weeks, once a solid root pad forms.
Simple layering (the foolproof way)
- Choose a flexible, healthy stem near the plant’s base. Identify a plump node.
- Gently scrape a 5–8 mm sliver of bark on the underside of that node.
- Dust the wound with rooting hormone (optional but helpful).
- Pin the node 2–3 cm (about 1 in) deep into a pot of moist, airy mix sitting beside the mother plant, using a U-shaped wire or a hairpin. Cover lightly.
- Keep evenly moist and in bright light. Within 2–3 weeks you’ll often see new roots when you tip the pot or notice vigorous new top growth.
When to detach: After 8–10 weeks, or whenever the layered section has a generous root mass. Cut the stem a few centimeters below the rooted node, pot up, and grow on in bright light, gradually increasing sun.
Tip layering variation: Bury just the tip of a long, flexible shoot. It will often root and then send up a new shoot from the buried node.
Humidity domes without the “swamp”
- Early phase: keep humidity high but not dripping. A light morning film of condensation that clears by midday is perfect.
- Daily practice: open to vent once a day at minimum; more in warm, still rooms.
- Signal to vent more: persistent heavy droplets, algae on the media surface, or a sour smell.
- Signal to wean: new leaves unfurling and a gentle tug resistance. Open the dome incrementally over 3–5 days.
Light, warmth, and placement for propagules
- Light: bright, indirect to gentle morning sun. Avoid harsh afternoon rays until rooted and growing.
- Temperature: warm-loving—aim for 25–35°C (77–95°F) for mother plants and ~22–28°C (72–82°F) at the cutting zone.
- Outdoors vs. indoors: in frost-free climates (USDA 10–12), you can root outside in a protected bright spot. Elsewhere, root indoors or in a greenhouse and keep plants above 10°C (50°F).
Aftercare: from baby to bloom machine
- Potting mix upgrade: once rooted, shift to a rich but free-draining loam-based mix with perlite/bark.
- Feeding: begin light, regular feeding in the growing season. Don’t overdo nitrogen, or you’ll get leaves over buds.
- Sun training: increase direct sun to 6–8+ hours for best flowering once established. Indoors, give the brightest window you have.
- Pinch and shape: tip-prune to encourage branching; the next wave of blooms forms on those fresh shoots.
- Watering rhythm: keep evenly moist, never soggy. In heat, potted plants may thirst every 2–3 days (even daily in small pots).
Quick propagation calendar
- Week 0: Take 8–10 cm semi-ripe cuttings; set simple layers.
- Weeks 2–3: Layers show first roots; cuttings callused and starting root initials.
- Weeks 6–8: Most cuttings root; begin weaning off domes.
- Weeks 8–10: Detach layered pieces; pot up cuttings with good root systems.
FAQs for the curious propagator
- Can I root Arabian jasmine in water?
Results are inconsistent and slow. You’ll get far higher success in a free-draining propagation mix where oxygen and moisture are balanced.
- Do I need rooting hormone?
Not strictly, but a light-strength hormone on semi-ripe wood speeds and evens out rooting.
- Why did my cutting rot?
Usually a too-wet medium, cool temps, or stagnant air. Increase drainage, warm things up, and vent your dome daily.
- My climate is dry—how do I keep leaves turgid?
Use a dome, reduce leaf area, and avoid direct sun. A bottom-heat mat with gentle venting often beats constant misting.
Grow a few extras—you’ll want backups for the balcony, one for a sunny friend, and one by the door. When Arabian jasmine catches a warm breeze in summer, you’ll be very glad you multiplied it.


