

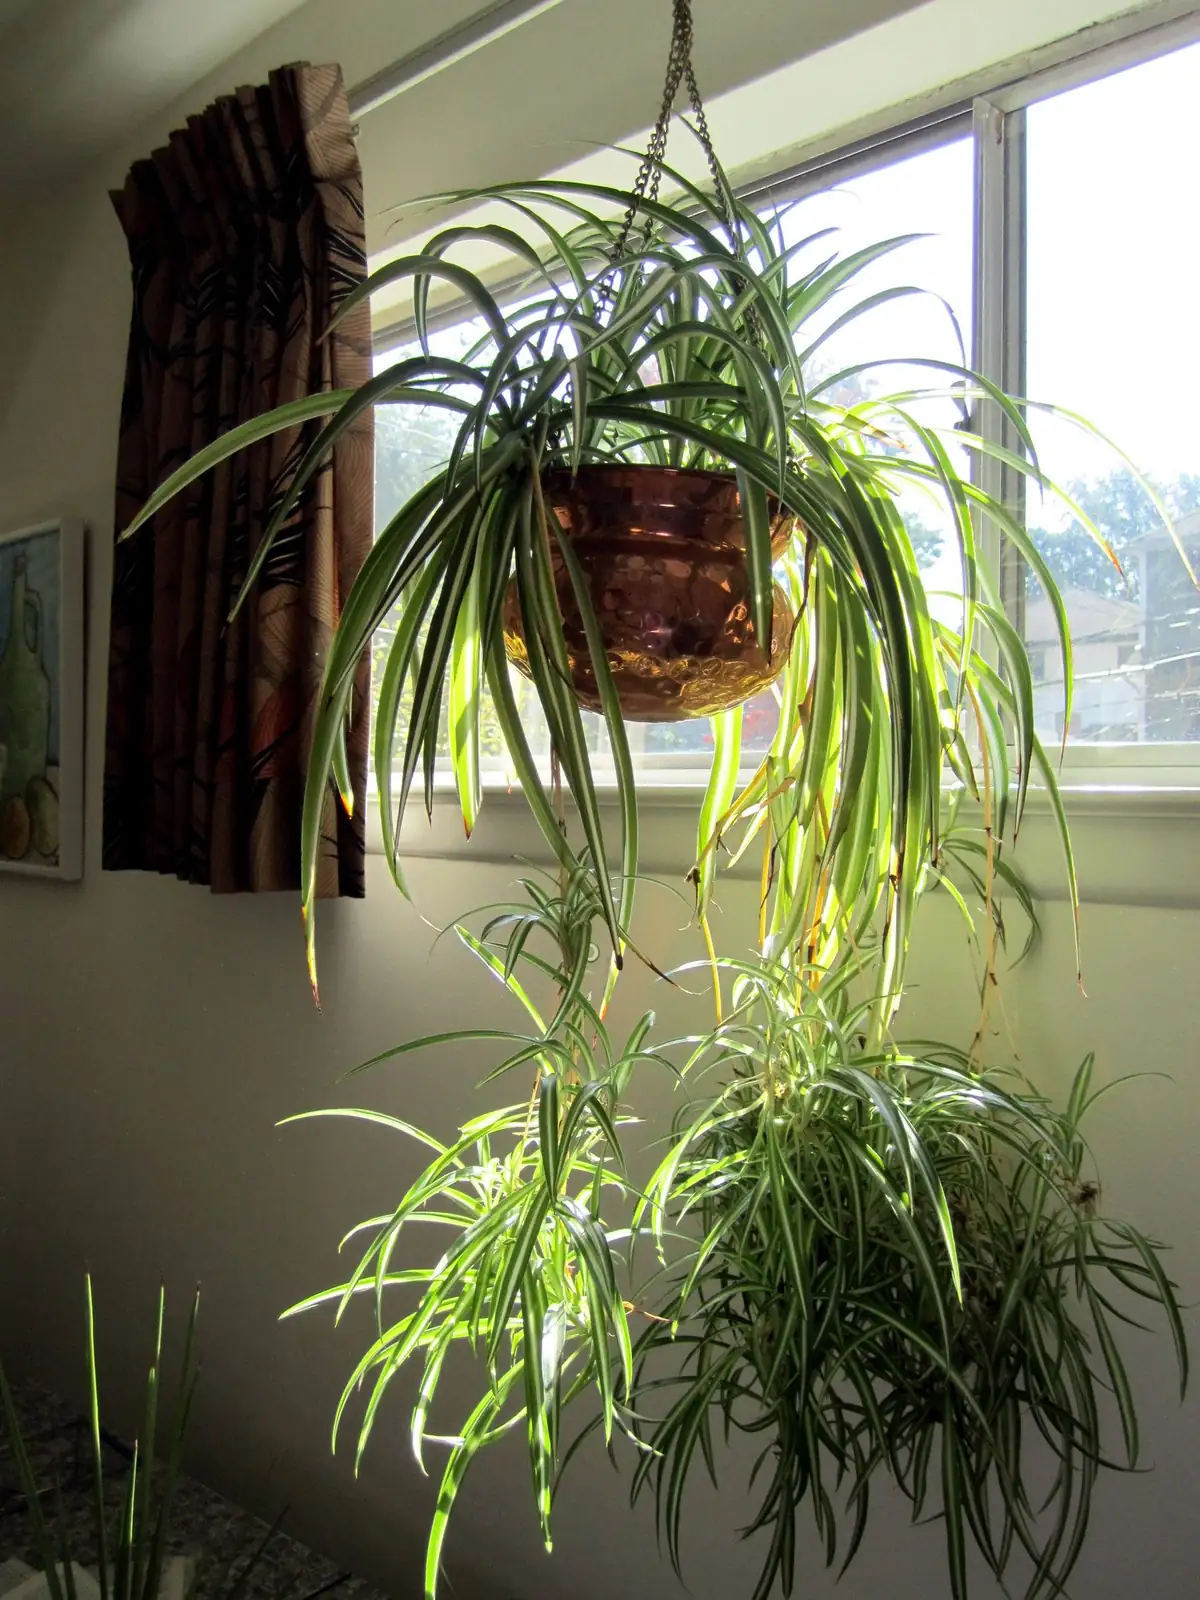
If your spider plant’s leaf tips keep toasting to brown, the fix almost always lives in your watering routine—not just how much, but when, how it drains, how often you flush the soil, and what kind of water you use. Here’s a practical, step-by-step plan to keep Chlorophytum comosum (aka spider plant, airplane plant, ribbon plant) lush, striped, and tip‑tidy.
Why spider plants get brown tips (the quick, useful science)
Think of a leaf like a city’s water system: tips and edges are the farthest neighborhoods from the reservoir. When anything disrupts the flow—salt buildup from fertilizer or tap water, irregular moisture, root stress, or too-dry air—the damage shows up there first as crisping or browning. Spider plants have thick, fleshy, water‑storing roots, so they forgive the occasional dry spell, but they are famous for reacting to mineral/fluoride buildup and inconsistent watering.
The cure is a rhythm: even moisture, excellent drainage, a monthly flush to remove salts, and the right water when tap quality is harsh.
—
The no‑brown‑tips game plan (4 pillars)
1) Time each watering right
2) Water thoroughly into a draining mix and empty the saucer
3) Flush the pot monthly to purge salts
4) Switch to filtered/distilled/rainwater when quality becomes the bottleneck
Below, each pillar broken down step by step.
—
1) Timing: when to water, season by season
Your goal: “evenly moist, never soggy.” Water thoroughly when the top 2–3 cm (about 1 in) of mix is dry.
- Fast checks that actually work
- Finger test: press into the top inch—if it’s dry there, it’s time.
- Lift test: learn the pot’s “light when dry” weight.
- Skewer method: insert a wooden skewer; if it comes out mostly dry, water.
- Typical rhythms (adjust for your light, pot size, and temperature)
- Spring–Summer (bright, warm): about twice weekly or every 2–3 days in very bright, warm rooms.
- Autumn: taper gradually.
- Winter (cooler, dimmer): about once weekly or less.
- Reminder: because spider plants store water in their roots, overwatering is more common than underwatering—err slightly on the dry side in low light.
- Best time of day
- Morning watering hydrates before the day’s light and warmth, reducing stress.
- Situational tweaks
- After repotting: keep evenly moist, but don’t overdo it—fresh mix retains water better.
- In very dry rooms: the soil can dry faster; still follow the top‑inch rule rather than the calendar.
—
2) Delivery and drainage: how to water so roots stay happy
Roots need oxygen as much as water. Perfect drainage prevents tip-browning from root stress.
- Pot and mix setup
- Use a pot with at least one generous drainage hole.
- Use a loose, well‑draining houseplant mix boosted with perlite and/or coarse sand; a bit of peat/leaf mold balances moisture.
- A slightly snug pot is fine; oversized pots stay wet longer and risk rot.
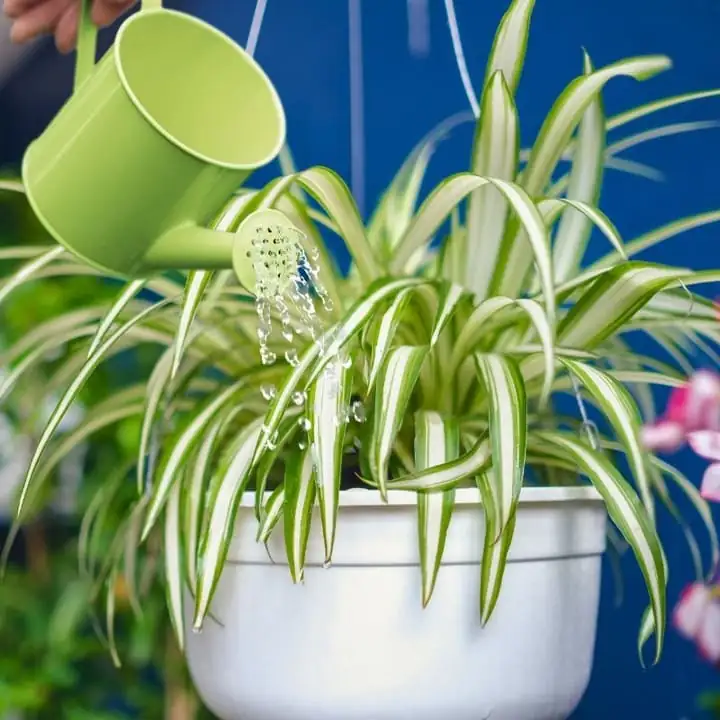
- The thorough‑soak method
1) Water with lukewarm water (around 25°C / 77°F) until you get a good runoff.
2) Pause 30–60 seconds.
3) Water again lightly to ensure the core of the root ball is saturated.
4) Let excess drain fully; never leave the pot sitting in water.
- Saucers and cachepots
- Always empty the saucer or outer decorative pot 10–15 minutes after watering.
- If the plant sits inside a cachepot, lift the grow pot to drain fully before returning it.
- Self‑watering notes
- Spider plants dislike constant saturation. If you use a self‑watering setup, let the reservoir run dry for a few days between refills so the root zone can re‑oxygenate.
—
3) Monthly flushing: the overlooked fix for salt and fluoride buildup
A regular flush leaches out accumulated fertilizer salts and tap‑water minerals that toast leaf tips over time.
- When
- About once a month during active growth; every 6–8 weeks in winter if growth slows.
- How
1) Place the pot in a sink or shower.
2) Run lukewarm water (about 25°C / 77°F) through the soil for several minutes, allowing steady drainage. As a rule of thumb, pass at least 2–3 times the pot’s volume of water through the mix.
3) Let it drain completely. This counts as that day’s watering—no extra water needed afterward.
4) If you see a white crust on the soil surface, gently scrape it off before flushing and top up with a little fresh mix.
- Fertilizer timing around a flush
- Don’t feed right before flushing (you’ll wash it away). Feed at your next regular watering.
—
4) Water quality: when to switch to filtered, distilled, or rainwater
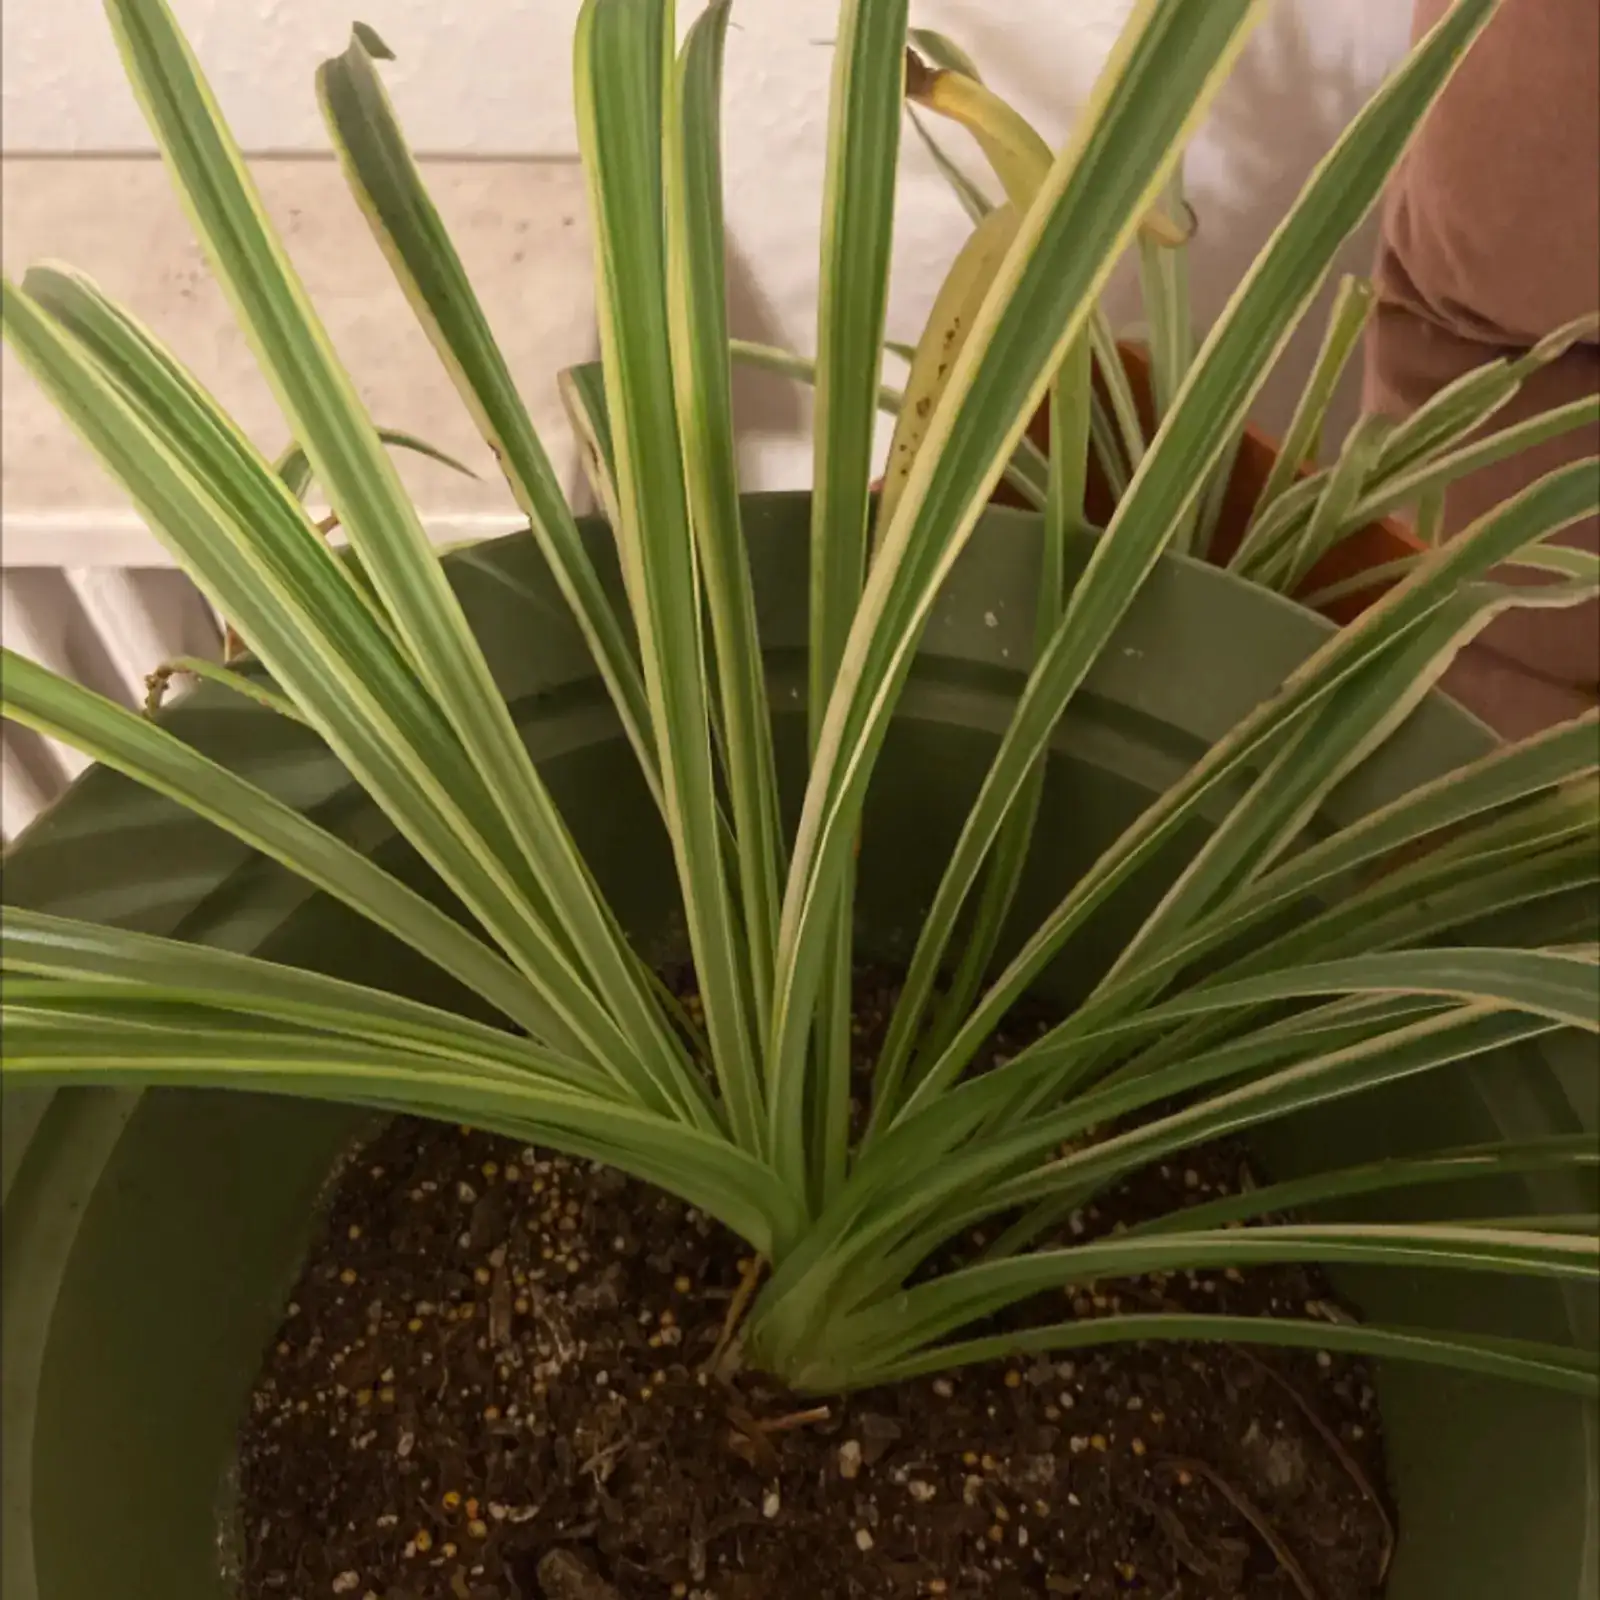
Spider plants can be sensitive to minerals and fluoride/chlorine in tap water. If the following persist despite good timing and drainage, your water may be the culprit:
- You consistently flush monthly and water evenly, yet new leaves still develop brown tips.
- A white, salty crust forms on soil or pot rims quickly.
- You’ve recently moved and browning started after the move.
- Your municipality is known for hard or heavily treated water.
What to use instead:
- Filtered water (e.g., carbon filter), distilled, or clean rainwater.
- You can also blend: start with a 50/50 mix of tap and filtered, then adjust based on results.
Helpful nuance:
- Letting tap water sit out overnight can dissipate some chlorine but does not remove fluoride or reduce hardness salts; if browning continues, step up to filtered/distilled/rainwater.
—
Fertilizing without feeding the burn
Excess fertilizer contributes to salt stress and brown tips.
- Feed during active growth (spring through early autumn) with a balanced liquid houseplant fertilizer.
- Typical rhythm: every 2–3 weeks, or more lightly every 10–14 days at a dilute rate.
- Reduce to monthly or pause in winter if growth slows.
- Avoid heavy nitrogen on variegated cultivars (it can dull the striping).
- Keep up the monthly flush to wash out residues.
—
Light, temperature, and humidity that support tip‑perfect leaves
- Light: bright, indirect light is ideal. Avoid harsh midday sun that can scorch leaf edges; gentler winter sun is usually fine.
- Temperature: happiest around 18–24°C (64–75°F); keep above about 7°C (45°F).
- Humidity: adaptable, but around 50% or a tad higher helps tips look nicer. In very dry rooms, try a pebble tray or occasional midday mist on bright days—avoid constantly wet foliage in cool, stagnant air.
—
Troubleshooting: read the leaf tips like a pro
- Brown, crispy tips + potting mix often bone‑dry?
- Underwatering or hot, dry air. Water when the top inch dries and boost humidity modestly.
- Brown tips + white crust on soil/pot + otherwise decent growth?
- Salt/mineral buildup. Do a thorough flush monthly; consider filtered/rainwater.
- Brown/black patches with wedge‑shaped scorch on leaves in strong light?
- Sun scorch. Shift to bright, indirect light.
- Limp, yellowing leaves + wet, heavy soil with a musty smell?
- Overwatering/poor drainage. Improve mix, drainage, and let the top inch dry before watering.
- Still not sure?
- Reset with the four pillars for 4–6 weeks. If new growth emerges clean while old tips remain brown, you’ve solved it. Trim old tips for looks.
—
A clean‑tip watering routine you can copy this month
Week 1
- Check soil when the top inch dries; water thoroughly with runoff; empty saucer.
- Note how many days it took to dry—this becomes your baseline.
Week 2–3
- Repeat watering on that rhythm; rotate the pot for even growth.
- If your room is very bright/warm, expect the interval to shorten.
Week 4
- Do a monthly flush with lukewarm water (25°C / 77°F), then let it drain fully.
- If brown tips persist on new growth next month, switch to filtered/distilled/rainwater.
Ongoing
- Feed lightly in spring–summer, flush monthly, and keep that top inch rule year‑round.
—
Quick answers to common “But what about…?”
- Can I trim the brown tips?
- Yes. Follow the natural point of the leaf; avoid cutting into green tissue more than necessary.
- Do spider plants like being a bit rootbound?
- Slightly snug is fine and can encourage runners. Repot every 2–3 years or when thick roots circle or poke through drainage holes—move up just one pot size and refresh the mix.
- Safe around pets?
- Generally considered non‑toxic, but cats may nibble and get mild stomach upset—hang it high if you have a leaf connoisseur at home.
—
The bottom line
For spider plants, brown tips aren’t a personality trait—they’re a care signal. Nail the timing (top inch dry), ensure real drainage, flush monthly, and upgrade your water if salts are sneaking in. Do those four things, and your Chlorophytum comosum will repay you with a waterfall of clean, lively ribbons—and plenty of baby plantlets to share.


