If you’ve ever stared at your Baby Rubber Plant (Peperomia obtusifolia) and thought, “I wish I had five more of you,” this is your masterclass. We’re going deep on the two most reliable cutting types (tip vs. leaf) and the two rooting approaches (water vs. soil), complete with realistic timelines, humidity hacks, and the sneaky pitfalls that quietly sabotage success. By the end, you’ll know exactly which method to pick, how to set it up, and what to expect in weeks two, three, and beyond.
Meet your plant partner-in-crime
- Botanical name: Peperomia obtusifolia (Baby Rubber Plant), family Piperaceae
- Origin: Tropical South & Central America and the Caribbean (especially Brazil)
- Vibe: Compact, evergreen, semi-succulent leaves that store water; pet-safe; slow and steady grower
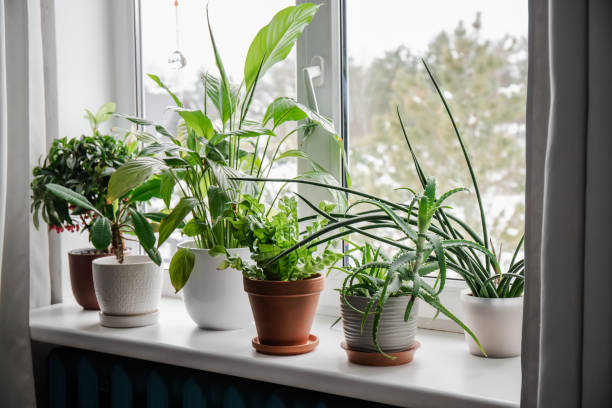
- Light: Bright, filtered light; avoid harsh direct sun
- Climate sweet spot: 16–24°C (61–75°F); keep above 10°C (50°F)
- Soil: Fast-draining, airy mix; pot with drainage
- Why it’s perfect for propagators: Roots readily from both tip and leaf cuttings; roots often form in about 2–3 weeks, with baby plantlets from leaf cuttings showing up around the one-month mark

Bonus charm: Those quirky, upright “rat-tail” flower spikes sometimes appear, but foliage is the star.
Tip cuttings vs. leaf cuttings, water vs. soil: choose like a pro
Tip cuttings (stem tips with leaves)
- Best for: Fastest starts, fuller plants sooner, variegated forms you want to keep consistent
- Speed: Roots typically in about 2–3 weeks
- Look-for: A healthy green or variegated tip with several leaves; woody or very old stems are slower
Leaf cuttings (a single mature leaf with petiole)
- Best for: Multiplying plants when stems are short, salvaging beauty leaves, making lots of babies at once
- Speed: Roots in 2–3 weeks; tiny plantlets often appear in ~1 month
- Note: Genetic variation can happen with some Peperomia leaf props; for true-to-form variegation, tip cuttings are more predictable
Water rooting
- Why choose it: Beginner-friendly; watch the roots form; low setup cost
- Watch-outs: Transition to soil later can stall growth if rushed; change water weekly to keep it clean
Soil rooting
- Why choose it: Stronger, transplant-free start; less risk of shock later
- Watch-outs: You can’t see roots forming—go by resistance and new growth
Tools and setup
- Sharp, sterile snips
- Small pots with drainage or a seed tray
- Rooting medium: 50–60% peat or coco coir + 30–40% perlite; optionally add a little fine orchid bark
- Optional: Rooting hormone, clear humidity cover (bag or dome) with air holes
- Clean room-temperature water (if water-propping)
- Environment: Bright, indirect light; gentle warmth (16–24°C/61–75°F); moderate humidity with good airflow
Pro tip: Rotate the mother plant a half turn weekly in the lead-up to cutting day. Even light makes stronger, better-balanced cuttings.
Method 1: Tip cuttings in soil (my fastest, lowest-drama route)
- Take a 3–4 cm (1.2–1.6 in) tip cutting with 3–5 leaves. If leaves are large, remove the lowest ones and keep 2–3 to reduce moisture loss.
- Let the cut end air-dry for 30–60 minutes to lightly callus.
- Dip the cut in rooting hormone (optional).
- Insert into a pre-moistened, airy mix. Bury at least one node; keep leaves above the surface.
- Create a “light, breathable greenhouse”: cover with a vented dome or a clear bag with holes. Keep the cover from touching leaves.
- Place in bright, filtered light. Keep warm, never soggy—just lightly moist.
- Timeline:
- Days 10–21: Roots form (you’ll feel gentle resistance when you nudge)
- Weeks 3–4: New leaf or stem growth signals “go” for normal care
Method 2: Tip cuttings in water (watch the magic, then pot up)
- Prepare a jar of room-temperature, clean water.
- Take a 3–4 cm tip cutting. Strip any leaf that would sit under water.
- Submerge just the nodes; keep leaves dry.
- Set in bright, indirect light; refresh water weekly.
- Pot up when roots are 2–5 cm (about 1–2 in), usually around weeks 2–4.
- Transition gently: plant into a lightly moist, airy mix and maintain higher humidity for a week while roots adapt to soil.
Note: Peperomia can sit in water for a while, but if you keep them in water long-term, they’ll need nutrients. Most growers get sturdier plants by moving to soil once roots are substantial.
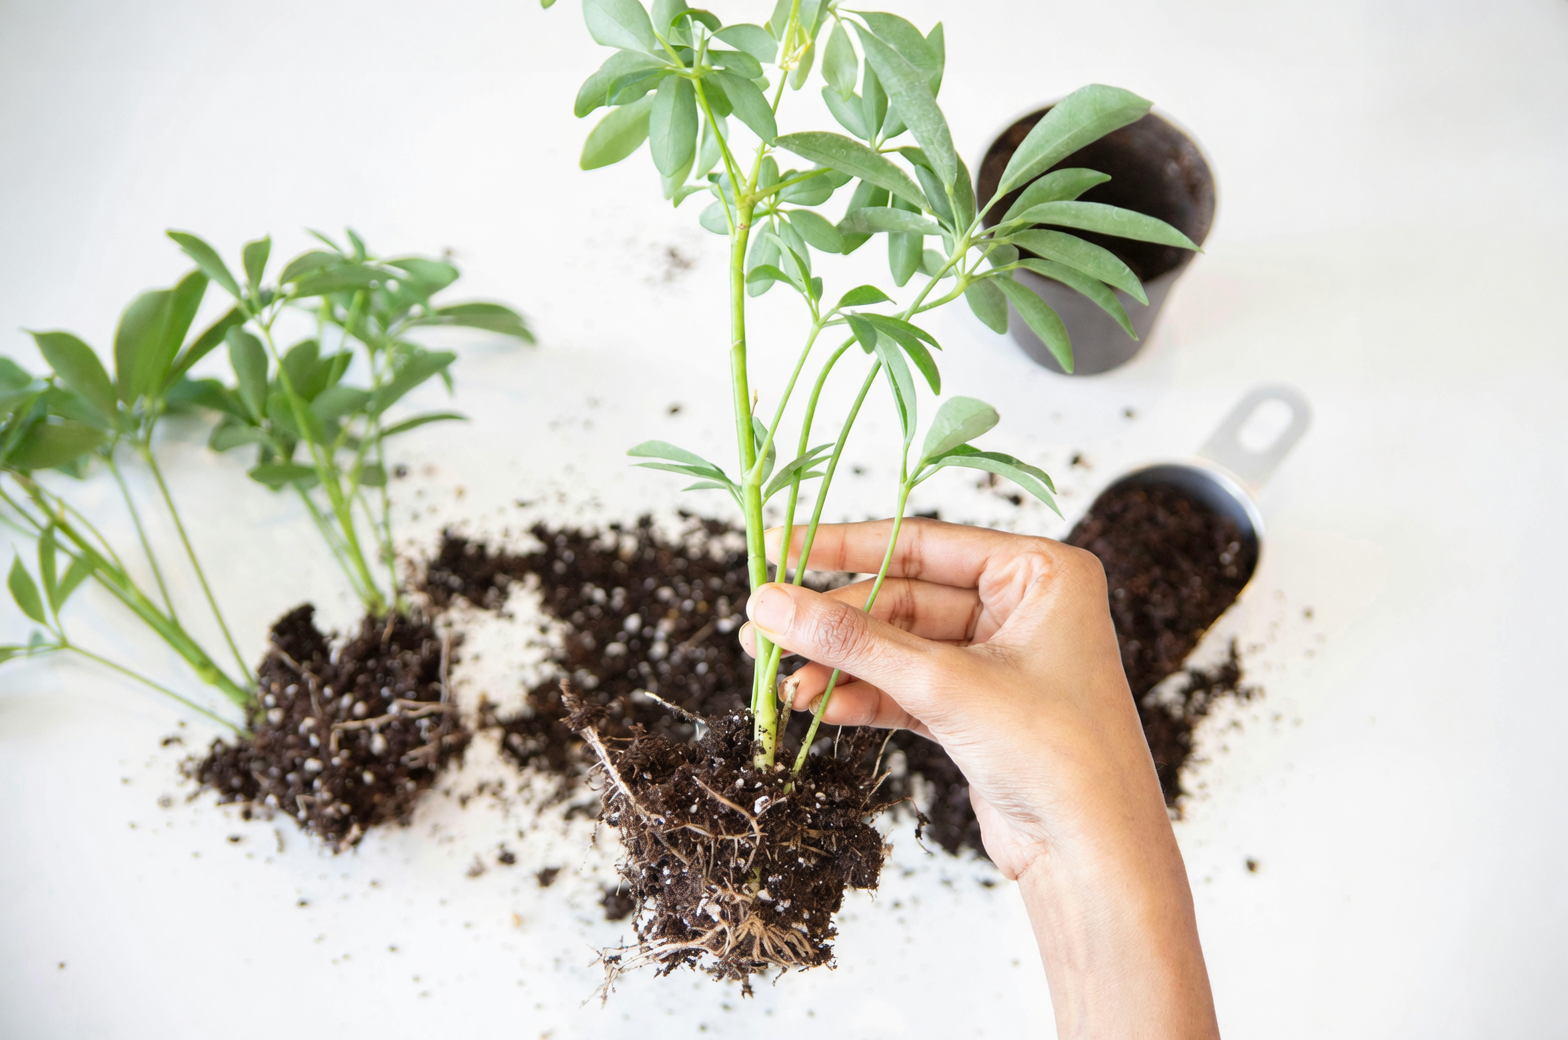
Method 3: Leaf cuttings in soil (the multiplication trick)
- Choose a mature, healthy leaf. Keep about 1 cm (0.4 in) of petiole attached.
- Let the cut end dry for 30 minutes.
- Insert the petiole into a pre-moistened, airy mix so the leaf blade rests just above the surface.
- Cover with a vented humidity dome or bag; bright, filtered light; gentle warmth.
- Keep the mix barely moist—not wet.
- Timeline:
- Weeks 2–3: Roots form
- Around 1 month: Tiny plantlets appear at the base
- Weeks 6–10: Separate and pot up once plantlets have a few leaves and their own roots
Method 4: Leaf cuttings in water (possible, but pickier)
- Set the petiole in water (leaf above water), bright filtered light, and change water weekly.
- Risk of rot is higher than in soil; if you try this, move to soil as soon as you see early roots.
- If you want reliable leaf-prop success, soil usually wins here.
The quick comparison
Tip vs. leaf cuttings
- Speed to visible growth: Tip faster
- Fullness sooner: Tip wins
- Maximum number of babies: Leaf wins
- Best for variegation fidelity: Tip wins
Water vs. soil rooting
- Easiest to monitor: Water
- Least transplant shock: Soil
- Cleanliness matters most: Water (change weekly)
- Root robustness from the start: Soil
Your 6-week timeline cheat sheet
- Day 0: Take cuttings, prepare medium or water, set up humidity cover (vented)
- Days 7–10: Callus/early root priming; keep evenly, lightly moist (soil) or fresh (water)
- Days 14–21: Most cuttings show roots; leaf cuttings still “quiet” above ground
- Week 4: Tip cuttings often pushing new leaves; leaf cuttings producing plantlets
- Weeks 5–6: Pot up water-rooted tips; divide leaf-prop plantlets when they have multiple leaves and their own roots
Green flags:
- Firm, turgid leaves
- Gentle resistance when tugged (soil props)
- Pale new root nubs turning into white roots
Red flags:
- Mushy stems, blackened cut ends, sour smell, stagnant water
Humidity and warmth hacks that actually help
- Vented dome: A clear bag or dome with several holes. Open daily for a minute to refresh air.
- Pebble tray: Place pots on pebbles with water below the pot base—boosts local humidity without wet feet.
- Bottom warmth: A gentle heat mat set low can speed rooting in cool rooms.
- Airflow matters: A small fan on low across the room prevents stagnant, damp air.
Note: Constant misting isn’t necessary and can encourage fungal issues. Aim for moderate humidity plus airflow.
The slowdown culprits (and how to dodge them)
- Soggy mix or no drainage: Causes rot fast. Use a light, fast-draining blend and a pot with holes.
- Cold snaps: Below 10°C (50°F) stresses or damages leaves and stalls rooting.
- Harsh direct sun: Scorches leaves; stick to bright, filtered light.
- Dim corners: Slow, leggy, weak cuttings. Increase light quality and duration.
- Oversized pots: Stay wet too long. Use small propagation cells or 5–7 cm pots.
- Stagnant water: Change weekly for water props; cloudy water = trouble.
- Heavy fertilizer early: Especially high nitrogen—can stress new roots and dull variegation. Feed only after you see active growth.
- Crowded, still air: Encourages pests and fungal issues; thin dense foliage and ventilate.
- Burying leaves too deep: For leaf props, keep the blade above the surface; only the petiole end goes in.
- Dirty tools/media: Sterilize blades; use fresh, sterile mix to avoid viruses and rot organisms.
Aftercare: growing babies into beautiful plants
- Light: Bright, indirect light (east window is perfect; south/west with a sheer).
- Water: Let the top ~5 cm (2 in) dry between waterings, then water thoroughly and empty the saucer.
- Feeding: Light feeder—use a diluted, balanced liquid fertilizer monthly in spring/summer only once you see new growth.
- Potting up: Peperomia likes to be slightly snug. Size up just 2.5–5 cm (1–2 in) when roots fill the pot.
- Temperature: Keep them comfy at 16–24°C (61–75°F). Prolonged heat above 30°C (86°F) can slow growth.
Style, safety, and small joys
- Looks: Thick, glossy leaves stay tidy on desks and shelves; variegated cultivars are especially eye-catching.
- Pet-safe: Generally non-toxic to cats and dogs.
- Symbolism: Often gifted as a wish for steady growth and a calm, happy home—an easy little emblem of “everything will be alright.”
Quick troubleshooting FAQ
- Leaves yellowing and dropping? Most often overwatering or low light. Let the mix dry partially, increase bright filtered light, improve airflow.
- How often should I water? Typically every 7–10 days in summer and every 2–3 weeks in winter—always adjust to your light, temperature, and pot size.
- Should I mist? Not necessary; a humidifier or pebble tray is more effective. Focus on airflow.
Ready to multiply your Baby Rubber Plant? Choose your cutting type, pick your rooting method, and set the scene for two to three weeks of quiet, leafy alchemy. The moment you spot those first roots or a tiny new leaf, you’ll be hooked—guaranteed.