Lilies are the dramatic, fragrant headliners of summer—and they’re also wonderfully generous when you know how to multiply them. This practical masterclass focuses on the three fastest, most reliable ways to propagate true lilies (Lilium spp.): offsets (division), scaling, and bulbils. You’ll get clean, step‑by‑step techniques, exacting sanitation, proven media recipes, and honest timelines to first bloom so you can plan your next waves of flowers with confidence.
Before we start cutting and potting, a refresher: true lilies grow from scaly bulbs, send up upright leafy stems, and make two root systems—basal roots below the bulb and stem roots along the buried stem above it. That’s why planting depth and drainage matter so much.
Quick promise: follow the timelines below, and you can be cutting bouquets from clonal stock in as little as two to three growing seasons, method depending.
H2: Timelines at a Glance (Offsets, Scaling, Bulbils)
- Offsets (division of daughter bulbs): typically 2 growing seasons to flowering.
- Scaling (bulblets from single scales): usually ~3 growing seasons to flowering.
- Bulbils (those pea-sized “beads” in leaf axils on bulbiferous lilies): plan on ~3 growing seasons to flowering.
H2: Prep Like a Pro: Sanitation, Tools, and Setup
Clean, disease‑free stock is everything—lilies are prone to fungal rots and virus spread by sap-sucking aphids.
- Work zone
- Wash hands and wear clean nitrile gloves.
- Disinfect benches and trays with 10% household bleach (1 part bleach:9 parts water), rinse, air-dry.
- Tools
- Use sharp knives or pruners. Dip or wipe in 70% isopropyl alcohol between plants (and again after any suspected infection).
- Bulb hygiene
- Brush off soil; rinse if needed; pat dry.
- Remove any soft, moldy tissue; dust cut surfaces lightly with powdered sulfur or a labeled bulb fungicide.
- Labeling and quarantine
- Label each batch by clone/cultivar and date.
- Grow new propagules away from established lilies for at least a season to watch for virus symptoms (mottled, streaked leaves). Control aphids aggressively to reduce virus spread.
- Water and airflow
- Water at the base only; keep foliage and flowers dry.
- Provide good spacing and circulation to reduce Botrytis (gray mold).
H2: The Mix Matters: Media Recipes That Keep Bulbs Happy
Lilies demand fertility plus sharp drainage in a slightly acidic to near‑neutral range (about pH 5.5–6.5). Avoid soggy, water‑retentive media.
- For bagging scales or starting bulbils (sterile and airy)
- Option A: straight coarse vermiculite, just barely damp.
- Option B: 2 parts vermiculite + 1 part perlite, barely damp.
- Moisture test: when squeezed, only 1–2 drops should express.
- For potting up bulblets and offsets (grow‑on mix)
- 2 parts peat or coco coir
- 1 part fine compost or leaf mold
- 1–1.5 parts coarse perlite and/or sharp sand for drainage
- Optional 0.5 part fine bark for structure
- Start fertilizer lightly only after roots are active.
- For garden beds and deep containers
- Bed: fertile loam amended with leaf mold/compost and plenty of grit/perlite/sand to stay free‑draining.
- Containers: use a deep pot; blend compost/leaf mold + peat/coco with generous perlite/coarse sand.
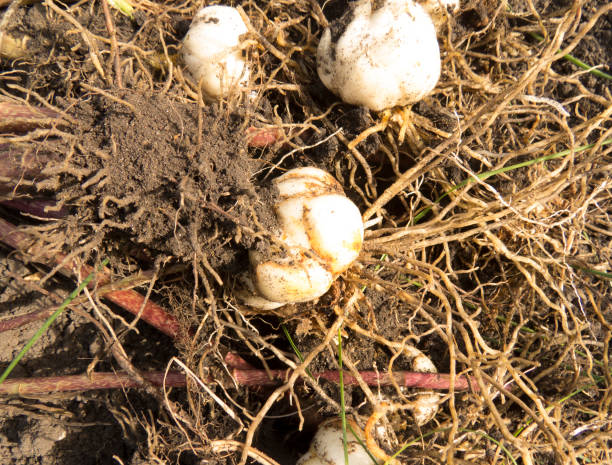
H2: Method 1 — Offsets (Division): The Easiest Clones
Offsets are the daughter bulbs that form beside the mother bulb. They’re genetically identical and fastest to flower of the three methods here.
H3: When to divide
- Best: late summer to early fall after flowering, once foliage is beginning to yellow; or very early spring before shoots elongate.
H3: How to divide (step‑by‑step)
- Lift: Loosen soil widely and deep to protect basal and stem roots. Lift the clump gently.
- Clean and inspect: Shake off soil; trim dead roots; remove any rot.
- Separate: Tease apart offsets by hand. If needed, cut cleanly with a sterile knife where they join the basal plate.
- Dust wounds: Light sulfur or a labeled bulb fungicide on any cut surfaces.
- Replant promptly:
- In garden beds: plant at a depth about 2–3 times the bulb’s height, allowing room for stem roots to form above the bulb.
- In containers: use a deep pot with excellent drainage; depth can be somewhat shallower in specific container setups, but drainage becomes critical.
- Water in lightly; keep evenly moist (never soggy) as new roots establish.
H3: Time to bloom from offsets
- Typically about 2 growing seasons. Large offsets may flower sooner; small ones may need a full two seasons.
H2: Method 2 — Scaling: Make Dozens from a Single Bulb
Each lily bulb is a stack of scales; each scale can generate one to several bulblets if given warmth and just a whisper of moisture.
H3: When to scale
- Right after flowering or during dormancy. Avoid active shoot growth.
H3: How to scale (step‑by‑step)
- Select stock: Choose a firm, healthy bulb. Leave at least 40–50% of the scales intact so the parent can recover.
- Disinfect: Rinse the bulb; allow to dry; remove a few outer scales by pulling downward so each scale retains a sliver of basal plate (that’s where new bulblets form).
- Protect cuts: Dust scale bases with powdered sulfur or a labeled bulb fungicide.
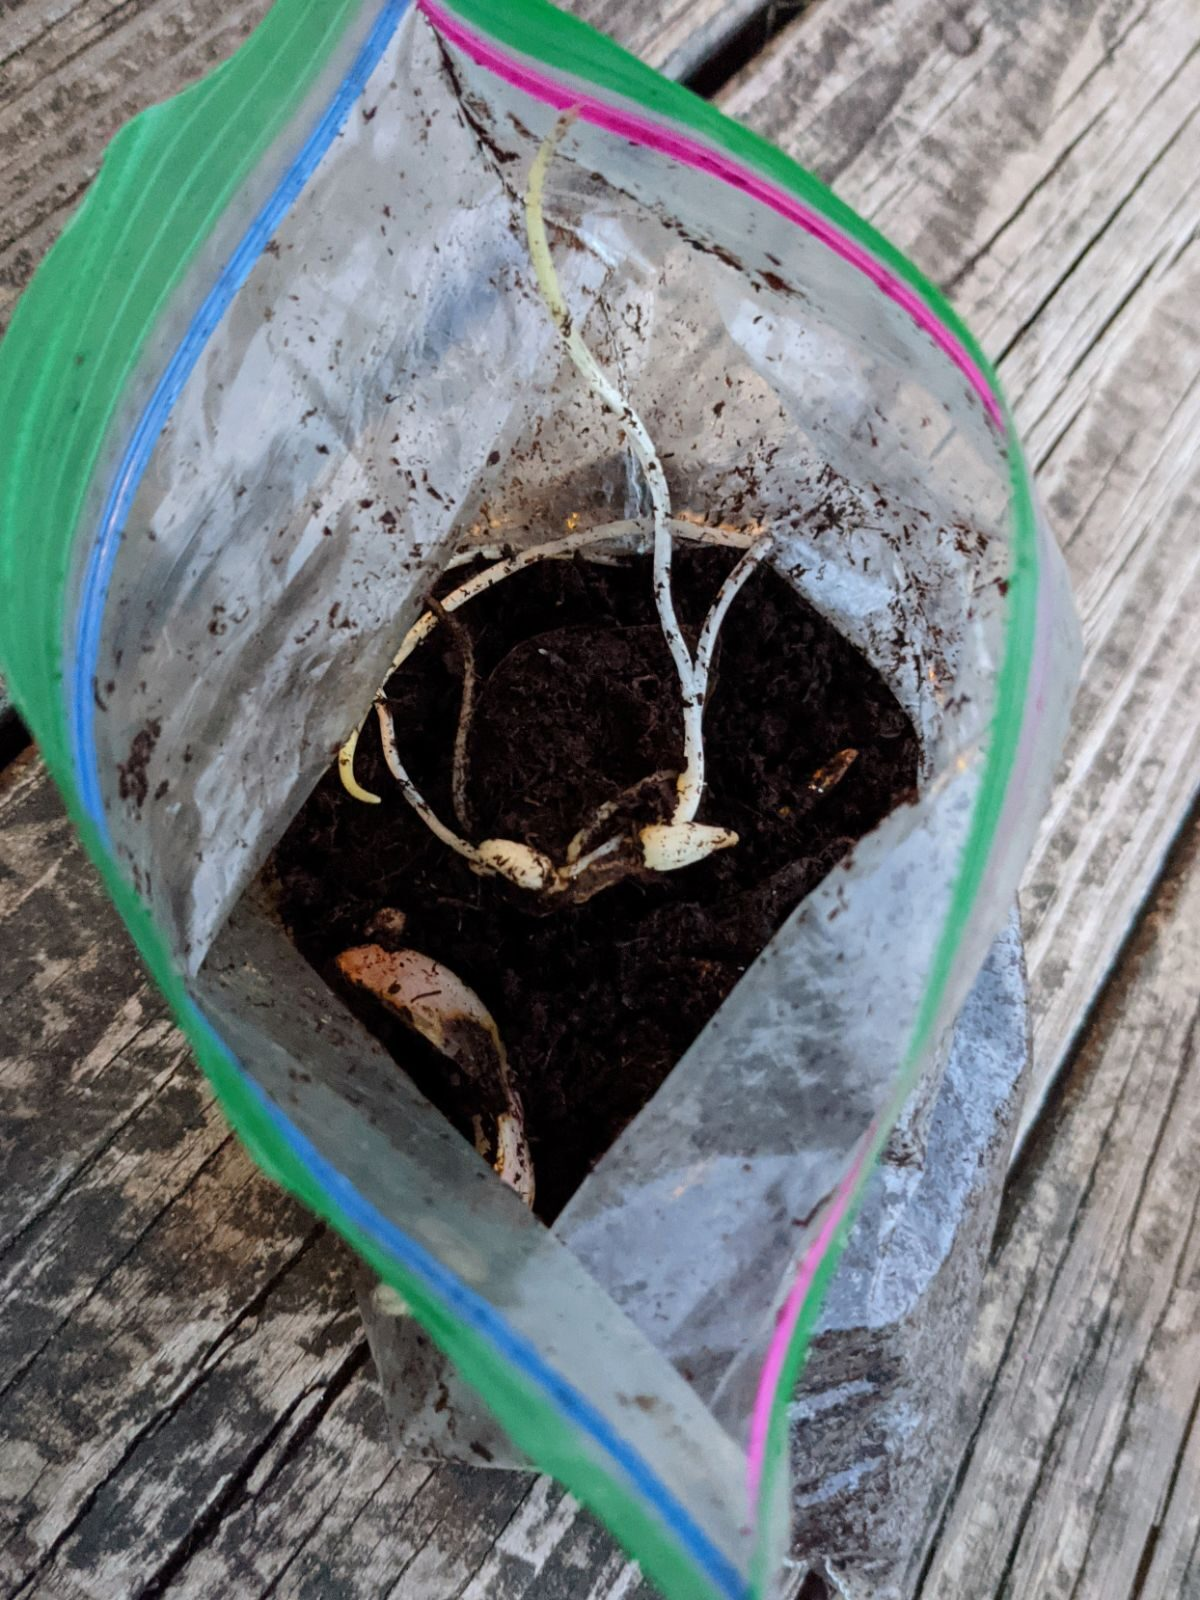
- Bag and callus:
- Place 10–20 scales in a zip bag with barely damp vermiculite (or vermiculite/perlite blend).
- Inflate slightly; seal; keep in the dark at 20–24°C (68–75°F).
- Check every 1–2 weeks for tiny bulblets forming at the scale base and for any mold (remove any infected material immediately).
- Callusing and bulblet formation typically take 6–8 weeks.
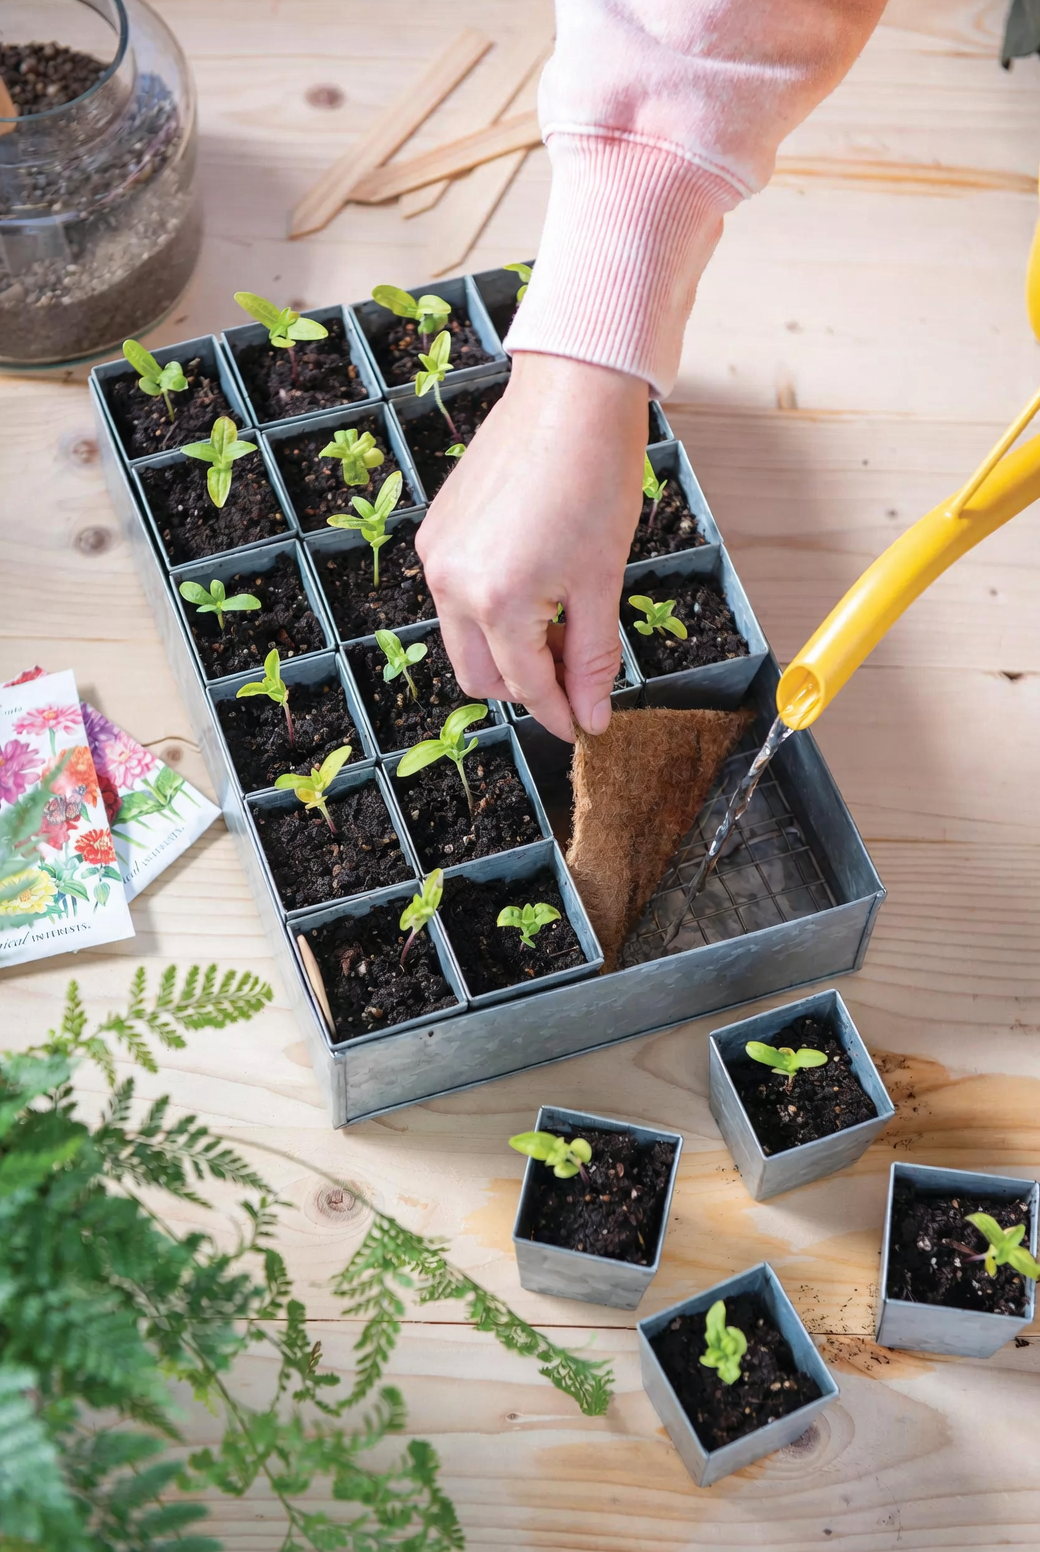
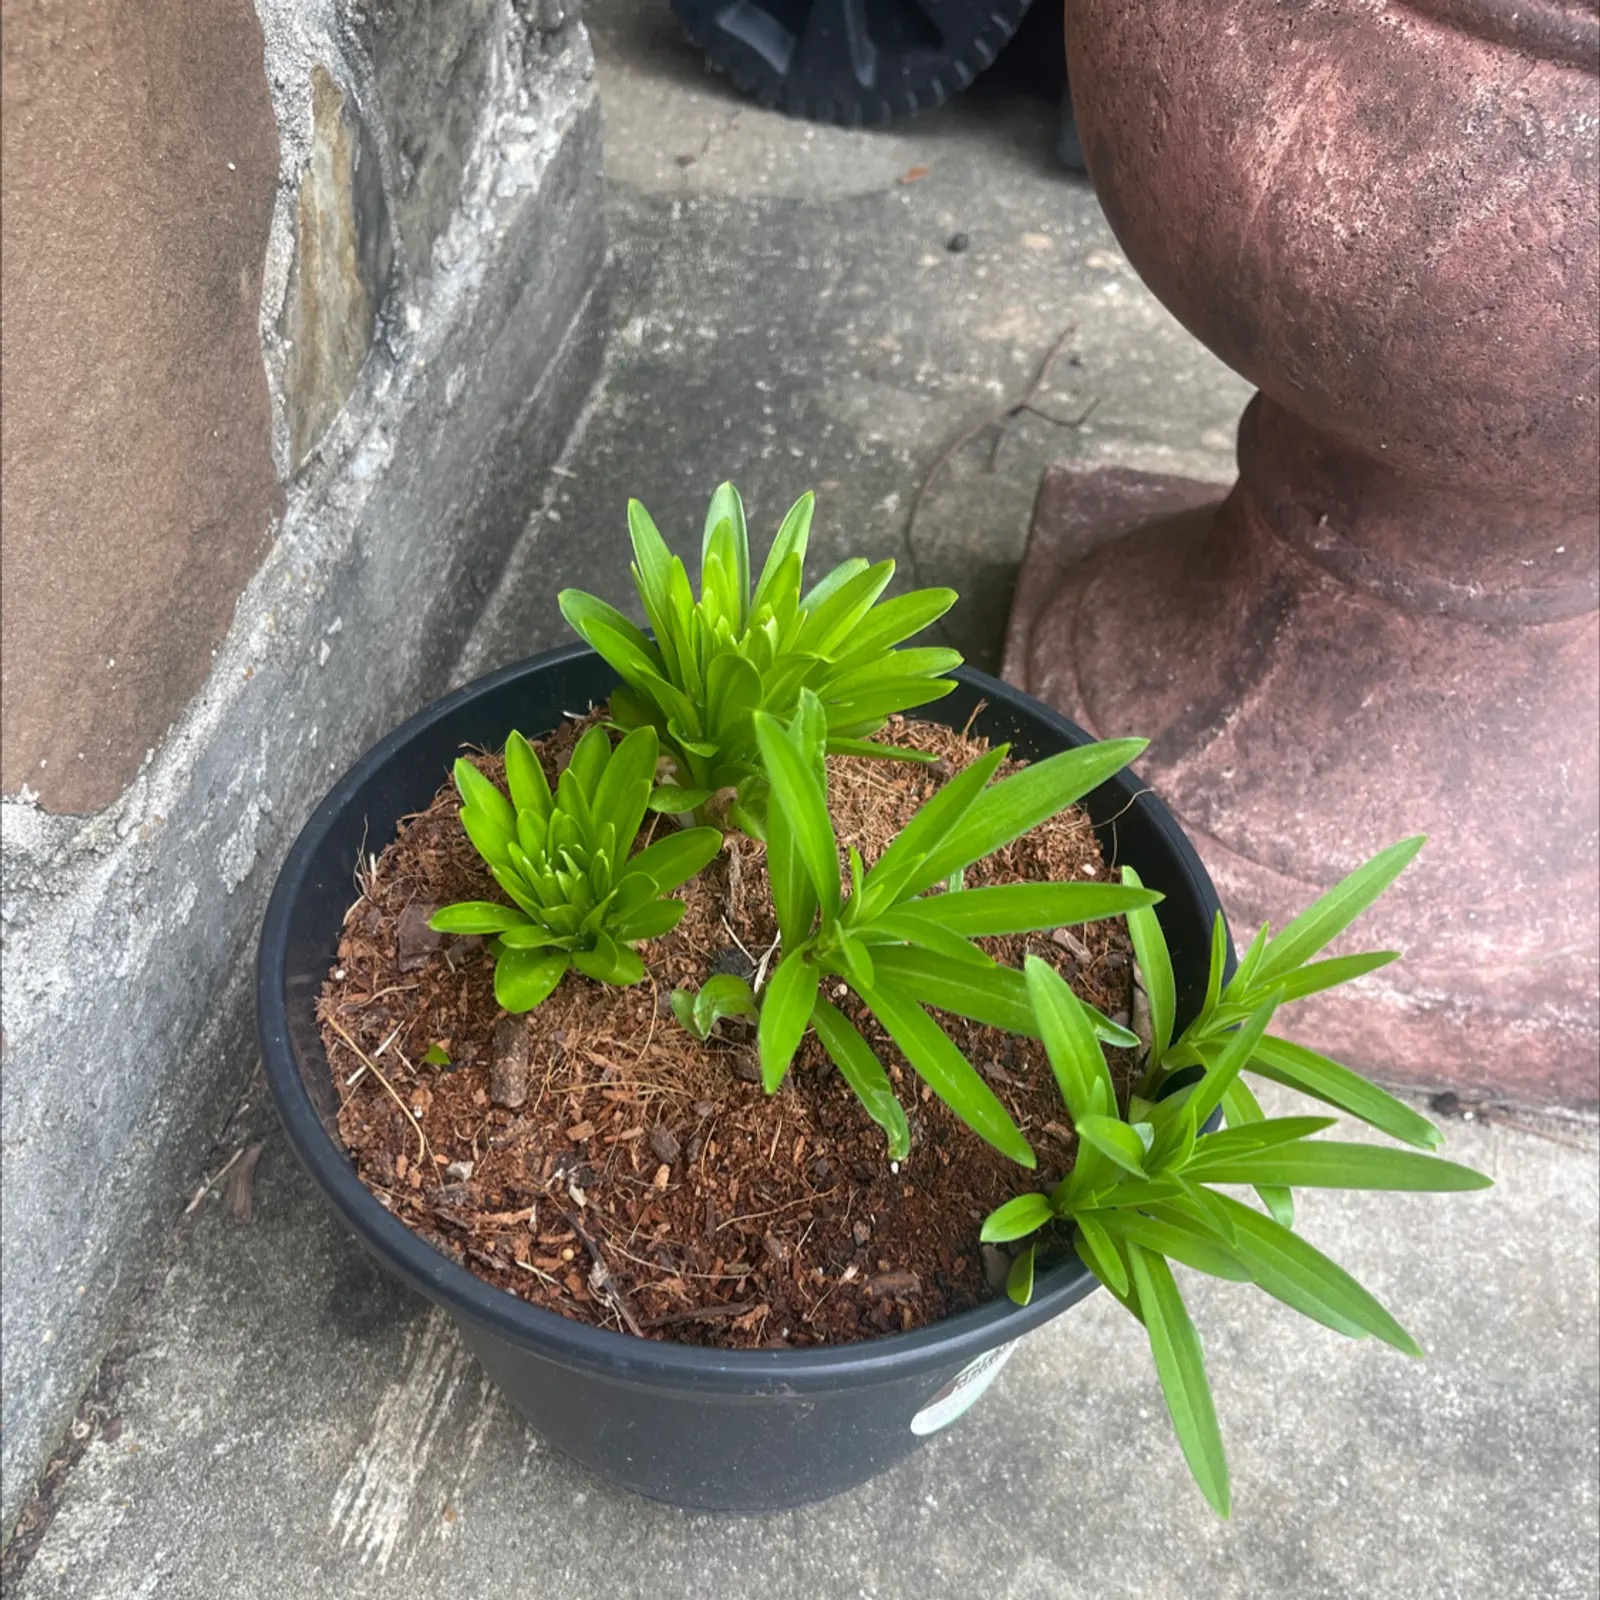
- Pot up:
- Set bulblets just below the surface in trays or small pots filled with your grow‑on mix; top‑dress with fine grit.
- Bright light, good airflow, 15–20°C (59–68°F). Keep evenly moist but never wet.
- Grow on:
- First season: expect grass‑like leaves from each bulblet; feed lightly only once roots are active.
- Allow natural dieback; keep on the dry side during dormancy; protect pots from hard freezes.
H3: Time to bloom from scales
- Plan on about 3 growing seasons to reach flowering size. Vigorous selections may bloom slightly sooner; smaller bulblets can take a bit longer.
H2: Method 3 — Bulbils: The Free Beads on Bulbiferous Lilies
Several lilies (for example, tiger lily types and a number of Asian species) form small, pea‑sized bulbils in their leaf axils mid‑to‑late season. They drop and root naturally—help them along and you’ll have dozens.
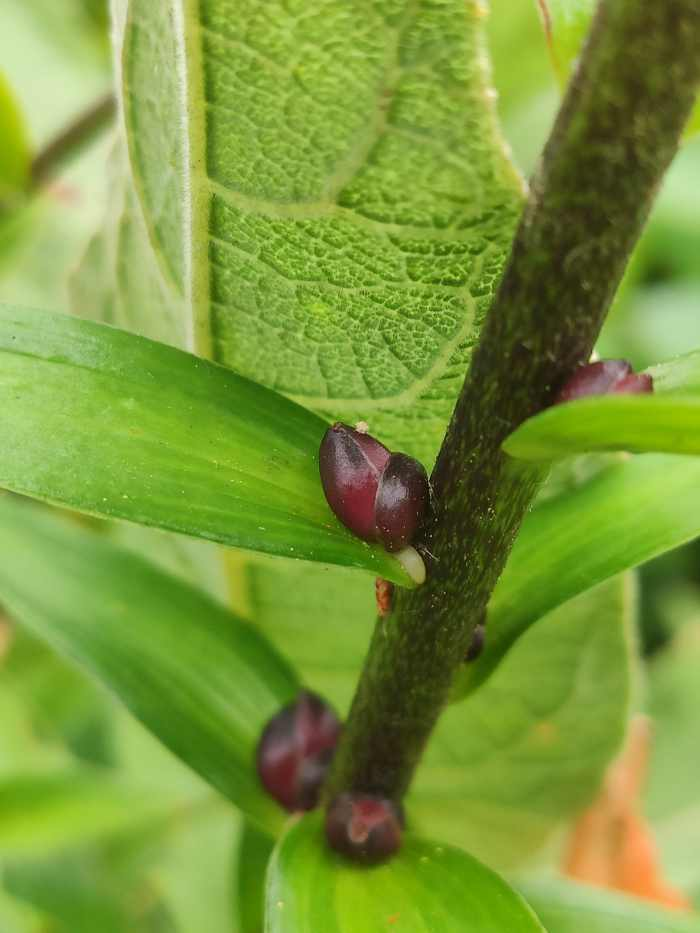
H3: When and how to collect
- Late summer when bulbils turn deeper in color and detach with a gentle twist.
- Choose only firm, plump bulbils; discard any soft or shriveled ones.
H3: How to raise bulbils
- Sow shallow: Press bulbils into trays of sterile, free‑draining mix, just 0.5–1 cm deep; top with a thin layer of fine grit.
- Moisture and chill: Keep just moist, not wet. Overwinter outdoors in a protected cold frame or cool, bright, sheltered spot; protect from waterlogging.
- Spring push: In spring, they’ll send up slender leaves. Pot on as needed, keeping roots undisturbed.
- Culture: Full sun to partial shade, cool bulbs, even moisture, good airflow. Feed lightly once roots are active.
H3: Time to bloom from bulbils
- Typically around 3 growing seasons to flowering size, depending on species/cultivar and culture.
H2: Growing-On Calendar (Temperate Northern Hemisphere)
H3: Year 0 (Propagation)
- Late summer–fall
- Divide offsets; replant or pot.
- Collect bulbils; sow shallow in trays.
- Late summer–autumn or winter
- Take scales; bag and callus 6–8 weeks; then pot up bulblets.
H3: Year 1 (Build Bulb, Not Blooms)
- Spring–summer
- All methods: bright light with 4–6+ hours of sun; keep evenly moist, never soggy; avoid overhead watering.
- Feed modestly from early growth through bud set periods (bulblets likely won’t set buds this year, but begin a diluted feed rhythm).
- Late summer–fall
- Deadhead any chance flowers on larger offsets, if desired, to push energy to bulbs.
- Reduce watering as foliage yellows; keep pots on the dry side during dormancy.
H3: Year 2 (First Flowers from Offsets; Bulblets Bulking)
- Offsets: many reach first flowering this season.
- Scaling and bulbils: grow strongly; a few vigorous ones may try to flower—disbud if you want larger bulbs and better displays next year.
H3: Year 3 (Showtime for Scales and Bulbils)
- Expect good flowering from scaled bulblets and bulbils this season with proper culture.
H2: Planting Depth, Sun, and Temperature (Do These Right, Double Your Success)
- Sunlight: full sun to partial shade; aim for at least 4–6 hours of sun. In hot climates, provide afternoon shade.
- Keep bulbs cool: mulch or underplant to shade the root zone while tops bask in sun.
- Temperature: strongest growth around 15–25°C (59–77°F). Protect containers from freezing solid in winter.
- Planting depth:
- In beds: about 2–3 times the bulb’s height.
- In containers: use deep pots and perfect drainage; some setups cover bulbs more shallowly, but be extra vigilant about moisture and airflow.
H2: Watering and Feeding, Minus the Rot
- Watering
- During active growth, keep evenly moist but never waterlogged; water at the base.
- After bloom, taper off; stop when stems have yellowed and died back.
- Feeding
- Start with fertile soil and a modest compost base.
- Feed lightly once roots are active in spring, then again around bud set. Many growers shift to slightly higher P and K as buds form.
- Avoid heavy feeding before roots are established.
H2: Troubleshooting and Hygiene Check
- Bulb rot? Almost always too much water or poor drainage. Refresh into sharper‑draining mix; remove rot; consider a labeled fungicide if problems recur.
- No blooms?
- Insufficient light, bulbs too small/immature, too‑shallow planting (weak stem roots), or underfeeding. Adjust light, depth, and nutrition.
- Mushy petals/Botrytis?
- Keep flowers dry; no overhead watering; improve airflow.
- Pests and disease
- Aphids (virus vectors), lily leaf beetle (where present), nematodes. Use approved insecticidal soap/horticultural oil for soft‑bodied pests; hand‑pick beetles; maintain sanitation.
- Ethylene sensitivity
- Keep potted lilies and cut stems away from ripening fruit; ethylene shortens vase life. For bouquets, harvest when the first bud is colored but still closed and remove anthers to prevent pollen stains.
H2: Safety Note
True lilies are extremely dangerous to cats—pollen, petals, leaves, and even vase water can cause acute kidney failure. Keep all parts completely away from cats and seek urgent veterinary care if exposure is suspected. Humans are generally fine to handle but pollen and strong fragrance may irritate sensitive individuals. Dogs can have GI upset if they chew foliage.
H2: Varieties and Where Bulbils Happen
- Many Asian hybrids and tiger lily types (Lilium lancifolium and kin) are famously bulbiferous, making bulbils in leaf axils.
- Madonna, Easter, and many Oriental types don’t typically make bulbils but divide and scale beautifully.
- Whichever you grow, stick to the three methods above for clonal, reliable results; seed is fun for breeding but slow and often not true to type.
H2: Symbolism, Flower Language—and What It Really Means
Lilies have worn many crowns: purity and renewal in Greek myth (sprung from Hera’s milk), the white “Madonna lily” in Christian iconography, and in Chinese culture the layered bulb evokes “百年好合”—a hundred years of harmonious union—making lilies beloved in weddings. Modern “flower language” assigns colors meanings too: white (purity/rebirth), pink (admiration/abundance), red (passion), orange (confidence), yellow (gratitude/joy). It’s worth saying out loud: these meanings are cultural stories we attach to flowers, not botanical traits. They change by era and place—but they endure because lilies are unforgettable.
H2: Pro Tips to Shave Weeks (or Headaches) Off Your Propagation
- Warm callus, cool grow‑on: keep scales warm (20–24°C) to form bulblets quickly; then grow cool (15–20°C) with strong light to bulk bulbs.
- Don’t rush fertilizer: feed only after active roots form—a heavy feed in cold, wet mix invites rot.
- Space equals airflow: crowding invites Botrytis; give each tray cell its breathing room.
- Disbud the first year of tentative blooming from small bulblets—invest in the bulb, reap bigger stems next season.
- Keep the root zone dry‑ish over winter, especially in pots; waterlogging, not cold, is the killer.
H2: Your Lily Propagation Plan (Pick One—or All Three)
- Want flowers soonest? Divide offsets in late summer; target flowers in 2 seasons.
- Want numbers? Scale one good bulb and raise a tray of clones; expect flowering around year 3.
- Growing tiger/Asian bulbiferous types? Collect bulbils for free plants; flower in about year 3.
With clean technique, airy media, bright light, and never‑soggy conditions, lilies repay you handsomely: a steady procession of bold, fragrant stems for borders, pots, and vases—season after season. Keep the tops sunny, the bulbs cool, and your timeline in sight, and you’ll have a self‑sustaining lily collection that practically blooms on schedule.