

If the poinsettia is your holiday headliner, here’s how to turn one star into many—cleanly, confidently, and with compact, show-bench shape. We’ll walk through sterile, step-by-step propagation; safe sap-handling; the exact warmth (25–28°C) cuttings crave; media that roots fast; and how to pinch for dense branching and tidy proportions.
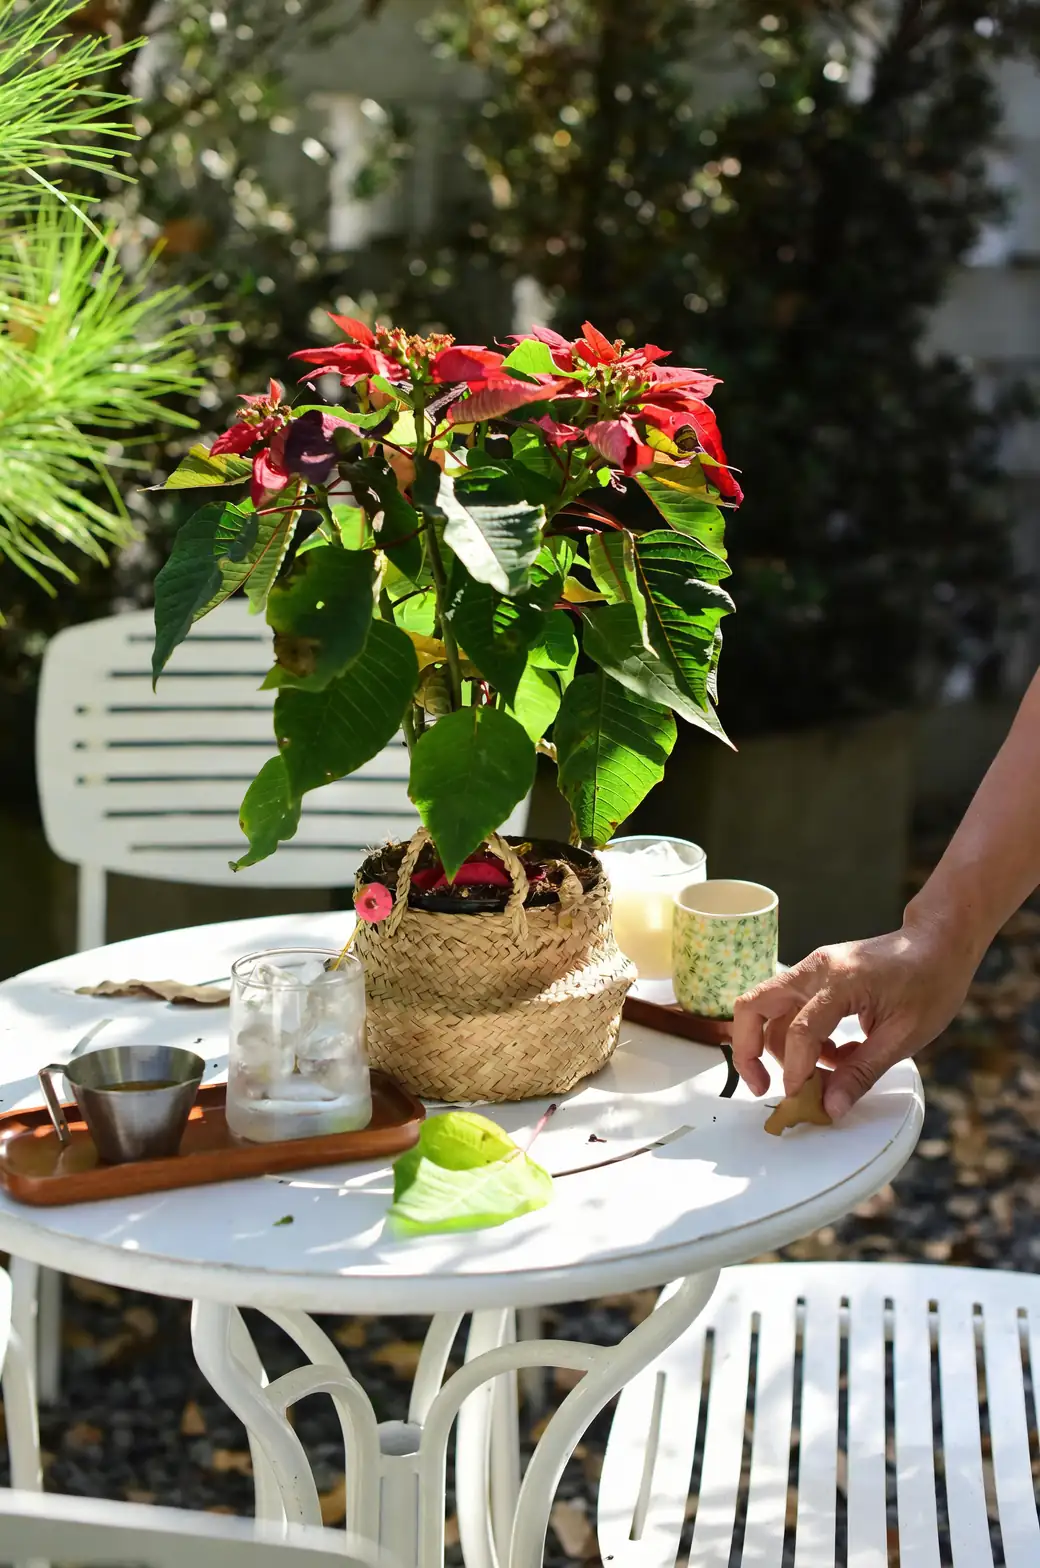
Meet Euphorbia pulcherrima Willd. (Poinsettia)
- Origin: Mexico and tropical America
- What dazzles: bracts—those bold, petal-like leaves in red, pink, white, or marbled tones—ringing tiny yellow-green true flowers (cyathia)
- Habit: upright, branching shrub; indoors commonly 30–90 cm tall; outdoors in frost-free climates it can become a woody shrub
- Personality: warm-loving, frost-tender, photoperiodic (needs long, uninterrupted nights to color)
The Propagator’s Setup: Sterile, Safe, and Ready
Have everything at hand before you snip—poinsettia latex bleeds fast and you’ll want to move quickly and cleanly.
Tools and materials
- Sharp pruners or a razor-sterile knife (disinfect with 70% isopropyl alcohol or a 10% bleach solution; rinse and dry)
- Disposable gloves and eye protection (milky sap is irritating)
- Clean nursery pots or plug trays and labels
- Rooting media (choose one):
- 1:1 perlite:vermiculite
- Perlite: peat/coir 2:1
- Clean, coarse sand with 20–30% perlite added
- Optional: rooting hormone (IBA powder or gel, light strength)
- Humidity dome or clear plastic bag with spacers
- Clean spray bottle with room‑temperature water
- Bottom heat mat with thermostat (to hold 25–28°C at the media)
Pro tip: Use fresh, inert media with no added fertilizer. Fertilizer salts and soggy peat invite rot and fungus gnats.
Timing: When to Take Cuttings
- Best window: spring to early summer, when there’s fresh, green, non-woody growth (roughly 7.5–10 cm / 3–4 in long tips).
- Avoid late summer if you’re chasing a holiday display—cuttings taken after mid‑summer may not mature and color in time.
Step-by-Step: Rooting Poinsettia Cuttings (Clean Hands, Quick Moves)
1) Pre-wet and warm the media
- Moisten to evenly damp (not wet). Press gently—no puddling.
- Set trays on a heat mat to stabilize media at 25–28°C (77–82°F).
2) Select the right stems
- Choose vigorous tips with 2–4 nodes, not yet woody.
- Avoid stems with open cyathia (the tiny yellow-green flower centers); vegetative growth roots best.
3) Suit up and sanitize
- Don gloves and eye protection.
- Sterilize blades. Handle cuttings by the leaves, not the base.
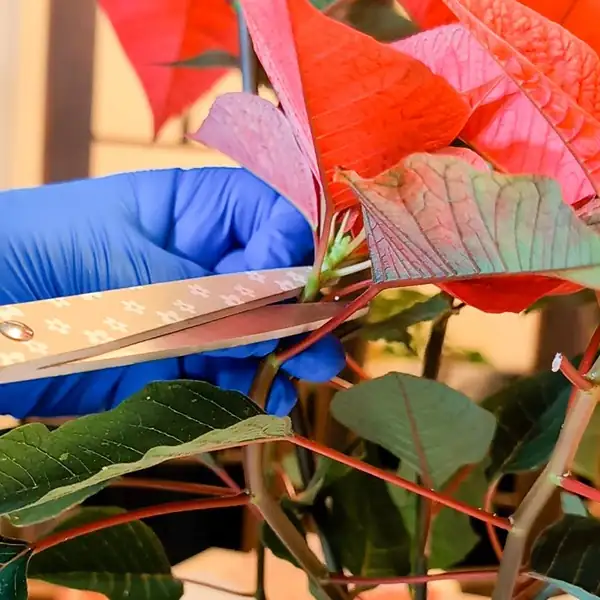
4) Make the cut cleanly
- Cut just below a node to 7.5–10 cm (3–4 in).
- Immediately blot the cut end with a clean paper towel.
5) Stop the latex flow (fast)
- Briefly rinse or dip the cut end in cool, clean water to help the latex clot, then blot again.
- Allow the cutting to sit for 1–2 minutes until oozing slows.
Pro tip: Let the mother plant’s cut surfaces drip onto paper, then dry; keep sap off clothing and surfaces.
6) Prepare the cutting
- Remove lower leaves so at least one node will be buried.
- Reduce remaining leaf area by about one-third if leaves are large (a quick scissor trim) to curb transpiration.
7) Optional hormone dip
- Lightly tap the base into a mild IBA rooting hormone. Tap off excess.
8) Stick the cutting
- Make a pilot hole; insert so one node is below the surface and firm the media to ensure contact.
- Space cuttings so leaves don’t touch—good airflow deters gray mold.
9) Create high humidity and bright, gentle light

- Cover with a clear dome or bag (use spacers so plastic doesn’t touch leaves).
- Target 85–95% humidity; vent briefly daily to refresh air.
- Light: bright, indirect light; avoid hot, direct midday sun.
10) Hold the warmth
- Rooting thrives at 25–28°C at the root zone. Keep ambient air warm and steady (roughly 20–24°C). No drafts.
11) Watering during rooting
- Keep media evenly moist, never waterlogged. Mist leaves lightly if they flag, but do not soak foliage—excess wetness invites Botrytis.
- No fertilizer yet.
12) Rooting timeline and transplant
- Check at day 10–14 with a gentle tug (resistance = roots). Many cuttings root in ~10–18 days under ideal warmth/humidity; others take up to 2–4 weeks.
- When roots are 2–5 cm (1–2 in) and new leaves start, harden off by opening the dome over 3–5 days.
- Pot up into a free-draining mix (peat/coir with 30–40% perlite/vermiculite; pH ~5.8–6.5).
Early Aftercare: Build a Strong, Compact Plant
- Temperature: days 18–25°C (64–77°F); nights 15–18°C (59–65°F). Never below 10°C (50°F).
- Light: very bright with a touch of gentle direct sun; avoid scorching.
- Watering: keep evenly moist—water when the top 2.5–5 cm (1–2 in) dries; always drain excess.
- Feeding: start 10–14 days after potting with a balanced fertilizer at quarter- to half-strength; feed lightly every 2–4 weeks during active growth.
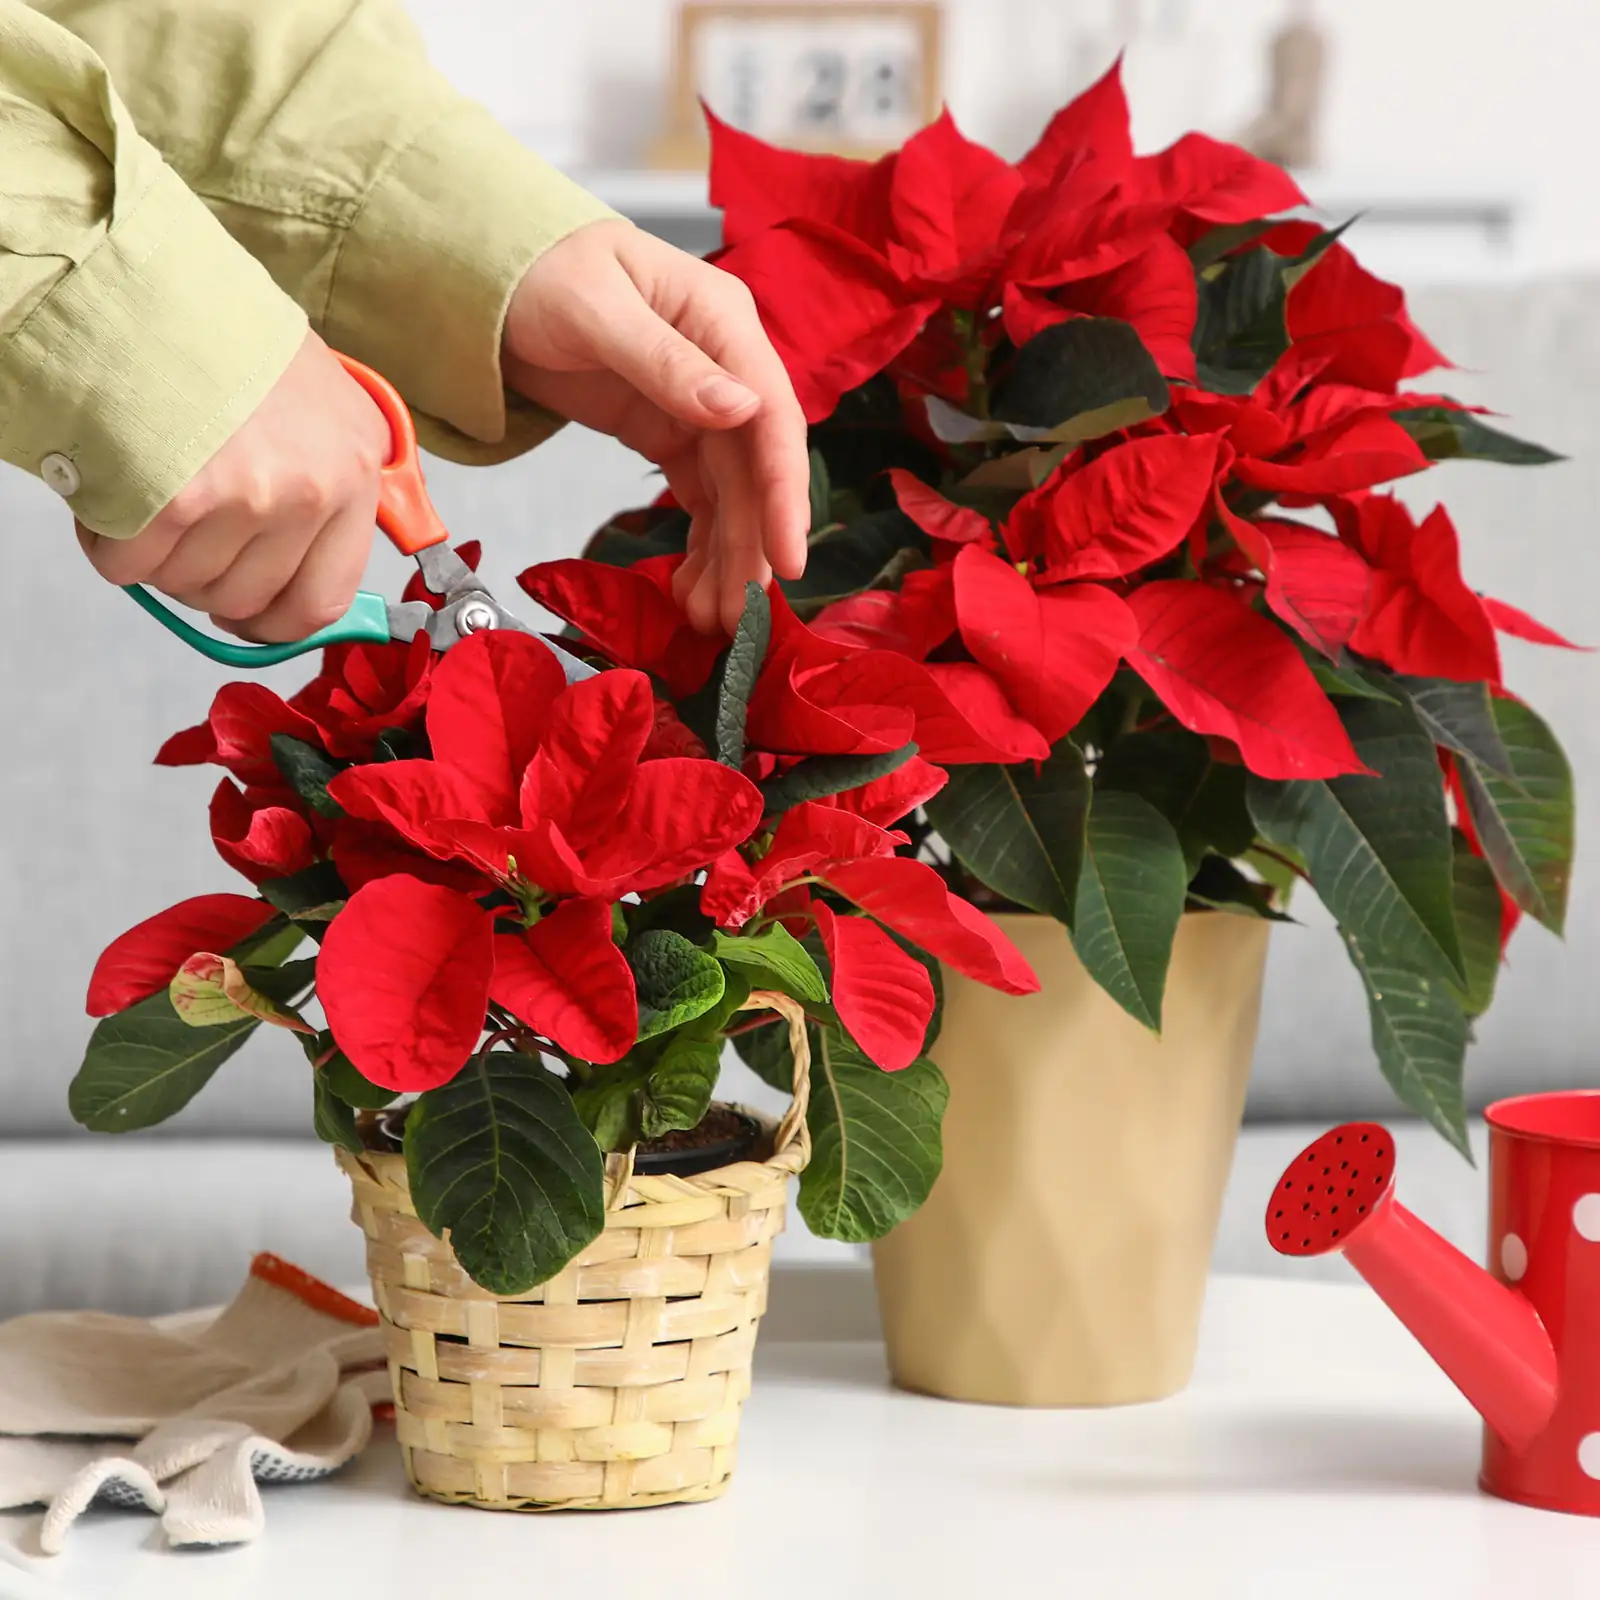
Pinching and Shaping: From Single Stick to Holiday Star
A great poinsettia is made, not born. Pinching turns a lanky stem into a symmetrical, many-branched plant with a tight bract display.

The pinch plan
- First soft pinch: once the rooted young plant is growing steadily (typically 10–14 days after potting-up), remove the tender tip just above 2–3 nodes. This forces breaks (side shoots).
- Second pinch (optional, for fuller plants): mid-summer, pinch each new shoot again, leaving 3–5 nodes per stem.
- Stop pinching 6–8 weeks before you plan to start long-night treatment. Late pinching delays bract development.
Compact-by-culture tactics (no regulators needed)
- Light, light, light: strong brightness keeps internodes short. Rotate pots weekly for symmetry.
- Cool-ish nights: slightly cooler nights (15–18°C) help prevent stretch.
- Pot sizing: don’t overpot; step up conservatively so roots can quickly fill the volume.
- Spacing and airflow: crowding = stretch and mold. Give leaves breathing room.
The Photoperiod Moment: Turning Bracts Bold Again
To color for the holidays:
- Provide 14–16 hours of true darkness nightly for 8–10 weeks starting in late September.
- Even brief light leaks (lamps, hallway light, TV glow) can delay coloring.
- Days should be bright; keep temperatures steady and avoid drafts.
Hygiene and Sap Safety: Non-Negotiables
- Latex sap is irritating to skin and eyes and mildly toxic if ingested. Wear gloves, avoid eye contact, and keep plants away from pets and children.
- Disinfect tools between plants. Use fresh media and clean pots.
- Remove fallen leaves promptly; ensure airflow to avoid Botrytis and mildew.
Troubleshooting Rooting and Early Growth
- Cutting wilts under the dome: too little humidity or ongoing sap bleed. Recut 5 mm above the base with a sterile blade, re-stop latex flow, and restick. Confirm 25–28°C at the media.
- Base rot or gray fuzz: media too wet, air too stagnant, or temperatures too cool. Vent the dome daily; water less; improve warmth and spacing.
- Slow rooting: woody material, low temperatures, or heavy media. Use fresher, softer tips; lighten media with more perlite; verify bottom heat.
- Pests (whiteflies, thrips, mites, fungus gnats): isolate, rinse foliage, use yellow/blue sticky cards as monitors, and treat with insecticidal soap or horticultural oil as appropriate. Strengthen culture—bright light, good drainage, and airflow.
Quick Reference: The Rooting “Recipe”
- Cutting: 7.5–10 cm tip with 2–4 nodes; remove lower leaves
- Sap-handling: rinse/dip in cool water, blot, wait for bleeding to slow
- Media: sterile, airy, nutrient-free (perlite:vermiculite 1:1 works beautifully)
- Temperature: 25–28°C at the root zone
- Humidity: 85–95% with daily venting
- Light: bright, indirect
- Timeline: roots in ~10–18 days (often up to 2–4 weeks)
- Pot up: when roots are 2–5 cm and new growth begins
A Note on Symbolism (and “Flower Language”)
Poinsettias have been woven into winter celebrations since their Mexican origins, where Aztec peoples valued them well before the plant took on Christian symbolism. The star-shaped bract display became associated with the Star of Bethlehem, and red forms are often linked to love and sacrifice, while white suggests purity. Modern “flower language” interpretations are romantic add-ons rather than ancient doctrine—but they do echo the plant’s long-standing role as a sign of joy, generosity, and fresh beginnings during the darkest days of the year.
—
With clean technique, steady warmth, and timely pinching, your Euphorbia pulcherrima Willd. can go from one beloved holiday plant to a whole chorus—compact, well-branched, and ready to blaze with color right on cue.


