

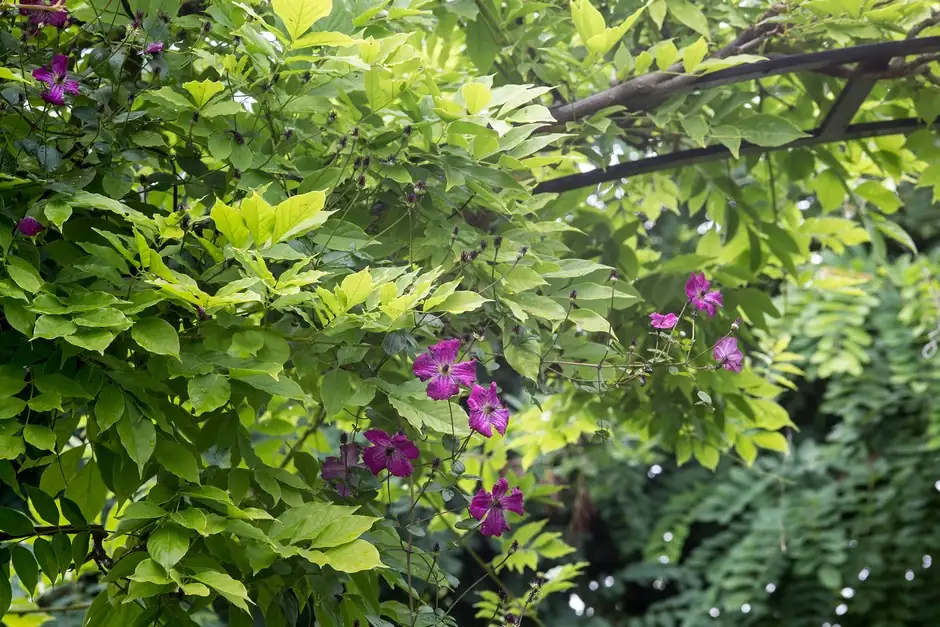
If you’ve ever watched a clematis hesitate at a fat post, you’ve seen plant physics in action. The “Queen of Climbers” doesn’t hug like wisteria or glue itself like ivy—she tiptoes upward by curling her leaf stalks (petioles) around slim things. Engineer the right “rungs” and she’ll sweep an arch, obelisk, or fence in a waterfall of bloom. Get it wrong and you’ll get flops, snaps, or a vine stalled mid‑air.
Below is your practical playbook for building and training supports that clematis will actually use—plus the wind‑smart tweaks and tie‑in tricks that prevent brittle‑stem heartbreak.
How clematis really climbs (and why diameter matters)
- Climbing method: petiole-twining. The leaf stalks twist around narrow elements; they don’t stick to flat walls or encircle thick poles.
- “Grab zone”: petioles reliably clasp objects about 2–6 mm in diameter (roughly 1/12–1/4 in). Up to 8 mm (5/16 in) can work; beyond ~10–12 mm (3/8–1/2 in) most petioles can’t get a purchase.
- Movement pattern: growth surges in spring and early summer; new stems are vigorous but surprisingly brittle. Early, gentle guidance beats later, forceful repositioning every time.
Support specs that work
Think like a ladder designer for fingers rather than feet.
Ideal rung diameter
- Best: 2–6 mm (1/12–1/4 in) twine, jute, plastic‑coated wire, slender bamboo skewers, or narrow lath edges.
- Acceptable: up to 8 mm (5/16 in). If your main frame is thicker, overlay a secondary “grab layer” of twine or wire.
- Too big: anything wider than a pencil (≈7 mm) becomes iffy; add a finer grid.
Rung spacing and grid
- Target a “grab point” every 10–15 cm (4–6 in) both vertically and horizontally.
- In windy sites, tighten to 7–10 cm (3–4 in) to reduce the length of free, thrash-prone shoots.
- Mesh hack: 5 × 5 cm (2 × 2 in) welded wire works well if the wire itself is slender; if the wire is thick, lace twine through it to create thinner grab lines.
Materials that shine
- Slender, grippable: jute or sisal twine (biodegrades—good shock absorber), plastic-coated garden wire, bamboo canes, wood lath edges, narrow metal rod.
- Heat-smart: light-colored or plastic‑coated metal stays cooler; black metal in full sun can scorch tender stems.
- Corrosion and durability: galvanized or stainless for permanent rigs; replace twine each season for reliability.
Wind-wise design: build for beautiful storms
Clematis can act like a floral sail. Engineer for gusts as well as glory.
Anchoring and load
- Footing: set freestanding posts/arches 30–60 cm (12–24 in) deep. For tall or windy sites, go toward 60 cm and consider concrete footings.
- In containers: secure obelisks to the pot via bolts through the rim or zip ties through drainage holes; add base ballast (stones) and keep the vine evenly tied to reduce top‑heaviness.
- Cross-bracing: triangulate tall frames; install discreet diagonal braces behind fences.
Drag reduction and airflow
- Use an open grid (40–60% void). Overly solid lattice becomes a sail.
- Thin congested growth a bit in summer to ease wind load and improve airflow—bonus: fewer mildew and Botrytis issues.
Shock absorption
- Use elastic “soft ties” (see below) and tie at frequent but gentle intervals so a single break doesn’t unzip the whole display.
- Distribute 3–5 leaders rather than one dominant rope of growth; multiple leaders share wind stress.
Arch vs. obelisk vs. fence (and walls): which, where, and why
Arch/arbor
- Best for: entrances, paths, framing views; medium to vigorous clematis.
- Pros: high impact; flowers at eye level and overhead.
- Cons: wind load at the crown; needs strong feet and cross‑bracing.
- Engineering tips:
- Add a secondary twine lattice across the arch crown at 10–12 cm (4–5 in) spacing.
- Run two or more slender verticals per leg so petioles always find something to hook.
- Orient across prevailing winds rather than with them, and anchor well.
Obelisk/column
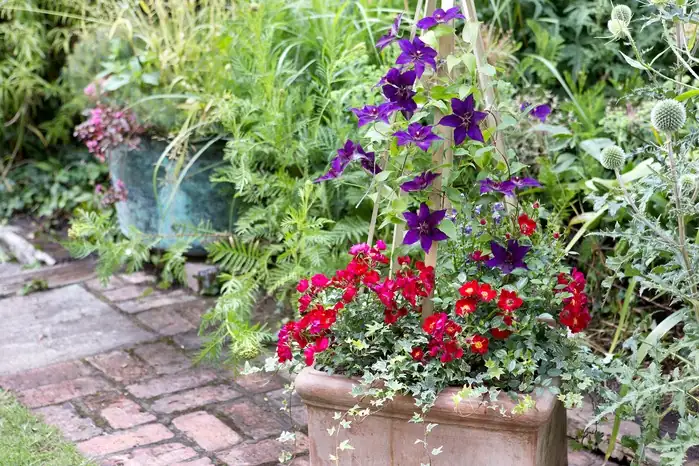
- Best for: containers, patio focal points, tight beds.
- Pros: compact footprint; easy spiral training; great in pots.
- Cons: can tip if top‑heavy; many metal models are too thick—overlay twine.
- Engineering tips:
- Wrap a helical twine “rail” up the frame at 10–12 cm (4–5 in) rise per turn.
- Add three vertical twines spaced evenly to feed multiple leaders.
- In pots, secure the obelisk and add ballast.
Fence/trellis panel
- Best for: broad, even coverage; mixing with roses or shrubs.
- Pros: easy to expand; wind‑porous; simple to repair.
- Cons: flat planes can look bare at the bottom.
- Engineering tips:
- Install vertical wires or twine every 10–15 cm (4–6 in); add a low cross‑bar at 20–25 cm (8–10 in) to start young shoots.
- Keep the grid 2–5 cm (1–2 in) off the wall/fence for airflow.
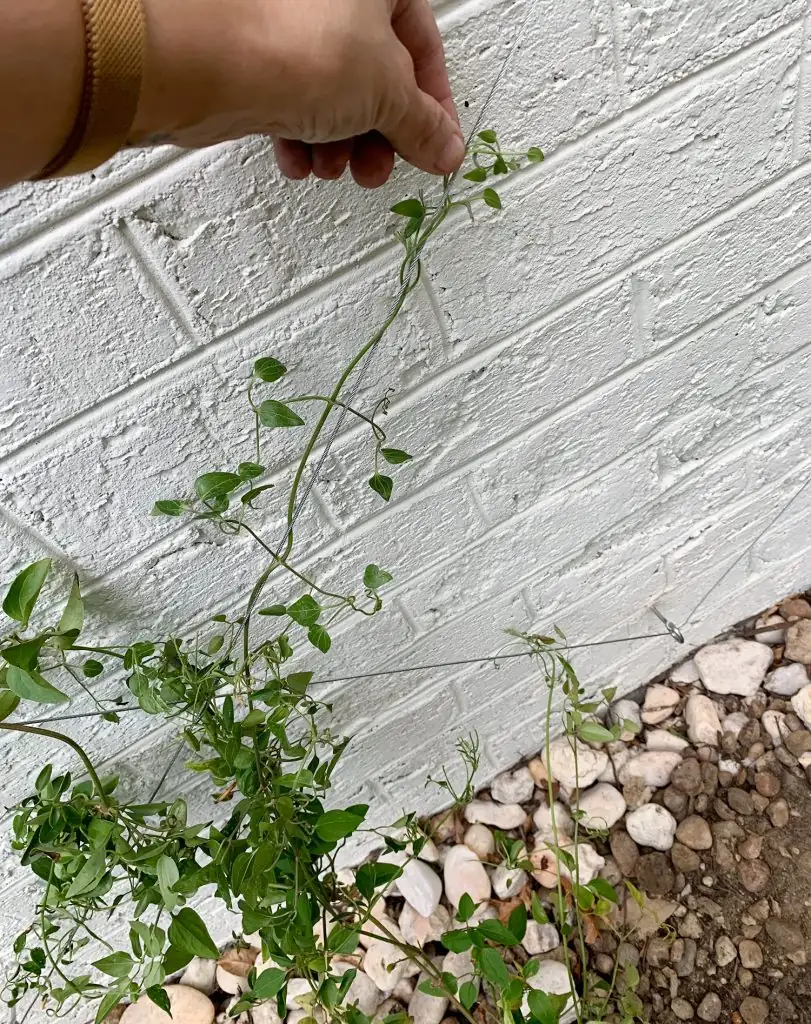
Bare walls and smooth posts
- Solution: anchor kits or eye screws plus straining wire in a grid or fan. If primary cables are thicker than 8–10 mm, lace slender twine between them.
Soft ties that save stems
Choose ties that grip gently, flex in wind, and never bite.
- Best options: soft jute twine, stretchy grafting tape, rubber‑cored twist ties, soft Velcro garden tape, silicone plant ties.
- How to tie:
- Use figure‑eight loops: one loop around the support, one around the stem, crossing between to prevent rubbing.
- Leave wiggle room—about the thickness of a pencil—so stems can expand.
- Tie near nodes (where leaves join) for natural reinforcement.
- Maintenance: check ties every 4–6 weeks in active growth; loosen or replace before they girdle.
Training patterns that work (and prevent snaps)
General golden rules
- Start early. Begin guiding when shoots are 15–45 cm (6–18 in) long and still supple.
- Two‑hand rule. Always support the stem with one hand while guiding with the other.
- Cool, calm timing. Tie in the cool of morning or evening, when stems are less stressed.
- Avoid hard kinks. Gentle S‑curves spread load and encourage more flowering spurs.
By structure
- Arch/arbor (the “ladder and cross”)
1) Select 3–5 leaders from the base. Send half up each leg.
2) As shoots reach the crown, weave them across a cross‑lattice so flowers face outward, not just skyward.
3) Backfill gaps with lateral shoots; avoid smothering the crown with a single rope of growth.
- Obelisk/column (the “spiral with spokes”)
1) Spiral main leaders clockwise up the helix twine.
2) Add short lateral “spokes” tied loosely to the frame for dense bloom.
3) When a leader tops out, loop back down gently to fill the mid‑section.
- Fence/trellis (the “fan and grid”)
1) Fan 3–5 leaders outward from the base.
2) Tie in every 10–15 cm (4–6 in) of rise; guide laterals horizontally to create a fruiting‑spur‑like network that flowers all along the frame.
Pruning sync
- Group 1 (spring bloomers on old wood): minimal pruning after flowering; preserve your trained framework.
- Group 2 (large‑flowered on old/new wood): light prune late winter/early spring; keep the framework, refresh ties, remove weak or crossing stems.
- Group 3 (summer/fall on new wood): hard prune to 30–45 cm (12–18 in) in late winter/early spring; re‑train new shoots onto your prepared grid each season.
Preventing brittle‑stem heartbreak
- Put the support in before planting. Retrofitting breaks stems.
- Don’t twist stems around thick bars. Use soft ties to bridge big spans.
- Avoid tight doorways/gateways. Give clearance from traffic, pets, and lawn tools.
- Storm protocol: after high winds, re‑secure loose shoots promptly; replace any snapped tie with a fresh, looser one.
- If a stem snaps: cut cleanly back to a healthy bud; clematis often resprout strongly from lower nodes.
Three quick build recipes
1) Wire ladder on a fence (cost‑effective, wind‑smart)
- Hardware: galvanized eye screws in two vertical rows, 10–15 cm (4–6 in) apart; plastic‑coated wire or strong twine laced horizontally to form a grid.
- Add a low “catch bar” at 20–25 cm (8–10 in) to help young shoots start climbing.
- Keep the grid 2–5 cm (1–2 in) off the fence with spacers for airflow.
2) Brick or smooth wall system (no drilling option)
- Use a plant anchor kit or adhesive pads rated for exterior use; string 2–6 mm (1/12–1/4 in) wire/twine between anchors in a fan or diamond pattern at 10–15 cm (4–6 in) spacing.
- For permanent rigs, install masonry anchors and stainless eyelets; lace slender “grab lines” between thicker support cables.
3) Container obelisk that won’t tip
- Choose an obelisk sized to the cultivar’s mature height (many clematis: 1.8–3.7 m / 6–12 ft).
- Bolt or zip‑tie the frame to the pot; add a helical twine at 10–12 cm (4–5 in) spacing.
- Ballast the base and shade the pot/root zone in summer. Keep ties frequent and soft.
Placement and plant comfort (because happy roots climb better)
- Light: bright light to full sun for best bloom, but shade the root zone—“head in the sun, feet in the shade.” Mulch, stones, or low companions keep roots cool.
- Soil moisture: evenly moist, never waterlogged; great drainage is essential, especially in containers.
- Airflow: build an open, breathable support to discourage powdery mildew and gray mold.
Safety note
- Clematis sap can irritate skin; wear gloves if you’re sensitive. Keep pets and nibbling kids away from stems and leaves.
A brief note on flower language (and why it fits)
Clematis has long symbolized mental beauty, ingenuity, and aspiration—an elegant nod to the way it solves vertical problems with delicate, clever petioles rather than brute force. In Victorian floriography, gifting clematis hinted at admiration for someone’s wit and climbing spirit. Modern gardeners can smile at how apt that is: engineer a thoughtful path upward, and clematis answers with a masterclass in graceful ambition.
Spec check: quick reference
- Grab diameter: 2–6 mm (1/12–1/4 in); up to 8 mm (5/16 in) workable.
- Grid spacing: 10–15 cm (4–6 in); tighten to 7–10 cm (3–4 in) in windy spots.
- Tie style: soft, stretchy, figure‑eight, with pencil‑thick slack; inspect monthly in growth.
- Anchoring depth: 30–60 cm (12–24 in) for freestanding frames; secure obelisks in pots.
- Leaders: train 3–5 main shoots; use S‑curves and horizontals to fill space and flower densely.
Build slender. Space rungs smartly. Tie softly. Train early. Do that, and your clematis will climb like the clever engineer it is—no drama, no snaps, just months of spectacular bloom.


