

If you’ve ever wished your clematis could clone itself across every arch, fence, and balcony rail you own, good news: it can—and you can help. Below is your step‑by‑step playbook for multiplying Clematis spp. with semi‑ripe cuttings, foolproof layering, and smart seed work, plus pro‑level hygiene, humidity, and aftercare so those baby vines take off.
Quick profile, just to set the stage
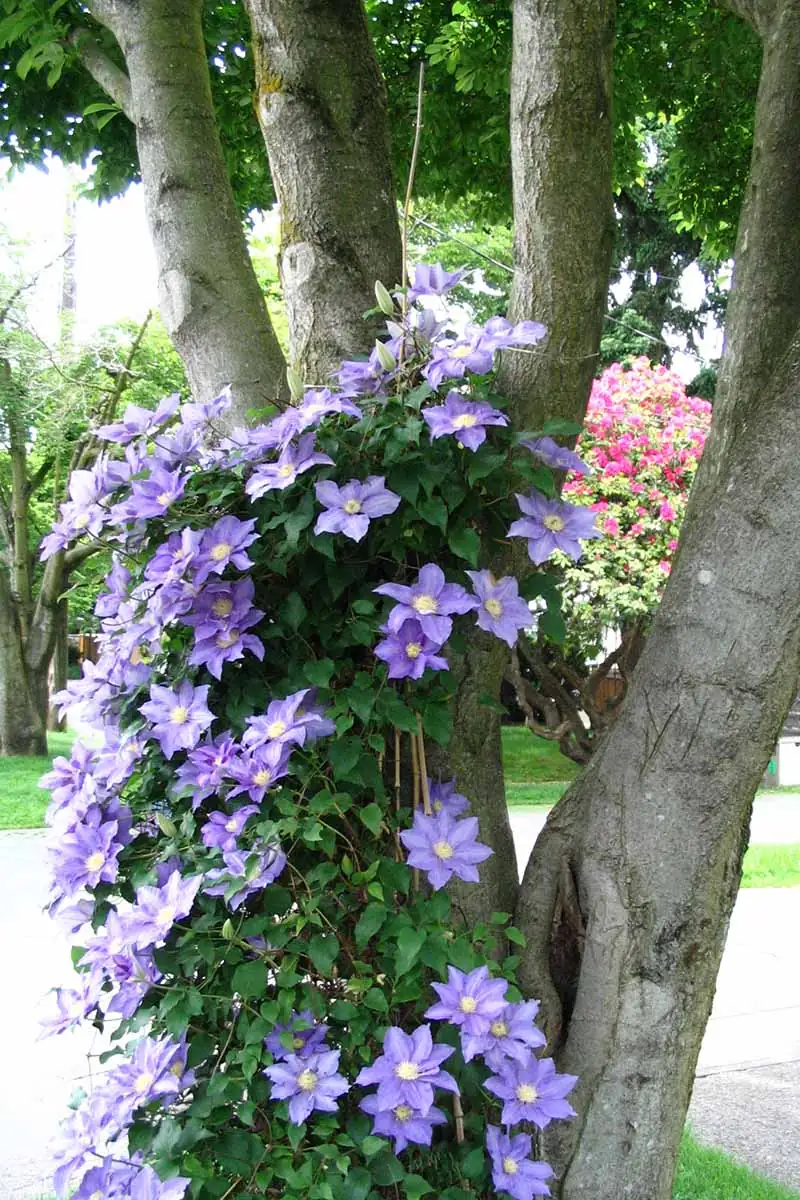
- Clematis (Ranunculaceae) is the “Queen of Climbers”—a mostly woody, twining‑petiole vine that loves bright light up top and cool, shaded roots.
- Bloom timing and pruning depend on group, but your propagation basics stay similar across the genus.
- Sap can irritate skin; wear gloves when you take cuttings or layer.
Before you start: parent plant, tools, and immaculate hygiene
- Choose a healthy, vigorous, non‑stressed parent vine with no visible pests or disease.
- Best timing for cuttings: late spring to early summer (May–June) when stems are semi‑ripe (firm but still flexible).
- Tools and setup:
- Sharp, sterilized pruners or a grafting knife (wipe with 70% isopropyl alcohol or a 10% bleach rinse, then dry).
- Clean propagation trays or 3–4 in (7.5–10 cm) pots with large drainage holes.
- Airy medium: a moist, free‑draining mix such as 1:1 perlite and peat/coco coir (or leaf mold + perlite).
- Optional: rooting hormone, fungicide dust (e.g., sulfur), humidity dome or clear bag on hoops.
- Safety: wear gloves—clematis sap can irritate skin. Keep plant parts away from pets and children.
Semi‑ripe cuttings (May–June): the 2‑node method that works
Semi‑ripe nodal cuttings root reliably when you give them air, gentle warmth, and steady moisture—never a swamp.
What to take
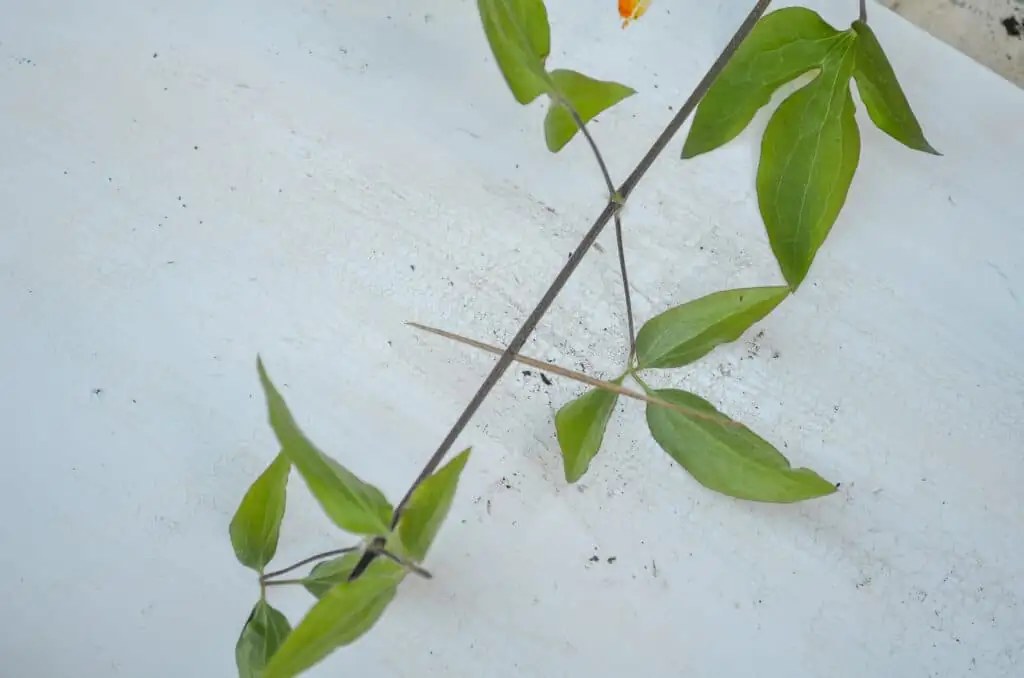
- Length: 4–6 in (10–15 cm)
- Structure: exactly 2 nodes/buds per cutting
- Source: non‑flowering shoots (flower buds slow rooting)
- Trim: remove the soft tip if overly floppy; reduce each remaining leaf by half to limit transpiration.
The medium and the microclimate
- Medium: very airy and just moist—think sponge, not pudding. A common recipe is 50% perlite + 50% peat/coco coir (or leaf mold) with excellent drainage.
- Containers: small pots or a tray with individual cells; label cultivar and date.
- Conditions: bright, indirect light; 59–72°F (15–22°C) is ideal; good airflow; high humidity around the cutting without wetting leaves constantly.

Step‑by‑step
- Water the parent vine the day before so stems are well hydrated.
- Make a clean cut just below a node for the basal end. Keep two nodes on the cutting.
- Strip leaves from the lower node; keep a reduced leaf set on the upper node.
- Optional: dip the basal end in rooting hormone; tap off excess.
- Dibble a hole in the medium so hormone isn’t rubbed away; insert the cutting so the lower node is just buried and the upper node sits at or slightly above the surface.
- Firm gently; water to settle medium. Let excess drain fully.
- Enclose with a vented dome or a clear bag on stakes so plastic never touches foliage. Vent daily.
- Maintain evenly moist (not soggy) medium and high ambient humidity. Bottom watering is safer than overhead splashing.
- Light: bright shade/indirect light. Avoid harsh midday sun.
- Rooting time: many clematis cuttings root in about 2–6 weeks, depending on variety and warmth.
Hygiene and humidity pro tips
- Sterilize blades between batches (and between plants) to avoid spreading wilt or leaf spots.
- Dust the basal end lightly with a dry fungicide if damping‑off is a problem.
- Aim for humid air (think 70–85%) but airy roots; over‑closed domes invite Botrytis. Vent a little more each day as cuttings callus and begin to root.
- Do not root clematis in water—these are far happier in a well‑aerated medium.
Signs of success and what’s next
- Resistance when you tug gently, or new leaf growth that looks “fed from below,” signals rooting.
- Pot up into a fertile, well‑draining mix once roots are 1–2 in (2.5–5 cm) long. Move to 3–4 in (7.5–10 cm) pots first; don’t rush to a giant container.
- Pinch lightly to encourage branching.
Foolproof layering: the set‑and‑forget route
Layering uses the mother plant’s energy to root new clones right where stems touch soil—great for gardeners who prefer patience over pampering.
Classic simple layering (early spring through summer)
- Choose a young, flexible stem that can reach the ground near the base of the plant (or to a pot sunk beside it).
- Lightly wound: make a small, shallow notch on the underside of the stem where it will be buried.
- Optional: dust the wound with rooting hormone.
- Bury the wounded section 1.2–1.6 in (3–4 cm) deep in loosened soil or a pot of moist mix; leave the shoot tip above ground.
- Pin it in place with a U‑shaped wire, a small rock, or a landscape staple.
- Keep the area evenly moist. Good airflow helps prevent mold.
- Rooting and separation: the buried section typically forms roots over the season; many gardeners separate and transplant the new plant by autumn or the following spring. Cut the umbilical stem only after the layered section shows strong new growth.
Serpentine layering (for long stems)
- Repeat the wound‑and‑bury step at several points along one long stem, spacing each “station” at least 6 in (15 cm) apart to produce multiple plants in a single season.
Layering tips
- Avoid layering in chronically waterlogged spots; clematis like moisture but detest stagnant, airless soil.
- In very cold climates where stems die back hard each winter, layer early and consider using a sunk pot so you can lift the rooted section to a sheltered spot before deep freezes.
Seeds: slow, varied, and rewarding (with a cold cue)
- Expect variability: seedlings rarely match named cultivars. If you want exact copies, stick to cuttings or layering.
- Many clematis seeds benefit from cold stratification to break dormancy.
- Easy method: sow in a small pot of fine, well‑draining mix; barely cover; moisten; seal in a vented bag; refrigerate for several weeks; then move to bright, cool conditions to germinate. Germination can take weeks to months—patience is part of the process.
- Transplant gently once seedlings have several true leaves.
Post‑rooting care that makes or breaks young clematis
- Light and temperature: bright light with a touch of afternoon shade is perfect while roots bulk up; avoid heat spikes and hot, dry winds.
- Moisture: keep evenly moist, never sodden. Water at the soil line; avoid wetting foliage to reduce mildew and gray mold.
- Feeding: once established in their first pot, feed lightly during active growth (a balanced, dilute liquid feed). When buds form later on, ease toward a bloom‑supporting formula with more phosphorus/potash and avoid heavy nitrogen.
- Potting up: step up gradually—don’t jump from a liner to a huge tub. Long‑term container plants do best in roomy pots with superb drainage; for mature patio specimens, aim for at least 18 in (45 cm) deep and wide.
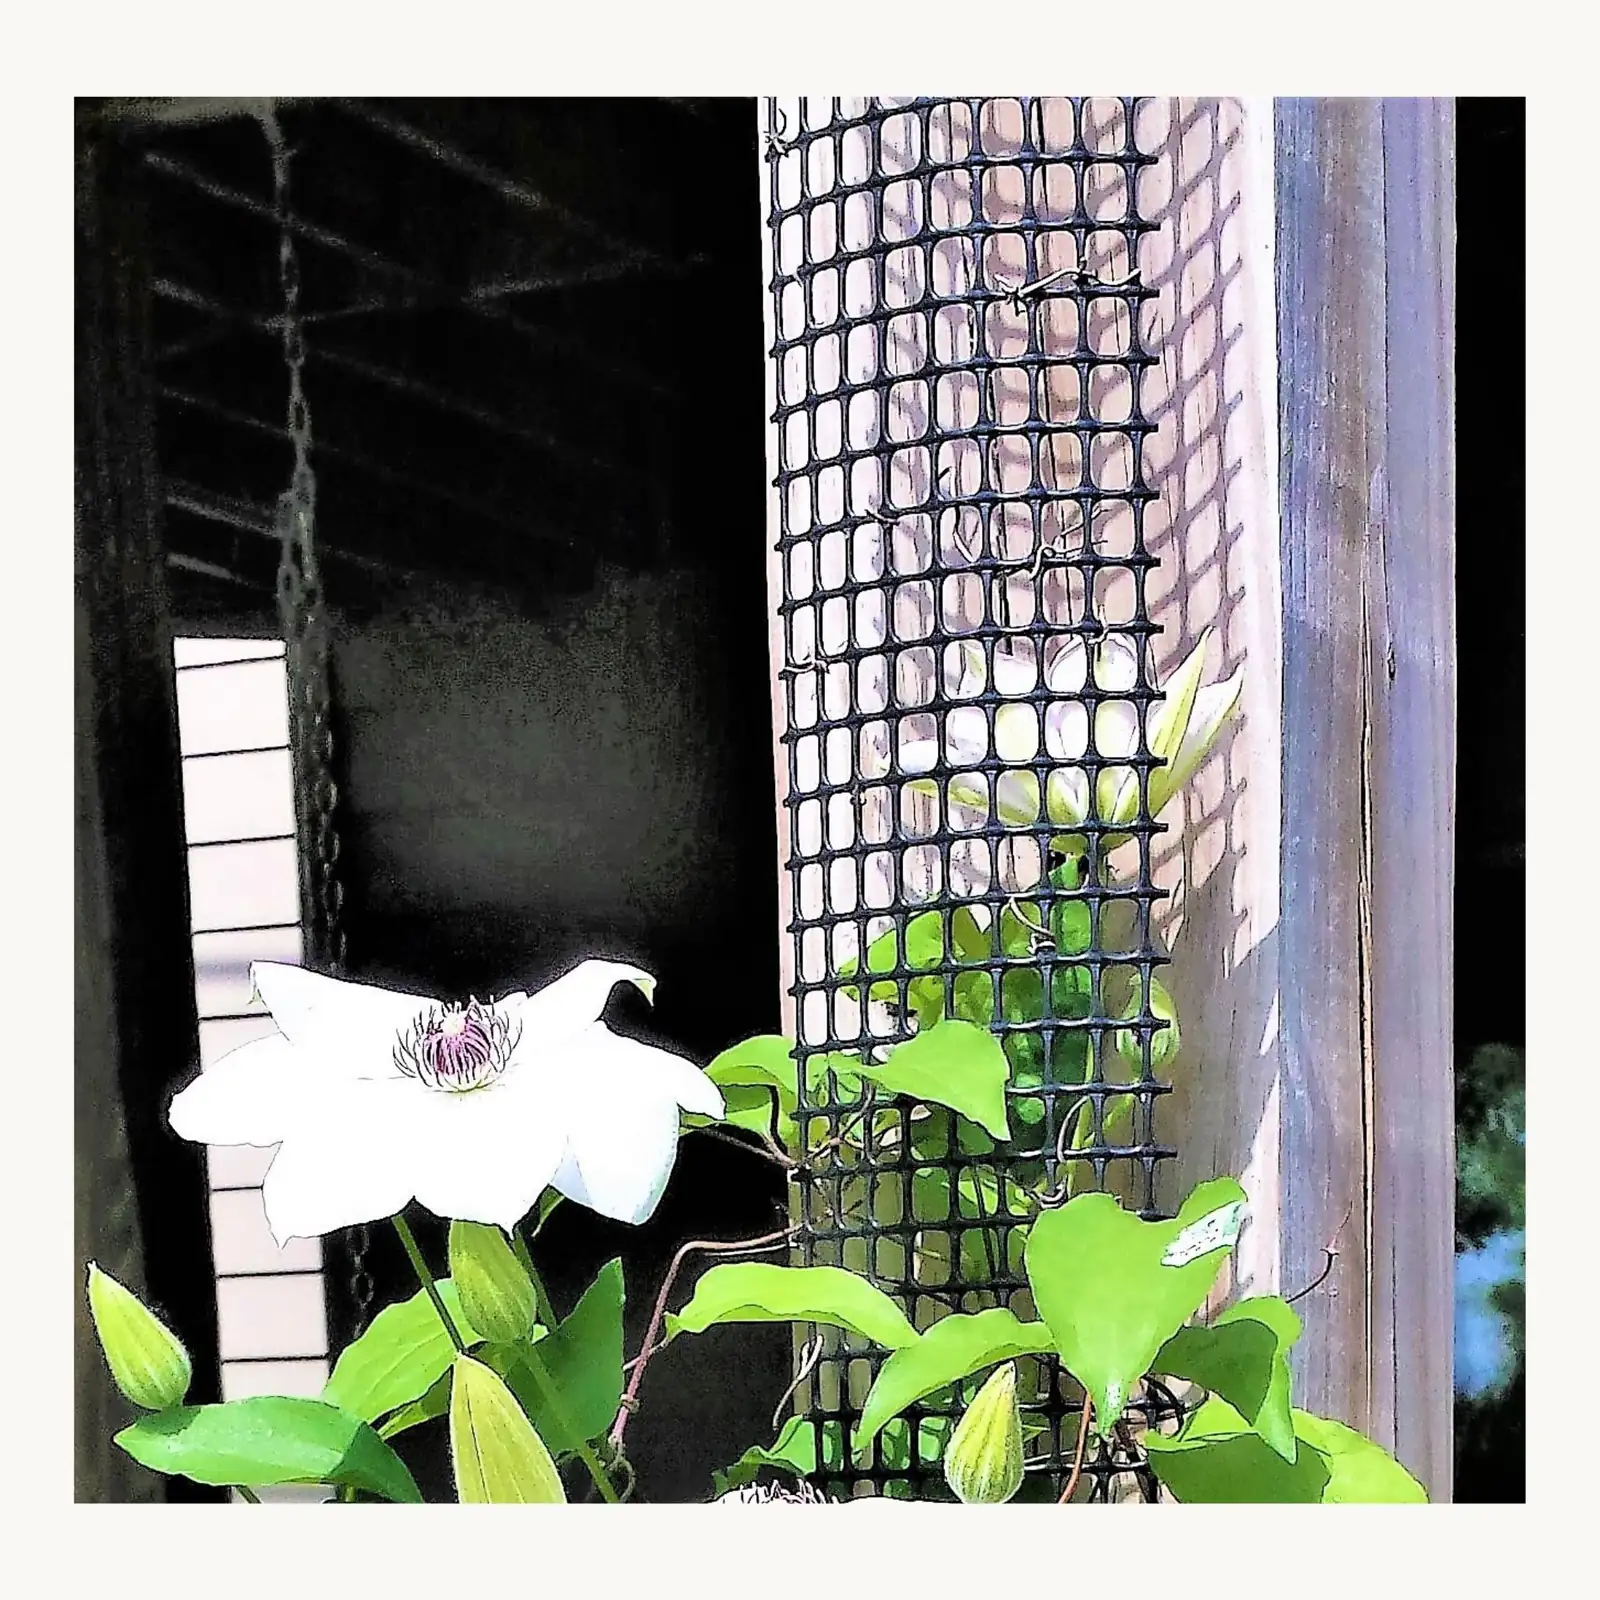
- Training: stems are brittle—tie in gently to a small trellis or mesh. Encourage good branching with occasional pinches in the first season.
- Roots like cool feet: mulch the surface, top‑dress with compost, or shade the pot with low companions while keeping the vine in bright light—classic “head in the sun, feet in the shade.”
- Pruning later on: match your plant’s pruning group once it’s established. When in doubt, keep pruning light until you identify its group.
Troubleshooting: quick saves
- Leaves yellowing on young plants: check for exhausted/airless mix, poor drainage, or low nutrients; refresh medium and feed lightly.
- Sudden stem collapse (wilt): cut out affected stems back to healthy tissue; the plant often resprouts from the base. Disinfect tools.
- Botrytis or powdery mildew: increase airflow, avoid overhead wetting, remove affected tissues promptly.
- Slow or no rooting in cuttings: lower the leaf area more, improve medium aeration, nudge warmth to 68–72°F (20–22°C), and refresh your hormone. Always start with non‑flowering, semi‑ripe shoots.
Legal and labeling notes
- Many modern cultivars are protected; asexual propagation may be restricted. Check plant tags and local regulations.
- Label every batch with cultivar name, date, and method—future you will thank you.
A brief note on clematis “flower language”
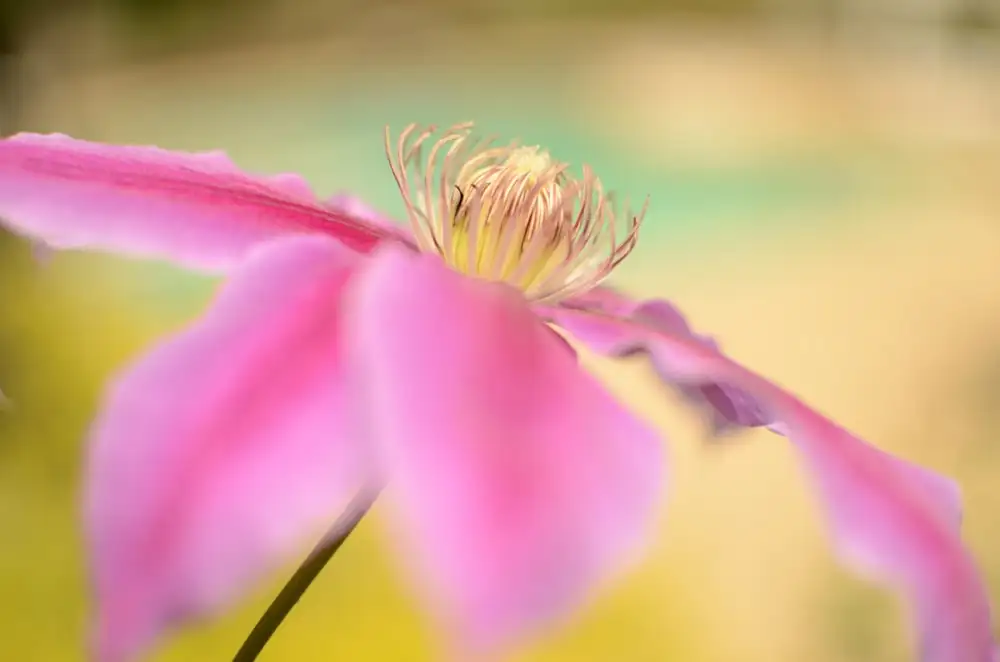
In Victorian floriography, clematis symbolized mental beauty, ingenuity, and aspiration—apt for a vine that climbs toward the light with elegant determination. Color “meanings” sometimes layer on (white for purity, purple for admiration), but these codes were cultural inventions rather than botanical truths. Think of them as poetry for gardeners: charming, not prescriptive.
Your mini‑checklist
- Semi‑ripe cuttings: 2‑node pieces, airy mix, bright shade, steady humidity; root in about 2–6 weeks.
- Layering: notch, pin, bury 3–4 cm, keep moist; separate once new growth is strong.
- Seeds: variable, slow; cold stratify, then wait with patience.
- Across all methods: obsess over hygiene, airflow, and even moisture. Shade roots, support stems, and go gently—clematis will reward you with a waterfall of bloom.


