Imagine your garden awash with clusters of vibrant, flat-topped flowers dancing in the summer breeze, all atop feathery, lace-like foliage. This is the magic of yarrow (Achillea millefolium), a perennial plant that not only dazzles with its beauty but also supports pollinators and demands little in return. If your green thumb is itching to multiply this garden gem, you’re in luck. Let’s explore three tried-and-tested methods to propagate yarrow: seeds, division, and cuttings. Whether you’re a novice gardener or a seasoned pro, this guide will help you expand your yarrow collection with ease.
Getting to Know Yarrow
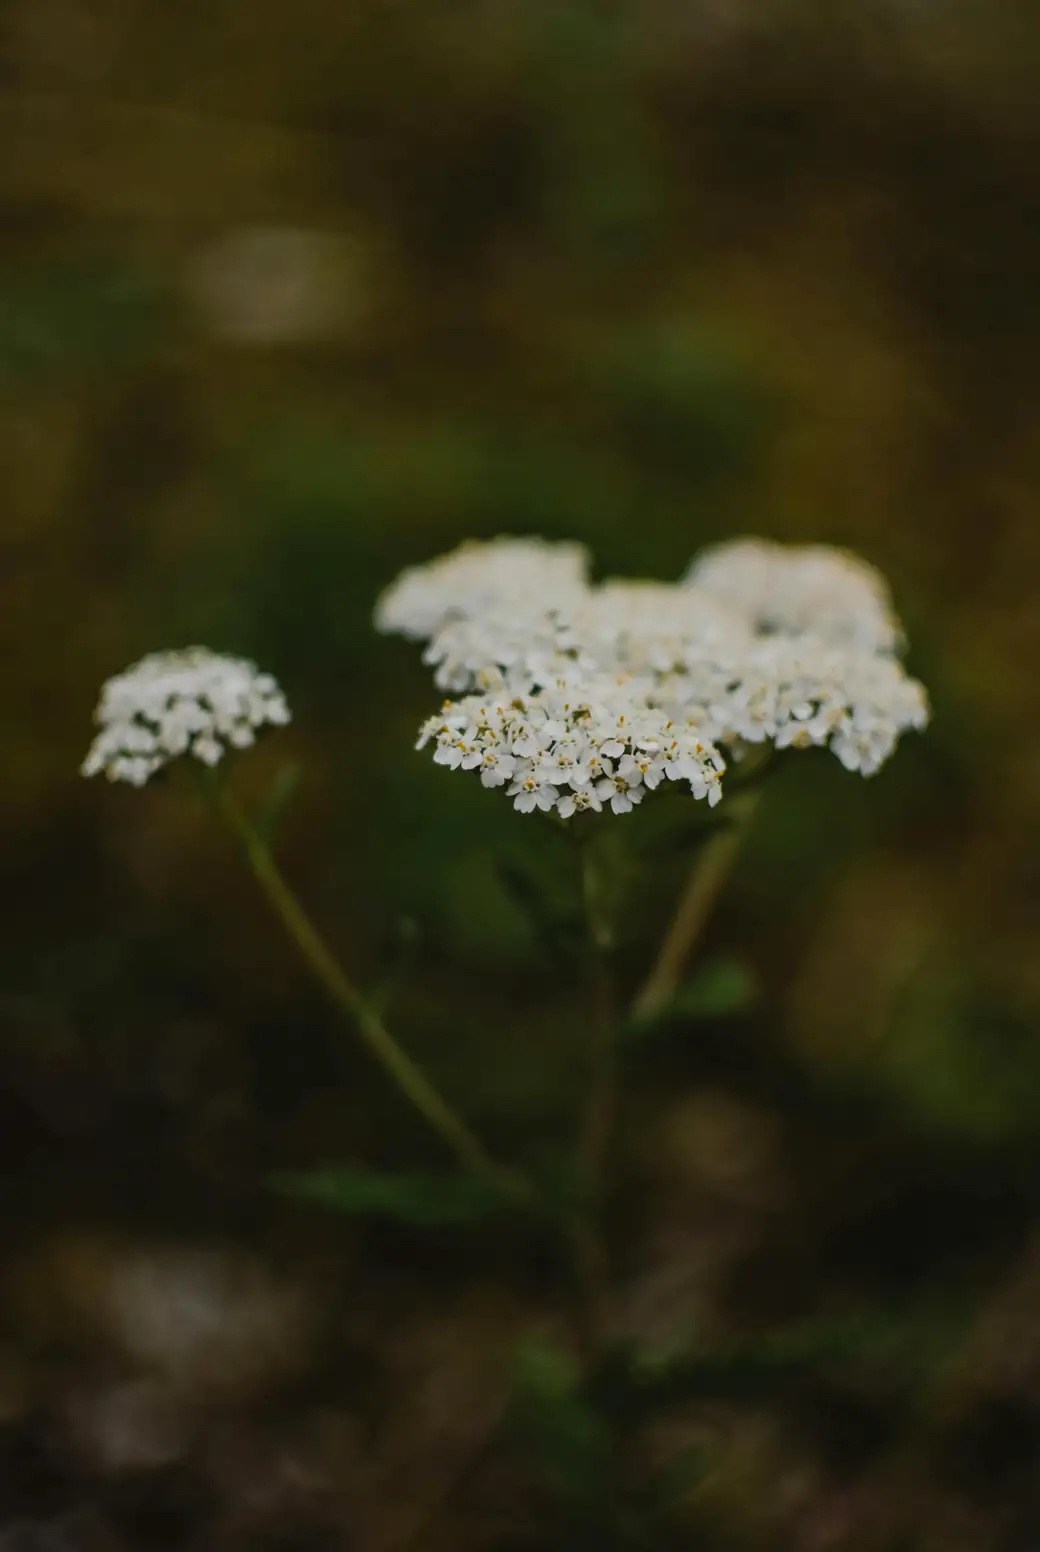
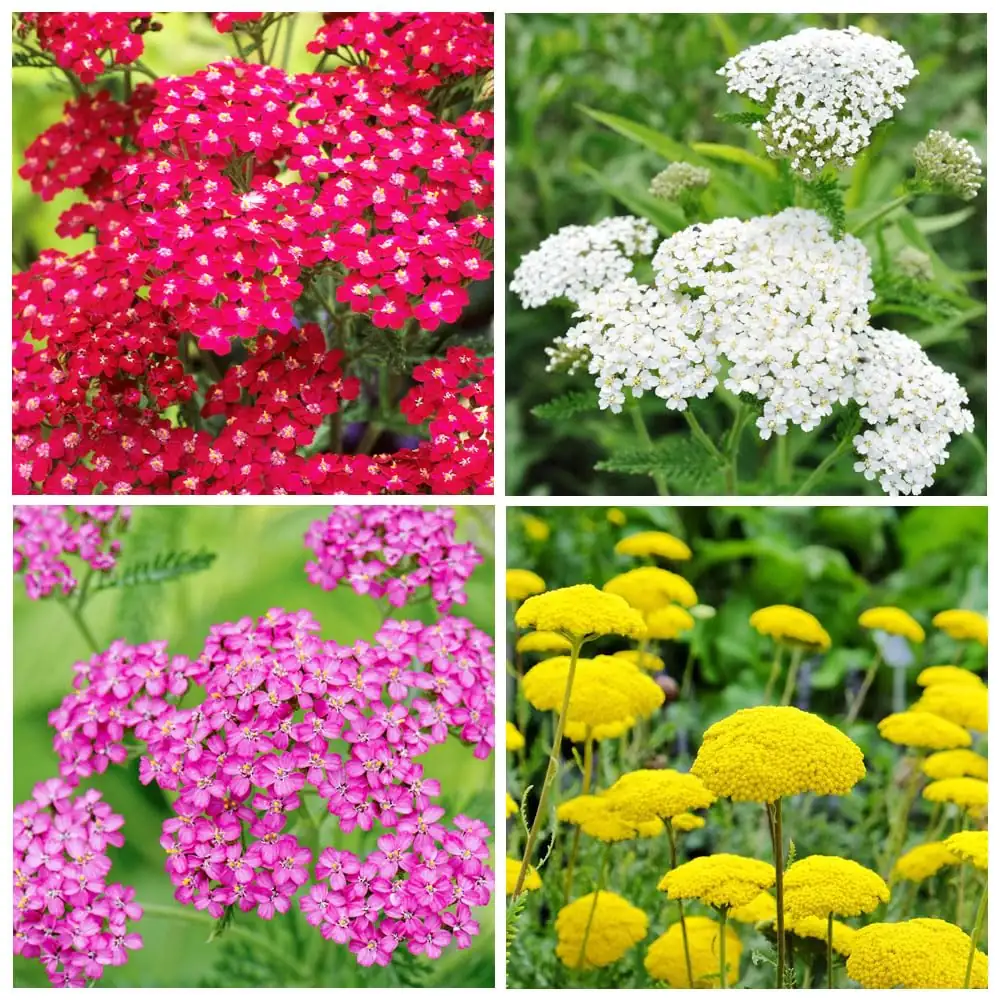
Before we dive into propagation, let’s take a moment to appreciate what makes yarrow so special. Native to the temperate regions of the Northern Hemisphere, yarrow is a hardy herbaceous perennial belonging to the Asteraceae family. Revered for its resilience, it thrives in full sun and poor to average soils, making it a stalwart choice for low-maintenance gardens. Its flowers, ranging from white and pink to red and yellow, attract a carnival of bees, butterflies, and other beneficial insects, while its fern-like foliage adds texture to any planting scheme.
Propagating Yarrow: Step-by-Step
From Seeds
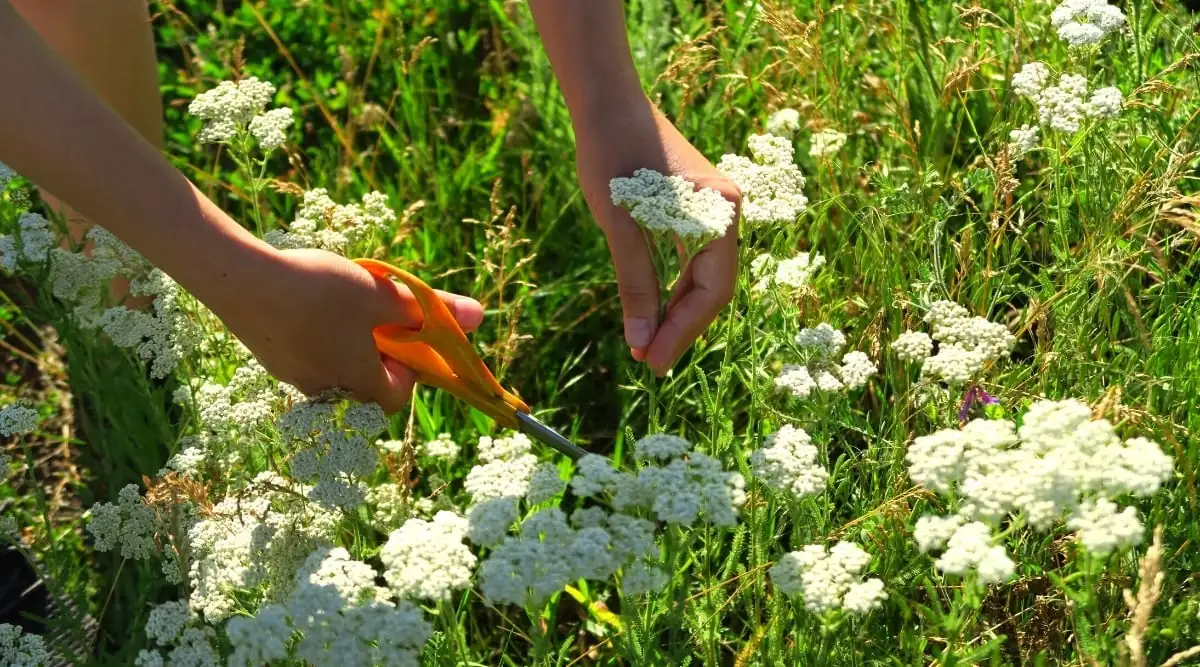
1. Collecting and Preparing Seeds
Late summer or early fall is the perfect time to collect yarrow seeds. Allow the flower heads to dry on the plant, then gently shake them to release the seeds. Yarrow seeds are tiny, so sow them delicately on a well-draining seed-starting mix. Light is crucial for germination, so press them lightly into the soil without covering them.
2. Germination
Place the seed trays in a warm, sunny location. The ideal temperature for germination is between 18–24°C (64–75°F). Keep the soil consistently moist, and in about 10 to 14 days, you should see sprouts emerging.
3. Transplanting Seedlings
Once your seedlings are robust enough to handle, typically after they have grown a few sets of leaves, transplant them to your garden. Choose a sunny spot with well-drained soil, and space them about 30 cm (1 foot) apart to allow for growth.
Division
1. Timing and Preparation
Divide established yarrow clumps every 3–5 years, ideally in early spring or fall when the plant is dormant. This not only propagates new plants but also rejuvenates older ones.
2. Dividing the Clumps
Carefully dig up the entire clump with a spade. Gently separate it into sections, ensuring each new clump has both roots and shoots. This might feel like performing plant surgery, but rest assured, yarrow is forgiving.
3. Replanting
Replant your divisions in their new homes, allowing enough space for them to spread. Water them well to help settle the roots, and watch as they adapt and thrive.
From Cuttings
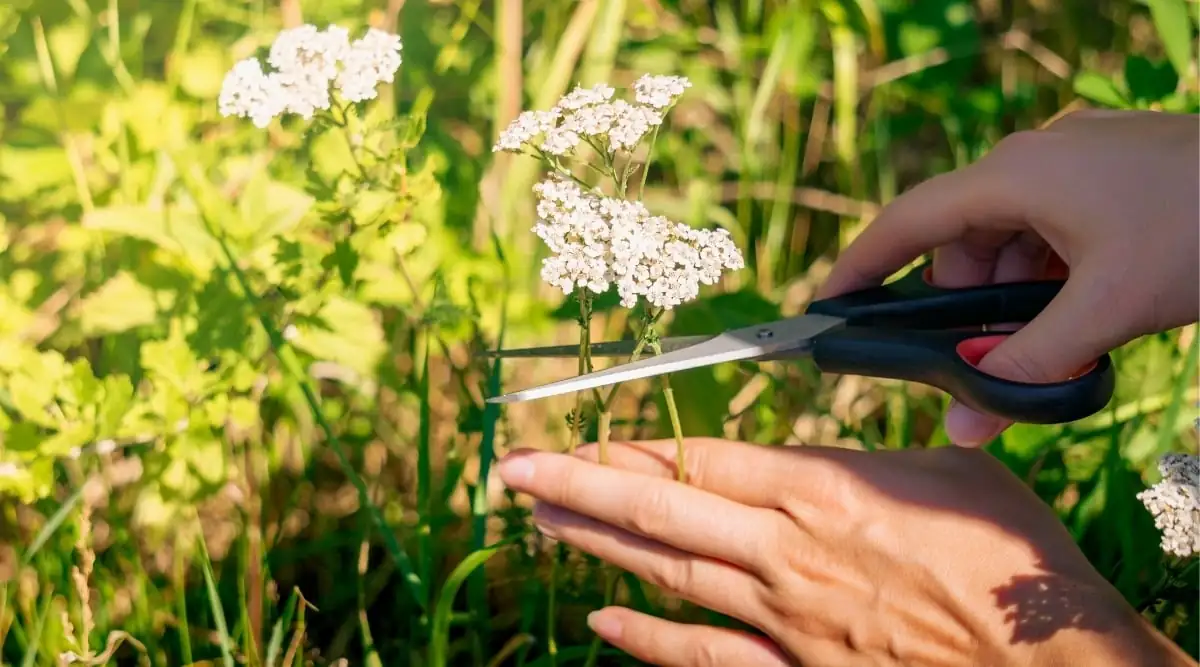
1. Selecting Cuttings
For this method, take softwood cuttings from healthy yarrow plants in spring or early summer. Each cutting should be about 10–15 cm (4–6 inches) long and free of flowers.
2. Preparing the Cuttings
Strip the leaves from the lower half of the cuttings. Dip the cut end in rooting hormone to encourage root development.
3. Planting Cuttings
Insert the cuttings into a pot filled with a well-draining potting mix. Place the pot in a bright spot but out of direct sunlight, and keep the soil moist. Roots should form in a few weeks.
Caring for Your New Yarrow
Regardless of the propagation method, the early care of your young yarrow plants is similar. Ensure they receive full sun and water them regularly until they’re well-established. Once mature, yarrow is drought-tolerant and will flourish with minimal intervention. A light application of compost in the spring is usually sufficient to keep them thriving.
Troubleshooting and Tips
Yarrow is generally trouble-free but can occasionally suffer from aphids or fungal diseases like powdery mildew. Ensuring good air circulation and not overwatering are your best defenses. Remember, yarrow can spread via rhizomes and self-seeding, so if you want to control its spread, deadhead the flowers before they set seeds.
By following these steps, you can successfully propagate yarrow and enjoy its beauty and benefits in abundance. Happy gardening!