

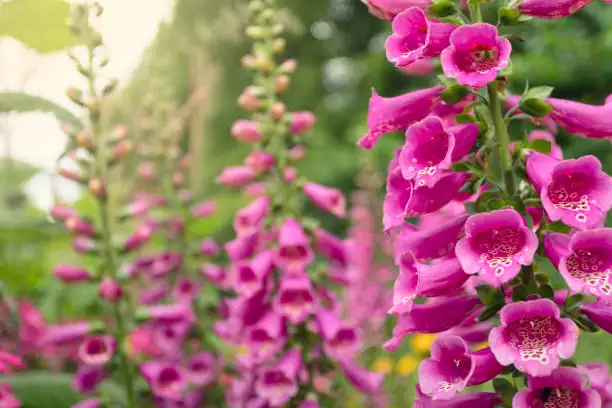
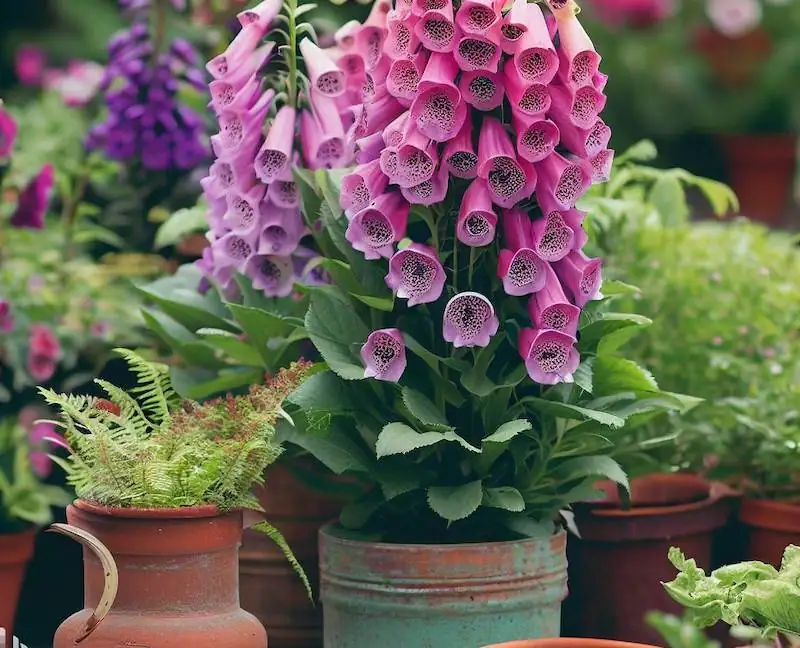
Propagating Digitalis purpurea, commonly known as foxglove, can feel like capturing a bit of garden magic. With its towering spikes of bell-shaped blooms swaying in hues of purple, pink, white, and yellow, foxglove adds a fairy-tale charm to any garden setting. But the real magic lies in growing these beauties from seeds. Let’s embark on this enchanting journey to ensure your foxgloves not only sprout but thrive with lush, vibrant blooms.
Step 1: Collecting Seeds
Start your foxglove propagation journey by collecting seeds at just the right moment. As summer winds down, keep an eye on the seed pods. Once they turn brown, it’s time to harvest. Gently shake or cut the pods to gather the seeds, storing them in a cool, dry place—preferably in paper envelopes. This way, they stay viable, ready to bring life to your garden when the time is right.
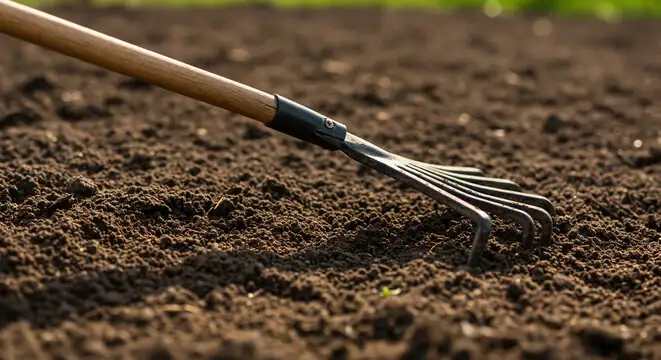
Step 2: Preparing the Soil
Foxgloves are not particularly fussy, but they do have a taste for well-draining, fertile soil rich in organic matter. Before sowing, work the soil to a depth of about 12 inches, mixing in plenty of compost to create a nourishing bed. Aim for a slightly acidic to neutral pH of 6.0 to 7.0—this will be their perfect home base.
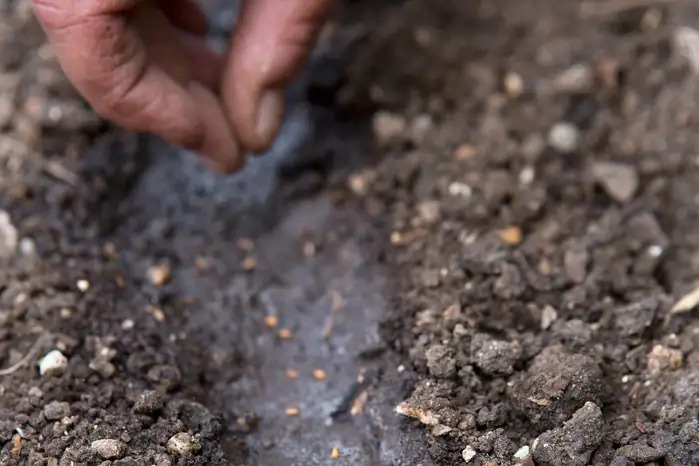
Step 3: Sowing the Seeds
The next decision is a bit like choosing your own adventure: will you sow indoors or out? If indoors, plan for about 6-8 weeks before the last frost. Use seed trays or pots with excellent drainage. Outdoors, wait until all danger of frost has passed in spring. Scatter the seeds and press them lightly—remember, they need light to germinate—so don’t bury them too deep. A fine dusting of soil on top is all they need.
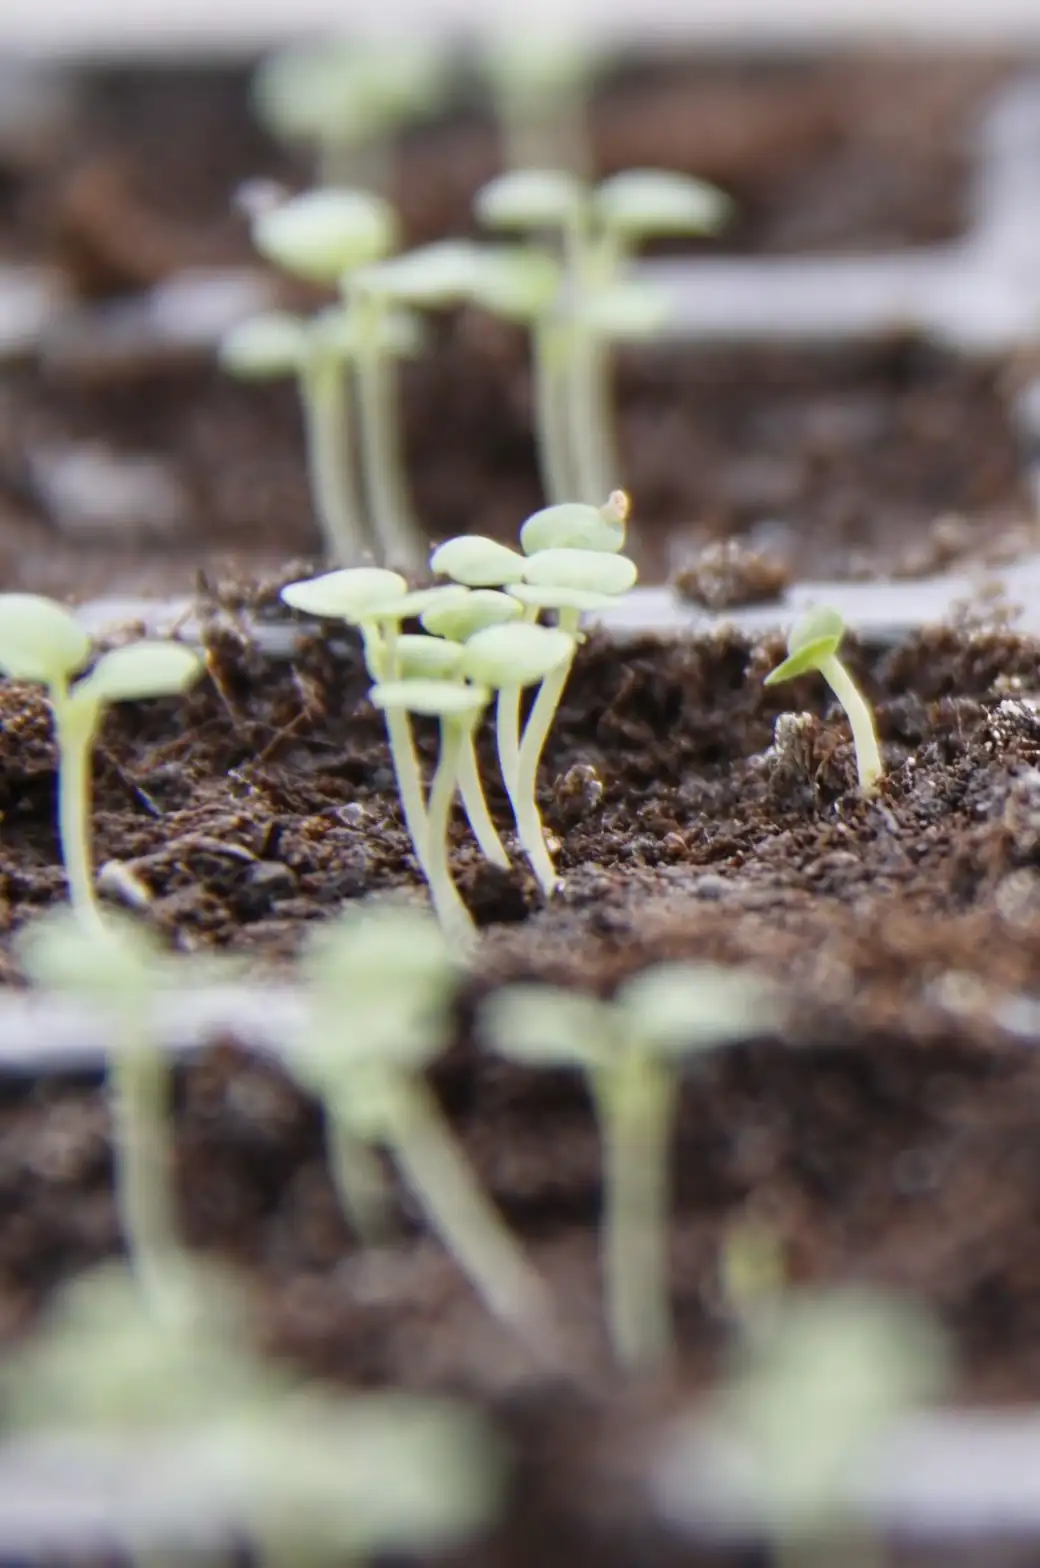
Step 4: Ensuring Successful Germination
Patience is key during germination. Expect to see those first signs of life in 14-30 days, depending on conditions. Keep the temperature between 65°F to 70°F (18°C to 21°C) and provide indirect sunlight or fluorescent grow lights. This nurturing environment will coax your seeds into sprouting robust young plants.
Step 5: Transplanting and Care
Once your seedlings are sturdy and the weather has warmed sufficiently, it’s time to move them to their permanent spots in the garden or containers. Space them about 18 inches apart to allow for their full, glorious spread. Foxgloves adore partial shade—especially in warm climates—so choose their location with care.
Tips for Lush Blooms
- Consistent Moisture: Keep the soil evenly moist, particularly in their first year. A practical rule is to water when the top inch of soil feels dry.
- Feed Moderately: A balanced slow-release fertilizer in spring will keep your foxgloves happy without over-stimulating leaf growth at the expense of flowers.
- Deadheading: Remove spent flowers to encourage extended blooming and to control self-seeding if you prefer a tidier garden.
- Provide Protection: Foxgloves are toxic, so plant them out of reach of children and pets, and wear gloves when handling them.
Growing Foxgloves in Containers
If you’re short on garden space, fear not! Foxgloves can thrive in containers too. Choose a pot with good drainage, fill it with a rich, organic potting mix, and keep the soil consistently moist. In containers, they’ll need a bit more protection from the sun, so ensure they have afternoon shade.
The Allure of Foxglove
Beyond their beauty, foxgloves hold a storied place in folklore and medicine. Named for their finger-like flowers, they’re said to have been worn by fairies and foxes alike. While their cardiac glycosides have life-saving medical applications, the same compounds make every part of the plant highly toxic. Handle with care, and you’ll enjoy their captivating display safely and sustainably.
By following these steps, you’re well on your way to cultivating a garden that’s not only beautiful but also a testament to the timeless allure of Digitalis purpurea. Happy gardening!


