


Introduction
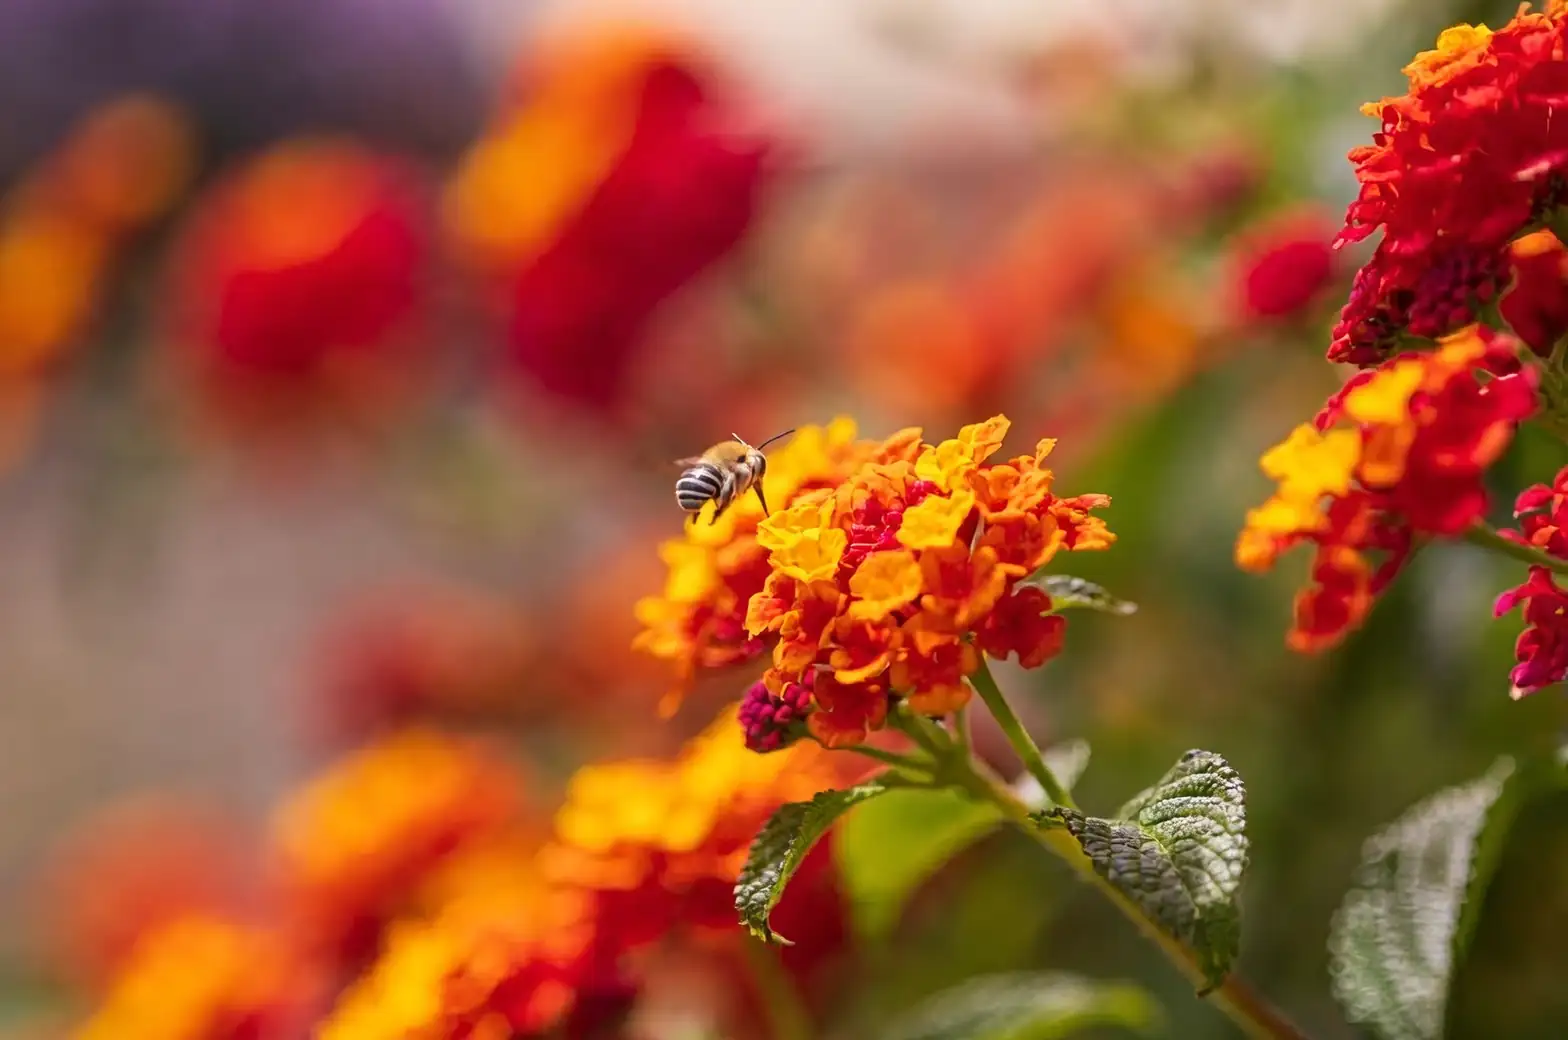
If you’ve ever admired the vibrant, multi-colored clusters of Lantana camara, commonly known as lantana, you may have wondered how to bring this cheerful burst of color into your own garden. Lucky for you, propagating lantana is not only possible but also a rewarding endeavor. Known for its resilience, lantana is a favorite among gardeners looking for a splash of color and a magnet for butterflies and hummingbirds. Let’s dive into a step-by-step guide to propagating Lantana camara using stem cuttings, ensuring your garden becomes a vibrant oasis.
Why Propagate Lantana?
Before we get into the nitty-gritty, why choose stem cuttings over seeds? Well, lantana grown from seeds might not resemble its parent due to its hybrid nature. Stem cuttings, however, promise a faithful replica of the parent plant, ensuring the same color and vigor you fell in love with.
Step-by-Step Guide to Propagating Lantana
Step 1: Choose the Right Time and Tools
- Timing: Spring is the ideal season to take cuttings, though summer works well too if you’re dealing with semi-hardwood.
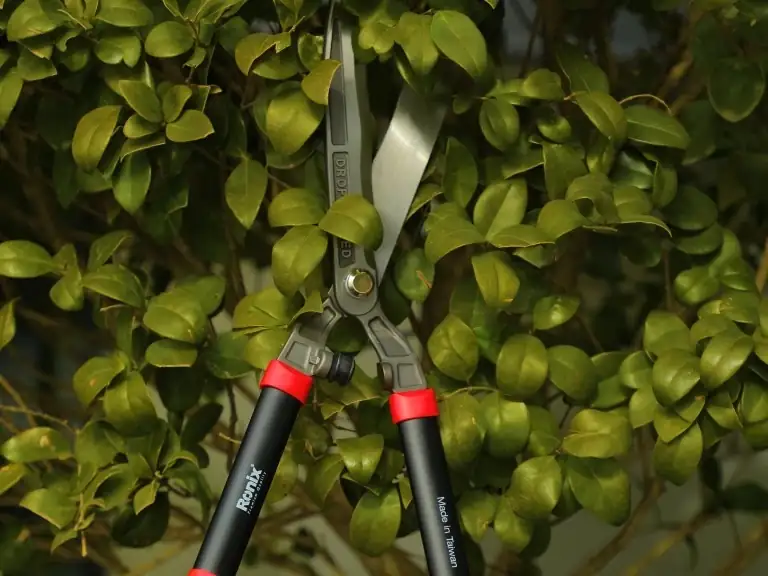
- Tools: Grab a sharp knife or pruning shears, disinfected to prevent any disease transmission.
Step 2: Select and Prepare Your Cuttings
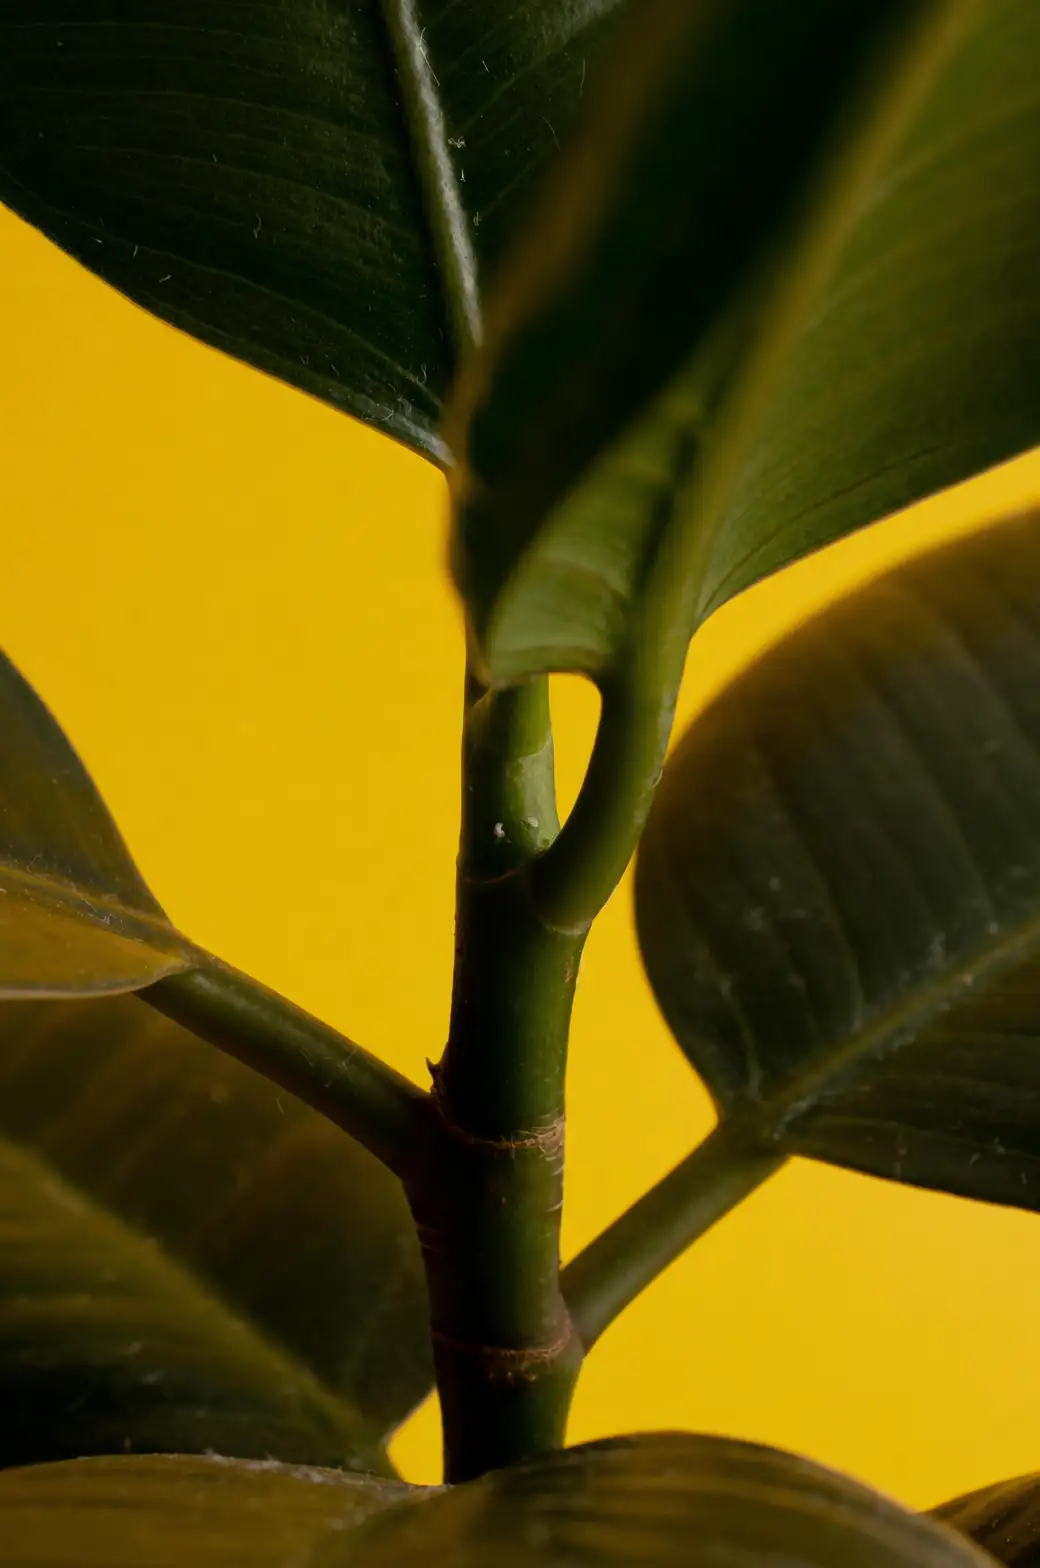
- Cutting Selection: Look for healthy, non-flowering stems. Cut 10–15 cm (4–6 inches) from the tip. Aim for fresh spring growth or semi-hardwood stems in summer.
- Preparation: Strip the lower leaves, leaving the top two or three intact. Removing flowers or buds is essential to redirect the plant’s energy toward rooting.
Step 3: Rooting Medium and Hormone
- Medium: Use a well-draining mix, like peat mixed with perlite or sand. This provides the needed aeration and moisture balance.
- Rooting Hormone: While optional, dipping your cuttings in rooting hormone can enhance success rates by stimulating root development.
Step 4: Planting and Creating a Mini-Greenhouse
- Planting: Insert the prepared cutting about halfway into the moist soil mix. Firm the soil around it.
- Mini-Greenhouse: Cover the pot with a clear plastic bag or a plastic bottle with the bottom cut off. This retains humidity, crucial for rooting. Use sticks to keep the plastic from touching the cutting.
Step 5: Care and Monitoring
- Environment: Place your setup in a warm, bright spot, but out of direct sunlight. This prevents overheating while ensuring adequate light.
- Moisture: Keep the soil consistently moist but not soggy. A gentle misting can help maintain humidity.
Tips for Success
- Patience is Key: Rooting typically takes about 3–4 weeks. Look for new leaf growth as a sign of successful rooting.
- Hardening Off: Once rooted, gradually acclimate your lantana to outdoor conditions before planting it in the garden. This transition helps it withstand environmental changes.
Common Pitfalls to Avoid
- Overwatering: Lantana dislikes soggy conditions. Ensure your pot has good drainage to prevent root rot.
- Insufficient Light: While cuttings need indirect light initially, ensure they get enough light as they grow to prevent spindly growth.
- Ignoring Pests: Keep an eye out for common pests like aphids or mites, especially in humid conditions.
Final Thoughts
Propagating Lantana camara from cuttings is both a satisfying and straightforward process, offering you a clone of your favorite plant. Whether you’re looking to enhance your garden or create a butterfly haven, mastering lantana propagation will surely add a splash of color and life to your space. So, grab those shears, and let the lantana-loving journey begin!


