So, you’ve been diligently using your soil moisture meter to ensure your plants are neither parched nor drowning. But lately, your trusty tool seems to be giving you the cold shoulder with inaccurate readings. Fear not! You’re not alone, and there are several ways to troubleshoot and fix this common gardening gadget problem.
Understanding How Your Moisture Meter Works
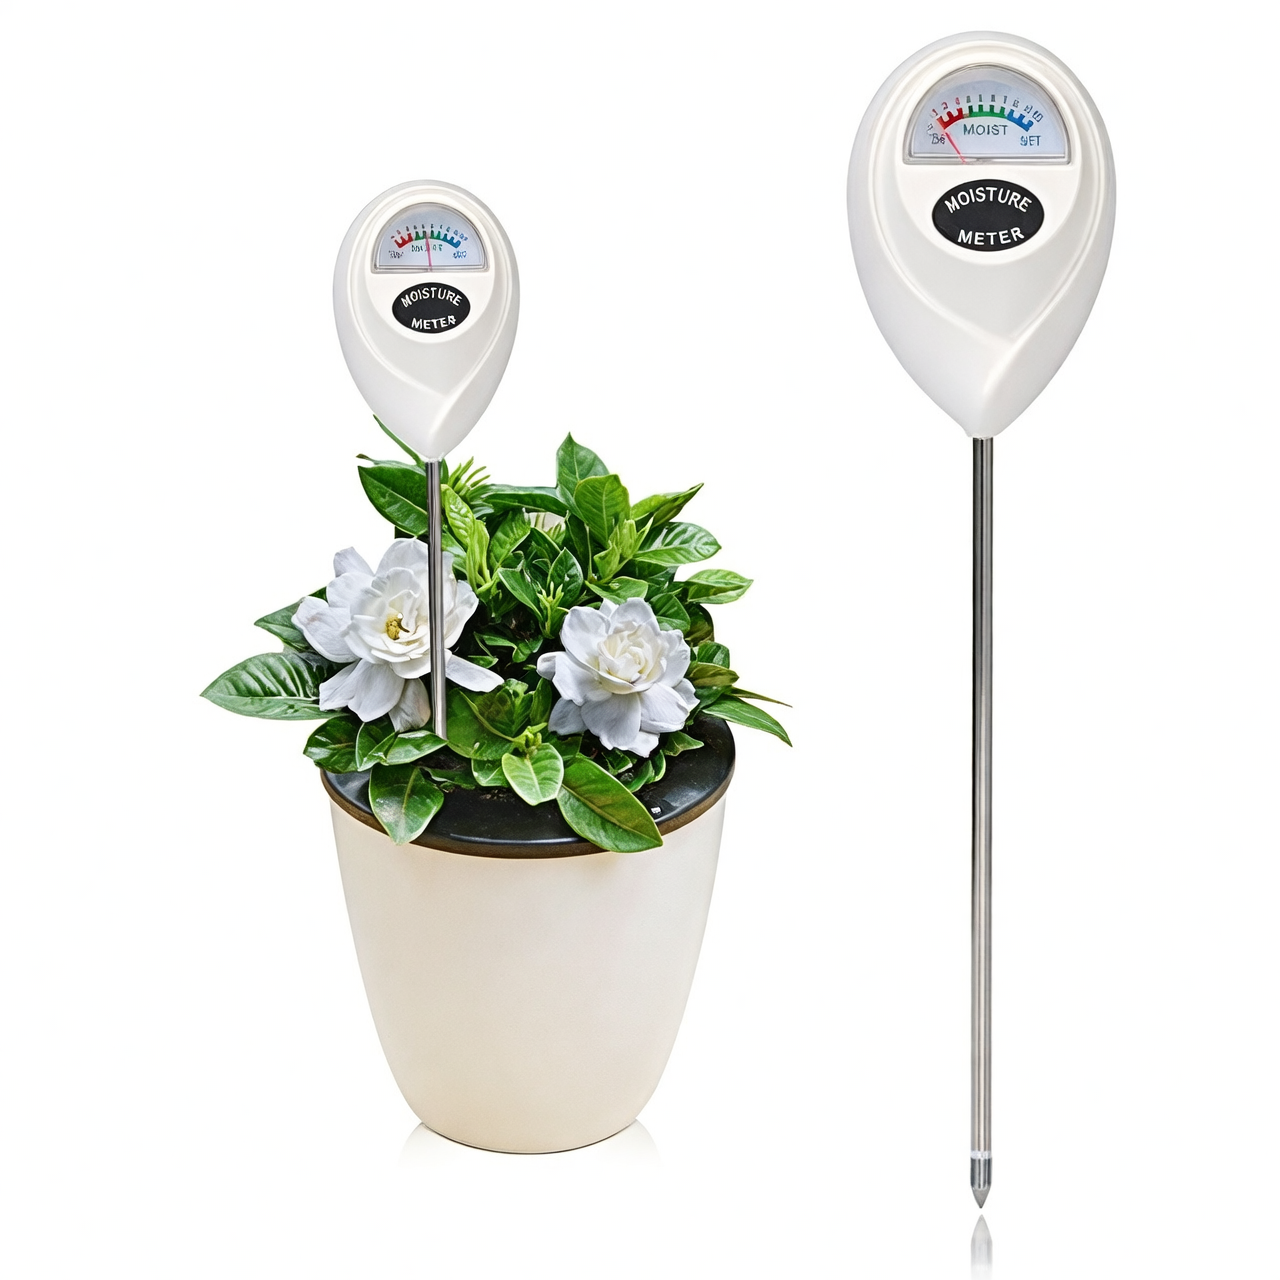
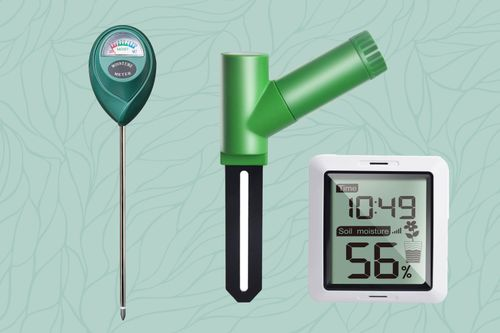
Before diving into fixes, it’s helpful to know how these devices operate. Most simple moisture meters gauge soil moisture by measuring electrical conductivity between two metal components in the probe. Wet soil conducts electricity better than dry soil, resulting in higher readings.
Common Culprits Behind Inaccurate Readings
- Mineral Buildup: Over time, mineral salts from fertilizers and hard water can accumulate in your soil. These salts enhance conductivity, leading to misleadingly high moisture readings even if the soil feels dry to the touch.
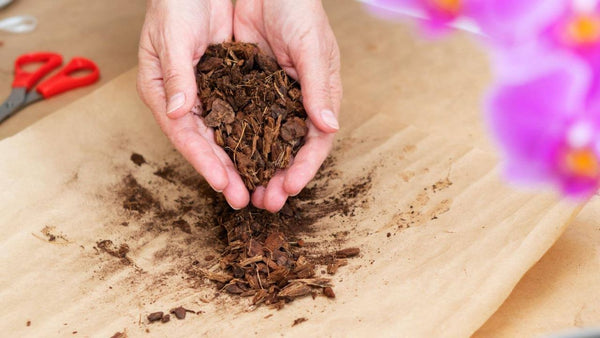
- Soil Characteristics: The composition of your soil can also skew results. Light, airy mixes (like those used for orchids) or dense, clay-heavy soils can throw your meter off balance.
- Human Error: Sometimes, the issue might be in how the meter is used. Not following manufacturer instructions, failing to calibrate the device, or using it in the wrong mode can all contribute to errors.
Practical Fixes for Your Moisture Meter
Calibration and Mode Check
- Calibration: If your meter can be calibrated, consult the manual for instructions. Regular calibration ensures your meter provides consistent readings.
- Mode Setting: Check that your device is set to the correct mode if it has multiple functions. A pinless meter, for instance, might not work correctly if set to pin mode.
Cleaning and Maintenance
- Probe Cleaning: Gently clean the probe with a damp cloth to remove any buildup. Avoid using harsh chemicals that could damage the sensor.
- Soil Flush: Occasionally flushing your potting mix with distilled water can help reduce mineral salt buildup, ensuring more accurate readings.
Battery and Physical Inspection
- Battery Check: A simple but often overlooked step—make sure your meter’s battery isn’t running low. Replace if necessary.
- Inspect for Damage: Examine the meter for physical damage, such as cracks or dents, which could let in moisture or debris, affecting its performance.
When to Consider a Replacement
If you’ve tried all the above and the meter still delivers erratic results, it might be time to invest in a new one. While more expensive models might offer better accuracy, even a mid-range option can provide reliable readings if maintained well. Remember, consistency in readings is more critical than pinpoint accuracy for most home gardening needs.
Conclusion: Keeping Your Green Thumb on Point
Maintaining accurate soil moisture readings is crucial for healthy plants, and with these tips, you should be able to troubleshoot and resolve most issues with your moisture meter. Regular maintenance, understanding your soil type, and mindful use of fertilizers can all contribute to more reliable readings. So, get your meter back on track and keep those plants thriving! Happy gardening!