


Repotting flowers can seem intimidating to beginners, but with a little guidance, it becomes a straightforward and rewarding task. Whether your plant’s roots are peeking out of the drainage holes or it’s simply time to refresh its soil, repotting is an essential part of keeping your blooms happy and healthy. Let’s walk through the process together, step-by-step.
Why and When to Repot Your Flowers
Plants, much like people, need room to grow and thrive. Over time, they can outgrow their pots or deplete the soil of nutrients. Here are a few signs that it’s time to repot:
- Roots growing through drainage holes or pushing the plant upwards.
- The plant dries out faster than usual, needing frequent watering.
- Noticeable salt or mineral buildup on the pot or soil surface.
- The plant is top-heavy and unstable.
The best time to repot is in early spring, just before the growth season kicks off. This timing allows your plant to settle into its new home with minimal stress.
Gather Your Gear
Before you start, make sure you have the following items handy:
- A new pot, ideally 1″-2″ larger in diameter than the current one, with drainage holes.
- Fresh potting mix. An all-purpose organic mix is suitable for most flowers.
- A trowel or small shovel.
- Gloves to keep your hands clean and avoid any irritants.
- Optional: Lava rocks or similar to improve drainage if your pot lacks holes.

Step-by-Step Repotting
Step 1: Gently Remove Your Plant
Begin by turning your plant on its side and gently tapping the bottom of the pot. If it’s stubborn, slide a butter knife around the pot’s edge to loosen the roots. Carefully grasp the plant at its base and slide it out, supporting the root ball.

Step 2: Examine and Loosen the Roots
Inspect the roots once your plant is free. If they’re tightly coiled, gently massage them to loosen. This encourages better water and nutrient absorption. Don’t worry if a few roots break off; this is normal.
Step 3: Prepare the New Pot
Place a layer of fresh potting mix at the bottom of the new pot. If you’re using a pot without drainage holes, add a layer of lava rocks first to help with water flow.
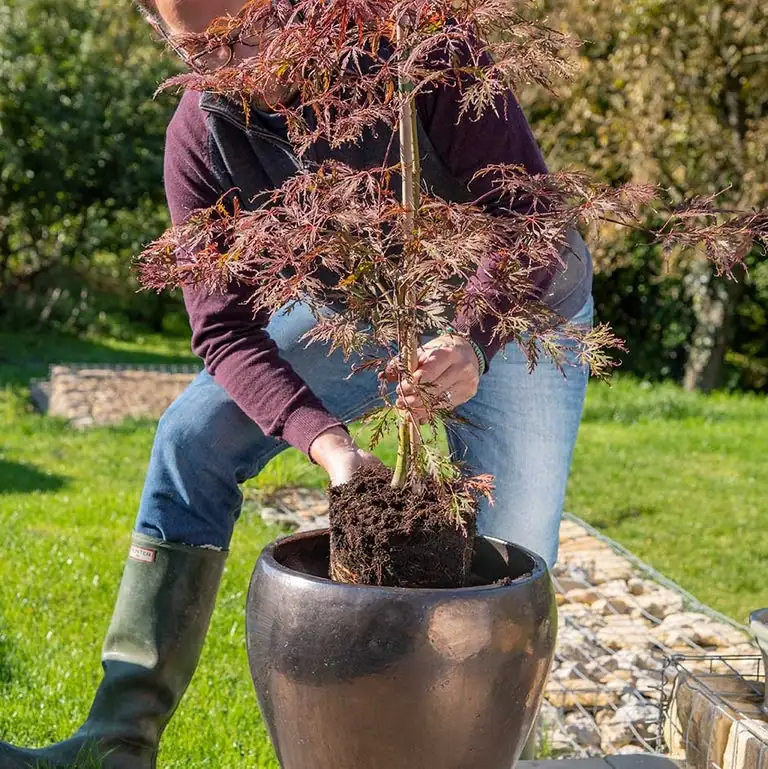
Step 4: Position Your Plant
Settle your plant into its new pot, making sure it’s centered and at the same depth as before. Add potting mix around the root ball, pressing gently to eliminate air pockets.
Step 5: Water Thoroughly
Give your newly potted plant a good drink to settle the soil. Water until you see it draining from the bottom, ensuring the entire root ball is moist.
Common Mistakes to Avoid
- Overwatering: Larger pots hold more soil, which retains more water. Be mindful not to drown your plant by adjusting your watering schedule.
- Skipping Drainage: Always ensure your pot has drainage holes, or use a liner pot within a decorative one to prevent root rot.
- Ignoring Signs: Watch your plant for signs of distress after repotting, such as wilting or discolored leaves, and adjust care as needed.
Repotting your flowers isn’t just about giving them more space—it’s a chance to refresh their growing environment and boost their health. With this guide, you’re well-equipped to give your blooms the happy home they deserve. Happy gardening! 🌸


